Manage a lab virtual machine pool in Azure Lab Services
Learn how you can manage the pool of lab virtual machines (VMs) in Azure Lab Services. Change the capacity of the lab to add or remove lab VMs, connect to a lab, or manage the state of individual lab VMs.
The lab virtual machine pool represents the set of lab VMs that are available for lab users to connect to. The lab VM creation starts when you publish a lab template, or when you update the lab capacity.
When you synchronize the lab user list with a Microsoft Entra group, or create a lab in Teams or Canvas, Azure Lab Services manages the lab VM pool automatically based on membership.
Prerequisites
- An Azure account with an active subscription. If you don't have an Azure subscription, create a free account before you begin.
- An Azure account with permission to manage a lab, such as the Lab Creator, Owner, Contributor, or Lab Services Contributor Azure RBAC role. Learn more about the Azure Lab Services built-in roles and assignment scopes.
- An Azure lab plan. If you don't have a lab plan yet, follow the steps in Quickstart: Set up resources to create labs.
Lab VM states
A lab VM can be in one of the following states:
- Unassigned. The lab VM is not assigned to a lab user yet. The lab VM doesn't automatically start with the lab schedule.
- Stopped. The lab VM is turned off and not available for use.
- Starting. The lab VM is starting. It's not yet available for use.
- Running. The lab VM is running and is available for use.
- Stopping. The lab VM is stopping and not available for use.
Change lab capacity
When you synchronize the lab user list with a Microsoft Entra group, or create a lab in Teams or Canvas, Azure Lab Services manages the lab VM pool automatically based on membership. When you add or remove a user, the lab capacity increases or decreases accordingly. Lab users are also automatically registered and assigned to their lab VM.
If you manage the lab user list manually, you can modify the lab capacity to modify the number of lab VMs that are available for lab users.
Go to the Virtual machine pool page for the lab.
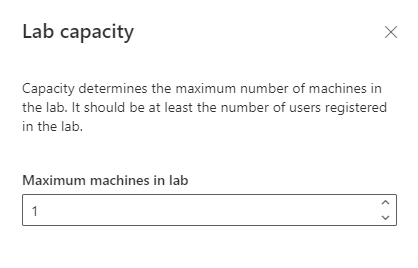
Select Lab capacity on the toolbar
In the Lab capacity window, update the number of lab VMs.
Manually start lab VMs
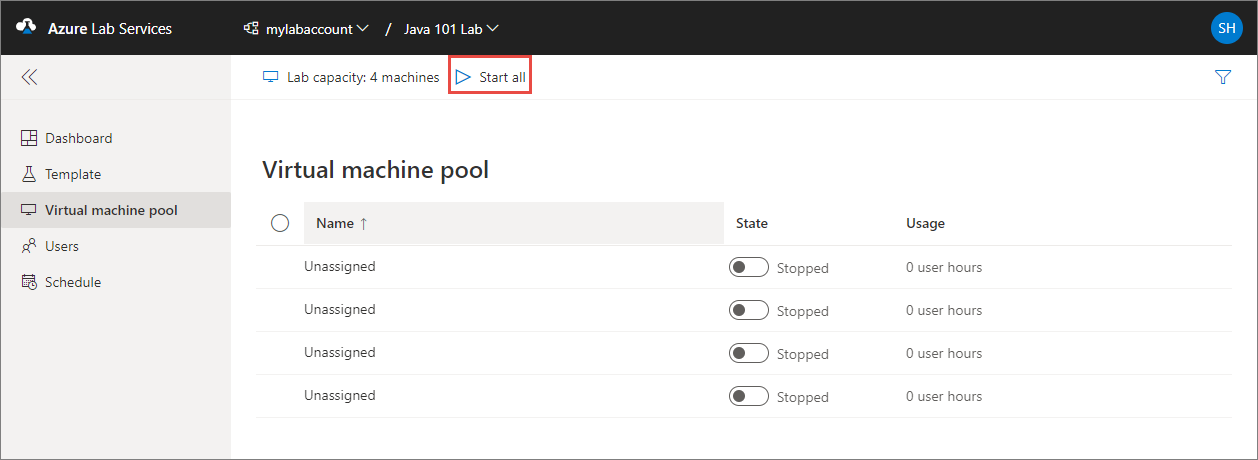
To manually start all lab VMs:
Go to the Virtual machine pool page for the lab.
Select the Start all button at the top of the page.
To start individual lab VMs:
Go to the Virtual machine pool page for the lab.
In the list of lab VMs, select the state toggle control for individual lab VMs.
The toggle text changes to Starting as the VM starts up, and then Running once the VM has started.
Alternately, select multiple VMs using the checks to the left of the Name column, and then select the Start button at the top of the page.
Note
When you start a lab VM from the virtual machine pool page, it doesn't affect the available quota hours for the lab user. Make sure to stop all lab VMs manually or use a schedule to avoid unexpected costs.
Manually stop lab VMs
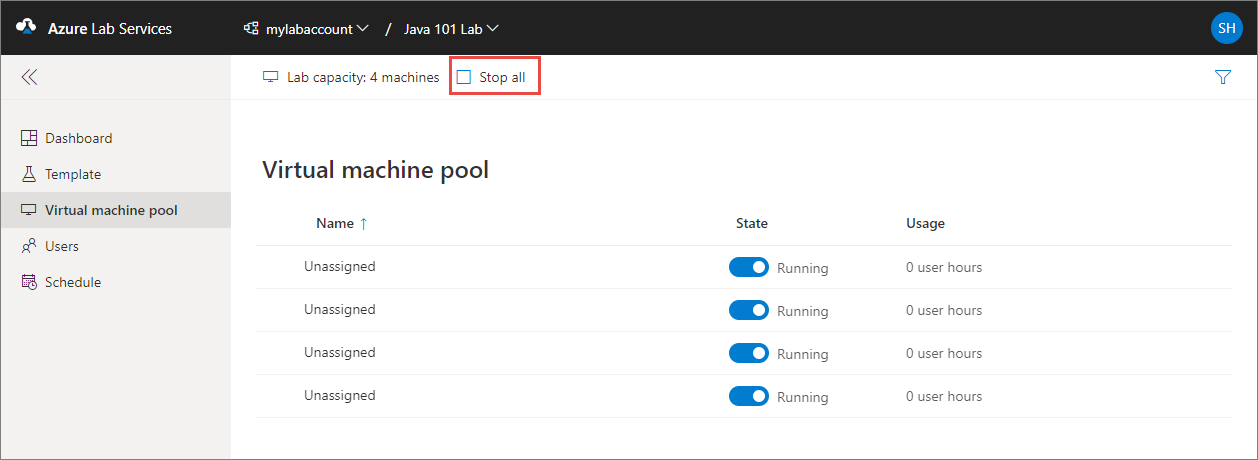
To manually stop all lab VMs:
Go to the Virtual machine pool page for the lab.
Select the Stop all button to stop all of the lab VMs.
To start individual lab VMs:
Go to the Virtual machine pool page for the lab.
In the list of lab VMs, select the state toggle control for individual lab VMs.
The toggle text changes to Stopping as the VM starts up, and then Stopped once the VM has shut down.
Alternately, select multiple VMs using the checks to the left of the Name column, and then select the Stop button at the top of the page.
Reimage lab VMs
When you reimage a lab VM, Azure Lab Services shuts down the lab VM, deletes it, and recreates a new lab VM from the original lab template. You can think of a reimage operation as a refresh of the entire VM.
Caution
After you reimage a lab VM, all the data that you saved on the OS disk (usually the C: drive on Windows), and the temporary disk (usually the D: drive on Windows), is lost. Learn how you can store the user data outside the lab VM.
To reimage one or more lab VMs:
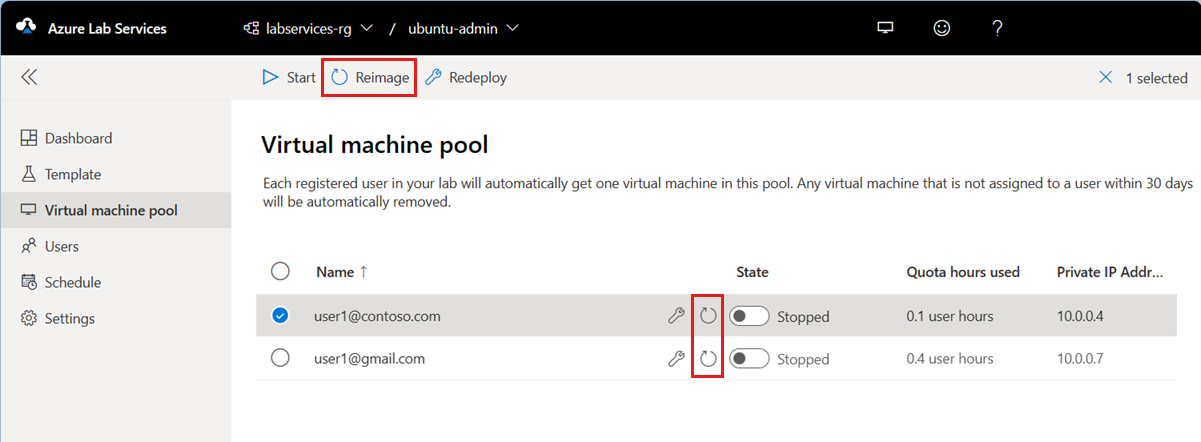
Go to the Virtual machine pool page for the lab.
Select one or multiple VMs from the list, and then select Reimage in the toolbar.
On the Reimage virtual machine dialog box, and then select Reimage to start the operation.
After the reimage operation finishes, the lab VMs are recreated from the lab template, and assigned to the lab users.
Redeploy lab VMs
When you redeploy a lab VM, Azure Lab Services shuts down the lab VM, moves the lab VM to a new node in the Azure infrastructure, and then powers it back on. You can think of a redeploy operation as a refresh of the underlying VM for your lab.
All data that you saved in the OS disk (usually the C: drive on Windows) of the VM is still available after the redeploy operation. Any data on the temporary disk (usually the D: drive on Windows) is lost after a redeploy operation.
To redeploy one or more lab VMs:
Go to the Virtual machine pool page for the lab.
Select one or multiple VMs from the list, and then select Redeploy in the toolbar.
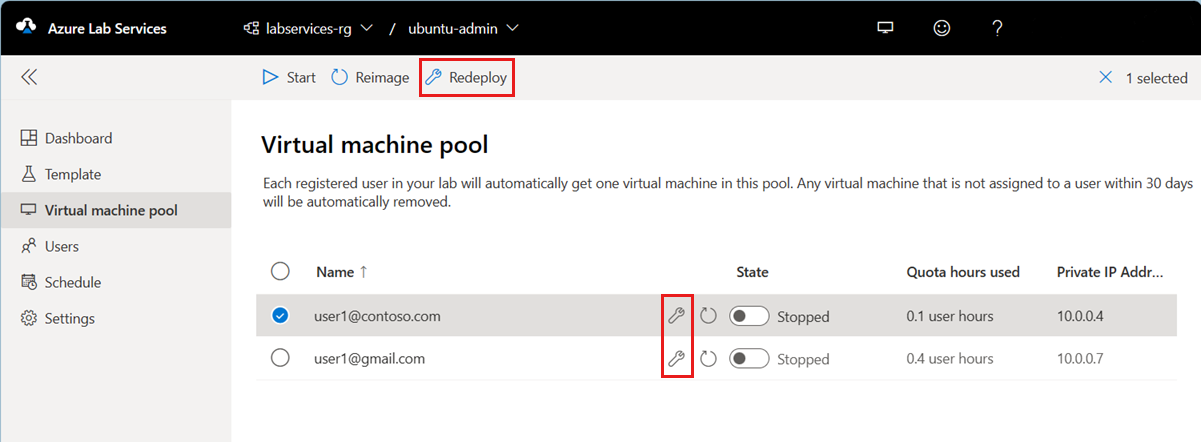
On the Redeploy virtual machine dialog box, select Redeploy to start the redeployment.
Connect to lab VMs
You can connect to a lab user's VM, for example to access local files on the lab VM and help lab users troubleshoot issues. To connect to a lab VM, it must be running.
Go to the Virtual machine pool page for the lab.
Verify that the lab user is not connected to the lab VM.
Hover over the lab VM in the list, and then select the Connect button.
For further instructions based on the operating system you're using, see Connect to a lab VM.
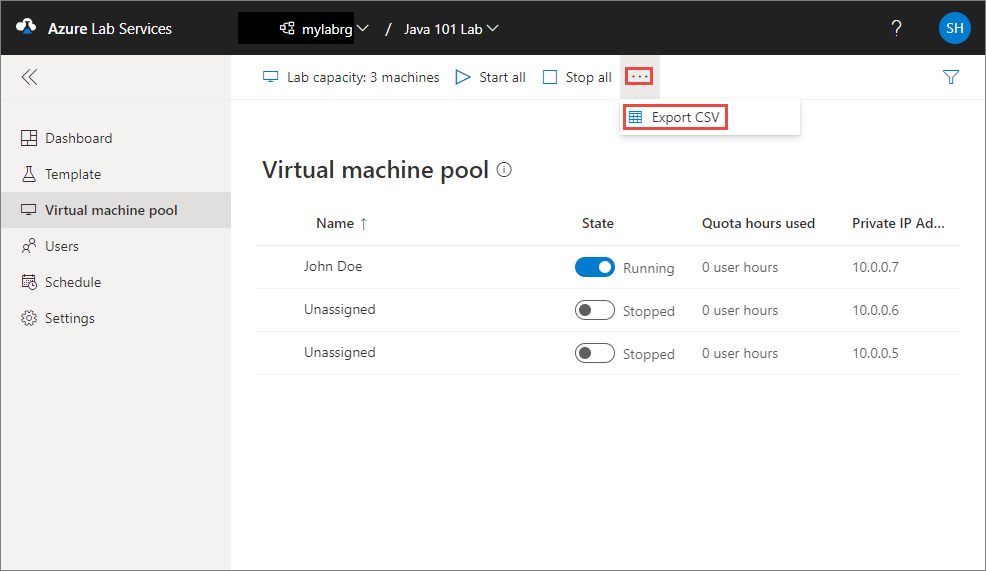
Export the list of lab VMs
Go to the Virtual machine pool page for the lab.
Select ... (ellipsis) on the toolbar, and then select Export CSV.
Next steps
See the following articles:
Feedback
Coming soon: Throughout 2024 we will be phasing out GitHub Issues as the feedback mechanism for content and replacing it with a new feedback system. For more information see: https://aka.ms/ContentUserFeedback.
Submit and view feedback for