Tax plafond
Tax plafond is a tax exemption process available for companies, called usual exporter, of purchasing and importing goods and services without paying sales tax, within a limited value of their sales to foreign countries/regions in the previous period. A company is a usual exporter if, during the previous year, 10 percent of its revenue value came from selling to a foreign country/region. The initial plafond amount and its validity dates are established at the beginning of the period. The company can buy without paying sales tax as long as the value of the purchases is less than the initial plafond amount.
This article describes how to complete these tasks:
- Set up the system to use the Tax plafond feature.
- Work with tax plafond and intent letters.
- Report tax payments that include tax plafond information.
Prerequisites
- The primary address of the legal entity must be in Italy.
- In the Feature management workspace, turn on the Tax plafond feature. For more information, see Feature management overview.
- There is a sales tax settlement period (Tax > Indirect taxes > Sales tax > Sales tax settlement periods) for the period in which you plan to create tax plafond and intent letters, and post tax documents with reference to intent letters.
Set up parameters
Set up Accounts payable parameters
Go to Accounts payable > Setup > Accounts payable parameters.
On the Number sequences tab, specify number sequences for the following references:
- Plafond number
- Intent letter number
On the Intent letters - Telematic model tab, in the Intent letter model format mapping field, specify the reference to the Intent letter telematic model configuration.

Note
The configuration must be imported by using Electronic reporting (ER). For more information about how to download ER configurations, see Download Electronic reporting configurations from Lifecycle Services.
On the Ledger and sale tax tab, on the Sales tax FastTab, in the Plafond section, set the Plafond tax group and Default plafond date fields.

Set up General ledger parameters
- Go to General ledger > Ledger setup > General ledger parameters.
- On the Number sequences tab, specify the number sequence for the Intent letter telematic model ID reference.
Set up sales tax codes
Go to Tax > Indirect taxes > Sales tax > Sales tax codes.
On the General FastTab, in the Invoicing section, set the Affect intent letters option to Yes.

Create tax plafond
Before you start creating a new tax plafond, verify that there is a sales tax settlement period for the period in which you plan to create tax plafond and intent letters, and post tax documents with reference to the intent letters.
To register a new tax plafond, follow these steps.
Go to Tax > Indirect taxes > Sales tax > Tax plafond.
On the Action Pane, select Functions > Create new, and enter information about the tax plafond.
The following table describes the various fields.
Field name Description Plafond number The number of the tax plafond. This value is automatically filled in according to the number sequence that is specified for the Plafond number reference on the Accounts payable parameters page. Description Enter a description of the tax plafond. From date The start date of the period that the tax plafond is effective during. To date The end date of the period that the tax plafond is effective during. Closed date The calculated date when the tax plafond is closed. Initial plafond amount Enter the amount of the tax plafond. Initial current amount The calculated amount that is available on the tax plafond. Plafond warning type, amount, % The type of check that is done, and the related amount or percentage at which users will begin to receive warnings about the remaining amount of the tax plafond. Settlement period Specify the settlement period. Operations contributing to the plafond Turn the options for inclusion in the intent letters report on or off.
To review posted tax transactions for an existing tax plafond, on the Tax plafond page, on the Action Pane, select Plafond transactions.
Create intent letters
Before you start creating a new intent letter, verify that there is a sales tax settlement period for the period in which you plan to create tax plafond and intent letters, and post tax documents with reference to intent letters.
To create a new intent letter for a vendor, follow these steps.
Go to Accounts payable > Intent letters > Intent letters.
On the Action Pane, select New, and enter the following information about the intent letter.
Field name Description Posting date Specify the posting date for the intent letter. Letter type Select the type of intent letter: Amount or Specific operation. From date Specify the start date of the period that the intent letter is effective during. To date Specify the end date of the period that the intent letter is effective during. Amount Specify the amount for the intent letter. On Records to include FastTab, select Filter to select the vendors that intent letters must be created for.
Select OK to finalize the selection.
On the next page, select Update existing purchase orders to apply new intent letters to existing purchase orders that haven't yet been invoiced for the selected vendors.
Select Re-confirm purchase orders to reconfirm the purchase orders that intent letters are applied to, in case they were confirmed.
Select Exclude delivered or partly delivered purchase orders to exclude purchase orders that were fully or partially delivered from the list of purchase orders that will be updated with intent letters.
Select OK to create intent letters that are based on the specified parameters.
Note
When intent letters are created, the system automatically numbers them according to the number sequence that is specified for the Intent letter number reference on the Accounts payable parameters page.
For the intent letters that are created, on the General tab, you can enter information about the generated telematic model.
The following table describes the various fields.
Field name Description Model ID The identifier of the telematic model that the intent letter was included in. This value is automatically filled in according to the number sequence that is specified for the Intent letter telematic model ID reference on the General ledger parameters page. Purchase type Select the type of purchase: Purchase or Import.
Note
Intent letters of the Period type aren't supported, and you can't create them. The Period type is kept for historical data, for those users who previously used this type and the Automatic intent letter assignment parameter on the Ledger and sales tax tab of the Accounts payable parameters page.
Work with intent letters
Intent letters that are created for vendors can be applied to purchase orders or vendor invoice journals before invoices are posted.
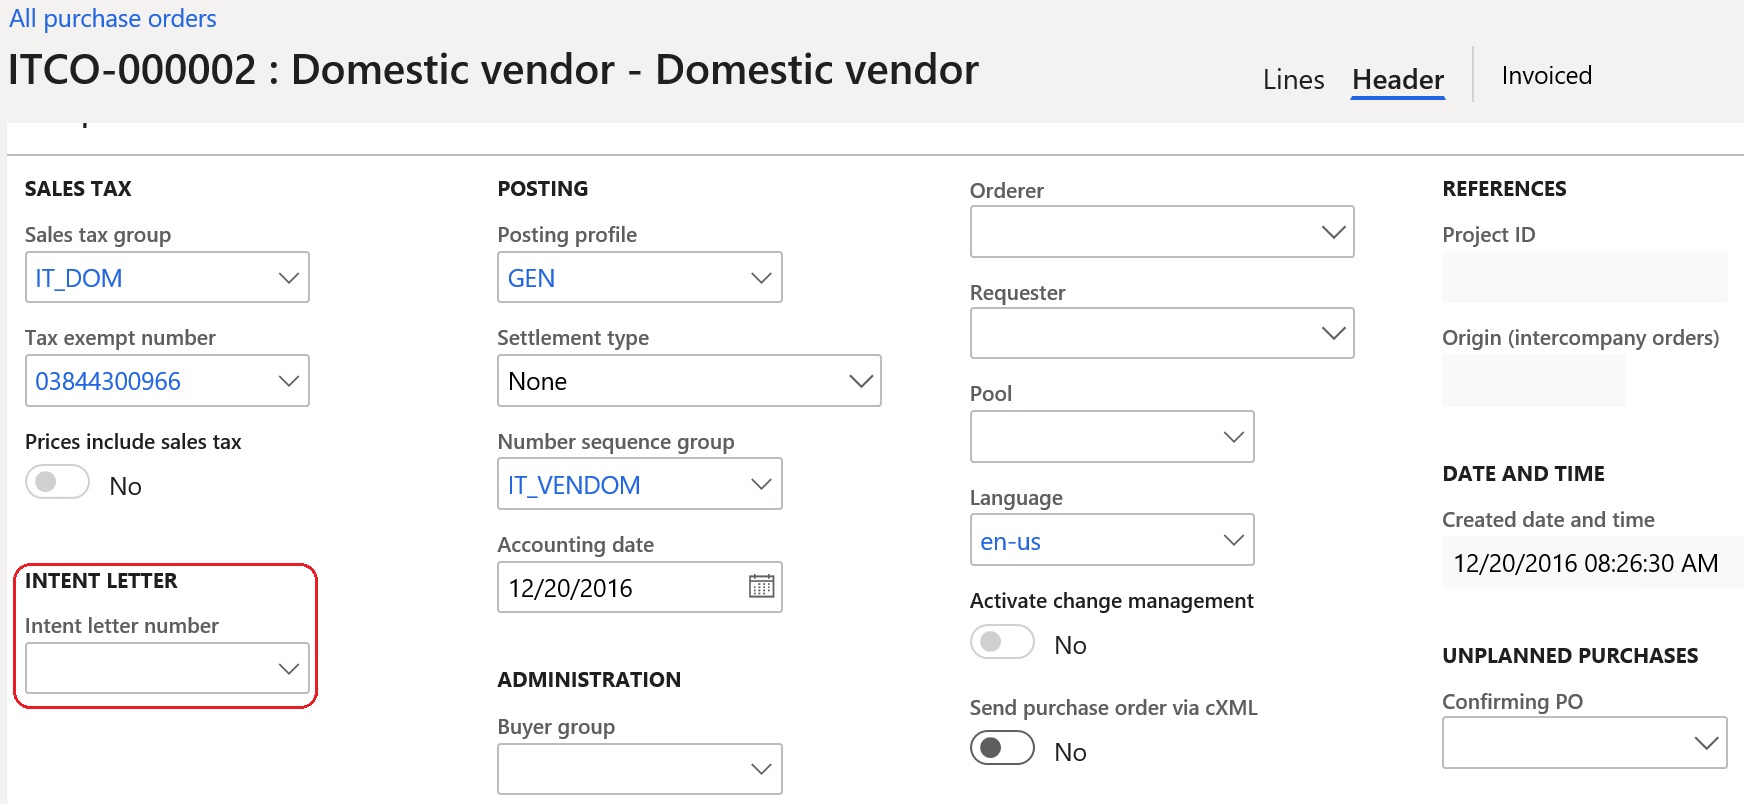
To apply an intent letter to a purchase order or vendor invoice journal, select it in the Intent letter number field of the related purchase order or vendor invoice journal. The sales tax group that is specified in the Plafond tax group field on the Accounts payable parameters page will be automatically filled in for the purchase order or vendor invoice journal.
You can also review the intent letters for a specific vendor from vendor master data.
- Go to Accounts payable > Vendors > All vendors.
- On the Action Pane, on the Vendor tab, in the Related information group, select Intent letters to view the intent letters that are related to the selected vendor.
Generate the telematic model for intent letters
To generate the telematic model for an intent letter, follow these steps.
Go to Tax > Declarations > Sales tax > Intent letters – Telematic model.
On the Action Pane, select New to create a new record for telematic model reporting. The model ID is automatically filled in according to the number sequence that is specified for the Intent letter telematic model ID reference on the General ledger parameters page.
In the Internal description field, specify the internal description for the new telematic model.
On the General tab, enter any related information about the new telematic model: the signatory, the writer, integrative parameters, and the file name.
On the Action Pane, select Transfer, and then select the intent letters to include in the current model. The selected intent letters will be shown on the Intent letters FastTab.
Note
Intent letters that are already included in other models can't be selected.
On the Action Pane, select Export to generate the Intent letter telematic model output file.
Обратна връзка
Очаквайте скоро: През цялата 2024 г. постепенно ще отстраняваме проблемите в GitHub като механизъм за обратна връзка за съдържание и ще го заменим с нова система за обратна връзка. За повече информация вижте: https://aka.ms/ContentUserFeedback.
Подаване и преглед на обратна връзка за