Create Service Resources for Unreal Cloud DDC
Important
The Unreal Cloud Derived Data Cache (DDC) offering has been removed from the Azure Marketplace. As such, we're retiring this documentation on March 31, 2024. Until then, this documentation exists for reference only, with no official support available from Microsoft.
Please contact your Epic Games representative for more information about using Unreal Cloud DDC.
This quickstart describes how to create an Unreal Cloud DDC managed application using the Azure portal.
Create and configure with basic options
Sign in to the Azure portal
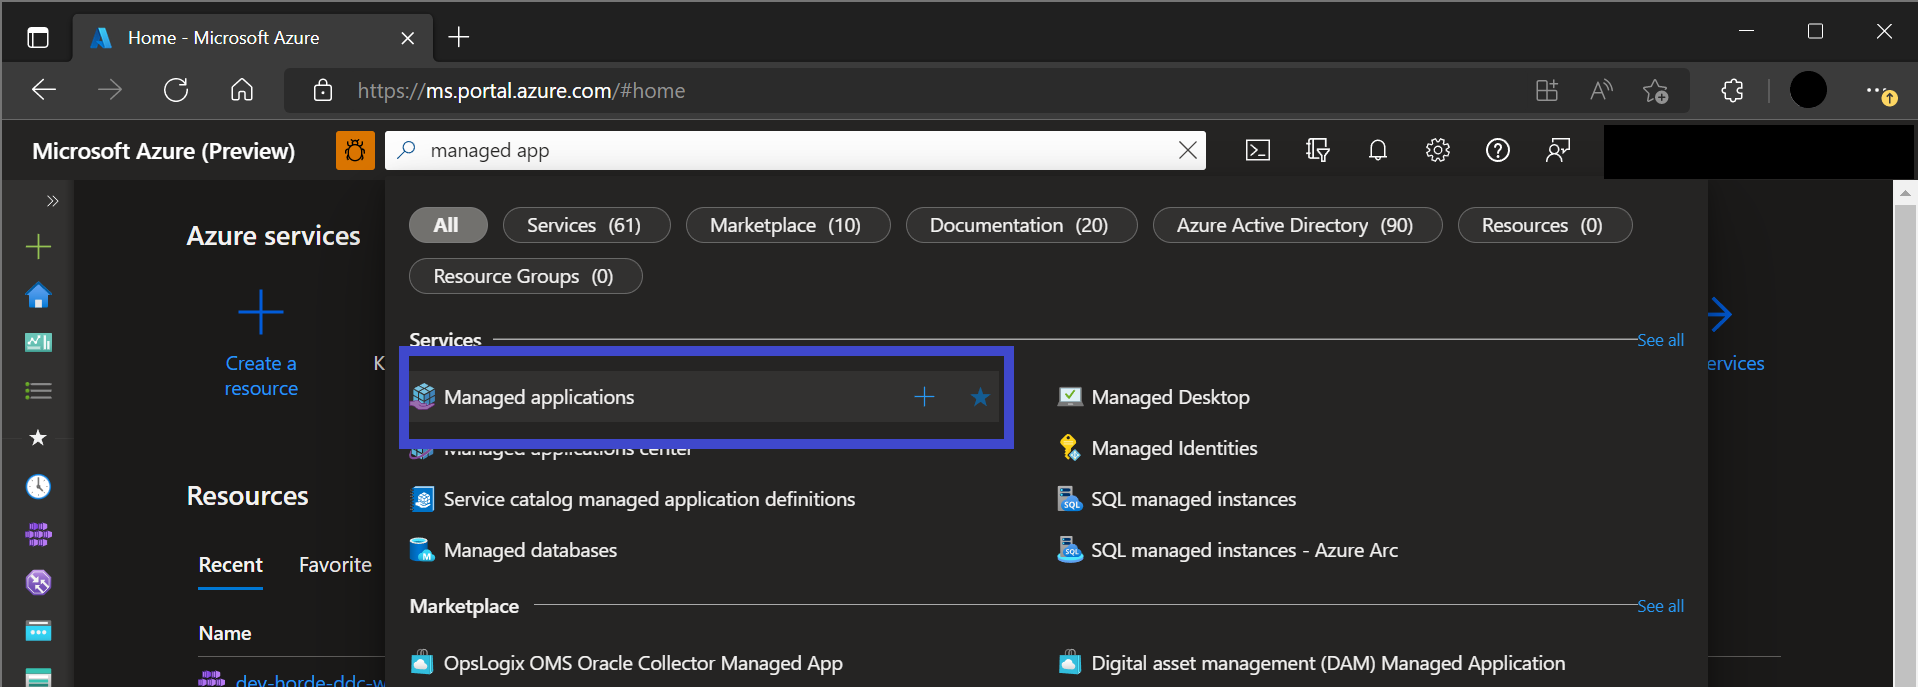
Type Unreal Cloud DDC in the search field.
Select Unreal Cloud DDC from the results list.
On the Unreal Cloud DDC page, select Create.
Then, provide suitable values for the following parameters:
- Subscription: Choose a subscription.
- Resource Group: Select an existing resource group, or select Create new and enter a resource group name.
- Region: Choose a location.
- Name: Enter a unique name.
- Agent Pool Count: Enter the number of nodes.
- Agent Pool Name: Enter a unique name for the Agent pool.
Select Review+Create. Or select Next: Advanced to provide advanced configurations, skip to the next section for instructions.
If there are validation issues, fix them and then select Create.
Create and configure with advanced options
The Unreal DDC managed application comes with advanced options to reuse existing Azure resources, or create new ones dedicated for the deployment.
Available resource types: Azure Storage Account, Azure Key Vault, Azure Cosmos DB, and Azure Virtual Network IP services - Public IP.
Note
Instructions on how to configure these advanced options will soon be available.
On the Advanced tab, provide the following inputs:
- Use existing Storage Account: Select if you would like to use an existing storage account. Otherwise a new storage account will be created.
- Storage Account Name: Enter a unique name for a new Storage Account.
- Use existing Key Vault: Select if you would like to use an existing storage account. Otherwise a new new Key Vault will be created.
- Key Vault Name: Enter a unique name for a new Key Vault.
- Use existing Cosmos DB: Select if you would like to use an existing Cosmos DB account. Otherwise a new Cosmos DB will be created.
- Cosmos DB Name: Enter a unique name for a new Cosmos DB.
- Use existing Public IP: Select if you would like to use an existing Public IP address. Otherwise a new Public IP address will be created.
- Public IP Name: Enter a unique name for a new Storage Account.
Select Review+Create.
Validation checks will run. After fixing any issues, select Create.
View the deployment
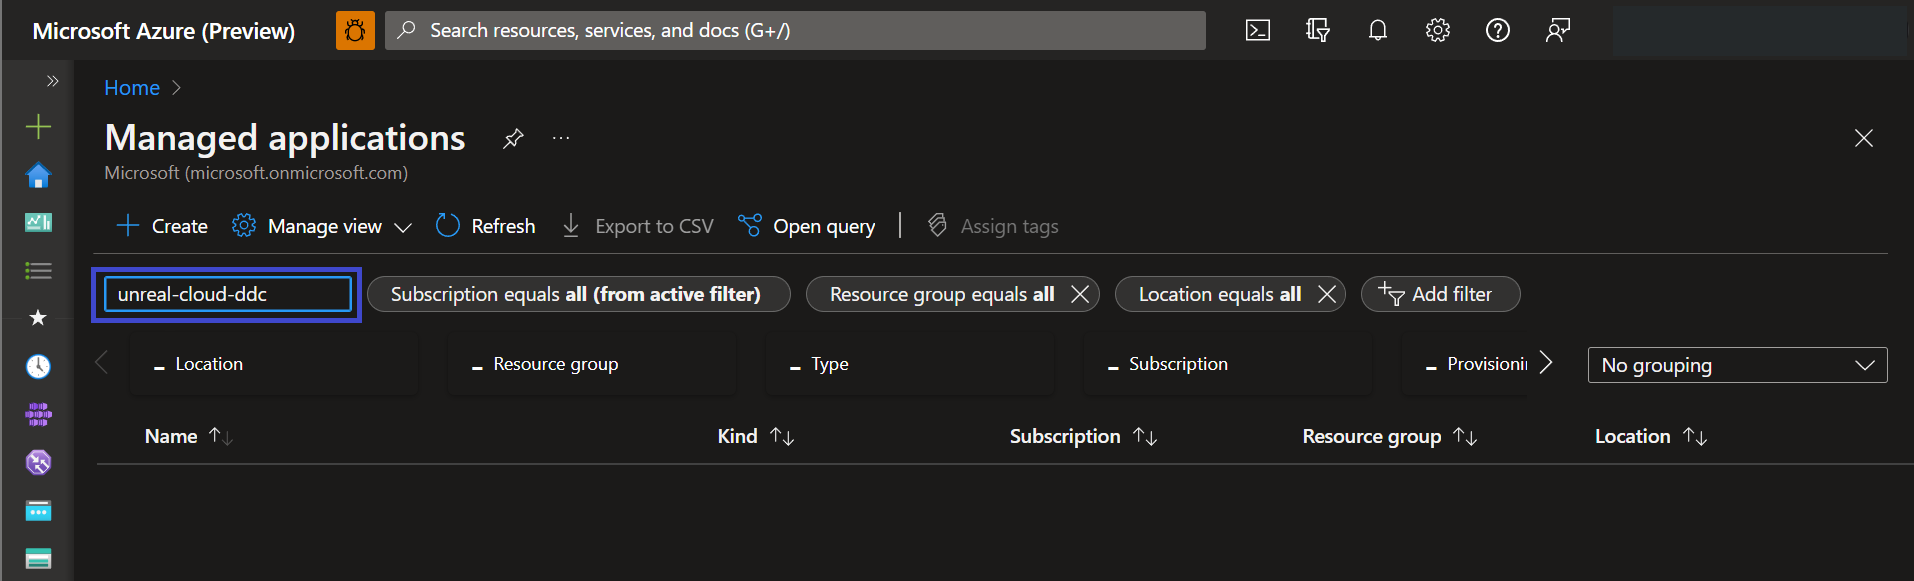
Go to the Azure portal menu or the home page and select Managed Applications.
In the filter box, enter the deployment name and select it.
Clean up
If the deployment is no longer needed, delete it. This will also delete all nested resources within the group. There are several ways to delete the deployment. This is one way to do it.
- Go to the Azure portal menu or the home page and select Managed Applications.
- In the filter box, enter the deployment name.
- Select the check box and select Delete.
- Enter Yes and select Delete.
Next steps
See also
Váš názor
Připravujeme: V průběhu roku 2024 budeme postupně vyřazovat problémy z GitHub coby mechanismus zpětné vazby pro obsah a nahrazovat ho novým systémem zpětné vazby. Další informace naleznete v tématu: https://aka.ms/ContentUserFeedback.
Odeslat a zobrazit názory pro