Resize virtual machine disks
When you create the VM, it chooses a size for the OS disk. The specific size is based on the image you select. On Linux, it's often around 30 GB, and on Windows about 127 GB.
For more storage space, you can add data disks, but you might also want to expand an existing disk. Perhaps, a legacy application can't split its data across drives, or you're migrating a physical PC's drive to Azure and need a larger OS drive.
Note
Shrinking managed disks isn't supported. You can only resize a disk to a larger size.
Depending on how large the increase is, increasing the disk's size could also change the disk's performance tier (for example, from P10 to P20). Keep this fact in mind; increasing the disk's size can be beneficial for performance upgrades, but also costs more as you move up the premium tiers.
VM size versus disk size
The VM size you choose when you create your VM determines how many resources it can allocate. For storage, the size controls the number of disks you can add to the VM and the maximum size of each disk.
As mentioned previously, some VM sizes support only Standard storage drives, limiting the I/O performance.
If you find that you need more storage than what your VM size allows for, you can change the VM size. We cover that subject in the Introduction to Azure Virtual Machines module.
Expand a disk using the Azure CLI
Warning
Always make sure that you back up your data before performing disk resize operations!
You can't perform operations on VHDs with the VM running. The first step is to stop and deallocate the VM with az vm deallocate, supplying the VM name and resource group name.
When you deallocate a VM, instead of just stopping a VM, it releases the associated computing resources and allows Azure to make configuration changes to the virtualized hardware.
Note
Don't run these commands just yet. You practice this process in the next unit.
az vm deallocate \
  --resource-group <resource-group-name> \
  --name <vm-name>
Next, to resize a disk, you use az disk update, passing the disk name, resource group name, and newly requested size. When you expand a managed disk, the specified size is mapped to the nearest managed disk size.
az disk update \
  --resource-group <resource-group-name> \
  --name <disk-name> \
  --size-gb 200
Finally, you run az vm start to restart the VM.
az vm start \
  --resource-group <resource-group-name> \
  --name <vm-name>
Expanding a disk using the Azure portal
You can also expand a disk through the Azure portal:
To stop the VM, on the Overview page for the VM, select Stop in the toolbar.
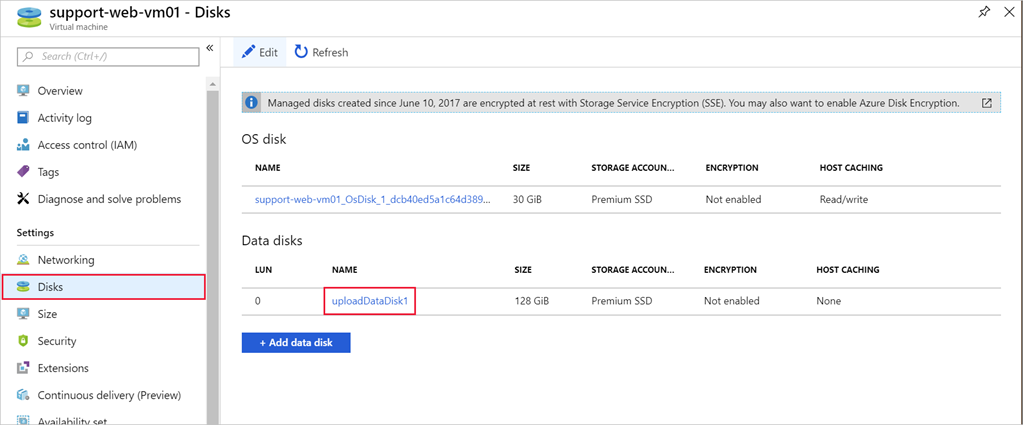
In the left menu pane, under Settings, select Disks.
Select the data disk you want to resize.
Select Size + performance under Settings. In the list, select a size larger than the current size. You can also change from Premium to Standard (or vice-versa) here. These settings adjust your performance as shown in the predicted IOPS section.

Select Resize to save the changes.
Restart the VM.
Expand the partition
Just like adding a new data disk, an expanded disk doesn't add any usable space until you expand the partition and filesystem. You must do this using the OS tools available to the VM.
On Windows, you might use the Disk Manager tool or the diskpart command line tool.
On Linux, you might use parted and resize2fs. You'll do that in the next unit.