Exercise - Deploy a scale set in the Azure portal
In the example scenario, you decide to use a scale set to run the web application for the shipping company. The shipping company can maintain short response times for users as the workload varies by using a scale set.
Your first task is to create a scale set. Configure it to run a web server, in this case nginx. After you configure the scale set correctly, deploy your web application. Then set up a health probe that Azure uses to verify the availability of each virtual machine (VM) in the scale set. Finally, test the scale set by sending requests from a web browser.
Note
This exercise is optional. If you don't have an Azure account, you can read through the instructions so you understand how to use the REST API to retrieve metrics.
If you want to complete this exercise, but you don't have an Azure subscription or prefer not to use your own account, create a free account before you begin.
Deploy a Virtual Machine Scale Set
Sign in to the Azure portal and open Azure Cloud Shell.
In Cloud Shell, start the code editor and create a file named cloud-init.yaml.
code cloud-init.yamlAdd the following text to the file:
#cloud-config
package_upgrade: true
packages:
  - nginx
write_files:
  - owner: www-data:www-data
  - path: /var/www/html/index.html
    content: |
        Hello world from Virtual Machine Scale Set !
runcmd:
  - service nginx restart
This file contains configuration information to install nginx on the VMs in the scale set.
Select Ctrl+S to save the file, then Ctrl+Q to close the code editor.
Run the following command to create a new resource group for your scale set:
az group create --location eastus --name myResourceGroupRun the following command to create the Virtual Machine Scale Set:
az vmss create \
  --resource-group myResourceGroup \
  --name webServerScaleSet \
  --image Ubuntu2204 \
  --upgrade-policy-mode automatic \
  --custom-data cloud-init.yaml \
  --admin-username azureuser \
  --generate-ssh-keys
By default, the new Virtual Machine Scale Set has two instances and a load balancer.
Note
The
custom-dataflag specifies that the VM configuration should use the settings in the cloud-init.yaml file after the VM has been created. You can use a cloud-init file to install additional packages, configure security, and write to files when the machine is first installed.For more information, see Cloud-init support for VMs in Azure.
Configure the Virtual Machine Scale Set
Run the following command to add a health probe to the load balancer:
az network lb probe create \
  --lb-name webServerScaleSetLB \
  --resource-group myResourceGroup \
  --name webServerHealth \
  --port 80 \
  --protocol Http \
  --path /
The health probe pings the root of the website through port 80. If the website doesn't respond, the server is considered unavailable. The load balancer doesn't route traffic to the server.
Run the following command to configure the load balancer to route HTTP traffic to the instances in the scale set:
az network lb rule create \
  --resource-group myResourceGroup \
  --name webServerLoadBalancerRuleWeb \
  --lb-name webServerScaleSetLB \
  --probe-name webServerHealth \
  --backend-pool-name webServerScaleSetLBBEPool \
  --backend-port 80 \
  --frontend-ip-name loadBalancerFrontEnd \
  --frontend-port 80 \
  --protocol tcp
Test the Virtual Machine Scale Set
In the Azure portal, from the side menu, select Resource groups > myResourceGroup.
Select the webServerScaleSet Virtual Machine Scale Set.
On the Overview page, note the public IP address of the Virtual Machine Scale Set.

Select Instances. Verify that the scale set contains two running VMs.

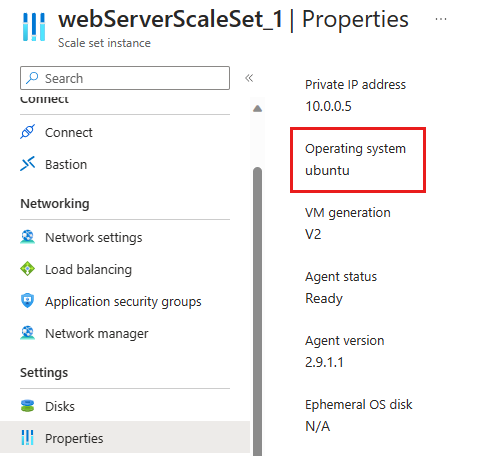
Select an instance and navigate to the Properties page. Verify that the VMs are running Ubuntu Linux.
In your web browser, go to the public IP address of the scale set. Verify that the message Hello World from Virtual Machine Scale Set ! appears.


