Import DICOM files (preview)
Bulk import is a quick way to add data to the DICOM® service. Importing DICOM files with the bulk import capability enables:
Backup and migration: For example, your organization might have many DICOM instances stored in local or on-premises systems that you want to back up or migrate to the cloud for better security, scalability, and availability. Rather than uploading the data one by one, use bulk import to transfer the data faster and more efficiently.
Machine learning development: For example, your organization might have a large dataset of DICOM instances that you want to use for training machine learning models. With bulk import, you can upload the data to the DICOM service and then access it from Microsoft Fabric, Azure Machine Learning, or other tools.
Prerequisites
- Deploy an instance of the DICOM service. For more information, see Deploy the DICOM service.
- Deploy the events capability for the DICOM service. For more information, see Deploy events by using the Azure portal.
Enable a system-assigned managed identity
Before you perform a bulk import, you need to enable a system-assigned managed identity.
In the Azure portal, go to the DICOM instance and then select Identity from the left pane.
On the Identity page, select the System assigned tab.
In the Status field, select On.
Choose Save.

Enable bulk import
You need to enable bulk import before you import data.
Use the Azure portal
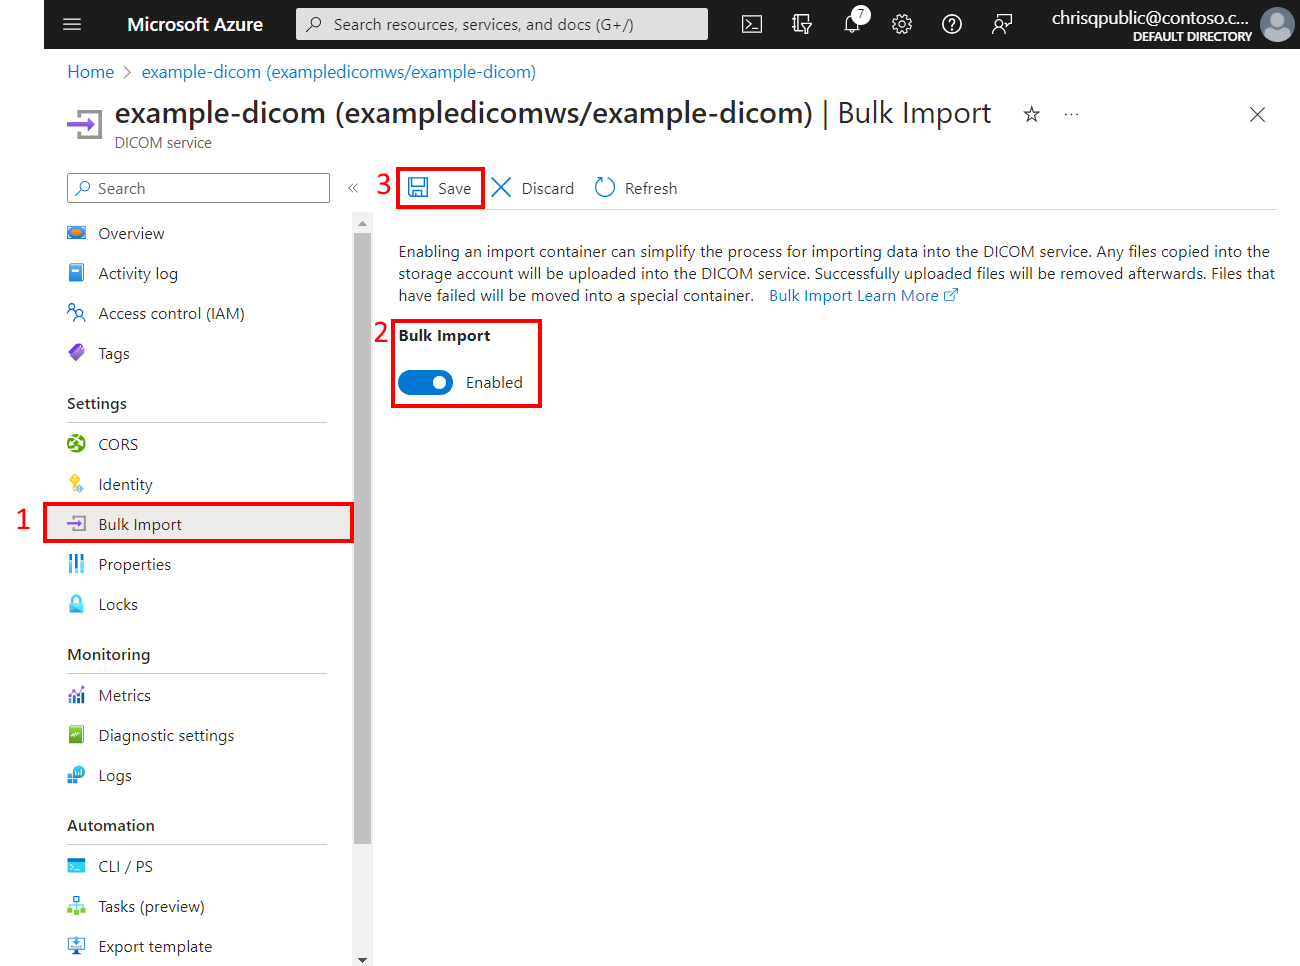
In the Azure portal, go to the DICOM service and then select Bulk Import from the left pane.
On the Bulk Import page, in the Bulk Import field, select Enabled. Select Save.

Use an Azure Resource Manager template
When you use an Azure Resource Manager template (ARM template), enable bulk import with the property named bulkImportConfiguration.
Here's an example of how to configure bulk import in an ARM template:
{
    "type": "Microsoft.HealthcareApis/workspaces/dicomservices",
    "apiVersion": "2023-02-01-preview",
    "name": "[parameters('dicomservicename')]",
    "location": "[parameters('regionname')]",
    "identity": {
        "type": "SystemAssigned"
    },
    "properties": {
        "bulkImportConfiguration": {
            "enabled": true
        }
    }
}
Import data
After you enable bulk import, a resource group is provisioned in your Azure subscription. The name of the resource group begins with the prefix AHDS_, followed by the workspace and DICOM service name. For example, for the DICOM service named mydicom in the workspace contoso, the resource group is named AHDS_contoso-mydicom.
Within the new resource group, two resources are created:
- A randomly named storage account that has two precreated containers (
import-containeranderror-container) and two queues (import-queueanderror-queue). - An Azure Event Grid system topic named
dicom-bulk-import.
DICOM images are added to the DICOM service by copying them into the import-container. Bulk import monitors this container for new images and adds them to the DICOM service. If there are errors that prevent a file from being added successfully, the errors are copied to the error-container and an error message is written to the error-queue.
Grant write access to the import container
The user or account that adds DICOM images to the import container needs write access to the container by using the Data Owner role. For more information, see Assign Azure roles using the Azure portal.
Upload DICOM images to the import container
Data is uploaded to Azure Storage containers in many ways:
- Upload a blob with Azure Storage Explorer
- Upload a blob with AzCopy
- Upload a blob with the Azure CLI
Note
DICOM® is the registered trademark of the National Electrical Manufacturers Association for its Standards publications relating to digital communications of medical information.
Feedback
Coming soon: Throughout 2024 we will be phasing out GitHub Issues as the feedback mechanism for content and replacing it with a new feedback system. For more information see: https://aka.ms/ContentUserFeedback.
Submit and view feedback for