Create Customer Insights - Journeys forms
To create a new form, go to Customer Insights - Journeys > Channels > Forms and select New on the command bar.
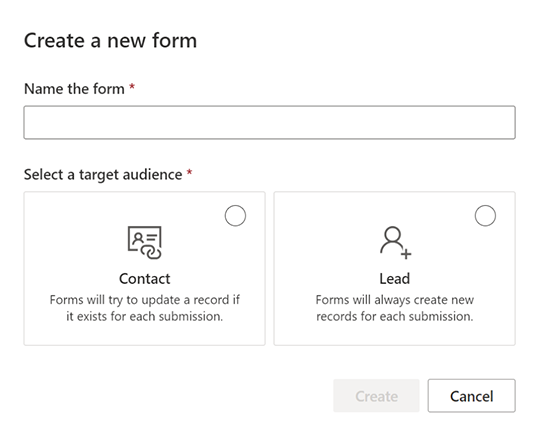
Select a target audience that is updated by the form submission. With Customer Insights - Journeys forms, you can select which audience you want to update (Contact or Lead). Each target audience has a default strategy for duplicate records handling:
- Lead: Each form submission creates a new record, even if the same email address is used.
- Contact: If a record with the same email address already exists, it's updated. No duplicate contact is created if the same email address is used.
You can change the duplicate record handling in the form settings.
In this example, enter a name for your new form and select Contact as the target audience.
Choose a template. The list of templates is filtered according to the target audience selected in the previous step. If you want to start with a blank form, you can skip the template selection. After you select a template or choose to skip, you’ll be in the form editor where you can finish creating your form.

Now you can see the list of questions represented by form fields. The list of available fields can be found in the right pane and it includes all attributes of the selected target audience (entity). If you create a new custom attribute for the entity, it's visible in this list, and you can immediately use it as a field in your form. Some system fields may be hidden, as they can't be used in the form. You can use the search bar in the list of fields to filter the field you're looking for.
Enter "name" into the search bar to find the "Last Name" field.
Note
You can switch between Elements and Fields using the small icons on the side of the right pane.

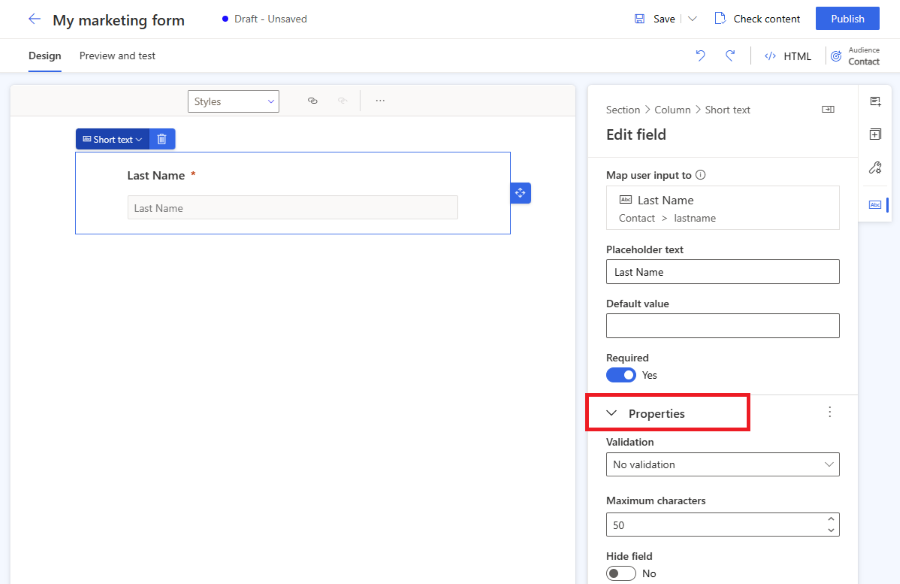
Drag a field from the list and drop it on the form canvas. Once the field is added, the field's properties are shown in the right pane. The field properties can be used to set if it's a required field, configure validation, and more. Learn more about form field properties. There are multiple types of fields available with different properties, check the list of field types.
Useful tips
- You can drag and drop a field on the form canvas to change its position.
- Fields can be removed from the form by selecting the trash icon.
- You can hide a field so it isn't visible to your web page visitor by enabling the Hide field toggle.
- You can access the field properties again by selecting the field on the canvas.
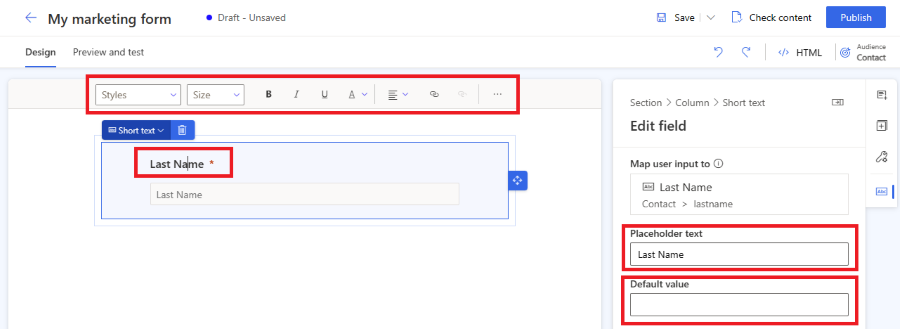
You can edit the field label by selecting it on the canvas. Use the rich text editor to edit the styling of any text on the canvas. Change the placeholder text and default value in the right pane. To change a field's default value, enter text into the field on the canvas.
Style your form fields in the Theme section. To access the Theme section, select the brush icon on the right pane. Once you set a style for your input field using the Theme section, it will apply on all input fields in your form.

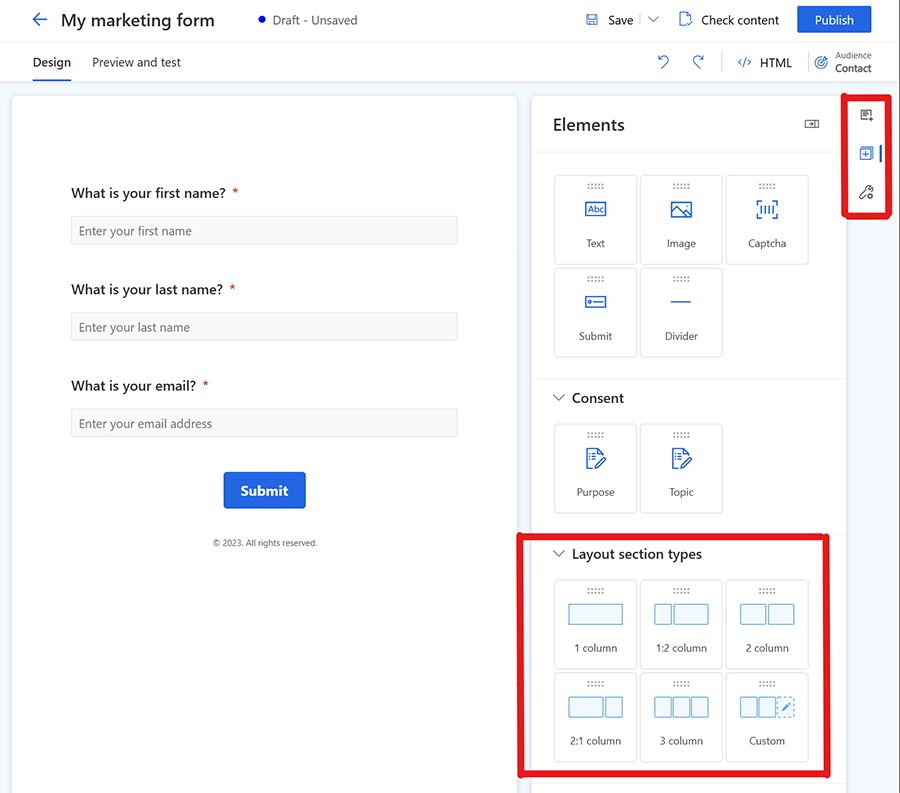
If you want to build more complex forms, you can change the layout of your form to multi-column and create multiple layout sections. Select the Elements section on the right pane. Now you can drag and drop a column layout on form canvas to create a new section. You can add elements and fields to the newly created sections.
Note
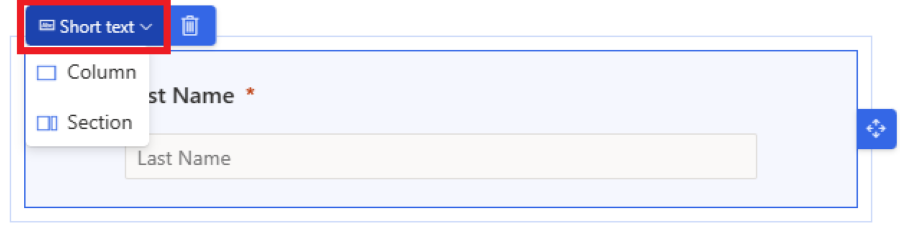
You can access the existing section's styling setting by selecting the top left corner of the field or other element and selecting Section. That section properties will appear in the right pane.
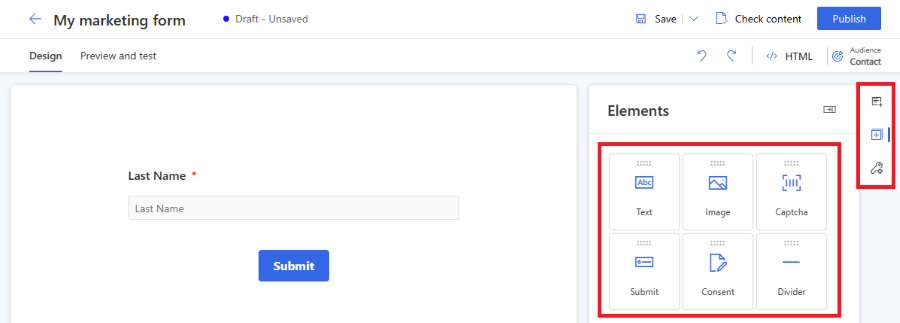
To add elements to your form, select the Elements section in the right pane. Drag and drop static text, a submit button, captcha, or an image element on the form canvas.
All forms must contain a Submit button. The form editor doesn't allow you to publish a form without a submit button. Select the submit button to change the styling.
Note
You can integrate custom captcha bot protection services like reCAPTCHA in your form. Learn more
Add consent control from the Elements section to your form. Once you add the consent control to your form, you can select the correct consent purpose in the properties. Select the consent checkbox caption to change its text. Learn more about how to manage consent for email and text messages in Customer Insights - Journeys.
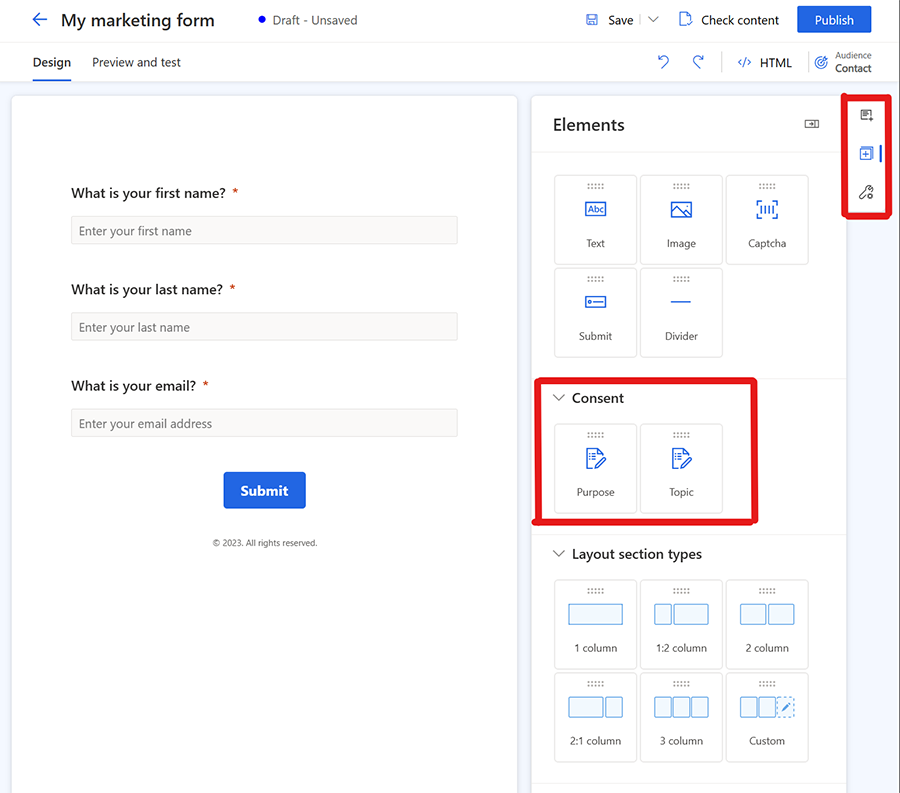
Adding purpose and topics consent elements creates contact point consent records for the chosen channels, email, and text.
Note
You may need to remove and re-add consent elements to forms created prior to August 2023 due to underlying changes with the consent entities. This has no impact on consent captured by existing forms and simply updates the form to reflect the revised consent entities.
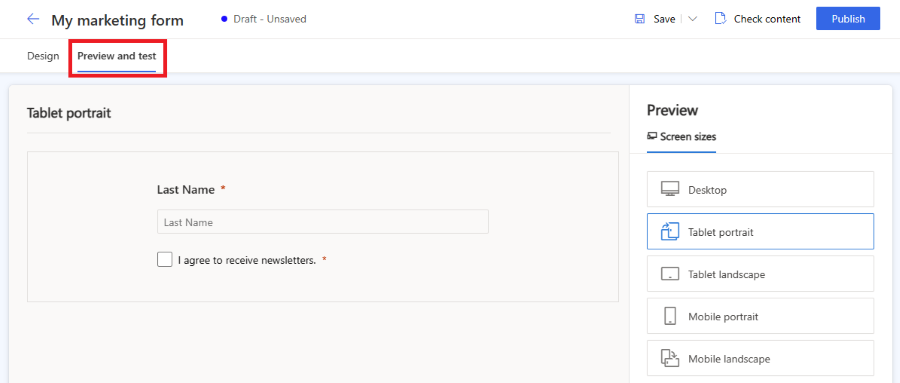
Now it's time to preview your for to check the responsiveness. To open the form preview, select the Preview and test tab. You can select various platforms to check how the form renders on a mobile device or a tablet.
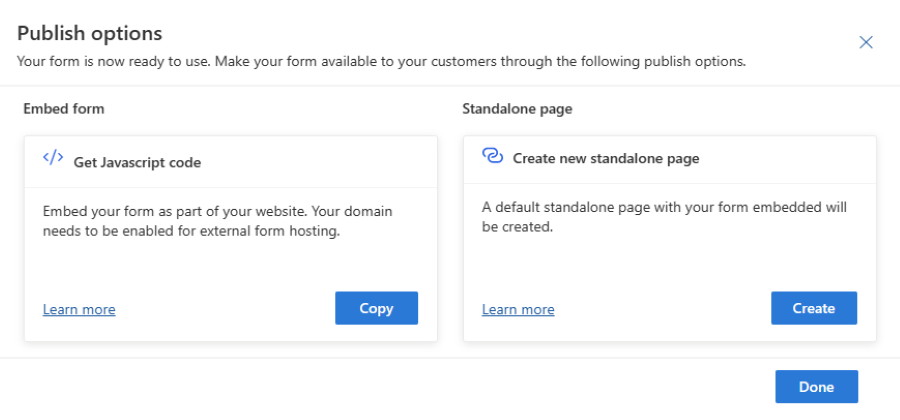
To publicly share your form, select the Publish button in the top right corner. The form is automatically saved and the validation process starts. You may need to add other required fields to your form to pass the validation. By default, the Email field is required to check if the same Contact already exists. Once the form is successfully validated, you see the following options on how to publish your form. Learn more on how to publish the form.
Important
Make sure the domain where you embedded your form is allowed for external form hosting. If the domain isn't allowed for external form hosting, the form won't be rendered on your web page and all form submissions will be rejected. Learn more about domain authentication. The out-of-box domain for a standalone page is enabled by default. Learn more
Set up a "thank you" email for web page visitors who submitted the form. You can create a new journey using the Marketing Form Submitted trigger, which is executed every time your form is submitted. Learn more about creating a trigger-based journey.
Publish your form
To publish your form, select the Publish button in the top right corner. There are three options to publish a form:
- Embed to an external page using JavaScript: This is the most common way to integrate the form into your own web page. You can reuse the same code snippet on multiple web pages. The form submission data includes the URL of the page where the form is embedded. There's also a tracking script included to count the statistics of visitors to the page that the form is embedded on.
- Create a standalone page: A new page is automatically created and the form is embedded into the page. As a result of this process, you get a public URL, which you can share to allow your visitors to visit and submit the form.
Once the form is published, you can still access these options by selecting the Publishing options button in the top right corner. It's possible to use multiple publishing options for a single form.
Note
The content delivery network (CDN) domain for your geographical area used by the host form as Standalone page feature is enabled for form hosting by default.
Example for USA:
https://assets-usa.mkt.dynamics.com
If you would like to disable the domain for form hosting, reach out to support.
See also
Grow your business with multi-brand, custom preference centers Customer Insights - Journeys preference centers