Exercise - Create and deploy a web app from a Docker image
Azure App Service provides the hosting environment for an Azure-based web app. You can configure App Service to retrieve the image for the web app from a repository in Azure Container Registry.
In the example scenario, the team has uploaded the image for the web app to Azure Container Registry and is now ready to deploy the web app.
In this unit, you'll create a new web app by using the Docker image stored in Azure Container Registry. You'll use App Service with a predefined App Service plan to host the web app.
Enable Docker access to the Azure Container Registry
You'll use Docker to log in to the registry and pull the web image that you want to deploy. Docker needs a username and password to perform this action. The Container Registry enables you to set the registry name as the username and the admin access key as the password to allow Docker to log in to your container registry.
Sign in to the Azure portal, and go to All resources. The All resources pane appears.
Select the container registry you created earlier to go to its Overview page.
In the left menu pane, under Settings, select Access keys. The Access keys pane appears for your container registry.
Check the Admin user box. This change saves automatically.
You're now ready to create your web app.
Create a web app
Go back to the Azure portal home page, and under Azure services, select Create a resource. The Create a resource pane appears.
In the left menu pane, select Web, and under Popular Azure services, select Web App.
The Create Web App pane appears.
On the Basics tab, enter the following values for each setting.
Setting Value Project Details Subscription Select your default Azure subscription in which you're allowed to create and manage resources. Resource Group From the dropdown list, select the existing resource group learn-deploy-container-acr-rg. Instance Details Name Enter a unique name and make a note of it for later. Publish Docker Container Operating System Linux Region Select the same location that is close to you from previous exercise. Pricing plans Linux plan Use the default. Pricing plan Use the default. Zone redundancy Zone redundancy Use the default. Select the Docker tab at the top of the screen.
On the Docker tab, enter the following values for each setting.
Setting Value Options Single Container Image Source Azure Container Registry Azure container registry options Registry Select your registry. Image webimageTag latestStartup Command Leave this setting empty. Select Review and create, and then select Create. Wait until the web app has been deployed before you continue.
Test the web app
After deployment succeeds, select Go to resource to see the web app you just created. Your App service pane appears for your web app.
In the top menu bar, select Browse to open the site in a new browser tab.
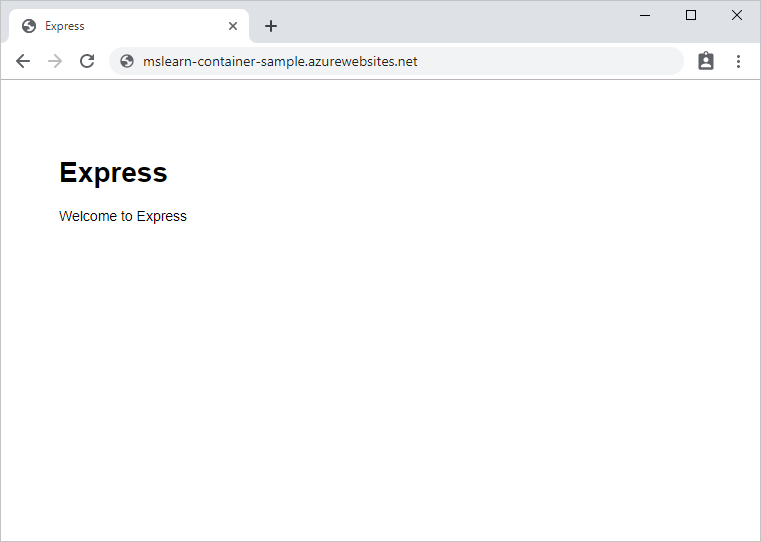
After the cold-start delay while your app's Docker image loads and starts, you'll see a page like the following image:
After the cold-start delay while your app's Docker image loads and starts, you'll see a page like the following image:
App Service is now hosting the app from your Docker image.