Exercise - Send Azure RTOS real-time room environment sensor data to IoT Central
In this exercise, we'll partner a high-level application to send Azure RTOS real-time room environment sensor data to IoT Central.
Step 1: Open the project
Start Visual Studio Code to open your project.
Click Open folder.
Open the Azure-Sphere lab folder.
Open the Lab_7_Partnering_with_RTOS_environment folder.
Click Select Folder or the OK button to open the project.
If you installed the Visual Studio Code Peacock extension then Visual Studio Code will turn blue. The blue colored instance is connected to the high-level application running on the Cortex-A7 core.
Step 2: Set your developer board configuration
These labs support developer boards from Avnet and Seeed Studio. You need to set the configuration that matches your developer board.
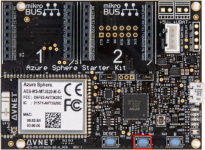
The default developer board configuration is for the Avnet Azure Sphere Starter Kit Revision 1. If you have this board, there's no additional configuration required.
Open the CMakeList.txt file.
Add a
#at the beginning of the set Avnet line to disable it.Uncomment the
setcommand that corresponds to your Azure Sphere device developer board.set(AVNET TRUE "AVNET Azure Sphere Starter Kit Revision 1 ") # set(AVNET_REV_2 TRUE "AVNET Azure Sphere Starter Kit Revision 2 ") # set(SEEED_STUDIO_RDB TRUE "Seeed Studio Azure Sphere MT3620 Development Kit (aka Reference Design Board or rdb)") # set(SEEED_STUDIO_MINI TRUE "Seeed Studio Azure Sphere MT3620 Mini Dev Board")Save the file. This will auto-generate the CMake cache.
Step 3: Configure the Azure IoT connection information
Open the app_manifest.json file.
DO NOT copy the app_manifest.json that you saved to notepad as there are new properties in this application manifest.
Update the connection properties for the Azure IoT Central application.
- Update CmdArgs with your Azure IoT Central ID scope.
- Update DeviceAuthentication with your Azure Sphere Tenant ID. Remember, this was the numeric value returned from running the azsphere tenant show-selected command.
Update the AllowedConnections with the Azure IoT Central application endpoints you copied to Notepad.
Review your updated app_manifest.json file. It should look similar to the following.
{
    "SchemaVersion": 1,
    "Name": "AzureSphereIoTCentral",
    "ComponentId": "25025d2c-66da-4448-bae1-ac26fcdd3627",
    "EntryPoint": "/bin/app",
    "CmdArgs": [
        "--ConnectionType", "DPS", "--ScopeID", "0ne0099999D",
        "--RTComponentId", "6583cf17-d321-4d72-8283-0b7c5b56442b"
    ],
    "Capabilities": {
        "Gpio": [
        "$NETWORK_CONNECTED_LED",
        "$LED_RED",
        "$LED_GREEN",
        "$LED_BLUE"
        ],
        "PowerControls": [
        "ForceReboot"
        ],
        "AllowedConnections": [
            "global.azure-devices-provisioning.net",
            "iotc-9999bc-3305-99ba-885e-6573fc4cf701.azure-devices.net",
            "iotc-789999fa-8306-4994-b70a-399c46501044.azure-devices.net",
            "iotc-7a099966-a8c1-4f33-b803-bf29998713787.azure-devices.net",
            "iotc-97299997-05ab-4988-8142-e299995acdb7.azure-devices.net",
            "iotc-d099995-7fec-460c-b717-e99999bf4551.azure-devices.net",
            "iotc-789999dd-3bf5-49d7-9e12-f6999991df8c.azure-devices.net",
            "iotc-29999917-7344-49e4-9344-5e0cc9999d9b.azure-devices.net",
            "iotc-99999e59-df2a-41d8-bacd-ebb9999143ab.azure-devices.net",
            "iotc-c0a9999b-d256-4aaf-aa06-e90e999902b3.azure-devices.net",
            "iotc-f9199991-ceb1-4f38-9f1c-13199992570e.azure-devices.net"
        ],
        "DeviceAuthentication": "9d7e79eb-9999-43ce-9999-fa8888888894"
        "AllowedApplicationConnections": [ "6583cf17-d321-4d72-8283-0b7c5b56442b" ]
    },
    "ApplicationType": "Default"
}
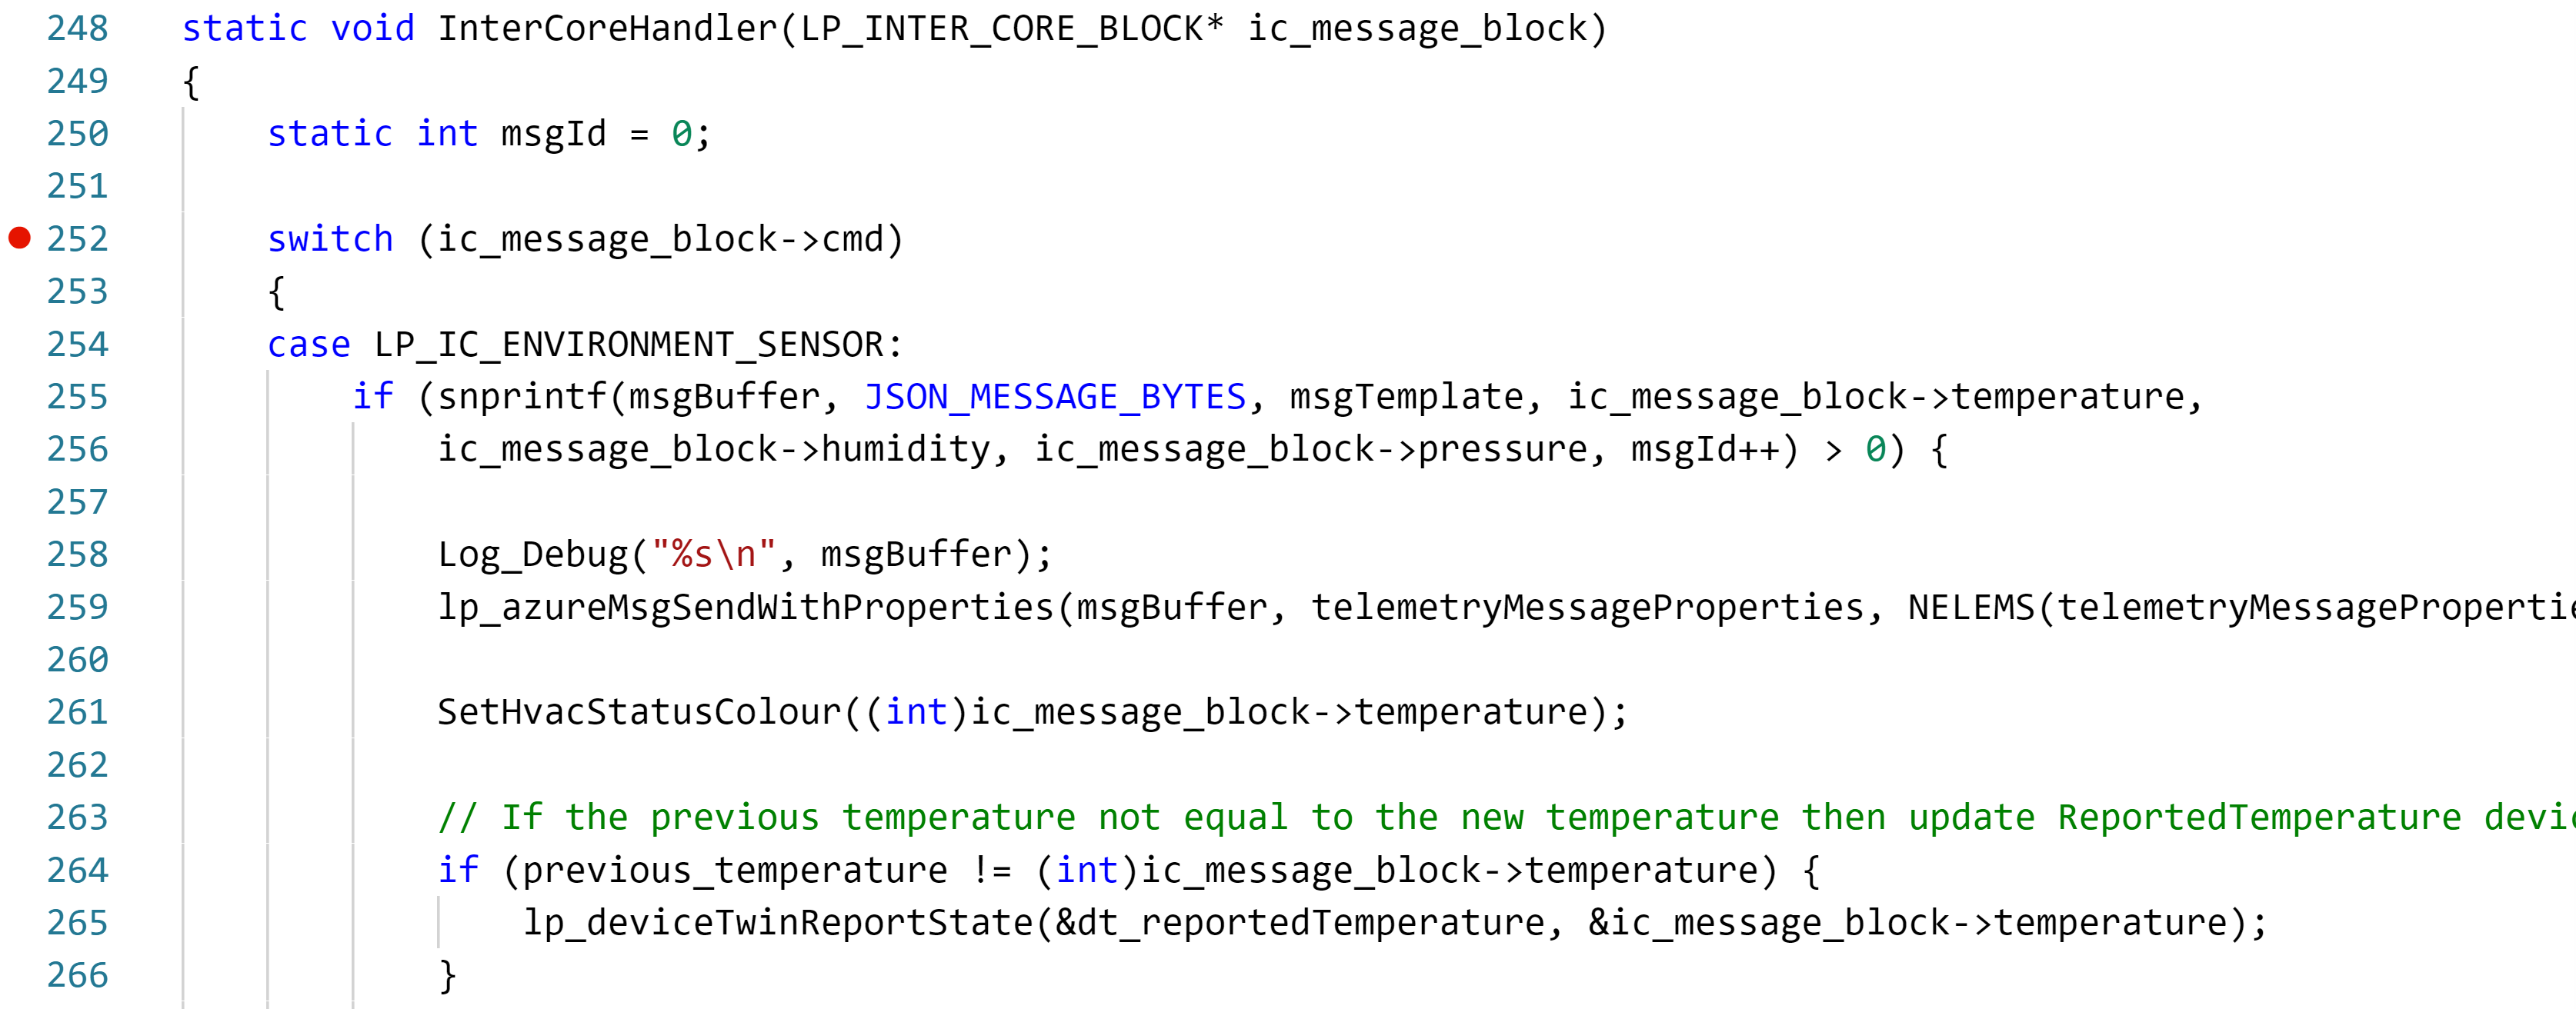
Step 4: Set a breakpoint in the InterCoreHandler callback function
Open main.c.
Scroll down to the function named InterCoreHandler.
Note
Use Go to Symbol in Editor in Visual Studio Code. Use the keyboard shortcut Ctrl+Shift+O and start typing InterCoreHandler. You'll often see a function name listed twice in the drop-down. The first is the function prototype or forward signature declaration, and the second is the implementation of the function.
Set a breakpoint in the InterCoreHandler function on the line that reads switch (ic_message_block->cmd)
Note
You can learn how to set breakpoints from this Visual Studio Code Debugging article.
Step 5: Start the app build deploy process
Select CMake: [Debug]: Ready from the Visual Studio Code Status Bar.
From Visual Studio Code, press F5 to build, deploy, start, and attach the remote debugger to the application that's now running the Azure Sphere device.
Step 6: Debugging high-level and real-time core applications
When the high-level application has started it will request environment data from the real-time core application.
Without closing or stopping the high-level application, switch to the instance of Visual Studio code that you left connected to the real-time core.
In a moment or two the code execution will stop at the breakpoint set in the real-time code.
Step through the code on the real-time code and then press F5 to continue execution.
Switch back to the instance of Visual Studio Code connected to the high-level application. The code execution should have stopped at the breakpoint you set in the InterCoreHandler function.
Repeat this process a few times and then remove the breakpoints so code continues to execute
Step 7: Expected device behavior
Azure Sphere MT3620 Starter Kit Revision 1 and 2
The WLAN LED will blink every 5 seconds when connected to Azure.
The RGB LED will turn red if the measured temperature is less than the desired temperature, blue if the measured temperature is greater than the desired temperature and green if the measured temperature is the same as the desired temperature.
Seeed Studio Azure Sphere MT3620 Development Kit

The WLAN LED will blink every 5 seconds when connected to Azure.
The RGB LED will turn red if the measured temperature is less than the desired temperature, blue if the measured temperature is greater than the desired temperature and green if the measured temperature is the same as the desired temperature.
Seeed Studio MT3620 Mini Dev Board
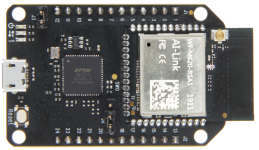
- The User LED will blink every 5 seconds when connected to Azure.
Step 8: Display the last reported temperature property
Switch to IoT Central in your browser.
From the sidebar menu, select Devices, then the Learning Path Lab Monitor template, then your device.
Select the Properties tab.

Step 9: Set the desired temperature
Setting the desired temperature is like setting a thermostat in a room. A device twin property message for desired temperature is sent to Azure Sphere, where it will be acted upon.
When the temperature sensor is read on the Azure Sphere, it is compared to the desired temperature.
If the temperature is greater than the desired temperature, the RGB LED will turn blue to indicate the cooler needs be turned on.
If the temperature is less than the desired temperature, the RGB LED will turn red to indicate the heater needs to be turned on.
If the temperature is the same as the desired temperature, the RGB LED will turn green to indicate no action required.
Note
The Avnet Azure Sphere Starter Kit has a built-in temperature sensor. For other boards, a random temperature of 25 +/- 5 degrees Celsius is generated.
To set the desired temperature:
Update the Desired Temperature value.
Save the property. This will send the desired temperature property to Azure Sphere. The RGB LED color will change depending on the desired temperature chosen.

Update the Desired Sample Rate in Seconds [1..60] value.
Save the property. This will send the desired sample rate property to the Azure Sphere high-level application. This property will then be forwarded to the real-time core application and the sensor sample rate property will be updated.
Close Visual Studio
Now close Visual Studio.