Try Node.js
In this unit, you create and run a Node.js script.
Start your dev container in a browser
A development container environment is available with all dependencies required to complete every exercise in this project. You can run the development container in GitHub Codespaces in a browser or locally using Visual Studio Code.
GitHub Codespaces runs a development container managed by GitHub with Visual Studio Code for the Web as the user interface. For the most straightforward development environment, use GitHub Codespaces so that you have the correct developer tools and dependencies preinstalled to complete this training module.
Important
All GitHub accounts can use Codespaces for up to 60 hours free each month with 2 core instances. For more information, see GitHub Codespaces monthly included storage and core hours.
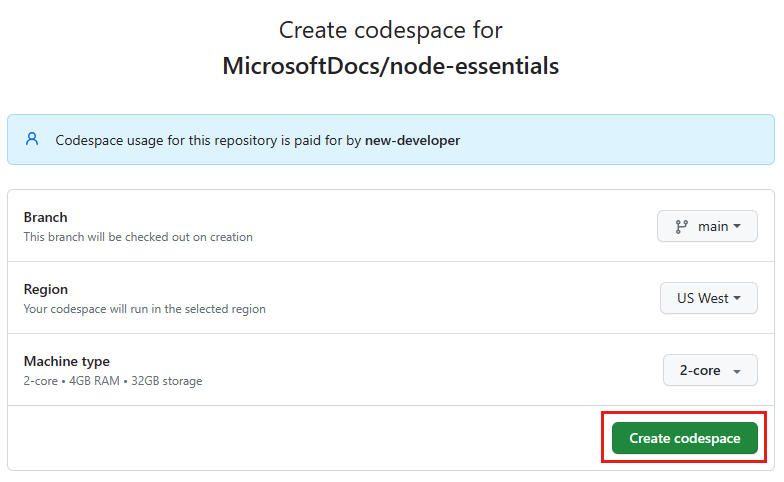
Start the process to create a new GitHub Codespace on the
mainbranch of theMicrosoftDocs/node-essentialsGitHub repository.On the Create codespace page, review the codespace configuration settings, and then select Create codespace
Wait for the codespace to start. This startup process can take a few minutes.
Open a new terminal in the codespace.
Tip
You can use the main menu to navigate to the Terminal menu option and then select the New Terminal option.


Node.js REPL
Node.js has a built-in read-eval-print loop (REPL) mode that's useful for quick code evaluation and experimentation. REPL mode is an interactive console environment where you can enter JavaScript code and have Node.js interpret and run the code and then print the output.
The Node.js REPL mode works as follows:
- Read: Reads and parses the user's JavaScript code input (or shows an error if the code is invalid).
- Eval: Evaluates the entered JavaScript code.
- Print: Prints the computed results.
- Loop: Loops and waits for the user to enter a new command (or exits if the user enters ctrl-c twice).
To start REPL mode, run the node program in the terminal of the dev container.
Note
Use right-click > Paste to enter a copied command in the REPL console.
node
The REPL environment opens. You should see the REPL prompt:
>
Enter the following code in the REPL console (right-click > Paste):
console.log('Hello World, from the REPL.')
This code prints a "Hello World, from the REPL." message in the REPL console:
Hello World, from the REPL.
To exit the REPL console, enter Ctrl + C twice.
Create a Node.js script
Node.js also supports running code from files.
Create a new folder named hello-world in the dev container.
Create a file named index.js in the new folder.
Copy the following code into the index.js file:
console.log('Hello World, from a script file.');Open the new folder in a terminal by right-clicking the folder name, then selecting Open in Integrated Terminal.
In the terminal, enter the
nodecommand followed by the name of the file index.js:node index.jsYou should see the following output:
Hello World, from a script file.
You have now run your first Node.js JavaScript code.
- Question: Is console.log synchronous or asynchronous?
- Answer: The
console.logmethod appears in development to execute immediately and is therefore assumed to be async. There's no guarantee of async behavior for this method so it must be considered synchronous. Because the code execution can block until theconsole.logmethod is finished, you're cautioned from keepingconsole.logstatements in your code in production.
Add an asynchronous function
The following top-level asynchronous code requests an HTTP JSON data source then displays it.
Add the following code to the
index.jsfile to create an asynchronous HTTP request:const https = require('https'); console.log(`start`); try{ const res = await https.get('https://nodejs.org/dist/index.json'); console.log(res.statusCode); } catch( error ){ console.log(error); } console.log(`end`);The
https.getmethod makes an HTTP request to the Node.js website and returns the response. Thegetmethod takes two parameters: the URL to request and a callback function that is called when the response is received. The callback function takes a single parameter,res, which is the response object.Rerun the application:
node index.jsThe order of the console logs is as follows:
start
end
200
From the output, you can see the event loop in action. The HTTP method is called and put in the task queue, waiting for it to return. The event loop takes the next task, which is the console.log method.
Stop your dev container
Deleting the GitHub Codespaces environment ensures that you can maximize the amount of free per-core hours entitlement you get for your account.
Important
For more information about your GitHub account's entitlements, see GitHub Codespaces monthly included storage and core hours.
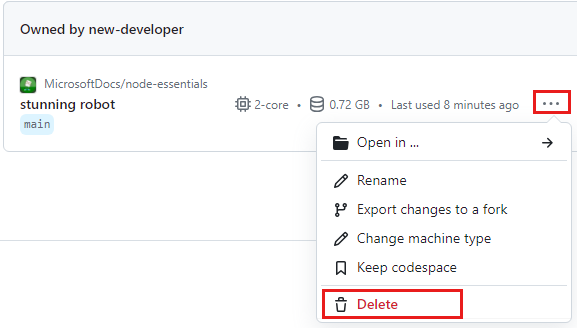
Sign into the GitHub Codespaces dashboard (https://github.com/codespaces).
Locate your currently running Codespaces sourced from the
MicrosoftDocs/node-essentialsGitHub repository.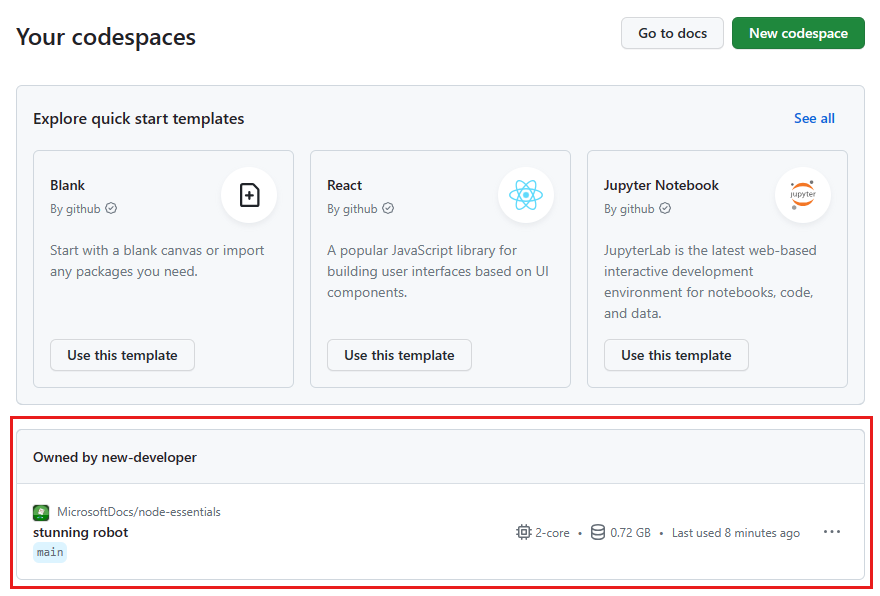
Open the context menu for the codespace and select Delete.