Exercise - Use the data factory copy activity
Once the creation of the Data Factory instance is complete, you can go to the resource where you can begin to create your data pipelines by clicking on the Author & Monitor button. This will open up the following screen:
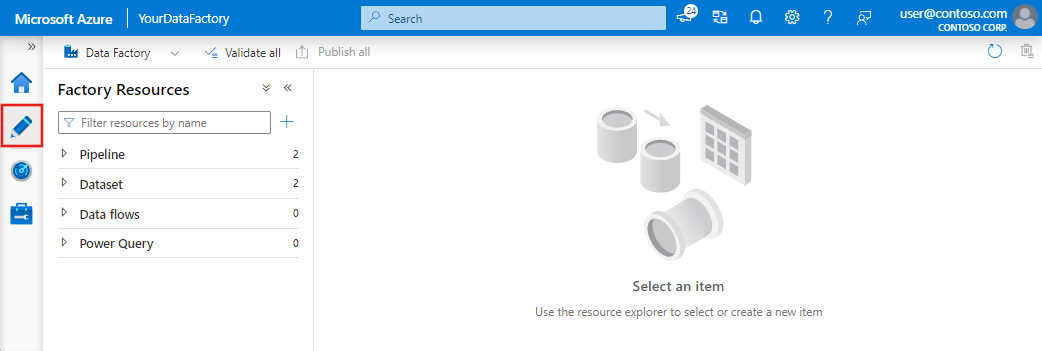
The first step in your pipeline is creating a Copy Activity that copies data between the source and destination using the following steps.
Open the authoring canvas by clicking on the pencil icon on the left sidebar or the create pipeline button to open the authoring canvas.
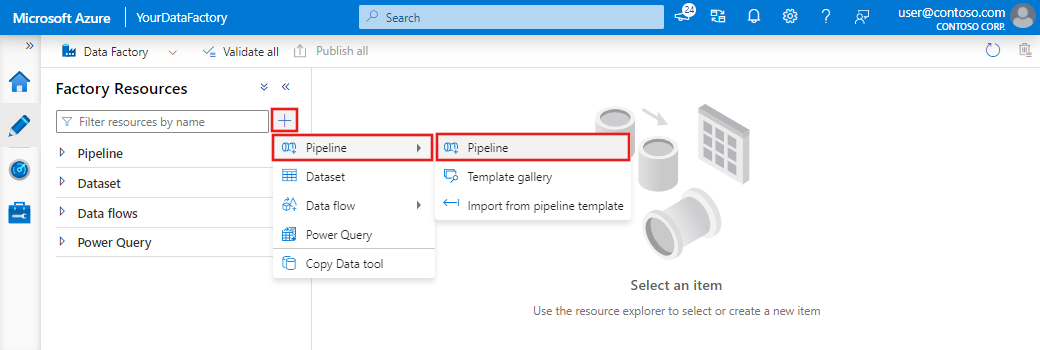
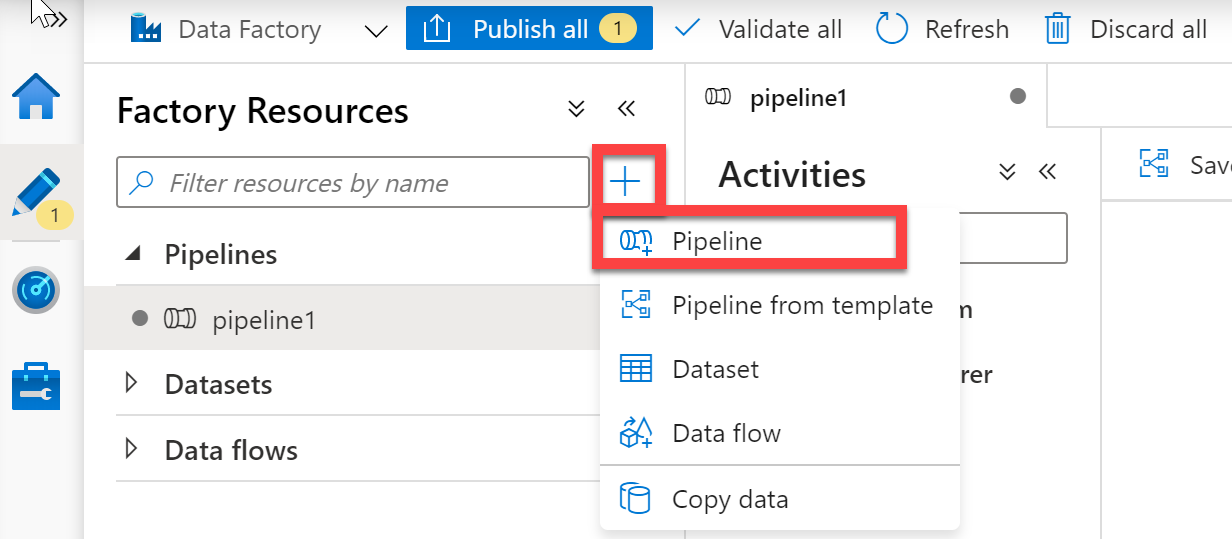
Create the pipeline. Click on the + button in the Factory Resources pane and select Pipeline.
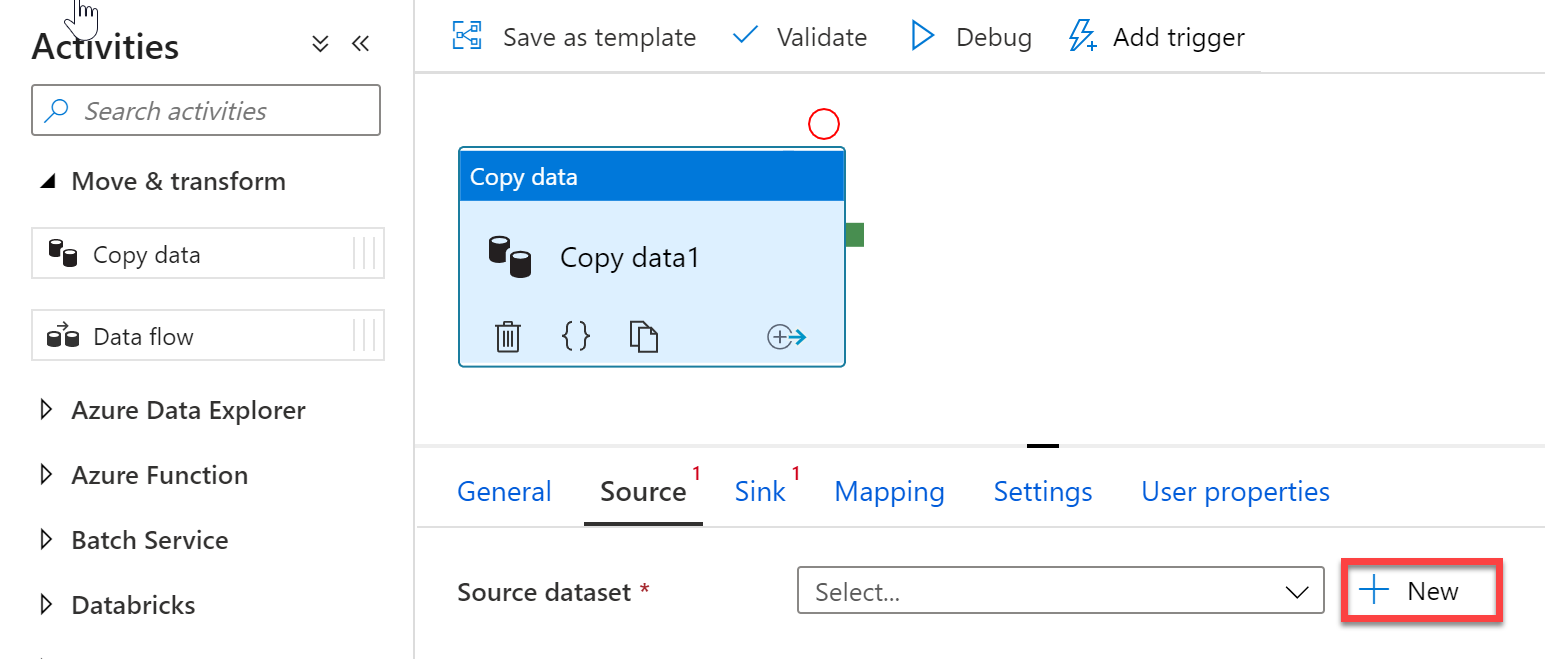
Add a copy activity. In the Activities pane, open the Move and Transform accordion and drag the Copy Data activity onto the pipeline canvas.
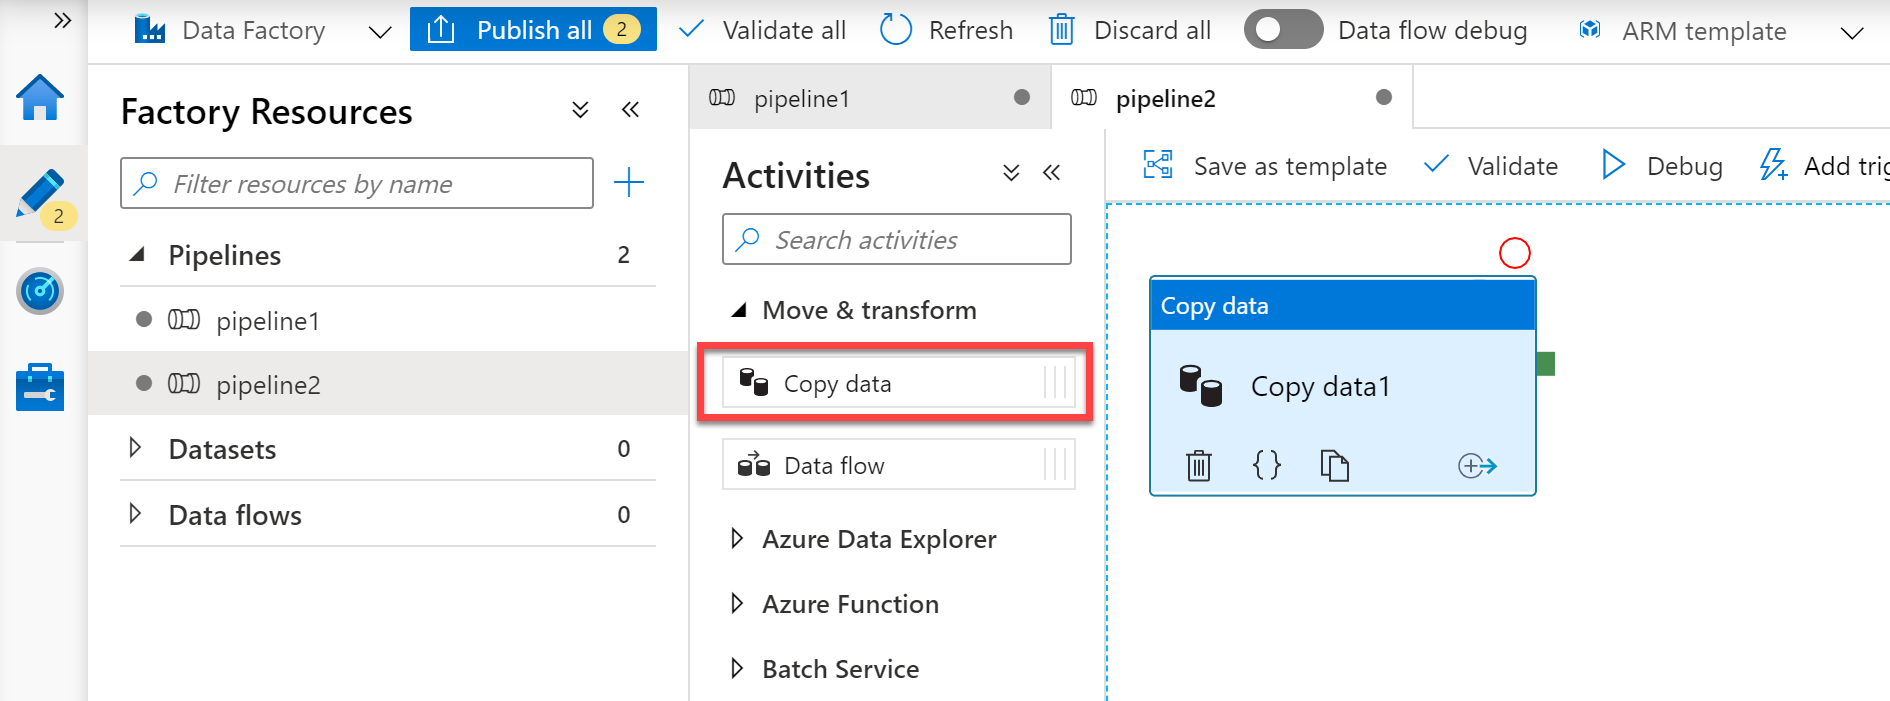
With the Copy Activity added, you then start to define the source data
In the Source tab of the Copy Activity settings, click + New to select a data source.
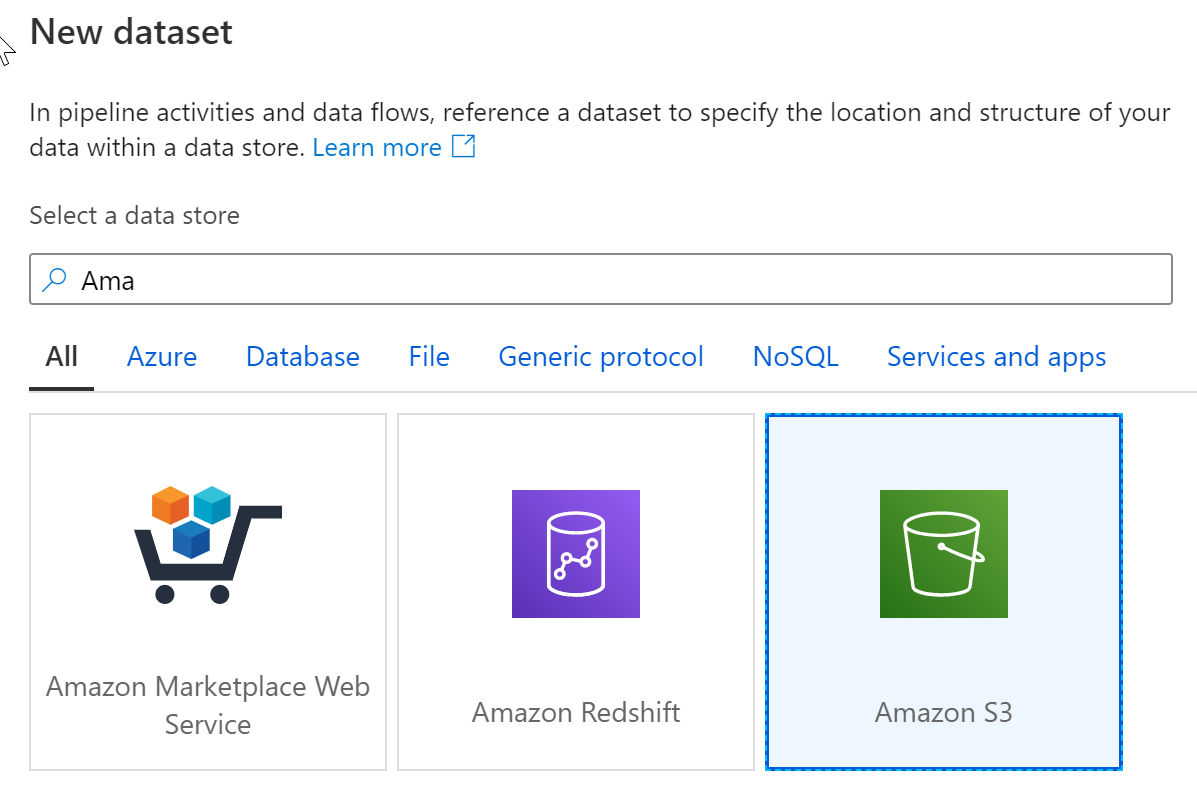
For example, In the data store list, select the Amazon S3 tile and click continue
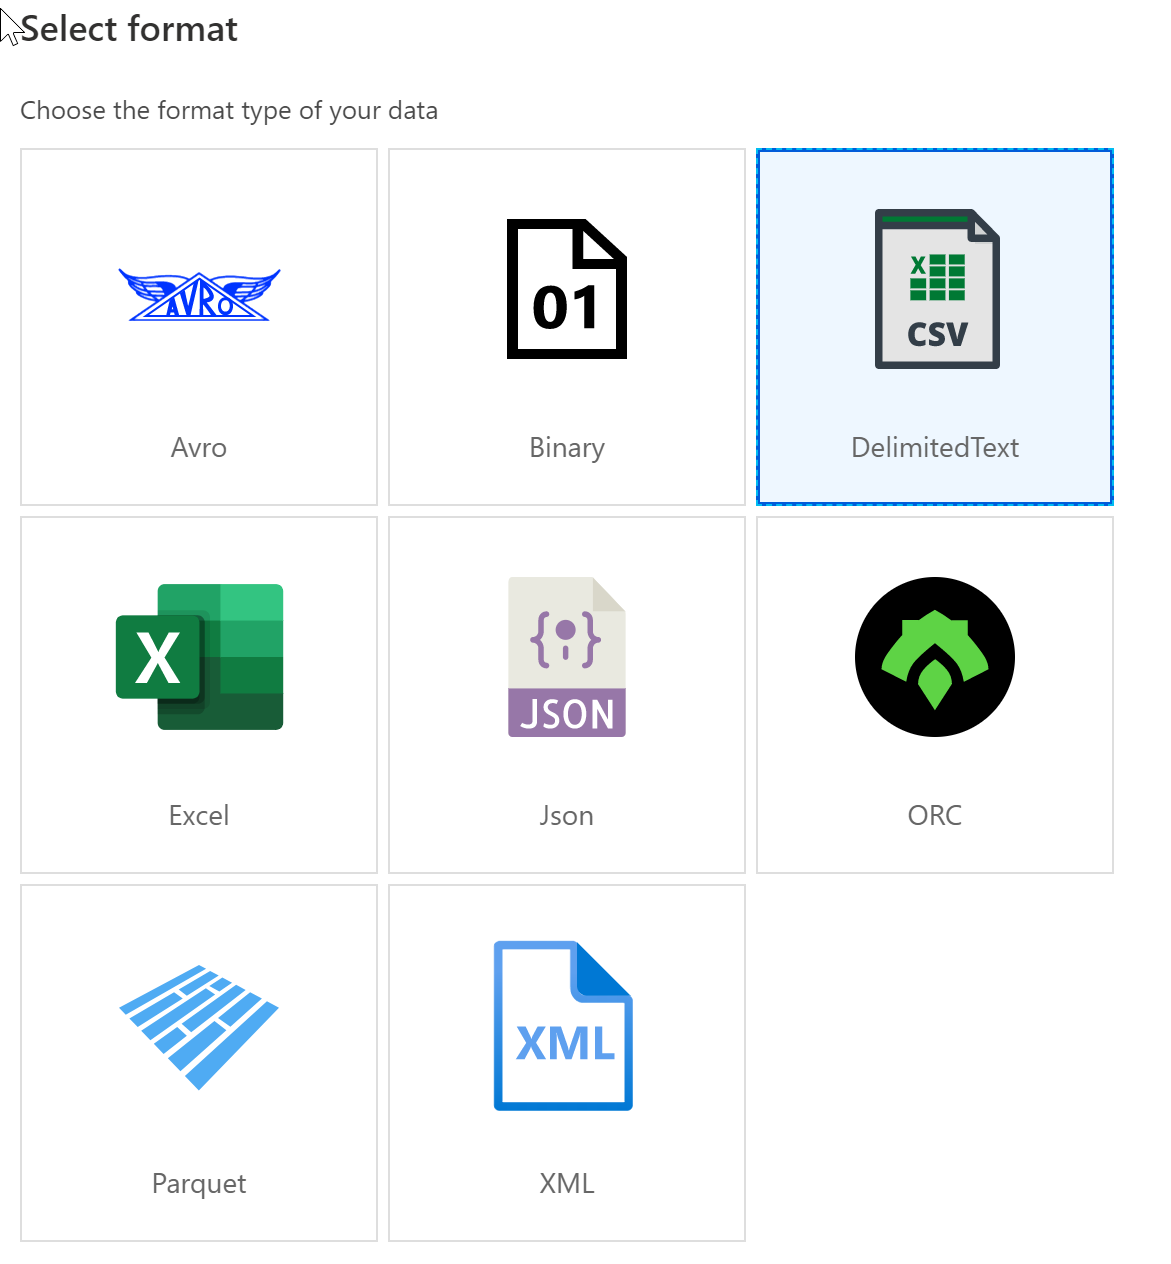
In the file format list, select the DelimitedText format tile and click continue
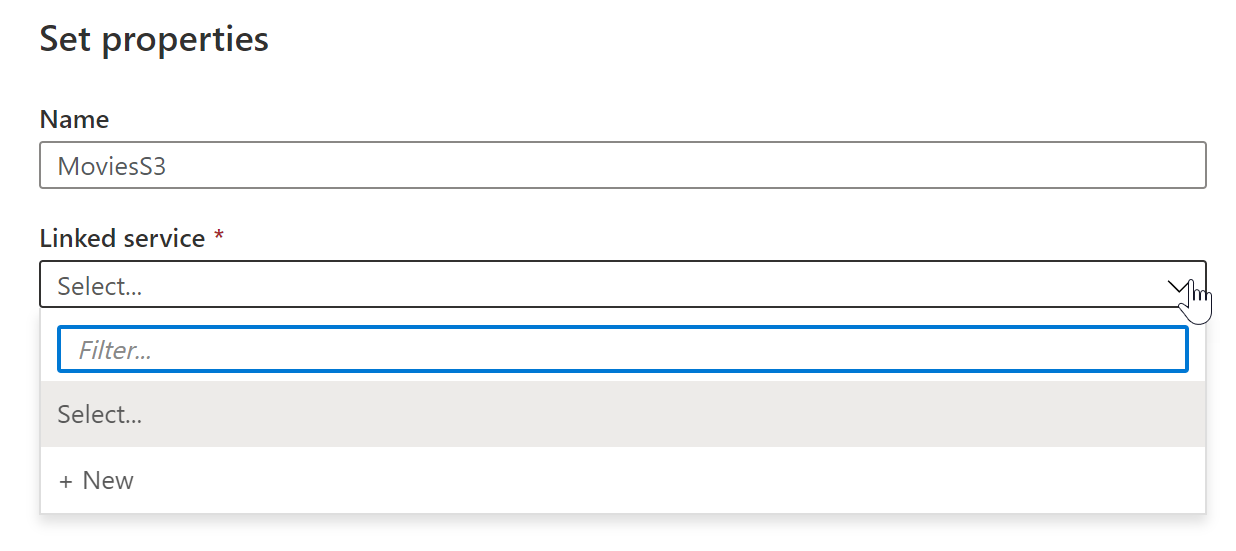
In Set Properties window, give your dataset an understandable name and click on the Linked Service dropdown. If you have not created your S3 Linked Service, select New.
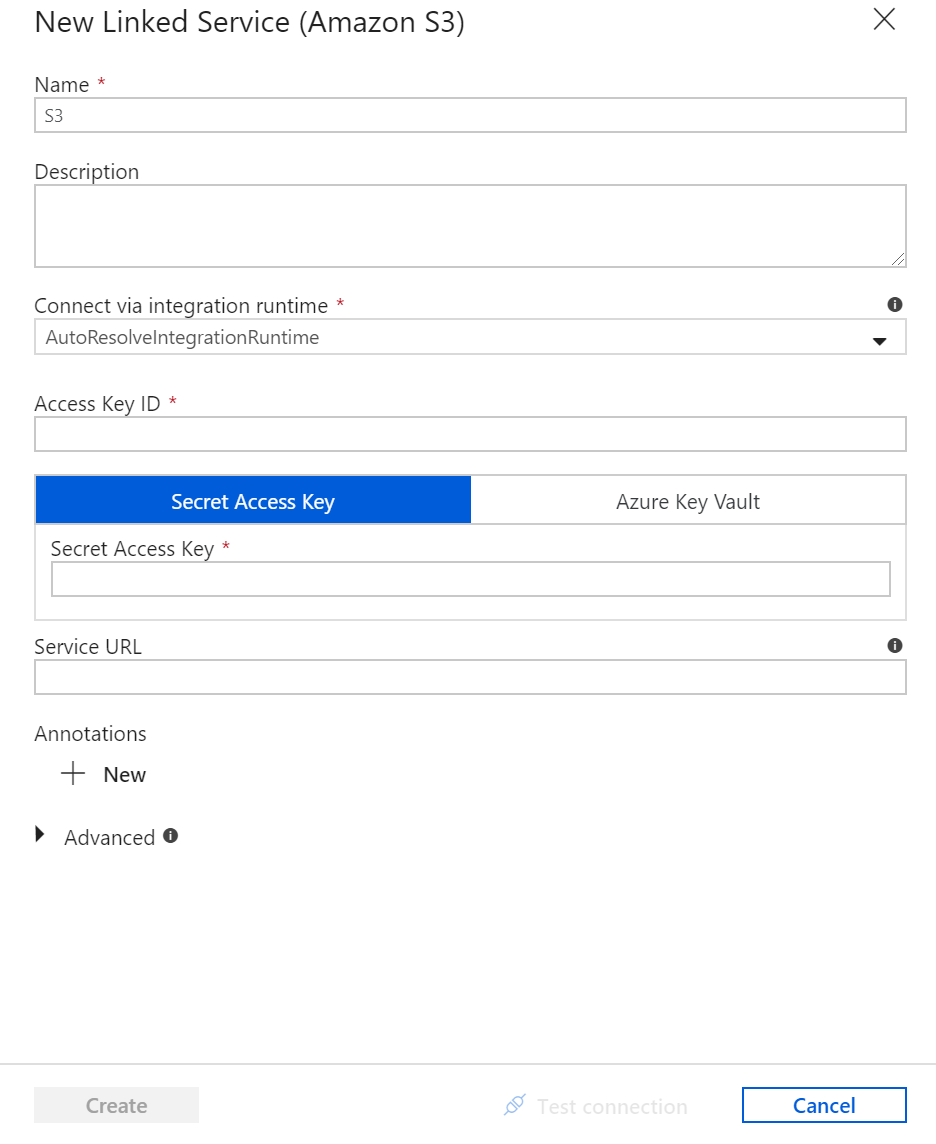
Specific to the S3 Linked Service configuration pane, specify your S3 access key and secret key. The Data Factory service encrypts credentials with certificates managed by Microsoft. For more information, see Data Movement Security Considerations. To verify your credentials are valid, click Test Connection. Click Create when finished.
Once you have created and selected the linked service, specify the rest of your dataset settings. These settings specify how and where in your connection you want to pull the data. Click Finish once completed.

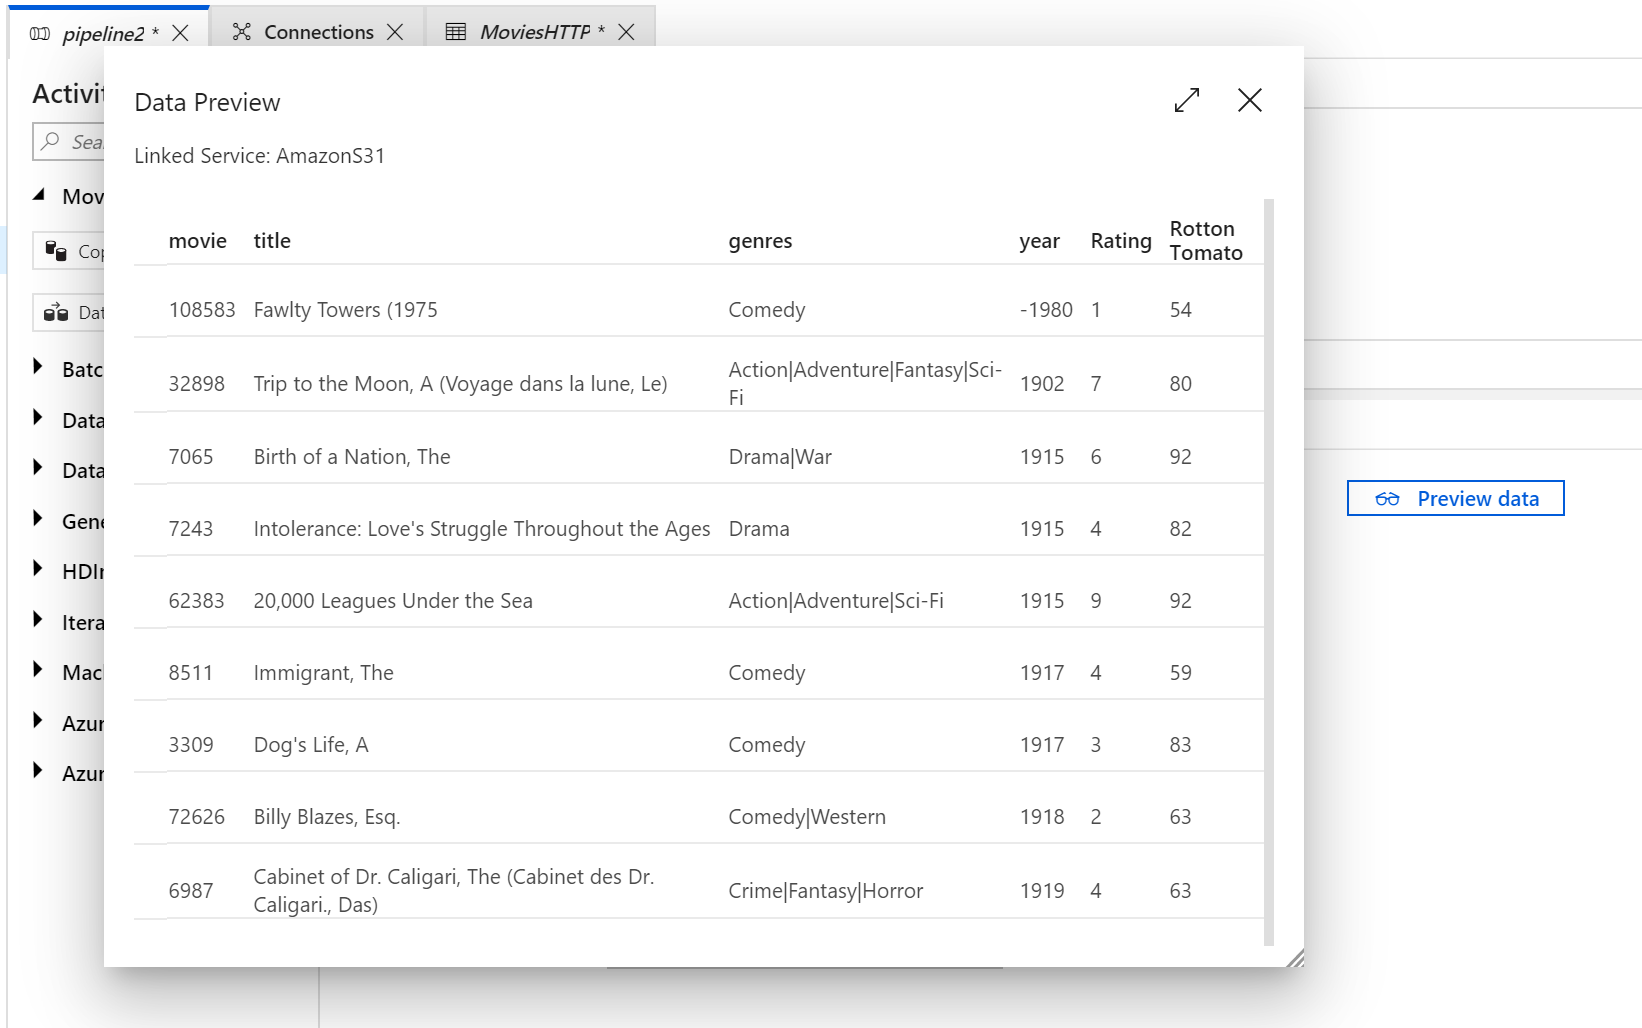
To verify your dataset is configured correctly, click Preview Data in the Source tab of the Copy Activity to get a small snapshot of your data.
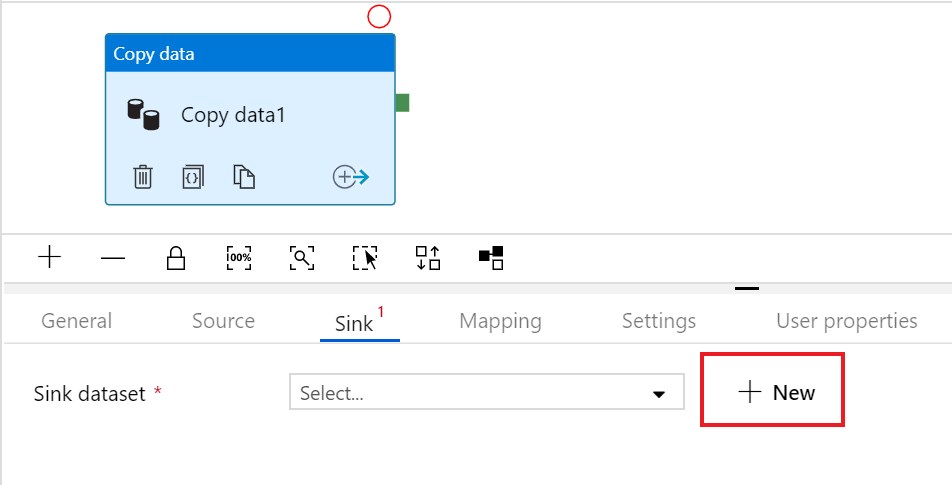
With the source data defined, then you will define the sink into which the data will be loaded. In this example the sink will be Azure Data Lake Storage Gen2 by performing the following steps:
In the Sink tab, click + New
Select the Azure Data lake Storage Gen2 tile and click continue

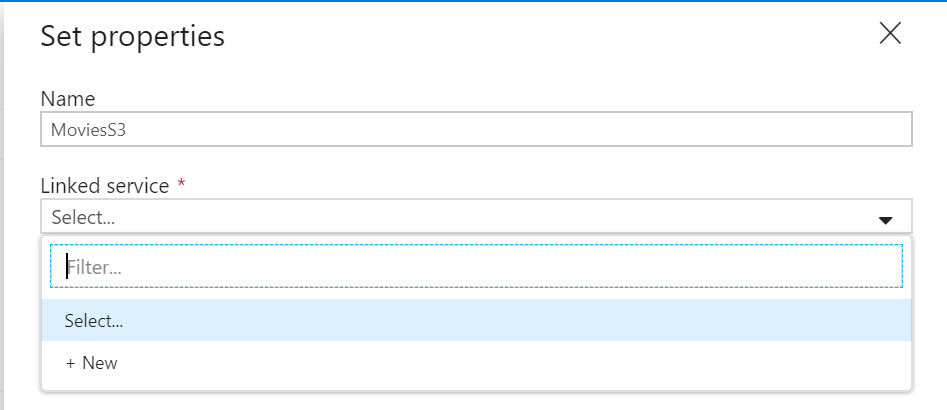
In Set Properties side nav, give your dataset an understandable name and click on the Linked Service dropdown. If you have not created your ADLS Linked Service, select New.
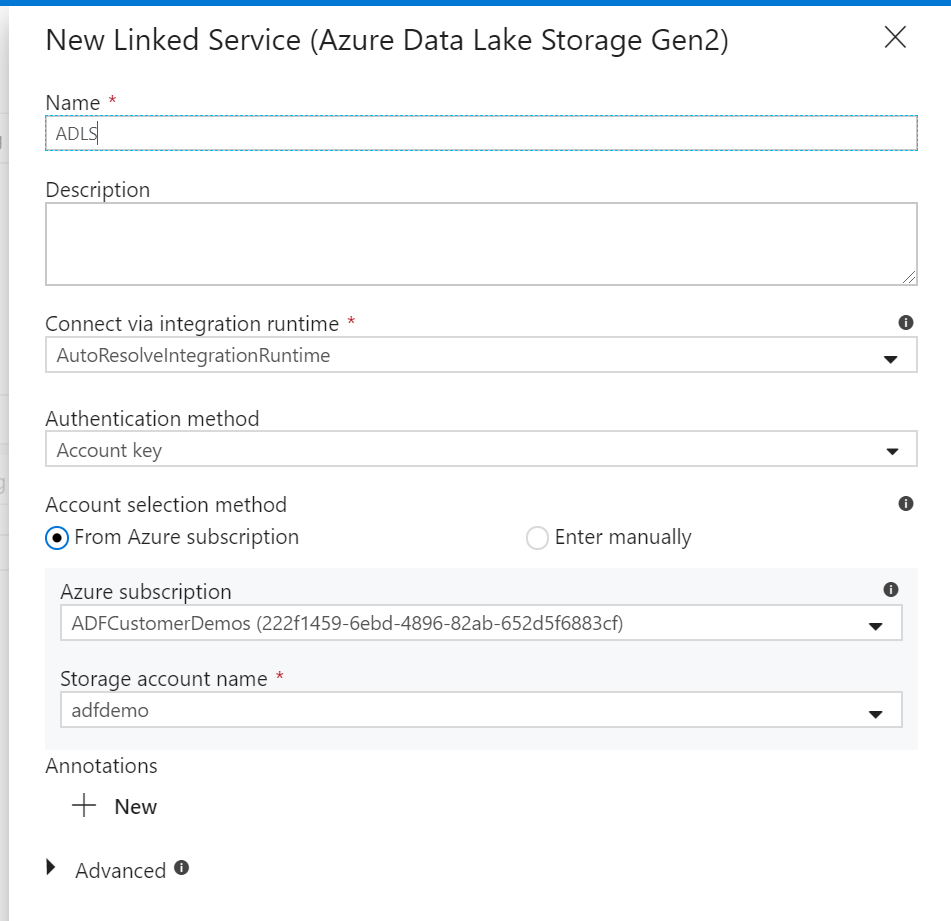
In the ADLS linked service configuration pane, select your authentication method and enter your credentials. In the example below, an account key and selected my storage account from the drop down.
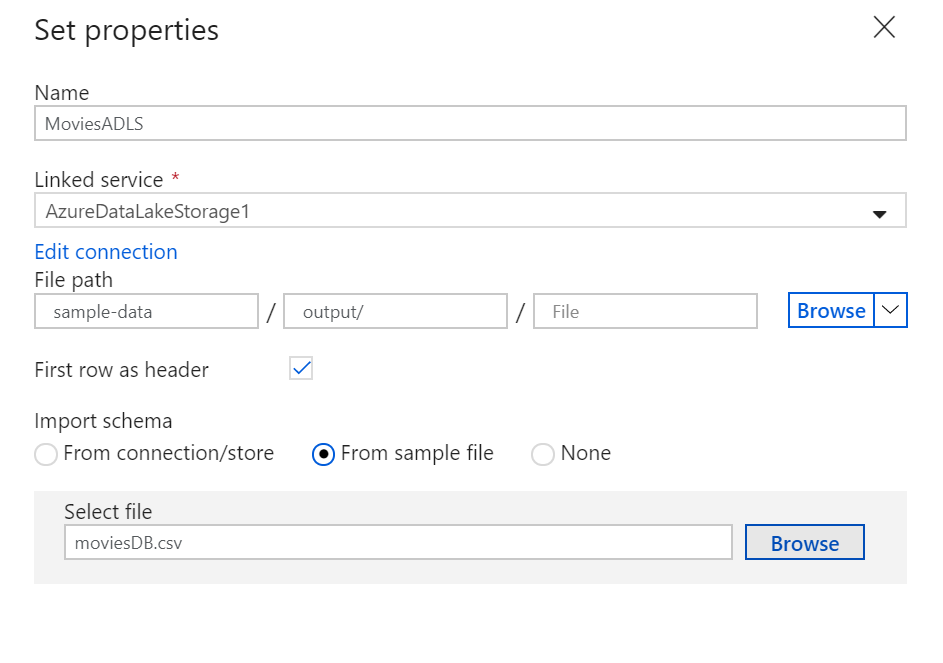
Once you have configured your linked service, enter in the ADLS dataset configuration. Click finish once completed.
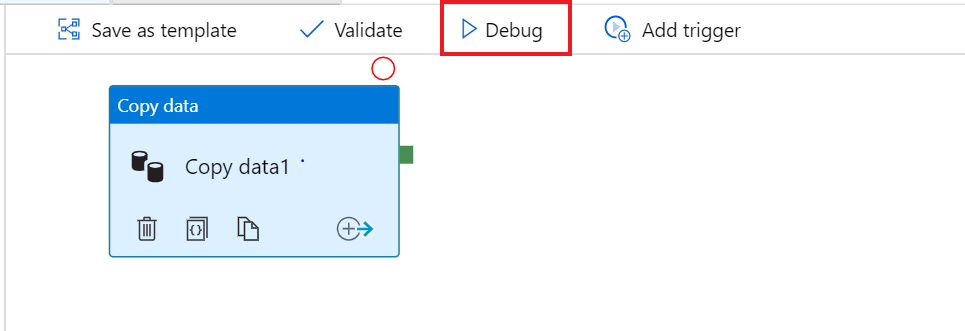
At this point, you have fully configured your copy activity.
To test it out, click on the Debug button at the top of the pipeline canvas. This will start a pipeline debug run.
To monitor the progress of a pipeline debug run, click on the Output tab of the pipeline

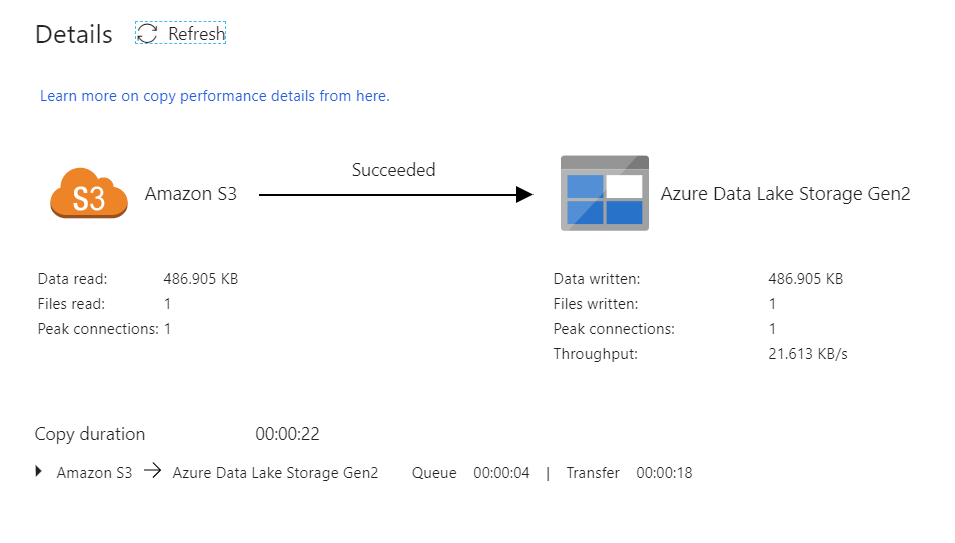
To view a more detailed description of the activity output, click on the eyeglasses icon. This will open up the copy monitoring screen which provides useful metrics such as Data read/written, throughput and in-depth duration statistics.
To verify the copy worked as expected, open up your ADLS gen2 storage account and check to see your file was written as expected