Manage sessions, speakers, and sponsorships
The core attractions of your event offering will typically be its sessions and speakers. A simple event might have just one session, whereas a conference will usually have multiple sessions that are spread over several days with a variety of speakers presenting. Many events will also have sponsors that you'll want to tie back to your event record that is stored in Dynamics 365 Customer Insights - Journeys. Speakers, sessions, and sponsors are typically shown on the event website, so you are encouraged to set up these records when planning and creating your event.
Advanced features in the event management module will help you take your events to the next level. Features such as waitlisting and session-level registration are available as well if your event requires it.
Set up sessions
After you have the initial details set up for your event, you might be ready to start planning the schedule for the event. The schedule is managed through sessions and session tracks.
A session is usually a seminar or a keynote. The concept is quite flexible, so you can adapt it as needed. For example, if your event is a trade show rather than a conference, you can use sessions to represent booths. A large conference might have several sessions that run concurrently and might even feature several session tracks, which organize multiple related and non-conflicting sessions by audience.
Each session is associated with a specific event and speaker. The session includes scheduling details like session title, start and end date, format of session (on-site, webinar, or hybrid), and the maximum capacity for the session.
Event sessions work similarly to the event and essentially function as sub events that, taken together, create the overall event schedule. The event website shows a schedule of sessions that belong to each event. An event can include published and unpublished sessions, but only published sessions that belong to published events are shown on the event website.
You can view and edit a list of sessions that are associated with a specific event by opening the appropriate event, going to the Agenda tab, and looking at the Sessions section. The list in this section shows the sessions that are related to this event.

To add a session to an event, follow these steps:
Go to the Events area and then go to Event planning > Events.
Open the event.
Go to the Agenda tab.
In the Sessions section, select + New Session.
Fill out the required fields and other fields as needed.
Note
You will get a warning if you set the session time to finish outside the event times.
Select Save and Close.
Important
Sessions that you create on the Agenda tab will automatically be in Draft status. If you want to go live with the sessions and make them appear on the event portal, you must publish each session by going into the session record and changing the Publish status to Live. For more information, see Events, session, and tracks go-live operations and status.

For more information, see Set up event sessions and tracks.
Set up session tracks
Session tracks are collections of sessions, usually related by theme or audience. Tracks provide a convenient way for attendees to register for several related sessions at once.
For each track, you can assign an audience and a few other descriptive details, and then add member sessions, one at a time. All sessions in a track must be from the same event.
Two types of tracks are:
Internal - Used during the planning phase to group sessions along organization lines, such as according to team resources or required equipment.
External - Used to group sessions by content or audience and to enable ticketing and registration. External tracks are published on customer-facing platforms such as event websites and mobile apps.
Similar to event sessions, you must publish each track to make it appear on the website for its related event. An event can include published and unpublished tracks. However, only the published tracks that belong to published events are shown on the event website.
You can view and edit a list of session tracks that are associated with a specific event. Open the appropriate event and then review the Session tracks section of the Agenda tab. The list in this section shows the session tracks that are related to this event.

To add a session track to an event, follow these steps:
Go to the Events work area and then go to Event planning > Events.
Open the event.
Go to the Agenda tab.
In the Session tracks section, select + New Session Track.
Fill out the required fields and other fields as needed.
Select Save and Close.
Important
Session tracks that you create in this section will automatically be in the Draft status. If you want to go live with the session tracks and make them appear on the event portal, you must publish each track by going into the record and changing the Publish status to Live. For more information, see Events, session, and tracks go-live operations and status.

For more information, see Set up event sessions and tracks.
Enable session-based registration
Session-level registration enables event organizers to give attendees the ability to assemble their own events from among all available sessions. In most ways, events with session-level registration work the same as those with event-level registration, but with a few key differences, as outlined in the following table.
| Event-level registration | Session-level registration | |
|---|---|---|
| Session selection during registration | Preconfigured: Events can offer multiple passes, each of which provides access to a preselected collection of sessions | Customized: Registrants choose exactly the sessions that they want |
| Maximum capacity (On-site only, not for webinar or hybrid events) | Set at the event level | Set at the session level |
| Waitlists (On-site only, not for webinar or hybrid events) | One waitlist for each event | Individual waitlist for each session |
| Event passes | Optional (required for online payment) | Not supported |
| Online payment | Optional, for each pass | Not supported |
| Registration list | Available on the event record only | The event record lists each contact that registered for at least one session for that event; each session record shows registrations for that session |
To enable session-based registration, start by setting up the event as usual. On the Agenda tab for the event, set the Allow registrants to create their own agenda toggle to Yes.

Note
Session-based registration isn't supported for events that have defined passes. If you don't see the Allow registrants to create their own agenda setting, then it might be because you have one or more defined passes (you can see these passes on the Registration and attendance tab). If you define a pass after enabling session-based registration, then session-based registration will be disabled automatically.
With session-based registration, the system tracks registrations for each session rather than for the event as a whole. When it's enabled, the session capacity is a required field and is also requested by the quick-create form for sessions. However, if you enable session-based registration after creating the session, you might need to go back and set the capacity for each session.
If you are using session-based registration for your event, you might also need to set up a session-level waitlist to manage your event.
The session-level waitlist works similarly to the event-level waitlist except that it manages a separate waitlist for each session. Waitlist members are shown on the session record rather than the event record. If you need to create a segment of waitlisted registrants for a given session, you will use the session ID rather than the event ID.
For more information, see Set up session-level registration and waitlisting.
Set up speakers and speaker engagements
Events allow you to track information that is related to the speakers of your events. Additionally, you can track the cost of your speakers. Speakers are made up of two key components: speakers and speaking engagements.
Each speaker record can include a photo, contact details, and biographical details that you can eventually publish to the event website for attendees to review. It also includes a record of all speaking engagements and sessions where the speaker has presented or will present. You can choose to link a speaker to a contact record, but it's not required. The contact, photo, and biographical information in the speaker record is independent from the contact record, so you can safely keep private contact information (possibly stored in the contact record) away from the public speaker information (stored in the speaker record) that will be published to your event website.
A speaking engagement is a session where the speaker has presented or will present. When setting up a speaker engagement, you must map a speaker to a specific session for the event record that you are working with, so a speaker record and session record must already exist.

To create a new speaker, follow these steps:
Go to the Events area and then go to Participants > Speakers.
Select + New to create a new speaker.
Fill out as much information as desired about the speaker.
Note
Some details are only available to internal system users for reference purposes. Details that get published to the event website that attendees will be able to view include: Name, Title, Website, LinkedIn, Twitter, Blog, and About.
Select Save.
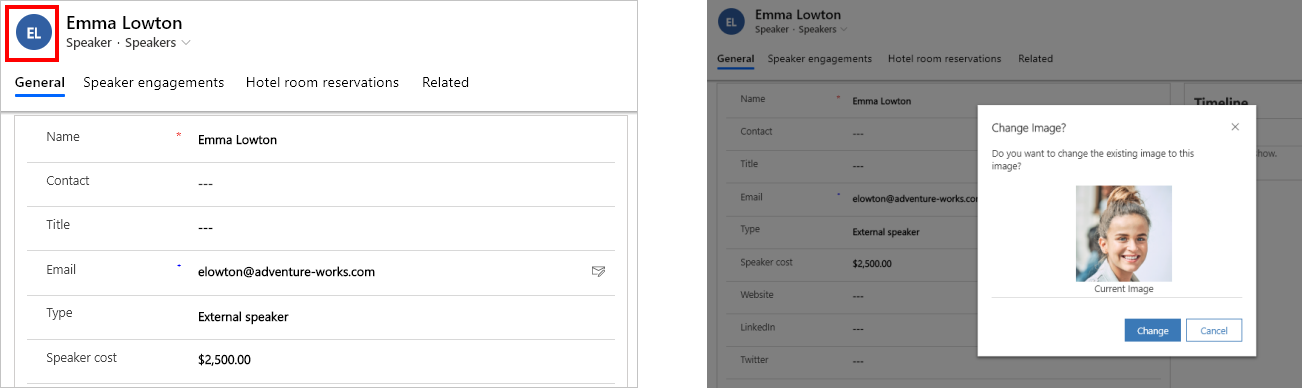
After saving the speaker record, you can change the speaker image. Speaker images appear on your event website, so we recommend that you add an image for each speaker. To upload an image, select the circular image with speaker's initials in the upper left. Select an image and then select Upload Image.
Speakers are published automatically when you publish a session that they are assigned to, and they are listed on the front page for each event on the speakers' page and on session pages for each session that they are running. This factor helps your registrants decide which sessions to attend, depending on which speakers they're most interested in.
To create a new speaker engagement, follow these steps:
Go to the Events work area and then go to Event planning > Events.
Open the event.
Go to the Agenda tab.
In the Speaker engagements section, select + New Speaker Engagement.
Enter a Name for the engagement, select the Speaker, fill out the Speaker cost, and then select a Session, if either are needed.
Select Save and Close.
For more information, see Set up and assign session speakers.
Manage event sponsorship
Sponsors are people or organizations who contribute funds, equipment, or services in return for having their logos and messages placed in your event materials (including the event website) or at the actual event.
Each sponsorship record must be associated with an event record, and each sponsoring company must be stored in Dynamics 365 Customer Insights - Journeys. Included with the record can be information about the sponsorship, its type (money, services, or equipment), its value, and other details. Sponsored articles that are associated with this sponsorship are also listed in this section.
Important
Sponsor images come from each sponsorship record and not from the related account record. The sponsor images are what will be displayed on the event website, so make sure that you update images before publishing and promoting your event. Sponsor images can be added from within the event by opening the event, going to the Agenda tab, locating the sponsorship record in the Sponsors section, and then adding the image. You can also go to the Events work area and then go to Sponsorship Management > Sponsorships to view a full list of sponsorship records. Locate and open the appropriate sponsorship record and then add the image.
To add a sponsor to an event, follow these steps:
Go to the Events work area and then go to Event planning > Events.
Open the event.
On the Agenda tab, locate the Sponsors section.
Select + New Sponsorship.
Search for and select the Event sponsor.
Choose a Sponsorship category if desired.
Enter a Sponsorship topic, which is a name/short description for the sponsorship record. It will be used only for internal identification purposes and won't appear on the event website.
Enter a Sponsorship amount as needed and then select Sponsorship type if you want.
Select Save and Close.
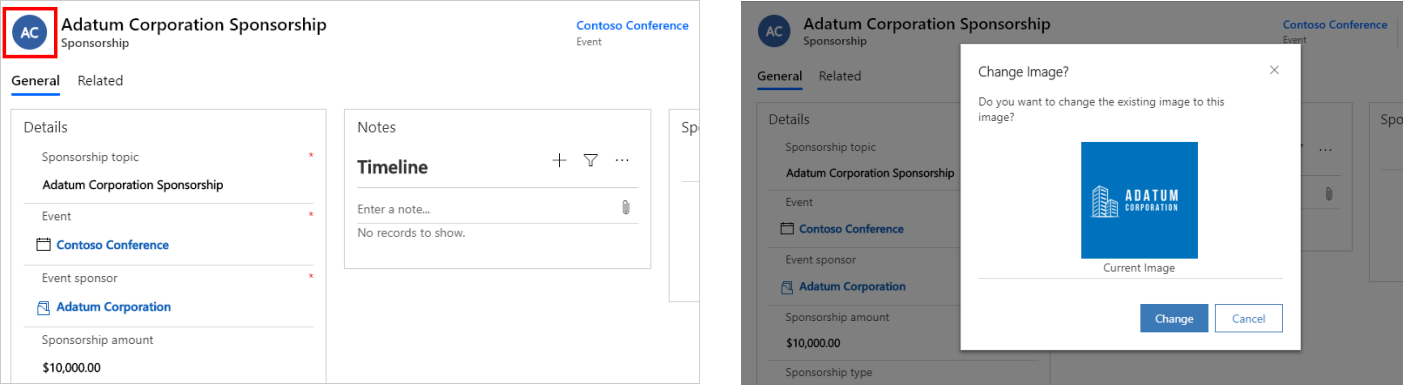
From the Sponsors section on the event, open the sponsorship record that you just created.
Select the circular image with the sponsorship's initials in the upper left.
Choose an image and then select Change.
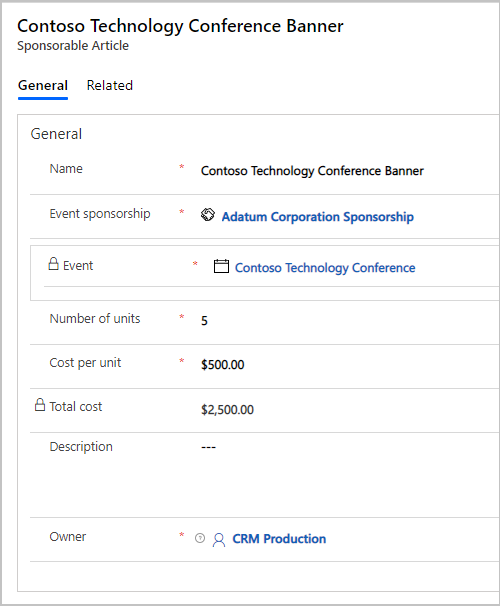
Sponsorable articles are items that are visibly present at the event and feature a sponsor's logo or message. These articles typically include small freebies that are given away to event attendees, but they could also be some type of infrastructure or facility that is provided to event attendees. Go to the Events work area and then go to Sponsorship Management > Sponsorable Articles to view, edit, and create these records. Each sponsorable article record must relate to a parent sponsorship record and include price and quantity information.
For more information, see Manage event sponsorships and Configure website graphics and registration options.