Exercise - Configure malware detection
Microsoft Defender for Cloud monitors the status of antimalware protection for your virtual machines (VMs). Defender for Cloud notes issues, such as detected threats and insufficient protection that might make your VMs and computers vulnerable to malware threats. By using the information on Endpoint protection issues, you can make a plan to address any identified issues.
Sign in to the Azure portal.
On the Azure homepage, search for and select Microsoft Defender for Cloud. The Overview pane for the Defender for Cloud displays.
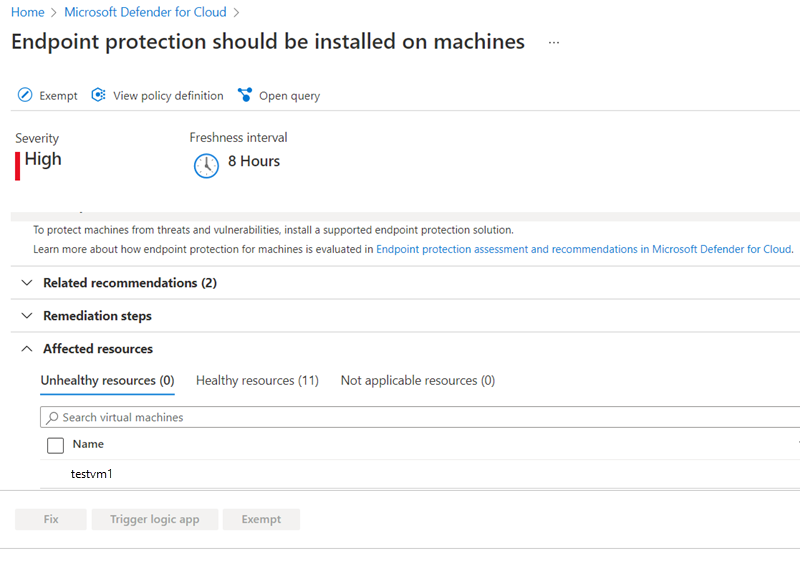
Select Recommendations.
Filter your view to Resource type: virtual machine, and then scroll to Enable endpoint protection to see the recommendations.
Defender for Cloud reports the following endpoint protection issues:
Endpoint protection should be installed on your machines
- A supported antimalware solution isn't installed on these Azure VMs.
Endpoint protection health issues on machines should be resolved
Signature out of date. An antimalware solution is installed on these VMs and computers, but the solution doesn't have the latest antimalware signatures.
No real-time protection. An antimalware solution is installed on these VMs and computers, but it isn't configured for real-time protection. For example, the service might be disabled. Defender for Cloud might also be unable to obtain the status because it doesn't support the solution.
Not reporting. An antimalware solution is installed but not reporting data.
Unknown. An antimalware solution is installed, but either its status is unknown, or it's reporting an unknown error.
For VMs that are vulnerable, Defender for Cloud offers to resolve the issue and install malware protection onto the unprotected VMs.
However, you can also install this protection yourself. Let's examine those steps.
Install Antimalware in a new VM
Microsoft Antimalware is available as an extension that you can add to existing VMs, or include as part of the creation of a new virtual machine (VM). You can use the Azure portal, Azure CLI / PowerShell, or ARM template to add the extension.
Let's use the Azure portal to create a new VM, and install the extension.
Sign in to the Azure portal with the same account and subscription you used in the previous exercise. We reuse the same resource group so we can delete both VMs at the same time.
On the Azure portal menu or the home page, select Create a resource. The Create a resource pane displays.
Search for and select Virtual machine. The Create a virtual machine pane displays.
On the Basics tab, enter the following values for each setting.
Setting Value Project details Subscription Select your subscription. Resource group Select the resource group you previously created (mslearnDeleteMe) from the dropdown list. Instance details Virtual machine name Enter a VM name, such as testvm1. Region Select a location closest to you from the dropdown list. Administrator account Username Select a valid username that you can remember. Password Select a valid password that you can remember. 
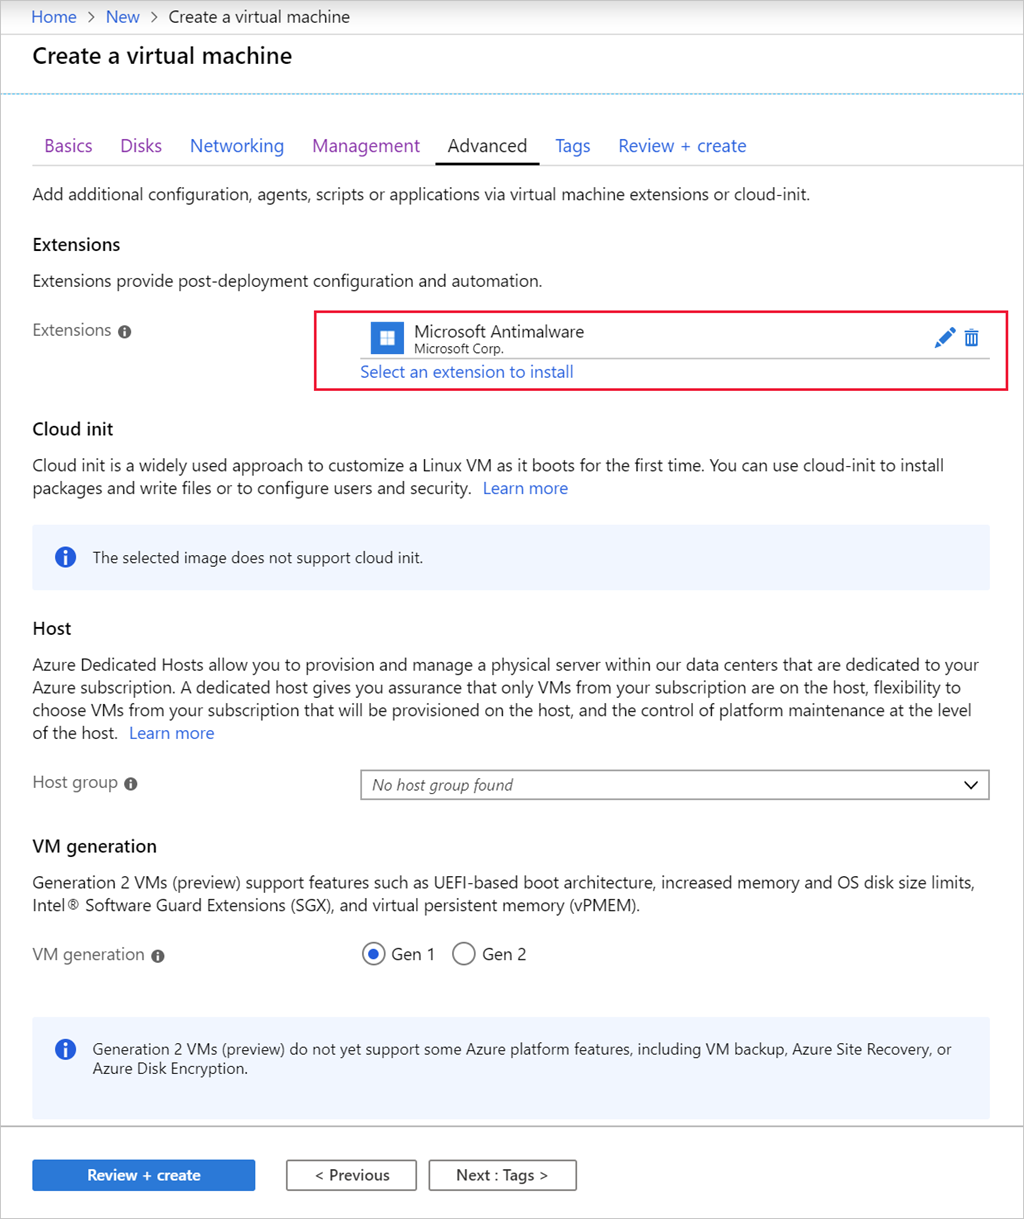
Select the Advanced tab. Here you can add extensions to the new VM. Select the Select an extension to install link. Search for and select Microsoft Antimalware, and then select Next. The Configure Microsoft Antimalware Extension pane displays.
The options for the extension include the ability to ignore specific folders, filenames, and control when and how the extension scans the disk for malware. Accept all the defaults.
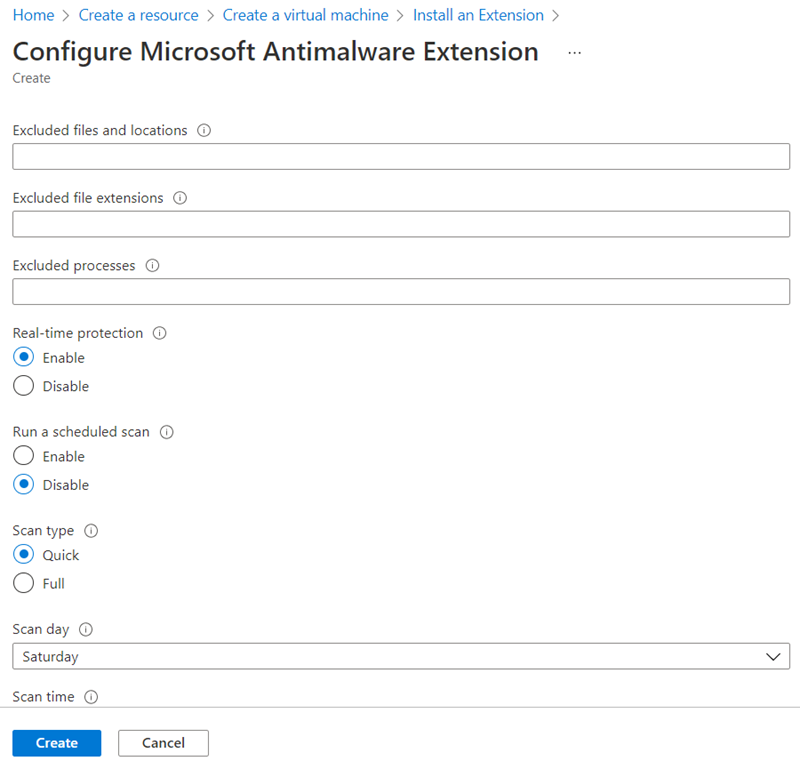
Select Create to add it to the VM.
The Advanced tab now shows that the malware extension is set to install.
Next, select the Management tab and configure the monitoring capabilities for Microsoft Defender for Cloud.
- Detailed monitoring you can view in Azure Monitor.
- Boot diagnostics.
- OS guest diagnostics.
If any of these options are selected, the VM needs an Azure Storage account in which to write the log data.
Select Review + create, verify the settings, and when validation passes, select Create to deploy the new VM.
Deploying the VM takes a few minutes to complete. You can monitor the deployment through the Notifications (bell icon) view, or by selecting the deployment message. While it deploys, let's examine how you'd add malware protection to an existing VM.
Add the extension to an existing VM
You can also add the antimalware extension after an existing VM is deployed. You can use command-line tools, so it can be scripted. You can also use the REST APIs or the Azure portal. Here are the steps to use for the portal:
Select the VM onto which you want to install the extension.
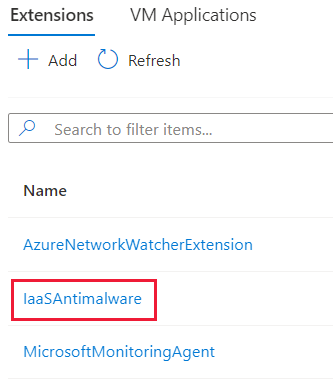
In the left menu pane, under Settings, select Extensions + applications.

Select Add.
Search for and select Microsoft Antimalware, and then select Next. Accept the defaults, and select Review + create. After the extension validates, select Create to add the extension to your VM. The Deployment is in progress pane displays.
After the deployment succeeds, return to the Extensions + applications pane. The pane shows the malware extension installed.