Move multiple users to the pilot pool
You can move multiple users from your legacy pool to your Skype for Business Server 2019 pilot pool using Skype for Business Server 2019 Control Panel or Skype for Business Server 2019 Management Shell.
In this article
To move multiple users by using the Skype for Business Server 2019 Control Panel
To move multiple users by using the Skype for Business Server 2019 Management Shell
To move all users at the same time by using the Skype for Business Server 2019 Management Shell
To move multiple users by using the Skype for Business Server 2019 Control Panel
Open Skype for Business Server Control Panel.
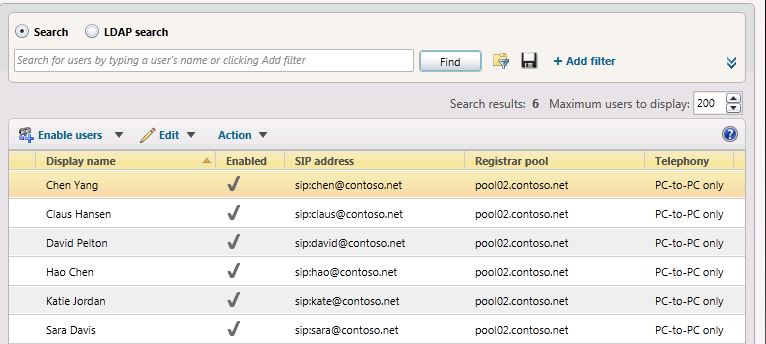
Click Users, click Search, and then click Find.
Select two users that you want to move to the Skype for Business Server 2019 pool. In this example, we will move users Chen Yang and Claus Hansen.
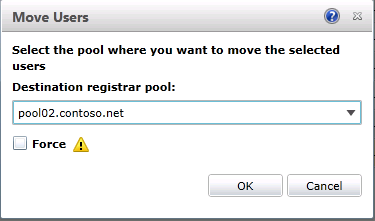
From the Action menu, select Move selected users to pool.
From the drop-down list, select the Skype for Business Server 2019 pool.
Click Action, and then click Move selected users to pool. Click OK.
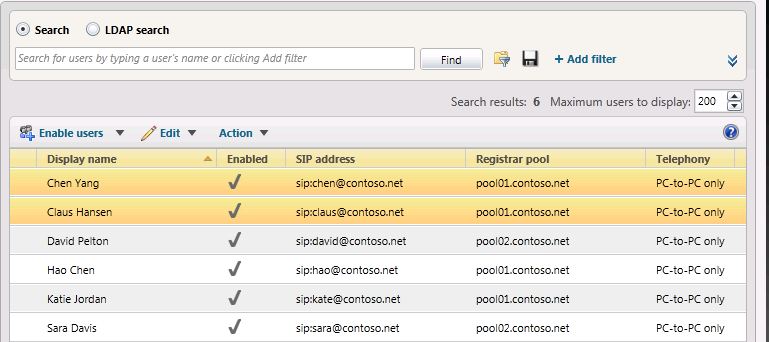
Verify that the Registrar pool column for the users now contains the Skype for Business Server 2019 pool, which indicates that the users have been successfully moved.
To move multiple users by using the Skype for Business Server 2019 Management Shell
Open the Skype for Business Server 2019 Management Shell.
At the command line, type the following and replace User1 and User2 with specific user names you want to move, and replace pool_FQDN with the name of the destination pool. In this example we will move users Hao Chen and Katie Jordan.
Get-CsUser -Filter {DisplayName -eq "User1" -or DisplayName - eq "User2"} | Move-CsUser -Target "pool_FQDN"
At the command line, type the following:
Get-CsUser -Identity "User1"The Registrar Pool identity should now point to the pool you specified as pool_FQDN in the previous step. The presence of this identity confirms that the user has been successfully moved. Repeat step to verify that User2 has been moved.
To move all users at the same time by using the Skype for Business Server 2019 Management Shell
In this example, all users have been returned to the legacy pool (pool01.contoso.net). Using the Skype for Business Server 2019 Management Shell, we will move all users at the same time to the Skype for Business Server 2019 pool (pool02.contoso.net).
Open the Skype for Business Server 2019 Management Shell.
At the command line, type the following:
Get-CsUser -OnLyncServer | Move-CsUser -Target "pool_FQDN"
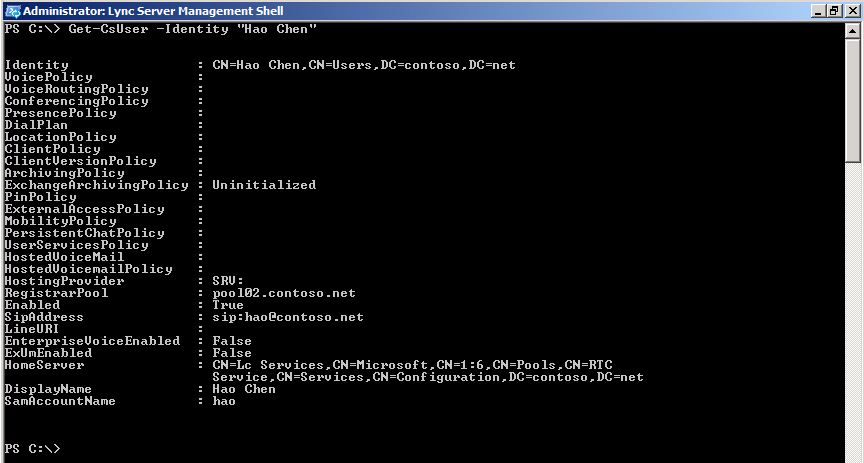
Run Get-CsUser for one of the pilot users.
Get-CsUser -Identity "Hao Chen"The Registrar Pool identity for each user now points to the pool you specified as pool_FQDN in the previous step. The presence of this identity confirms that the user has been successfully moved.
Additionally, we can view the list of users in the Skype for Business Server 2019 Control Panel and verify that the Registrar Pool value now points to the Skype for Business Server 2019 pool.