Data preparation
Before you create your prediction model, you'll want to make sure your data is in Microsoft Dataverse and that it's in the correct format.
Create your custom table
Do you have data that you want to import into Dataverse for training in AI Builder? First, you have to create a table. In this example, we'll provide a solution that has predefined custom tables. To use your own data, create a custom table and use it instead of the example used here.
Note
For best results, use a dataset that is less than 1.5 GB in size. Otherwise, AI Builder will use only 1.5 GB of your data to train and predict. Because you can’t control which data that exceeds the 1.5 GB limit won't be used, you should optimize your data to stay under 1.5 GB.
Sample dataset for prediction model
Download the AI Builder sample dataset package:
- Select AIBPredictionSample_simpledeploy_v4.21.3.zip.
- Select the Download button.

Ensure that the file isn't blocked after you download. To do this:
- In the Downloads folder, find the downloaded zip file, right-click, and then select Properties.
- On the General tab, select the Unblock checkbox, and then select Apply.

Extract the .zip file, and look for PackageDeployer.exe in the extracted folder.
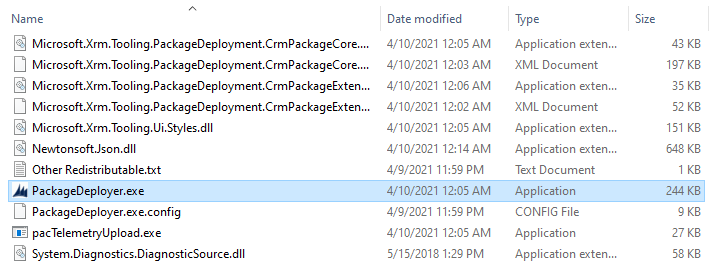
Run PackageDeployer.exe. The following screen will appear.
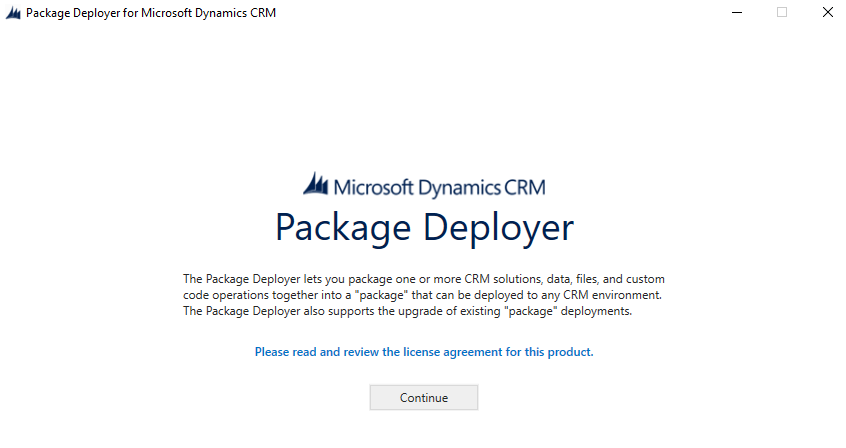
Select Continue.
Select Office 365, and then select Login.
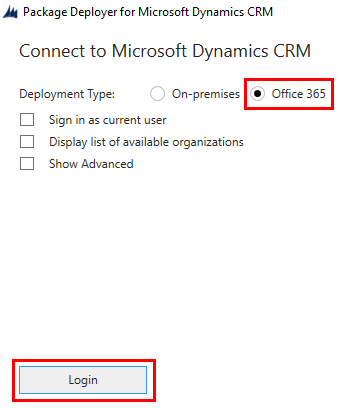
Enter the credentials that you use to sign in to the Power Apps maker portal, and then select Next.

If the sign-in is successful, you'll see the Welcome screen. Read the message, and then select Next.
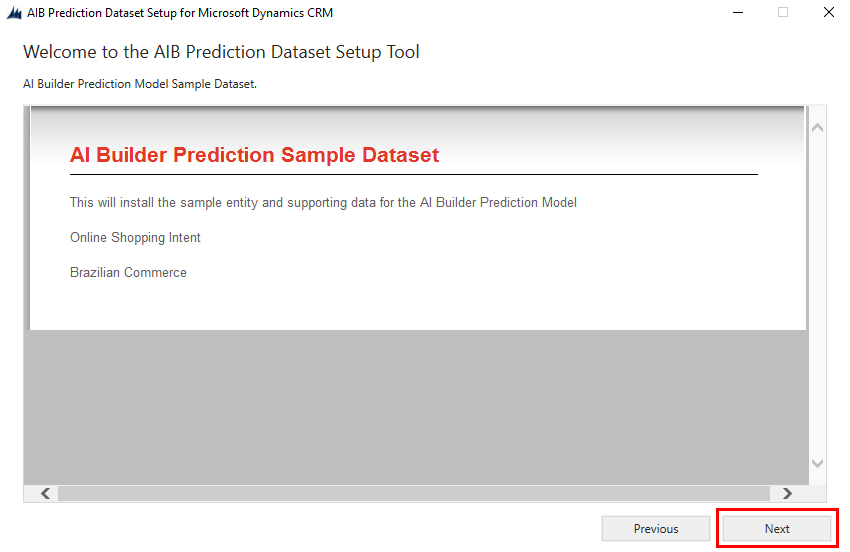
On the Ready to Install screen, make sure you're installing the solution in the correct environment and then select Next.

On the Reading AIB Prediction Dataset Installer Configuration screen, read the summary information for the data and solutions being imported and then select Next.
It will take a few minutes to import the data. As each step is completed successfully, you'll see a green circle with a check mark next to the step.

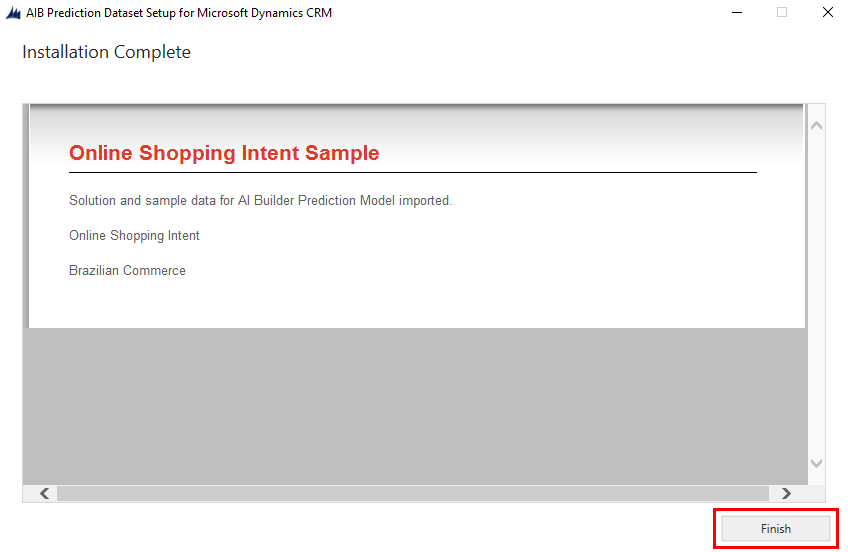
On the Installation Complete screen, select Finish.
How you can use the solutions you installed
The sample dataset installs two solutions in your environment. It also installs sample data for the included entities:
Brazilian Commerce: Use for predicting multiple outcomes. Select BC Orders as the table, and Delivery Timeliness as the column when you pick what you want to predict.
AI Builder Online Shopper Intention: Use for binary prediction and numerical prediction.
- Select Online Shopper Intentions as the table, and Revenue (Label) as the column if you want to try out binary prediction.
- Select Online Shopper Intentions as the table. Also select ExitRates or BounceRates as the column if you want to try out numerical prediction.
If you need help with creating a prediction model, follow the instructions in Create a prediction model.

You're now ready to go to the next step.
Next step
Feedback
Coming soon: Throughout 2024 we will be phasing out GitHub Issues as the feedback mechanism for content and replacing it with a new feedback system. For more information see: https://aka.ms/ContentUserFeedback.
Submit and view feedback for