Windows Phone “Mango”: WebBrowserコントロールの利用方法 #1
先に「Windows Phone “Mango”: WebBrowserコントロール内でJavaScriptを実行するには?」という投稿をしていますが、WebBrowserコントロールを利用すると、Windows Phone “Mango”のアプリケーション内でIE9のエンジンを使ってHTML5コンテンツをレンダリングできます。
ここでは簡単にブラウザーを作ってみましょう。
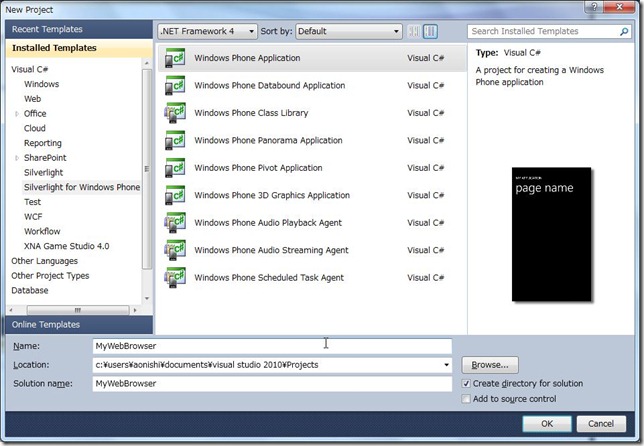
Visual Studio を開き、Windows Phone Applicationテンプレートを選択、名前(Name:)を「MyWebBrowser」とします。
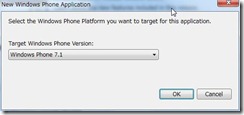
ターゲットのOSは、Windows Phone 7.1としましょう。
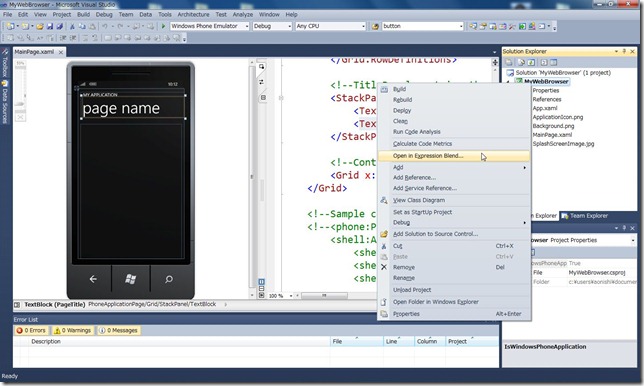
画面は、次のようになります。プロジェクトファイル[MyWebBrowser]を右クリックして、コンテキストメニューから、[Open in Expression Blend…]を選択します。
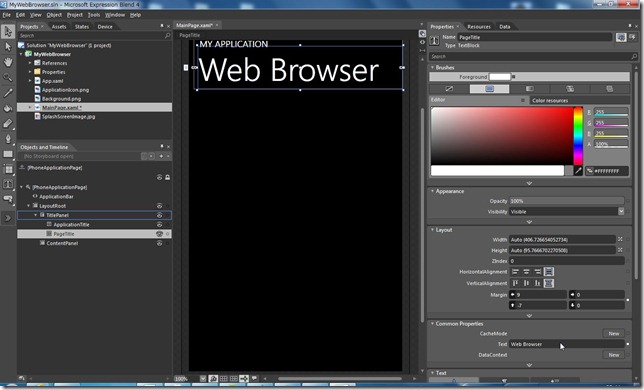
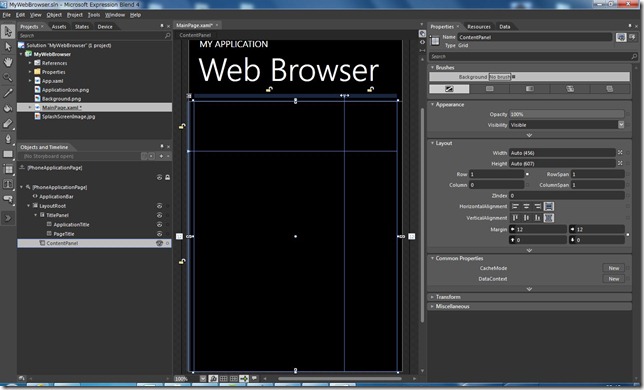
Expression Blendが開きましたら、次の図のように、PageTitleのTextプロパティを「Web Browser」と設定します。
続いて、ContentPanel という名前のGridコントロールを選択し、一番左端の垂直線上と一番上の水平線上をクリックし、図のように分割線を加えます。
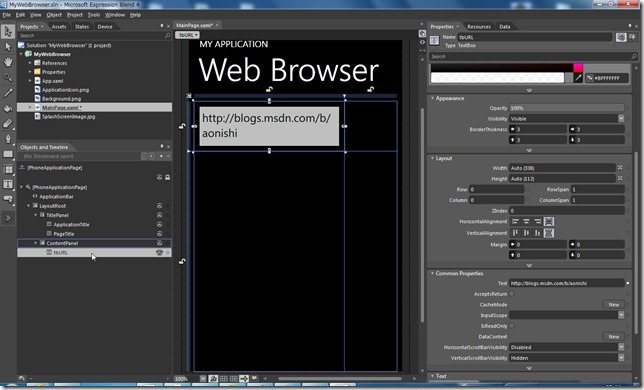
ContentPanel内にTextBoxを一つ貼り付け、名前を「tbURL」とし、Textプロパティを表示したいURLに設定します。次の図では、このブログのURL、https://blogs.msdn.com/b/aonishi を入力しています。
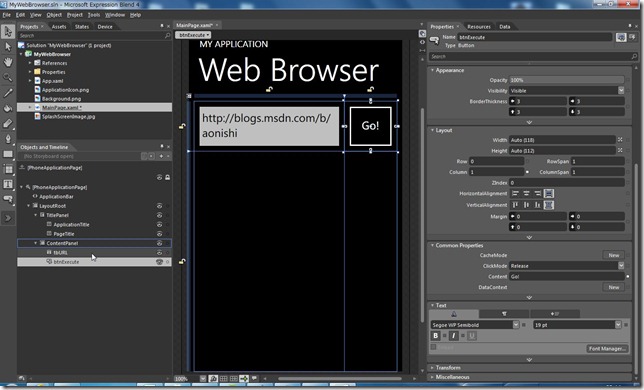
続けて、tbURLの右側にButtonを貼り付け、名前を「btnExecute」とし、Contentプロパティに「Go!」と入力します。
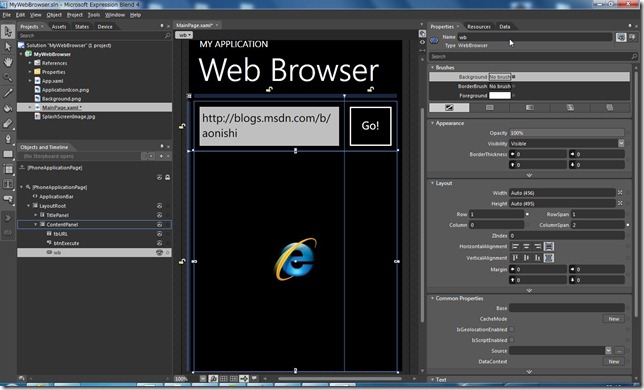
tbURLとbtnExecuteの下側にWebBrowserコントロールを貼り付け、名前を「wb」とします。
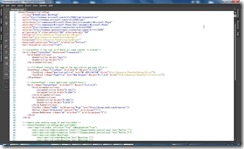
Expression BlendでXAMLビューに切り替えると、次の図のようになります。
<phone:PhoneApplicationPage
x:Class="MyWebBrowser.MainPage"
xmlns="https://schemas.microsoft.com/winfx/2006/xaml/presentation"
xmlns:x="https://schemas.microsoft.com/winfx/2006/xaml"
xmlns:phone="clr-namespace:Microsoft.Phone.Controls;assembly=Microsoft.Phone"
xmlns:shell="clr-namespace:Microsoft.Phone.Shell;assembly=Microsoft.Phone"
xmlns:d="https://schemas.microsoft.com/expression/blend/2008"
xmlns:mc="https://schemas.openxmlformats.org/markup-compatibility/2006"
mc:Ignorable="d" d:DesignWidth="480" d:DesignHeight="768"
FontFamily="{StaticResource PhoneFontFamilyNormal}"
FontSize="{StaticResource PhoneFontSizeNormal}"
Foreground="{StaticResource PhoneForegroundBrush}"
SupportedOrientations="Portrait" Orientation="Portrait"
shell:SystemTray.IsVisible="True">
<!--LayoutRoot is the root grid where all page content is placed-->
<Grid x:Name="LayoutRoot" Background="Transparent">
<Grid.RowDefinitions>
<RowDefinition Height="Auto"/>
<RowDefinition Height="*"/>
</Grid.RowDefinitions>
<!--TitlePanel contains the name of the application and page title-->
<StackPanel x:Name="TitlePanel" Grid.Row="0" Margin="12,17,0,28">
<TextBlock x:Name="ApplicationTitle" Text="MY APPLICATION" Style="{StaticResource PhoneTextNormalStyle}"/>
<TextBlock x:Name="PageTitle" Text="Web Browser" Margin="9,-7,0,0" Style="{StaticResource PhoneTextTitle1Style}"/>
</StackPanel>
<!--ContentPanel - place additional content here-->
<Grid x:Name="ContentPanel" Grid.Row="1" Margin="12,0,12,0">
<Grid.ColumnDefinitions>
<ColumnDefinition Width="0.741*"/>
<ColumnDefinition Width="0.259*"/>
</Grid.ColumnDefinitions>
<Grid.RowDefinitions>
<RowDefinition Height="0.185*"/>
<RowDefinition Height="0.815*"/>
</Grid.RowDefinitions>
<TextBox x:Name="tbURL" TextWrapping="Wrap" Text=" https://blogs.msdn.com/b/aonishi"/ >
<Button x:Name="btnExecute" Content="Go!" Grid.Column="1" Click="btnExecute_Click" />
<phone:WebBrowser x:Name="wb" Grid.Row="1" Grid.ColumnSpan="2"/>
</Grid>
</Grid>
</phone:PhoneApplicationPage>
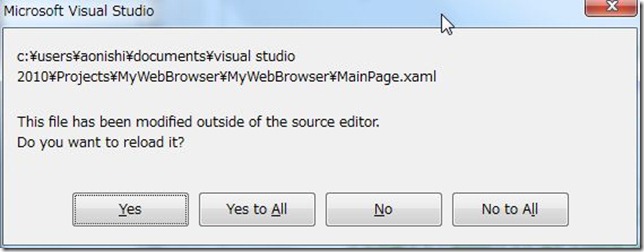
Expression Blend側の作業を保存し、Visual Studioに戻ります。図のようなダイアログが表示されるので、[Yes to All]を選択しましょう。
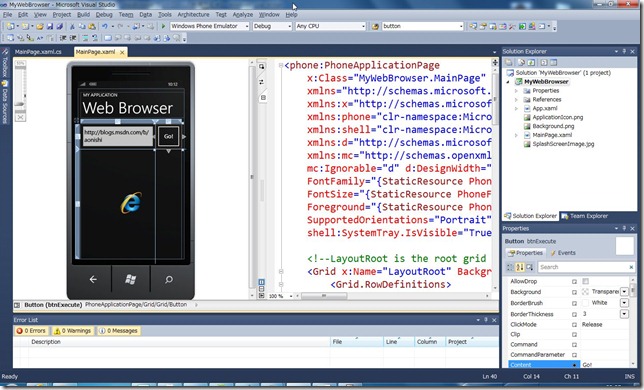
Visual Studio側では、Expression Blendでデザインした内容が反映されているのがわかります。
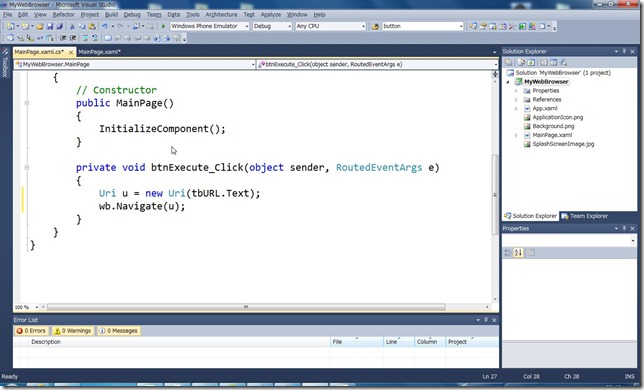
[Go!]と表示しているButton部分をダブルクリックします。コードエディタが表示され、btnExecute_Clickというイベントハンドラーが作られます。イベントハンドラー内に、次のように入力します。
Uri u = new Uri(tbURL.Text); // TextBoxの入力内容からURIを作成する
wb.Navigate(u); // WebBrowserコントロールから指定されたURLのコンテンツを開く
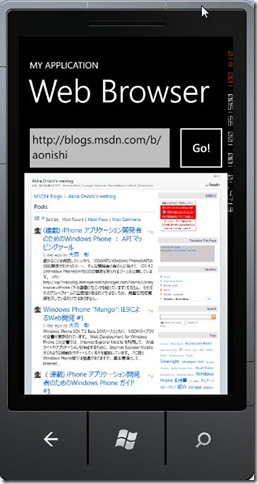
最後に[F5]キーを押して、デバッグ実行しましょう。図のような感じでWebコンテンツが表示されました。
WebBrowserコントロールを利用すれば、HTML5コンテンツを利用して、Windows Phoneアプリケーションを開発できます。
皆さんもお試しください。
