Deploying Windows Server 2008 Read Only Domain Controllers
What is a Read Only Domain Controller? (RODC)
An RODC is an additional domain controller for a domain that hosts read-only partitions of the Active Directory database. An RODC is designed primarily to be deployed in a branch office environment. Branch offices typically have relatively few users, poor physical security, relatively poor network bandwidth to a hub site, and little local IT knowledge.
In this scenario I have a forest with only Windows Server 2008 Domain Controllers and I will be delegating the installation of an RODC. In my test environment I have created two sites, one central site where the writable domain controller resides and one branch office site where I want to install the RODC.
To deploy an RODC, complete the following high-level tasks:
- Ensure That the Forest Functional Level Is Windows Server 2003 or higher
- Run adprep /rodcprep
You do not have to perform this step if you are creating a new forest that will have only domain controllers running Windows Server 2008.
- Install a Writable Domain Controller That Is Running Windows Server 2008
- Pre-create the RODC account and delegate installation
- Install an RODC on a Windows Server 2008
In my scenario I had only to perform a few of those steps so lets go through the steps needed to deploy the RODC:
First I prepared my AD for a delegated RODC Installation (staged installation).
A staged installation of an RODC is a two step process and is done by two different individuals. In the first stage you need a user with Domain Admin credentials and in stage 2 you can use a domain user.
Stage 1: Pre Creating RODC account and Delegate Installation
You can perform a staged installation of an RODC in which the installation is completed in two stages by different individuals. The first stage of the installation, which requires domain administrative credentials, creates an account for the RODC in AD DS. The second stage of the installation attaches the actual server that will be the RODC in a remote location, such as a branch office, to the account that was previously created for it. You can delegate the ability to attach the server to the account to a non-administrative group or an user in the remote location.
During the first stage of the installation, the wizard records all the data about the RODC that will be stored in the distributed Active Directory database, including the read-only domain controller account name and the site in which it will be placed. This stage must be performed by a member of the Domain Admins group. I’ve also assigned the user who is allowed to do the installation of the RODC in the Branch office.
In the first step you must specify the credentials of the user that will perform the needed actions for the first stage. To install an additional domain controller, you must be a member of the Enterprise Admins group or the Domain Admins group.
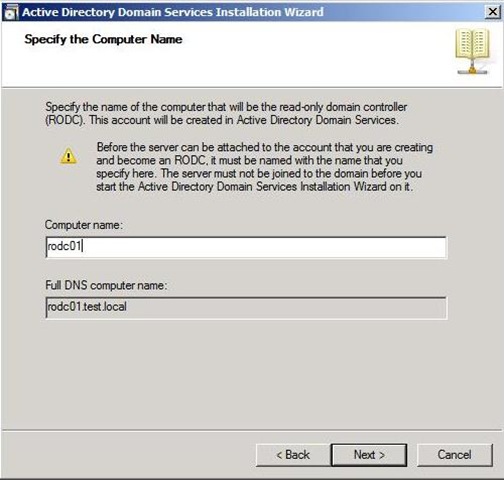
Next you need to specify the name of the computer that will be the RODC, this server must not be joined to the domain.
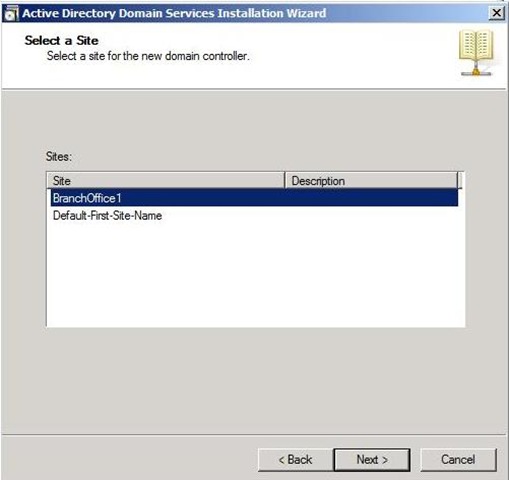
Select the site where the RODC will be installed, in my case it was the BranchOffice1 site.
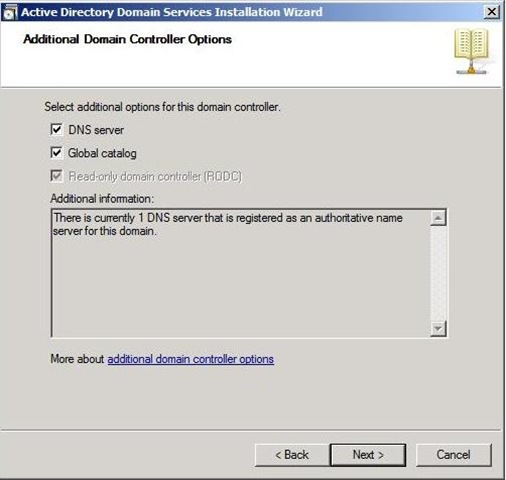
At this stage you can specify what additional options you want to install onto this server.
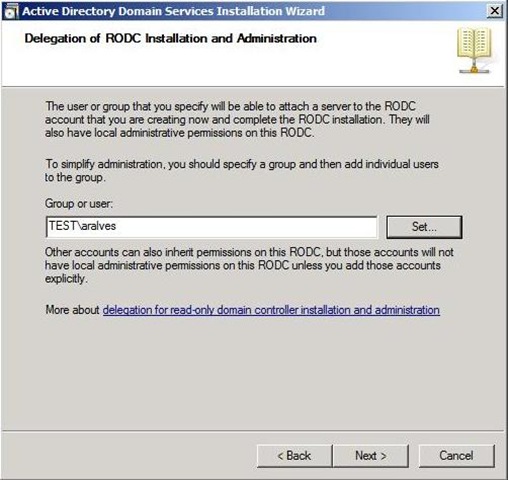
In the last step of the pre-staging of an RODC you have to specify which Group or User Account will be delegated to do the second stage installation. In my case I used my user account in this domain.
Stage 2: Deploy RODC in BranchDuring the second stage, the wizard installs AD DS on the server that will become the RODC, and it attaches the server to the domain account that was previously created for it. This stage typically occurs in the branch office or other remote location where the RODC is deployed. During this stage, all AD DS data that resides locally, such as the database, log files, and so on, is created on the RODC itself. You can replicate the installation source files to the RODC from another domain controller over the network, or you can use the install from media (IFM) feature. To use IFM, use Ntdsutil.exe to create the installation media.
To start the installation you need to logon as a local Administrator and run the DCPromo command.
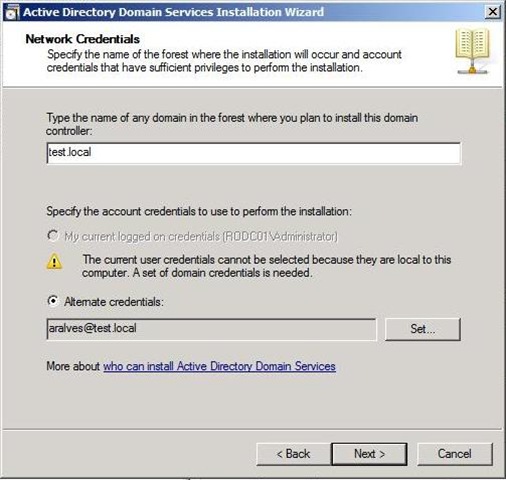
The wizard will ask me in what domain I want to install this RODC, in my case it was test.local and I specified in the alternate credentials the username that has been selected during stage 1.
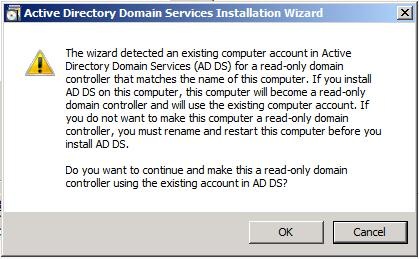
The wizard detects that we have pre-staged the computer account to be an RODC. Next you can change the location of the Database, log files and sysvol.
The last step is to fill in the Directory Services Restore Mode Administrator Password, this password must meet the Domain Password complexity.
After finishing the wizard you will have a running RODC.
Technorati Tags: Windows Server 2008,RODC,AD

