客户文章-Windows Azure SendGrid入门
编者按: 今天的文章来自SendGrid的软件工程师Gabe Moothart。SendGrid 提供了一种基于云计算的电子邮件服务,减轻企业的成本和维护自定义电子邮件系统的复杂性。
作为Windows Azure客户,您知道您可以轻松地访问一个高度可扩展的集成到任何 Windows Azure 环境上的应用程序的电子邮件提交解决方案? Windows Azure SendGrid 入门是很容易的。
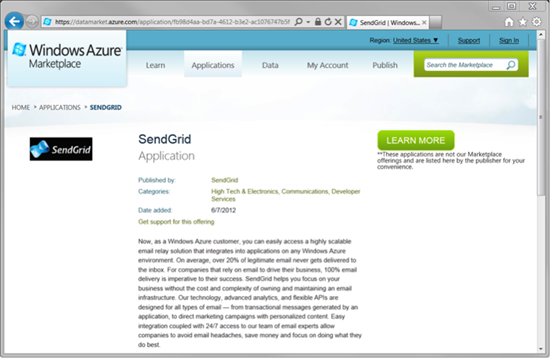
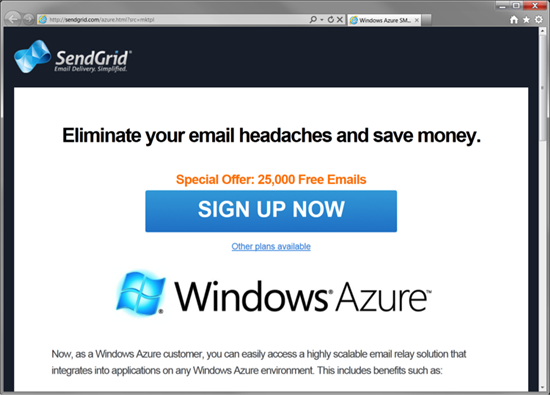
你需要做的第一件事是要一个 SendGrid 帐户。您可以在 Windows Azure 市场这里找到 SendGrid。只需单击绿色"Learn More"按钮并继续通过创建一个 SendGrid 帐户的注册过程。作为 Windows Azure 客户,将自动提供您发送 25000 电子邮件/月的免费包。
然后点击“Sign up Now”以创建您的SendGrid账号。
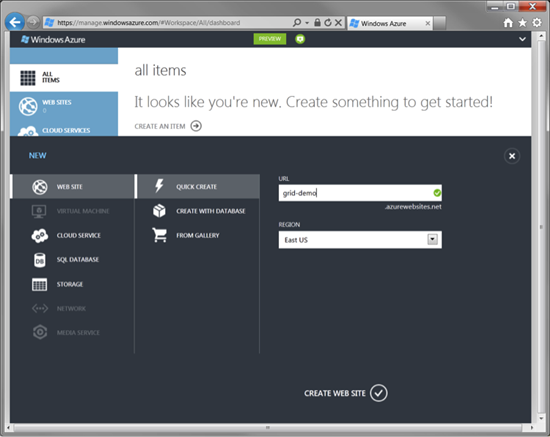
现在您的SendGrid账户已创建,是时候将它集成到Windows Azure Web Site. 登录和单击页面底部的"+ New"按钮来创建一个新的 Web site:
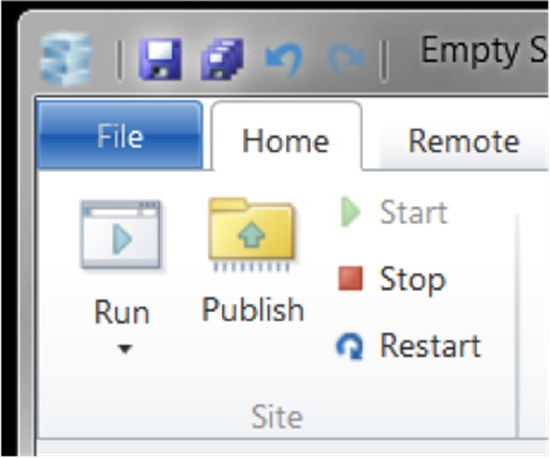
已创建网站后,选择管理用户界面,在页面的底部找到"Web Matrix"按钮。这将在 WebMatrix打开您的新网站,如有必要安装它。您的站点为空,WebMatrix 将会提醒您:
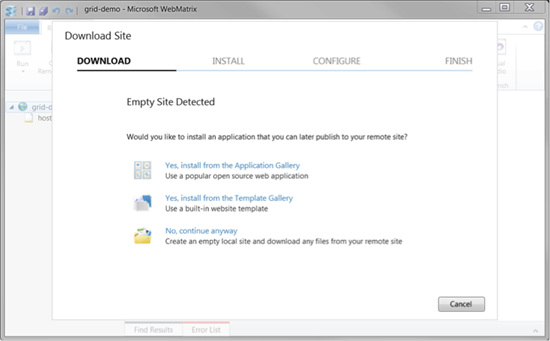
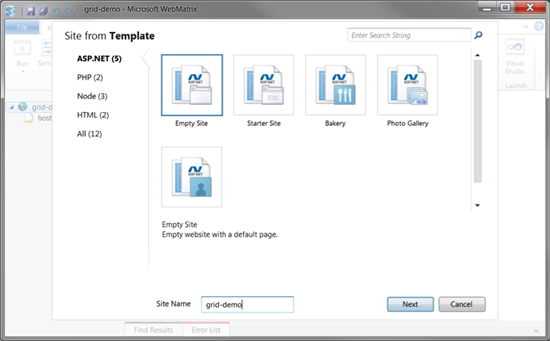
选择" Yes, install from the template Gallery ",选择" Empty Site "模板。
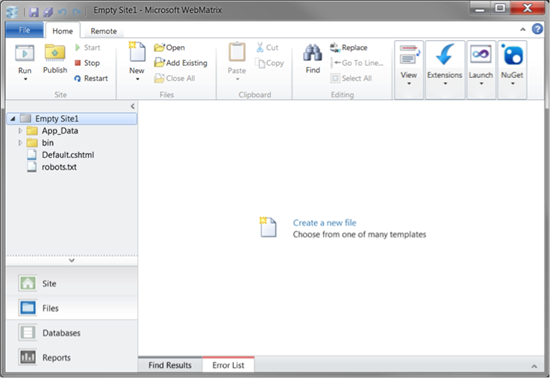
在左侧选择"Files"视图,然后从文件菜单中,选择"New"->"File",然后选择"Web.Config (4.0)"的文件类型。
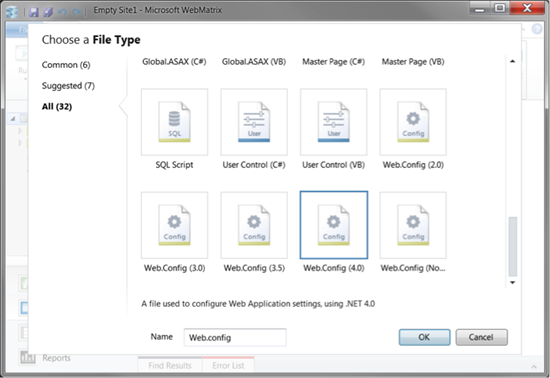
接下来,我们需要告诉 Asp.Net 使用 SendGrid SMTP 服务器。将此文本添加到新的 Web 配置 < configuration >标记内:
<system.net>
<mailSettings>
<smtp>
<network host="smtp.sendgrid.com" userName="sendgrid username" password="sendgrid password" />
</smtp>
</mailSettings>
</system.net>
请确保插入您自己的 SendGrid 用户名和密码。下一步打开 Default.cshtml 文件。添加此标记到<body>标记内:
<h1>Sendgrid Demo</h1>
<form method="post">
<div>
<p>@message</p>
<p><input type="submit" value="Send Email" /></p>
</div>
</form>
最后,添加代码以通过SendGrid发送电子邮件到 Default.cshtml 文件的顶部:
@{
string message = "";
if (IsPost) {
var c = new System.Net.Mail.SmtpClient();
c.Send("from@domain.com", "to@domain.com", "subject", "body");
message = "Email sent!!";
}
}
更改"from@domain.com"为您的电子邮件地址,"to@domain.com" 要发送到的电子邮件地址,然后编辑您所需的内容的"subject"和"body"参数。
然后就只剩是单击" Publish "以将您的更改推回 Windows Azure,并浏览到该网站。单击" Send Email ",就会发送电子邮件。
就是这样了 !使用 SendGrid,像你这样的开发人员可以集中精力建立更好的系统并赚取更多收入,同时降低工程和基础设施的管理的成本。去创建的下一个大应用吧。让 SendGrid 照顾您的电子邮件。