How To Install IIS 7 on Windows Server 2008 R2 SP1 For Use With SCVMM 2008 R2 SP1
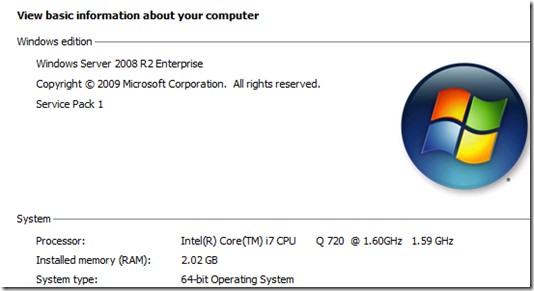
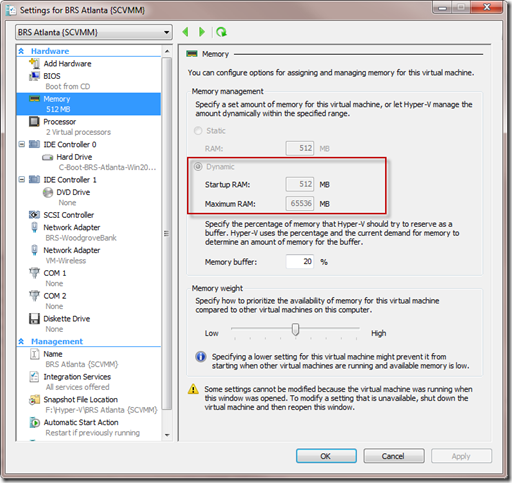
I am starting with a sysprep’d Windows Server 2008 R2 Server. I have allocated 2 processors and 512mb memory to the guest using dynamic memory. Once I get the system up and running, I will bump up the memory to be close to what I actually need but I will leave it dynamic.
I need to install some prerequisite software before I can install SCVMM.
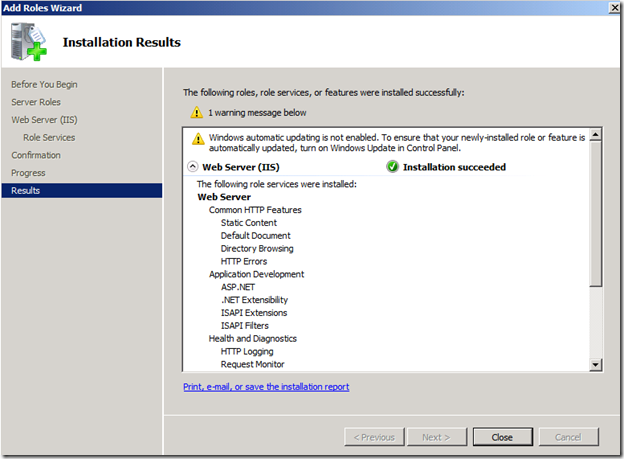
- Windows Server Internet Information Services (IIS) 7.0 or 7.5. Click the Server Manager button on the task bar | Expand Roles | Add a Role | on Before You Begin screen just click Next | Turn on the checkbox for Web Server (IIS) then click Next | Click Next on the intro screen | then on the Role Services screen we need to enable all the required server role services:
- Turn on ASP.NET - When turning this on.. it will automatically pop up a box to turn on some of the other required services. Just click Add required Role Services
- .NET Extensibility
- ISAPI Extensions
- ISAPI Filters
- Scroll down and Expand IIS 6 Metabase Compatibility
- Turn on IIS 6 Metabase Compatibility
- Turn on IIS 6 WMI Compatibility
- The Remaining items that are needed should already be turned on by default
- Static Content
- Default Document
- Directory Browsing
- HTTP Errors
- Request Filtering
- Click Next | Then Install | It will take a minute or two for IIS to install then click Finish on the Results screen. You do not need to worry about the warning message about Automatic Updating not enabled. You can enable that later if you like.
- Turn on ASP.NET - When turning this on.. it will automatically pop up a box to turn on some of the other required services. Just click Add required Role Services
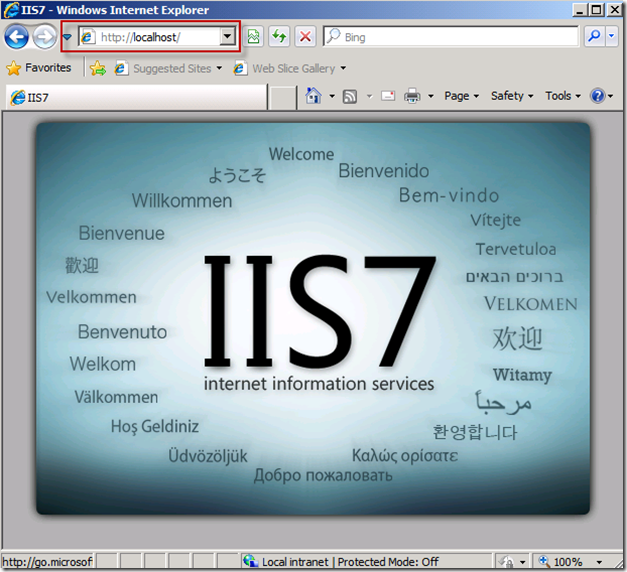
you can confirm that IIS is running properly by opening a web browser and navigating to https://localhost Once you do this you should get the IIS 7 welcome screen
You will likely need to open a firewall port to allow external access to your website.
To open port 80 on Windows 7 or Windows Server 2008 R2
- From the Start menu, click Control Panel, click System and Security, and then click Windows Firewall. Control Panel is not configured for 'Category' view, you only need to select Windows Firewall.
- Click Advanced Settings.
- Click Inbound Rules.
- Click New Rule in the Actions window (upper right corner).
- Click Rule Type of Port.
- Click Next.
- On the Protocol and Ports page click TCP.
- Select Specific Local Ports and type a value of 80.
- Click Next.
- On the Action page click Allow the connection.
- Click Next.
- On the Profile page I am leaving Domain turned on and turning off private and public. You should check the appropriate options for your environment.
- Click Next.
- On the Name page enter a name of such as Allow ReportServer (TCP on port 80)
- Click Finish.
- You may want to repeat the steps to open port 443 if you are using https for anything.


