Configuring Exchange Server 2010 and Sharepoint 2010 for sending emails
Almost in every sharepoint application a need arises to send mails through application. Then we have two options, Send mails either using SMTP server or Exchange Server. This blog post will cover the configuration related to exchange server. In order to send emails through Sharepoint 2010 using Exchange server 2010 you need to follow following steps:
- Login to Exchange server. Go to Exchange Management Console. Expand Server Configuration option. Click on Hub Transport.
- You need to create your own relay connector. How to create and configure the relay connectors, you will find it here .
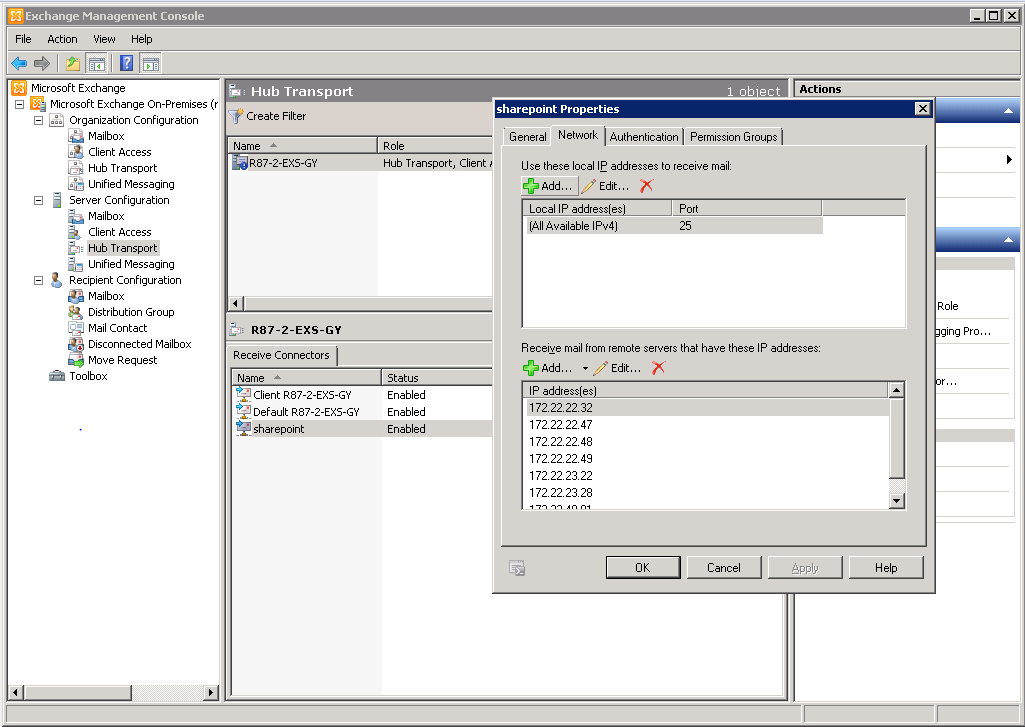
- After your relay connectors and receivers are configured, you are all set to configure your servers which need to send mails. Here I have configured the receiver named sharepoint. Right Click on newly created receiver connector. sharepoint--> Properties--> Network tab. In the Receive mail from remote servers that have following IP’s section click on Add tab and enter the IP of the machine you want to enable for sending emails.
After you configure the exchange server, you may need to configure the mailboxes for AD users on exchange. Here is the way to do it.
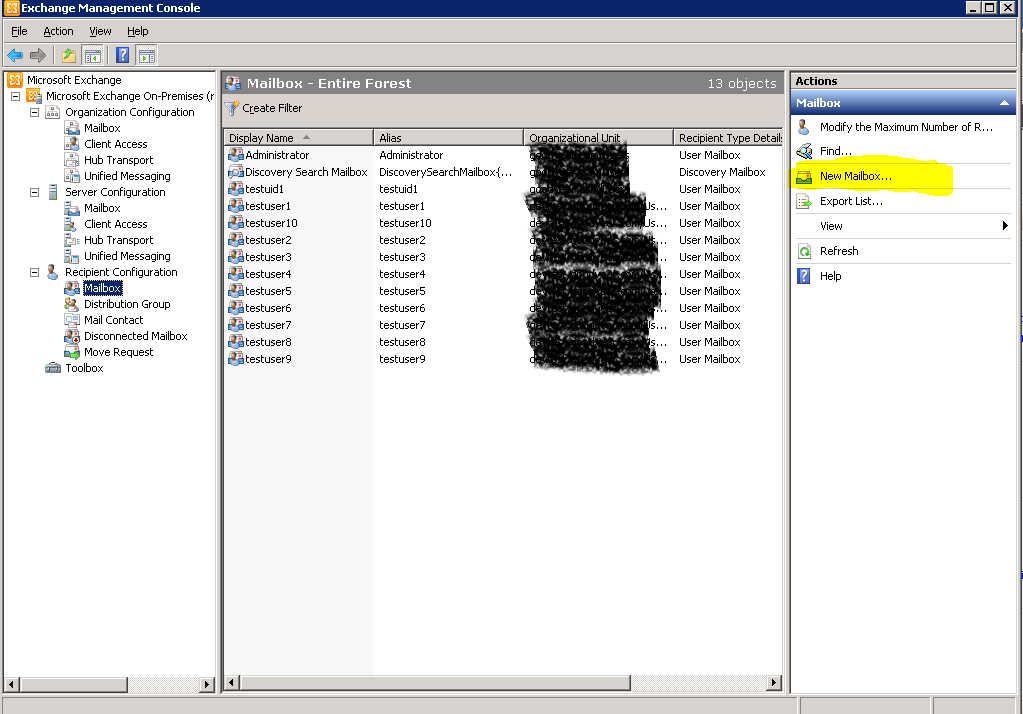
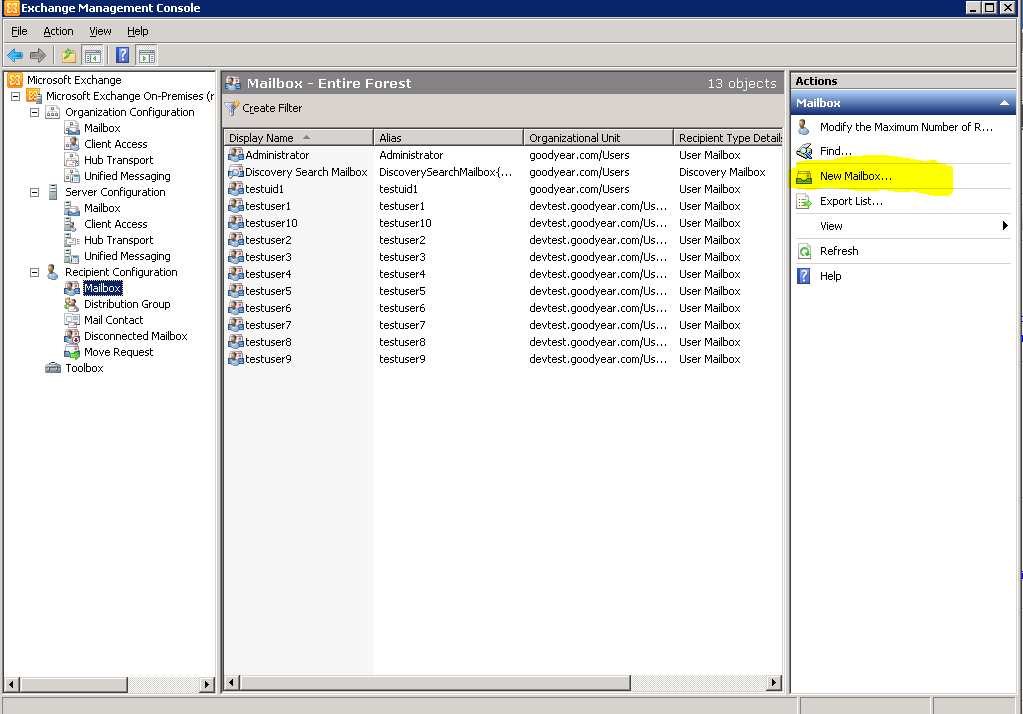
1. Login to Exchange server. Open Exchange management console. Click on Recipient Configuration --> Mailbox. On the Right top corner, in the Actions dashboard, click on New Mailbox.
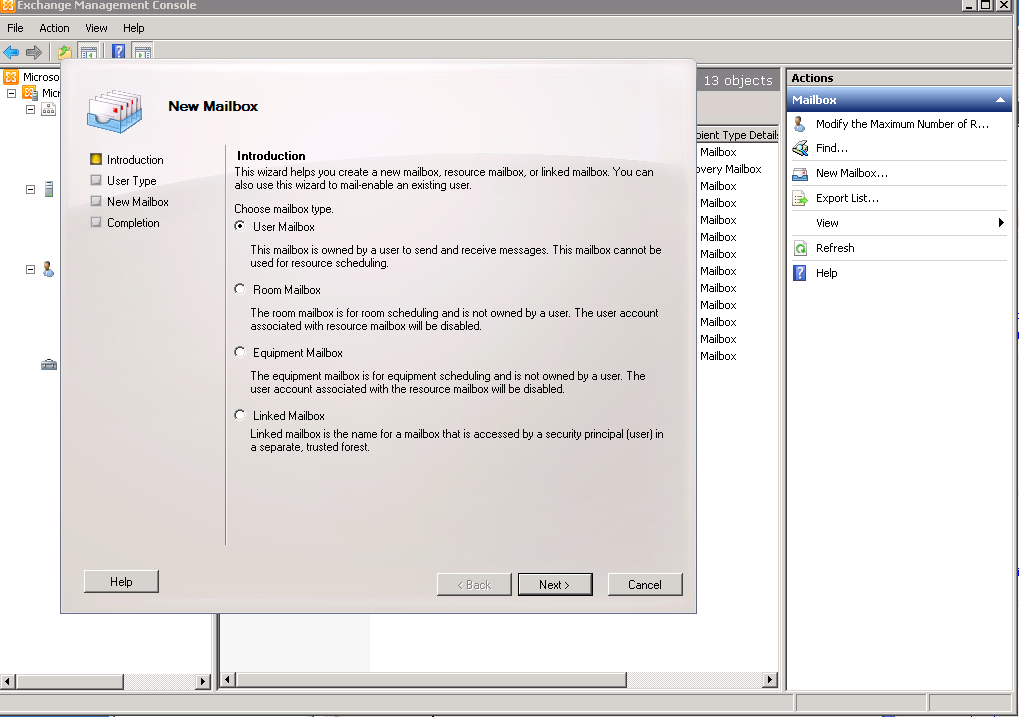
2. Click on User Mailbox in the next dialog box.
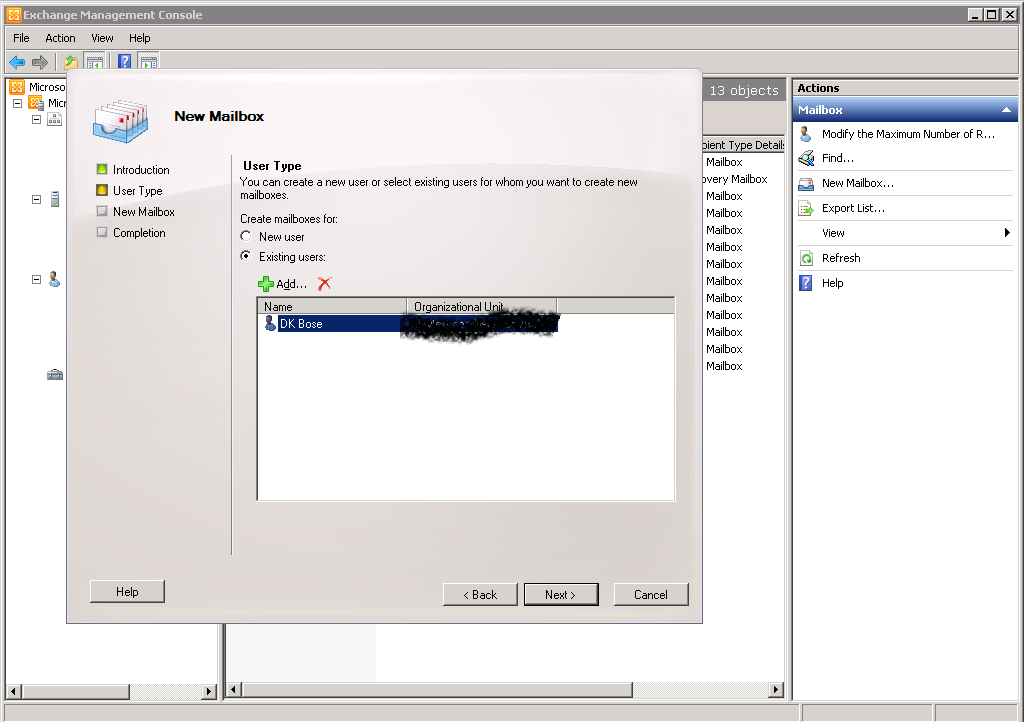
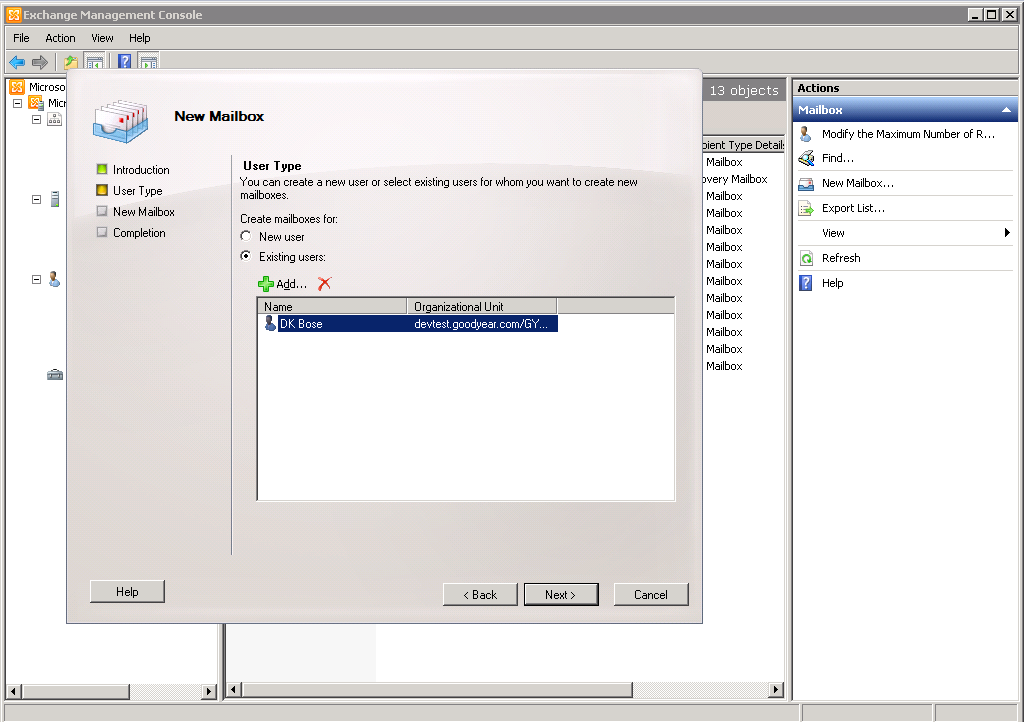
3. If you have an existing user in the AD then select Existing user otherwise create a new user. Here we already have users in the AD.
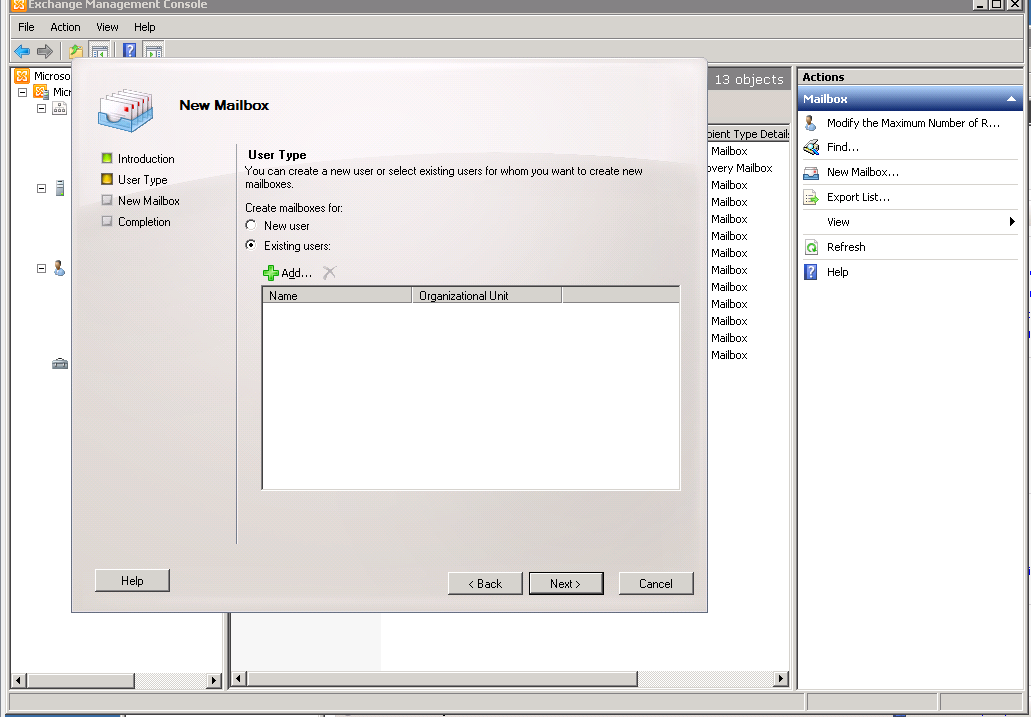
4. Click on Add. Next screen will show you the list of all users from the AD, whose mailboxes are not configured. Select a user whose mailbox you want to configure and click on Ok.
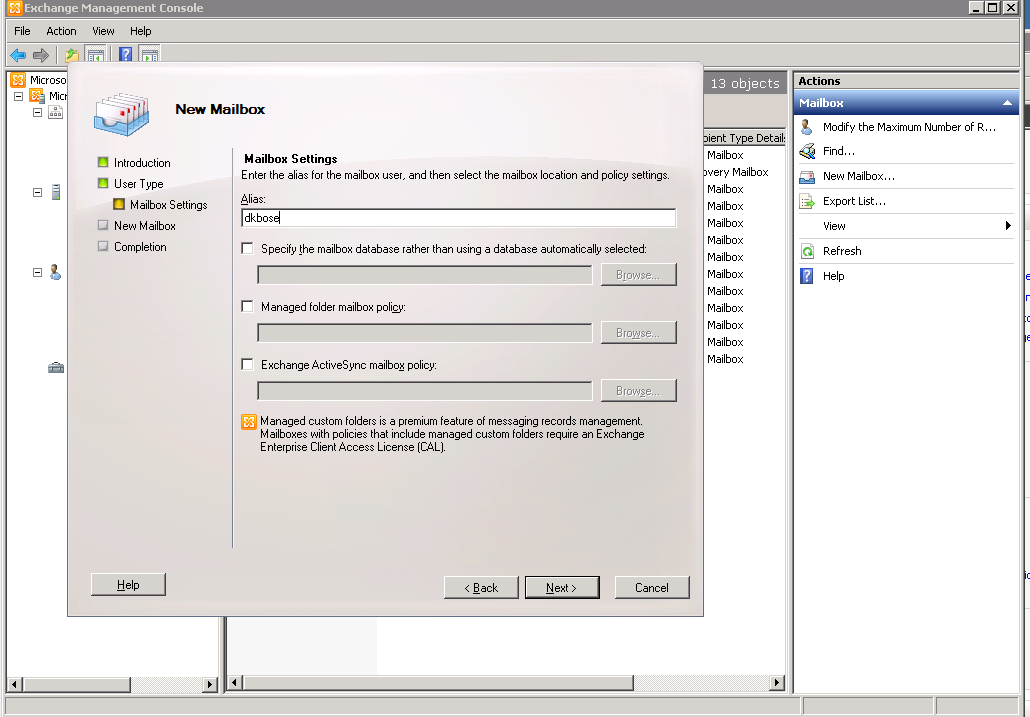
5. Click on Next. On the next screen, specify the alias for the user. If you try to configure the multiple mailboxes at the same time, exchange server will take the alias by default. You will see this option disabled. Click on Next.
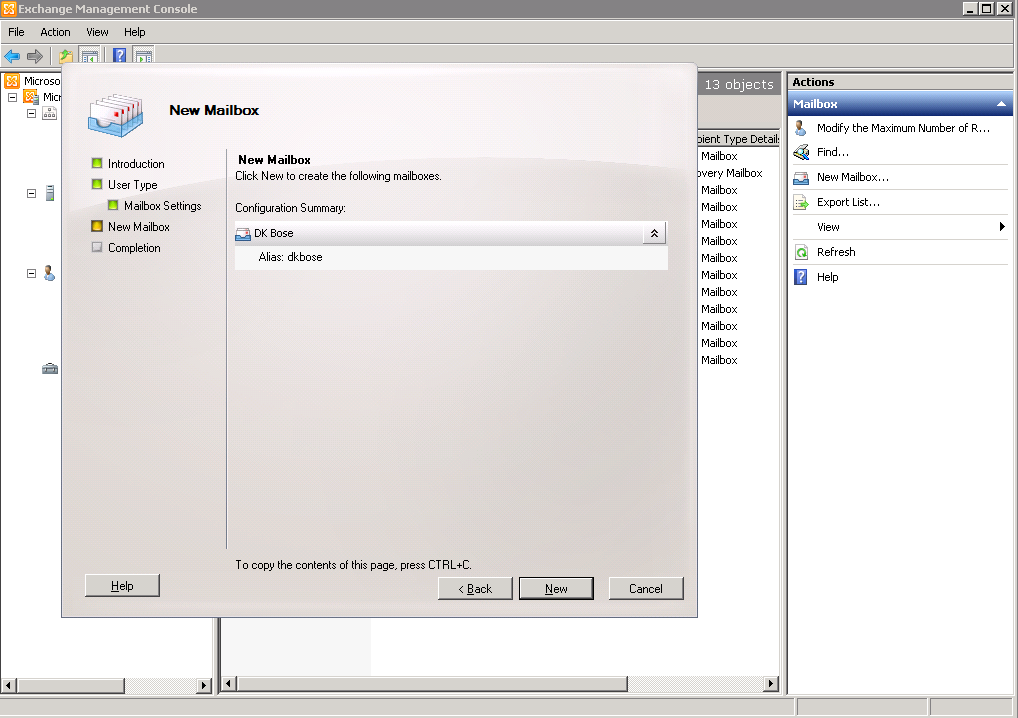
6. Click on New. It will create a new mail configuration for the user.
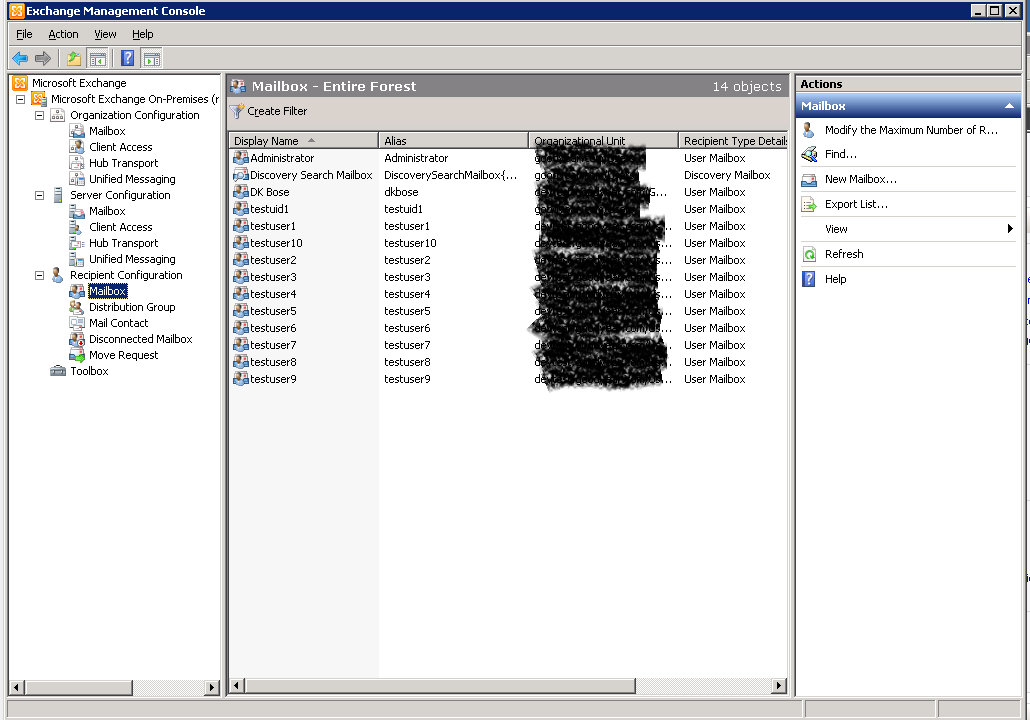
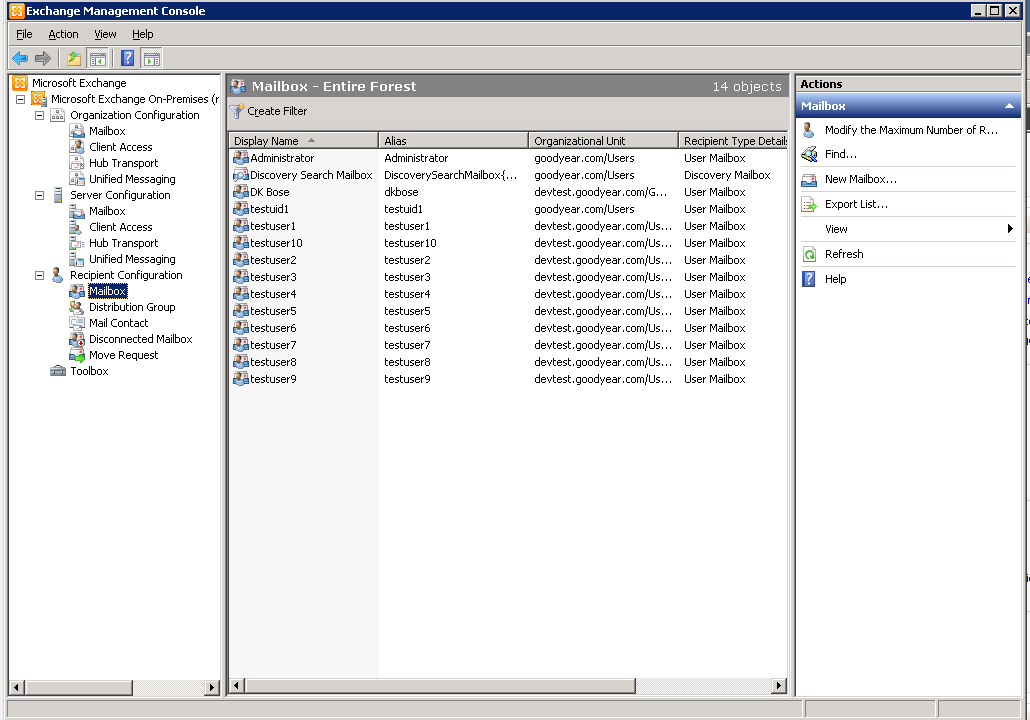
7. Exchange will configure the mailbox for the user. Click on Finish. Right click on Mailbox and say Refresh. If will show you newly created mailbox.
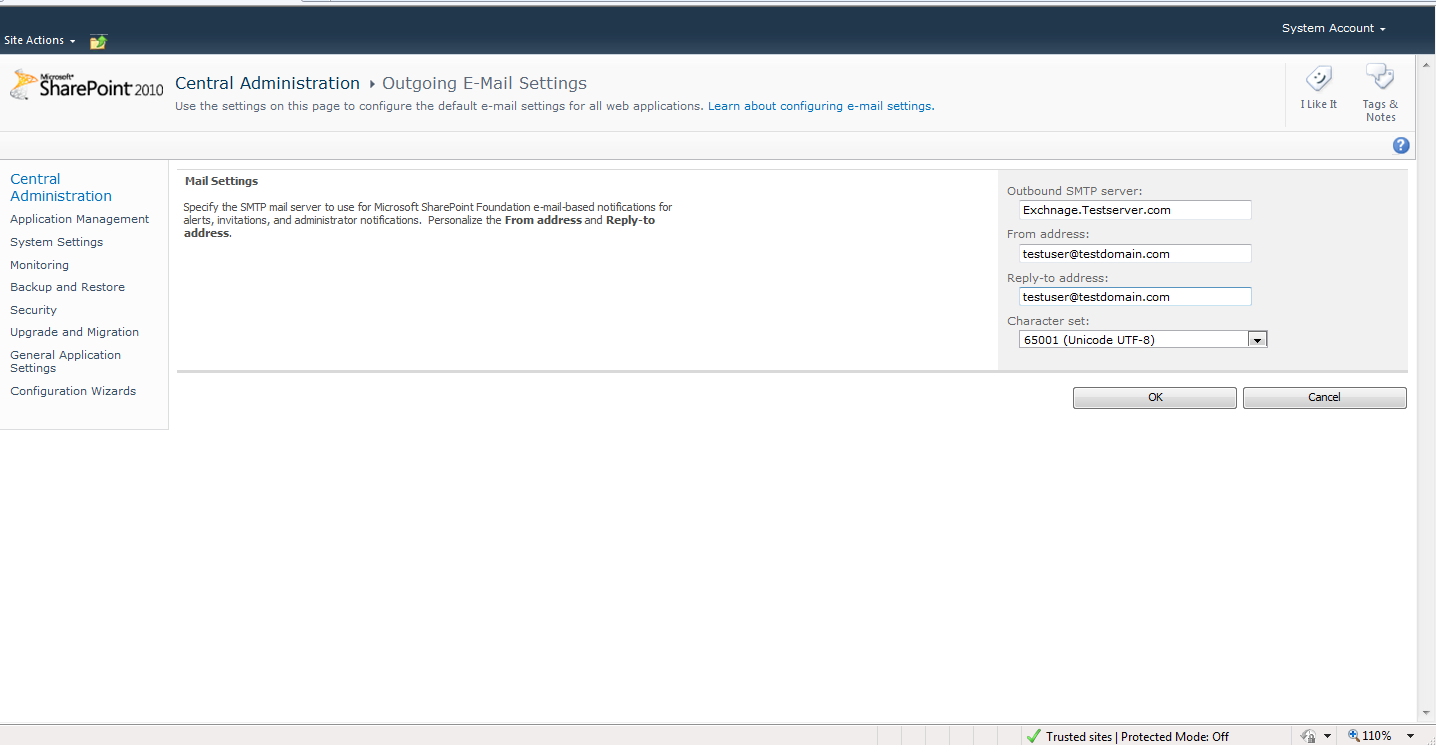
Now as your exchange server is configured, you need to configure the outgoing email setting in the Sharepoint:
- Go to Central Administration. Click on System Settings à Configure Outgoing e-mail settings.
- In Outbound SMTP Server Textbox, enter the name of the exchange server.
- Enter valid email addresses in From address and Reply to address. If you wish to specify these options through your code then you can leave this blank.
4. Both Exchange server and Sharepoint are configured. You are all set to test the email functionality either through your code or using telnet or Sharepoint alerts or adding a user to any Sharepoint group which automatically notify user by email.
Happy Mailing !!!