Part 2: Create a Windows 2008 R2 Hyper-V Lab Network
Introduction
Creating a WIndows 2008 R2 domain network lab environment on a Windows Hyper-V host server involves creating a number of Windows 2008 R2 servers, each to fulfull a required role. Central to any Windows server domain network is an Active Directory Domain Controller (DC) and Domain Name Services (DNS) server. With the core network infrastructure in place member servers can then be added as needed. With Windows Server 2008 R2 you can create lab environments like this inside one self-contained Boot-to-VHD file. I've already published instructions on how to Create a Hyper-V Host System Using Boot-to-VHD.
To make the most effective use of disk space, all the guest servers in your lab can be created using differencing disks. Using this approach, each differencing disk will only contain the delta (configurations and additional software) that exists between the parent virtual hard disk and the system you create using the differencing disk. This technique also eases configuration and saves you time since all the applicable Windows Updates (service packs, hot fixes, etc.) can be loaded into the parent virtual hard disk, and will then already be applied to the system(s) you create using the differencing disk(s).
You can further minimize resource usage and lessen the administrative burden for each server by implementing Server Core Installation. Since the Windows Server 2008 R2 Server Core operating system has no graphic user interface, it consumes much less disk space, and loads into a smaller memory footprint, than the Full Installation. What's more, since many Windows Updates pertain specifically to the graphic user interface portion of the code-base, administrative burden will be lessened due to a dramatic decrease in the number of updates being downloaded and installed. This is most important in a production environment because it also greatly lessens the frequency of server re-starts. The downside to this approach is that local server administration can only be accomplished using a command-line interface. This can be remediated; however, by enabling remote server administration on each Core server, and then administering them using Server Manager on another computer that's running a Full Installation of Windows Server 2008 R2.
Install the Hyper-V Role
If your host instance of WIndows Server 2008 R2 isn't already configured to run the Hyper-V role then follow these steps:
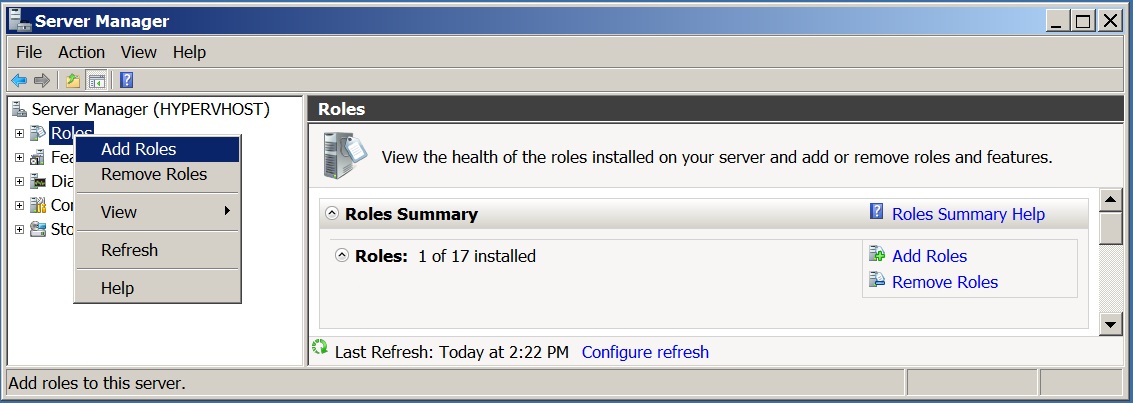
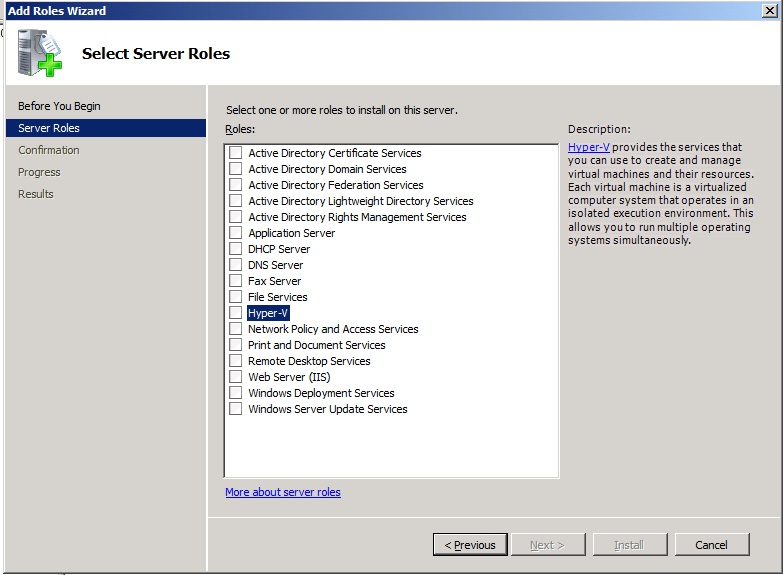
Start the Server Manager, right-click Roles, and then select Add Roles from the action menu.
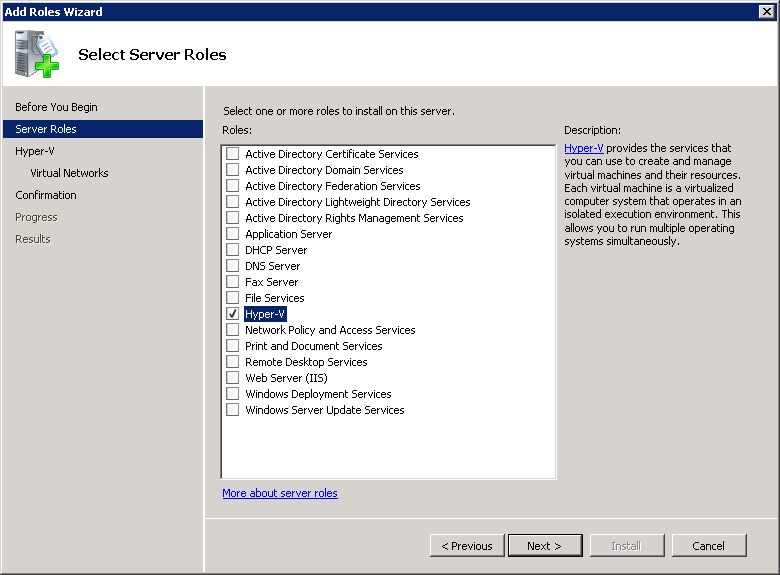
Next, select the Hyper-V role, and then click the Next button
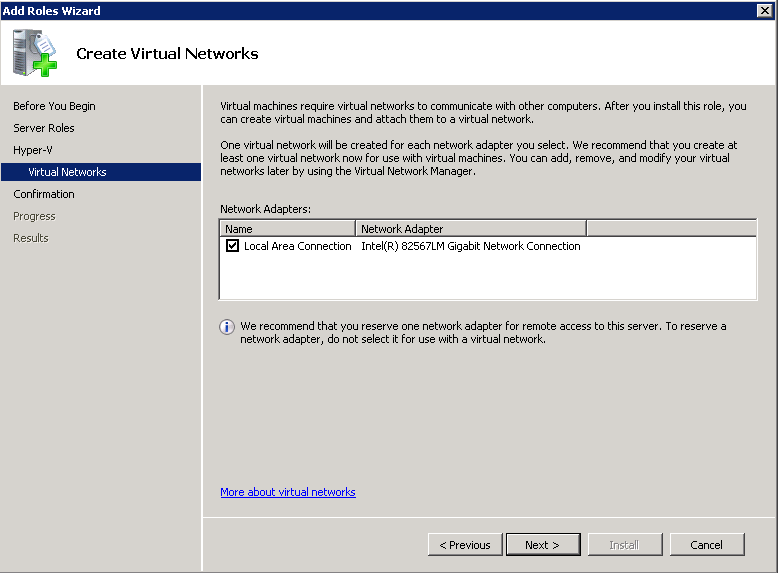
On the Create Virtual Networks dialog, select the physical network interface for the host machine:
Configure the Virtual Networks Required to Support the Lab Environment
Now that the Hyper-V Role is installed, the next steps is to create the Virtual Networks:
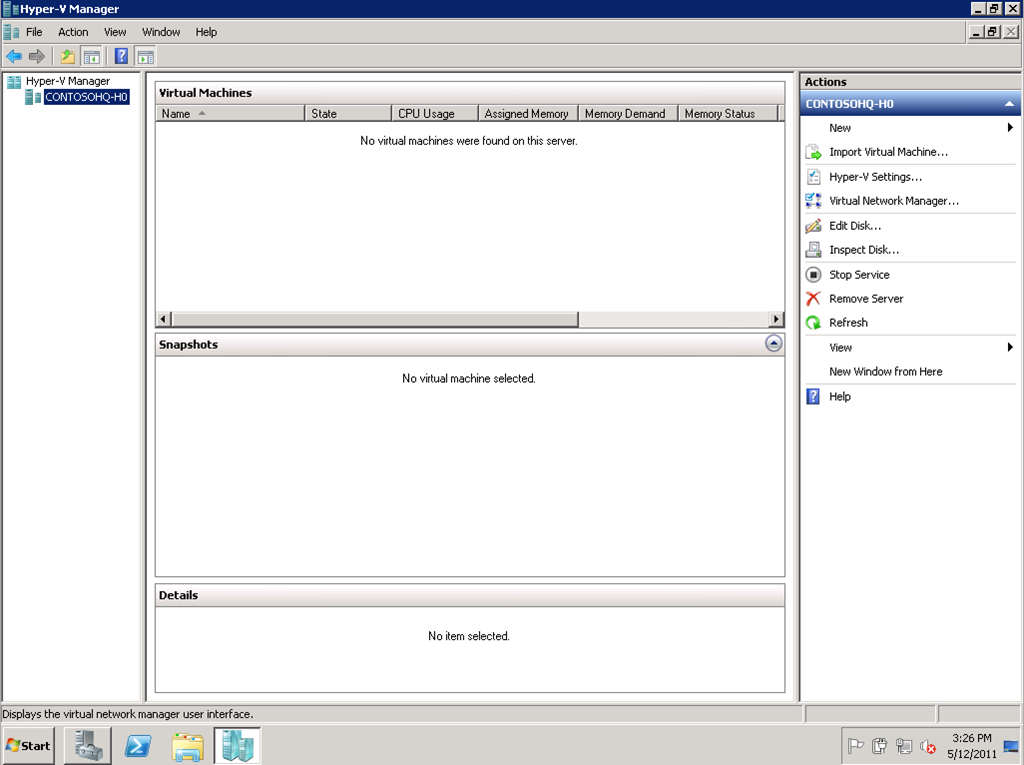
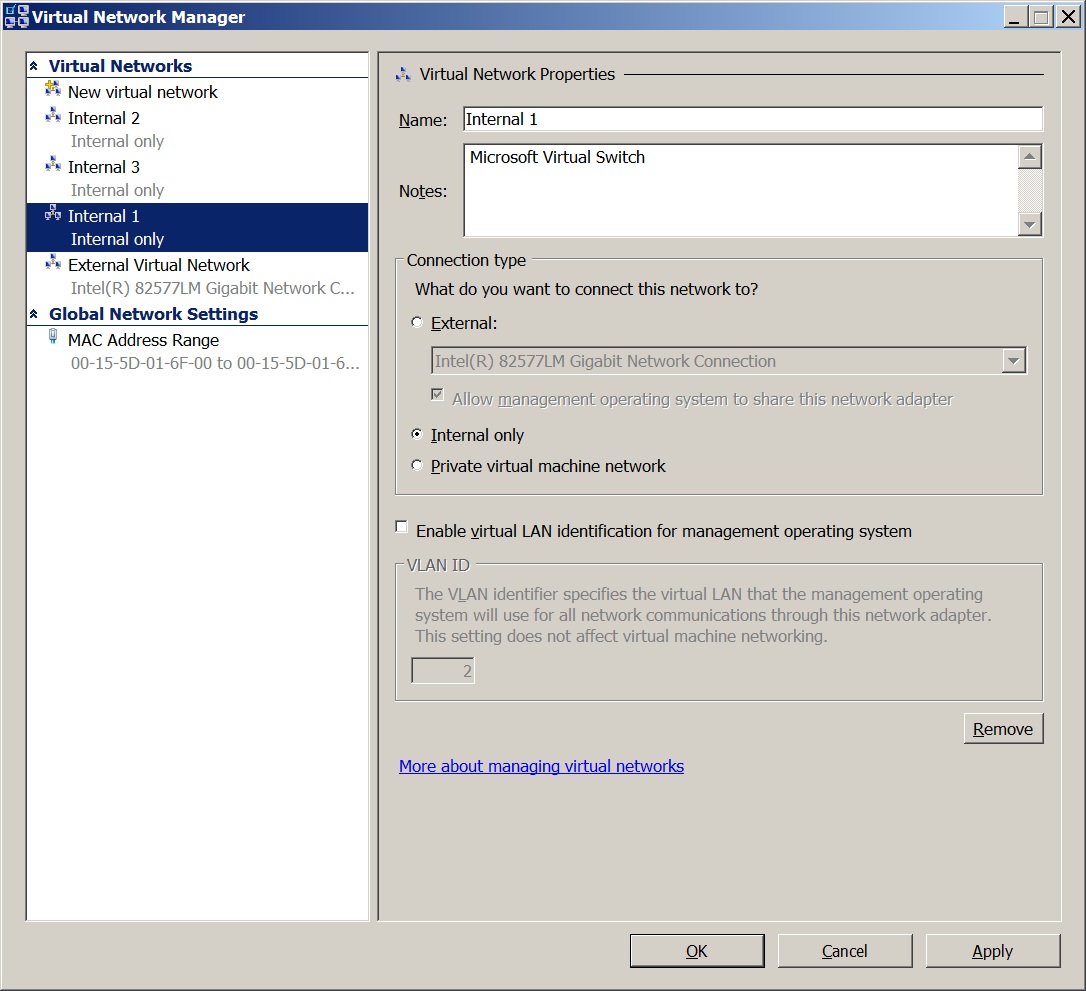
Launch the Hyper-V Manager and then open the Virtual Network Manager
Create 3 Internal only networks to facilitate communication between the virtual machines you'll create.
Create a Virtual Hard Disk to Serve as the Base Image for All Your Servers:
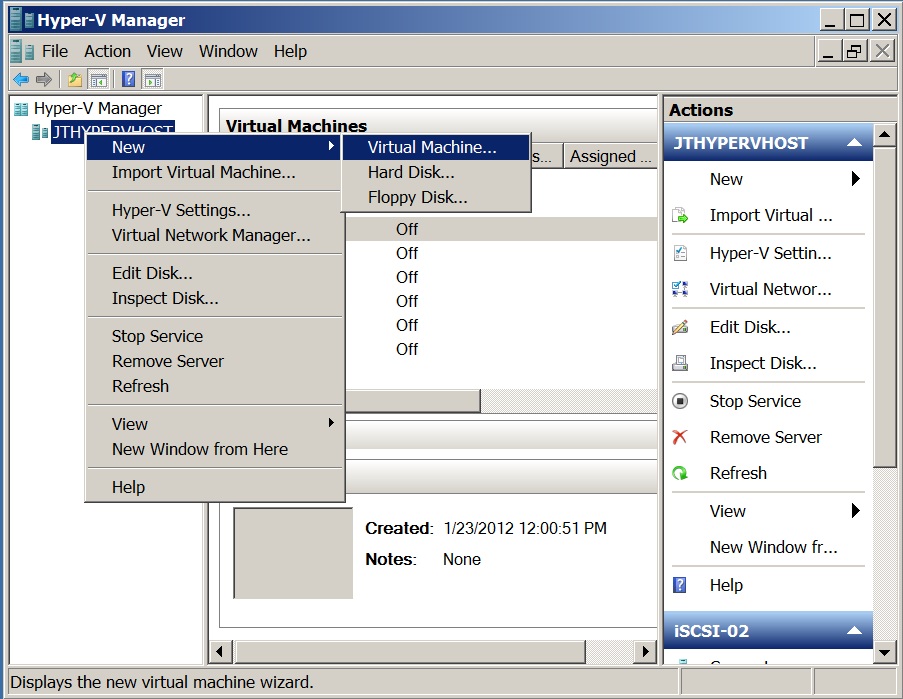
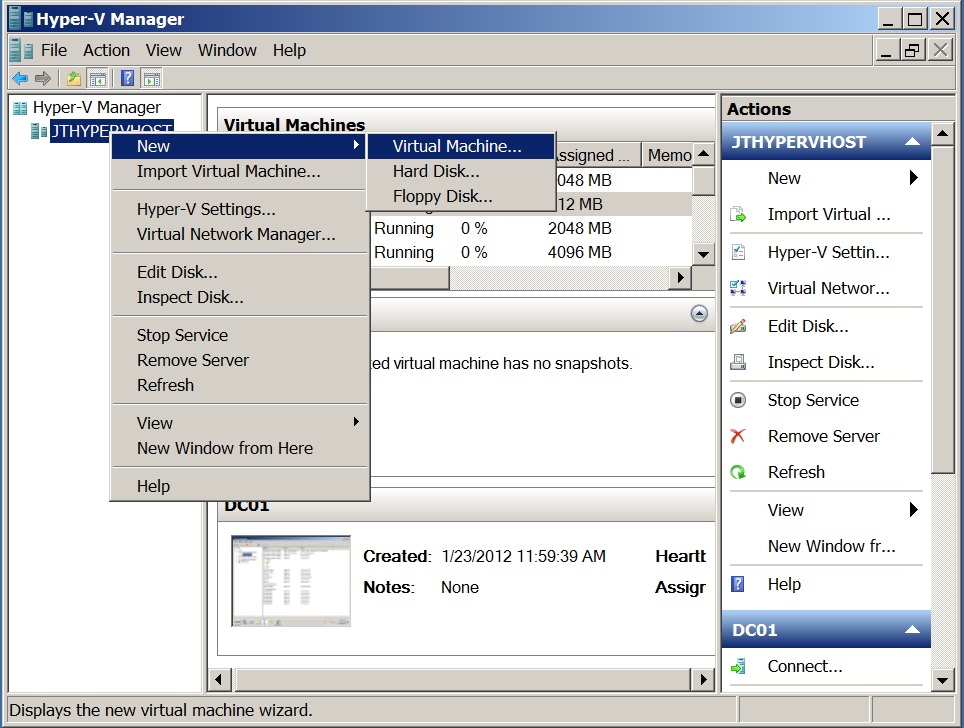
Launch Hyper-V Manager, right-click your server and then select New > Virtual Machine...
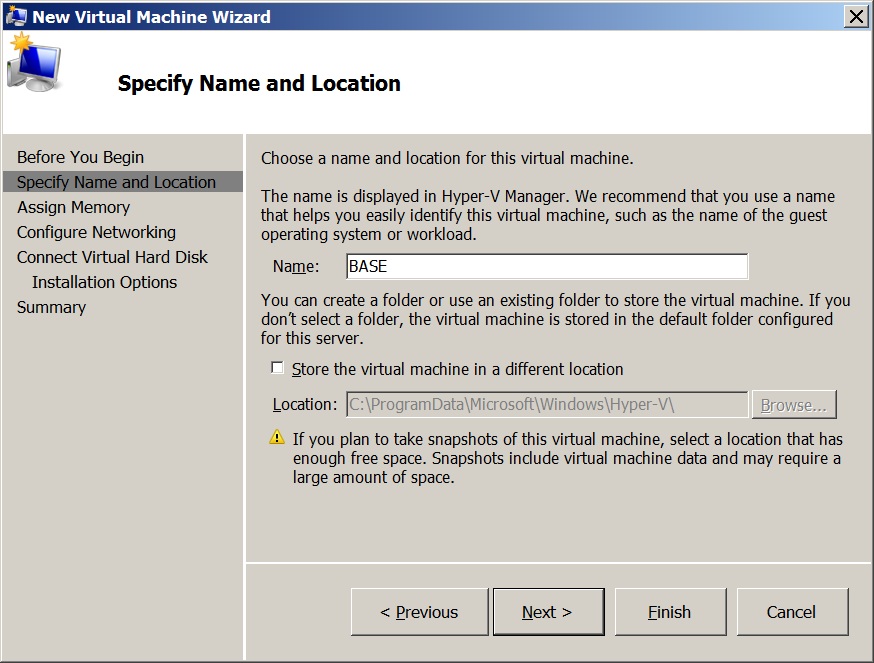
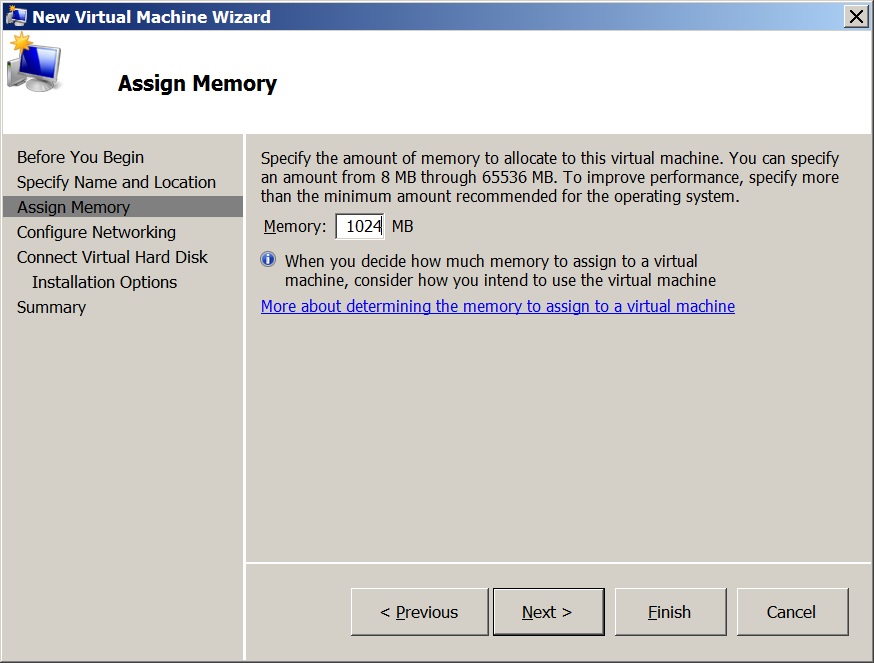
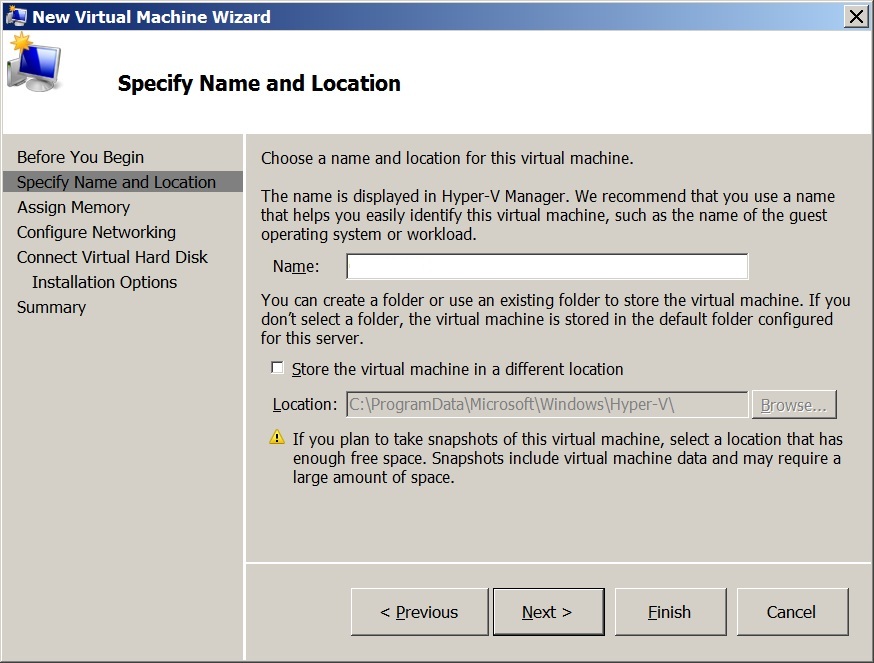
Type a name for the new virtual machine, either accept the default location for your new virtual machines, or check the Store the virtual machine in different location checkbox to specify another location.
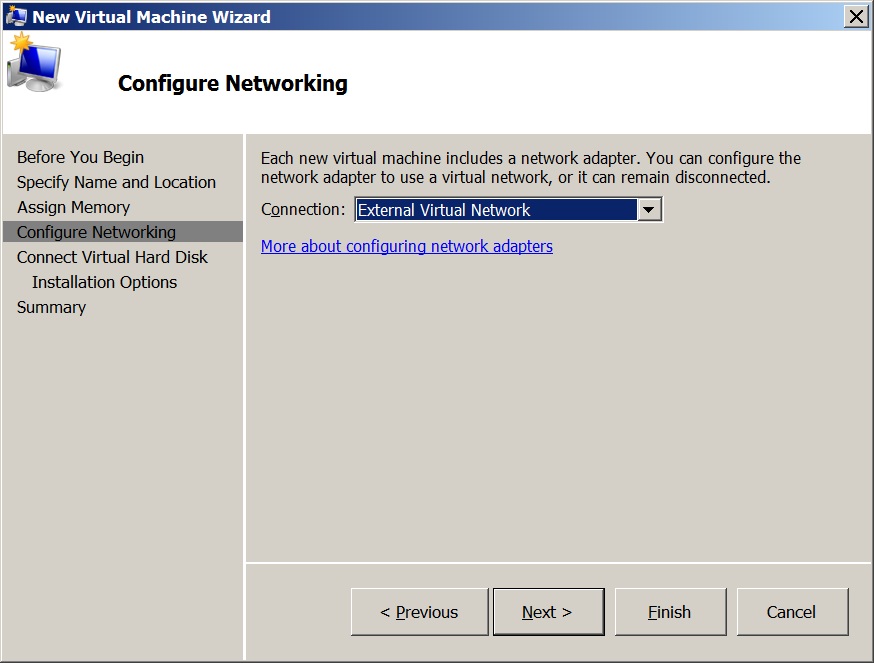
On the Configure Networking dialog, select External Virtual Network from the Connection dropdown:
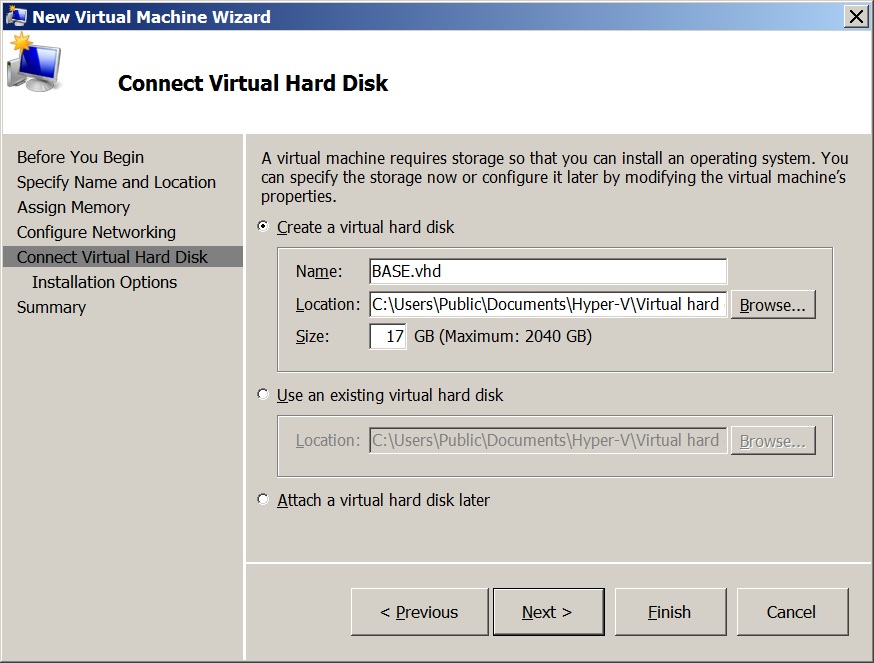
In the Connect Virtual Hard Disk dialog, name the new disk and specify its location and size
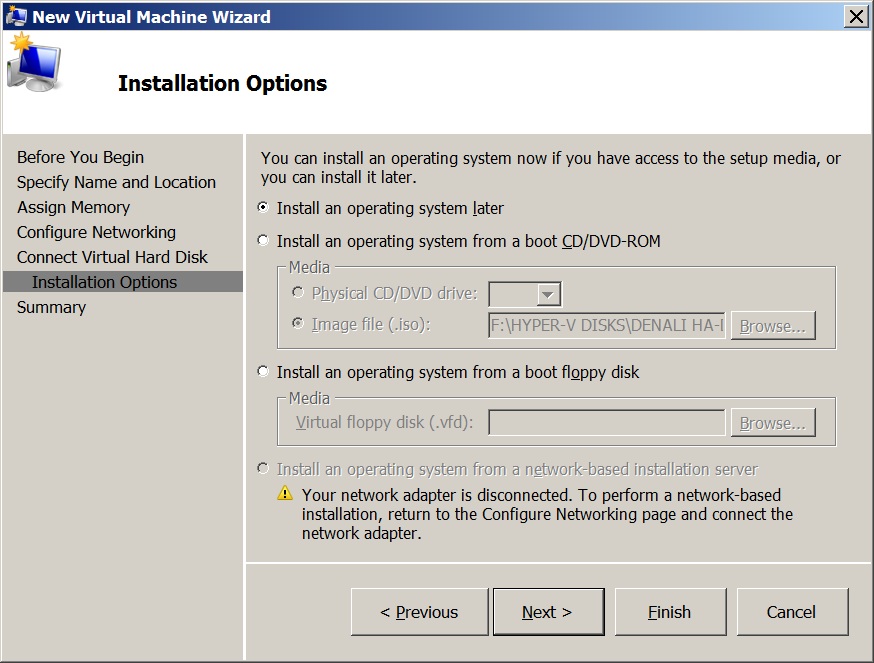
On the Installation Options dialog, leave the Install an operating system later radio button selected
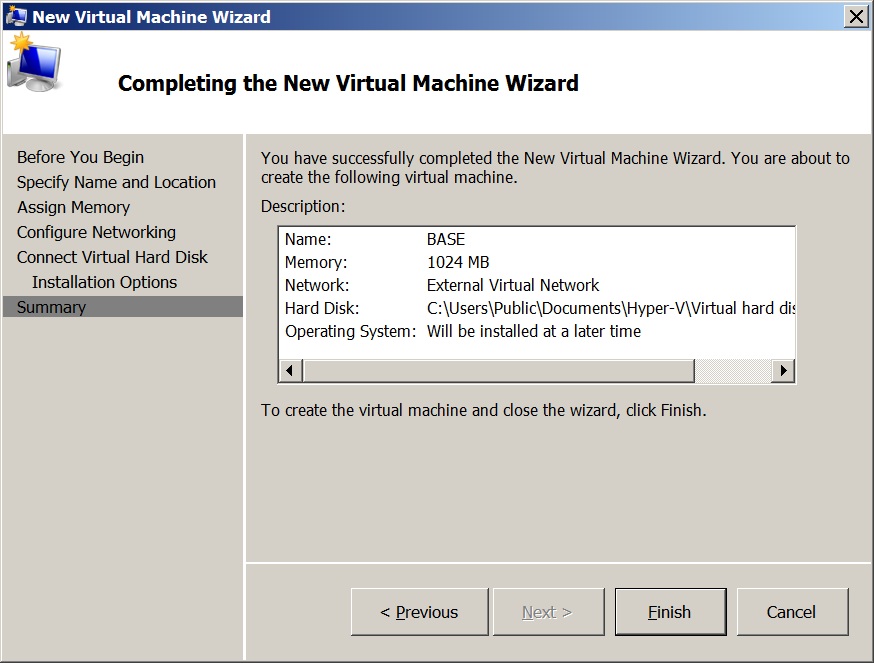
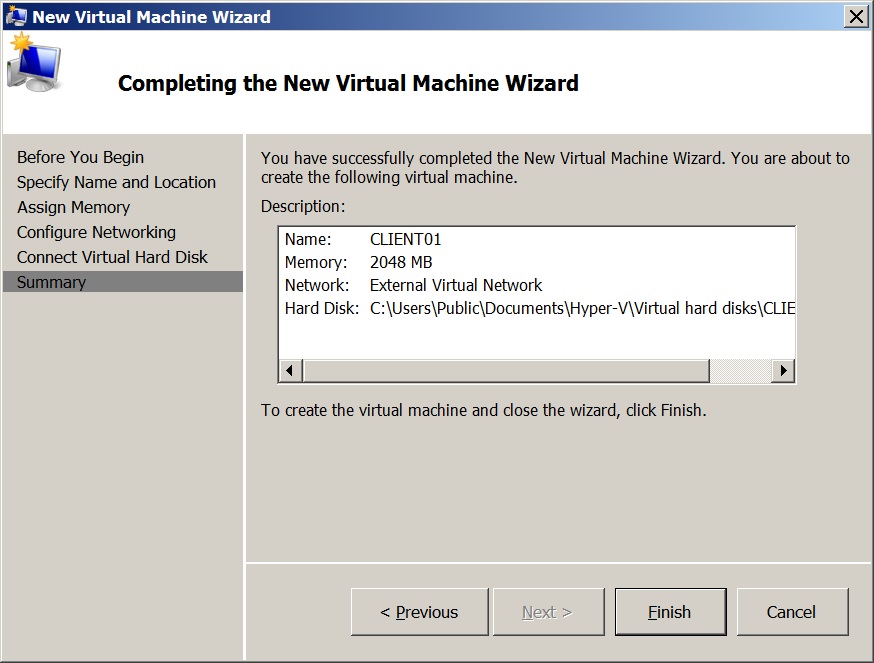
Finally, review the Completing the New Virtual Machine Wizard dialog and click the Finish button
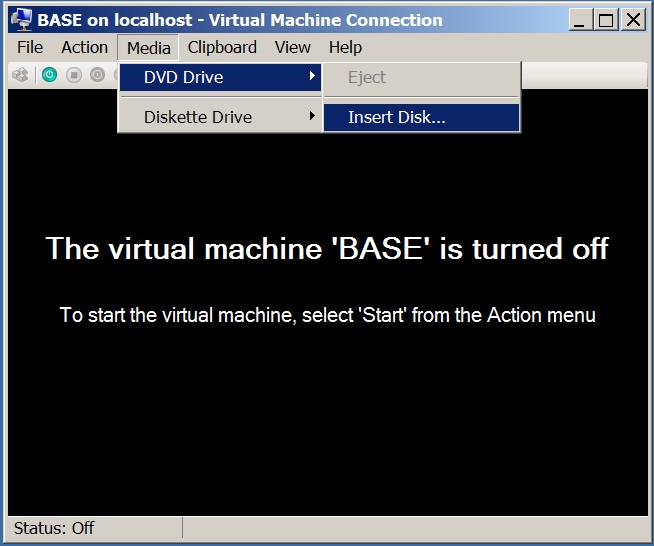
Connect to the new VM, and then point the DVD Drive to your Windows Server 2008 R2 SP1 ISO file.
Start the virtual machine, and then perform an install just as you would for a (physical) machine.
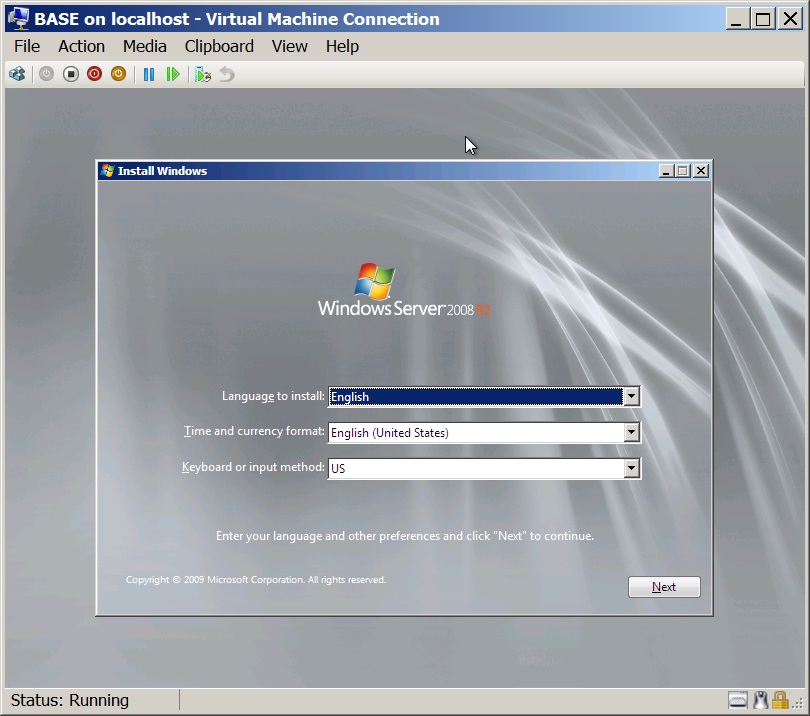
Configure preferences for language, time and currency, and keyboard input. Click Next to continue.
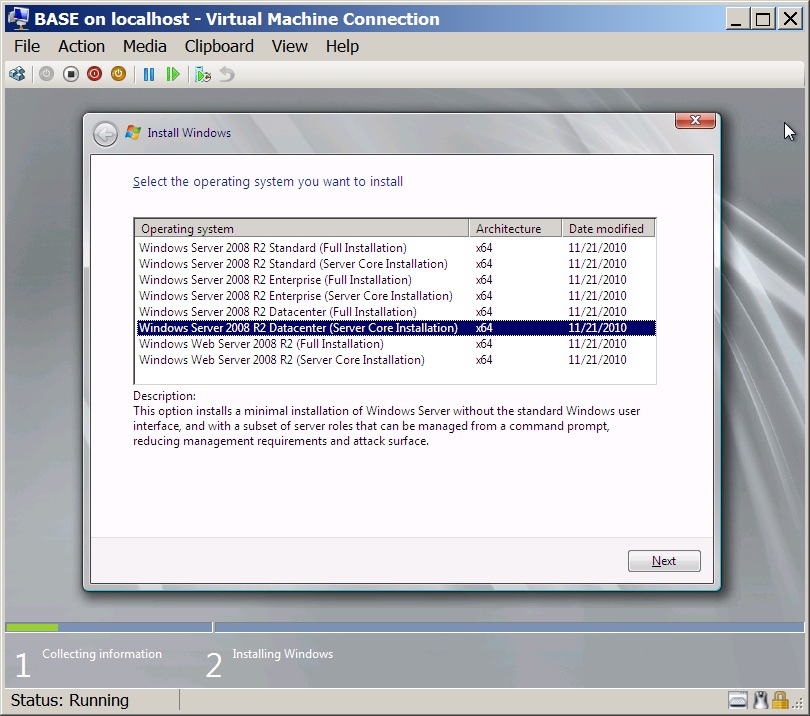
Select which OS version you want to install; you can perform either a Full or Server Core installation.
When the install wizard completes, set a Password.

If you ran a Full Server Installation then run Windows Update. You may have to run it more than once.

If you ran a Core Server Installation then all administration must be performed using CMD.exe.
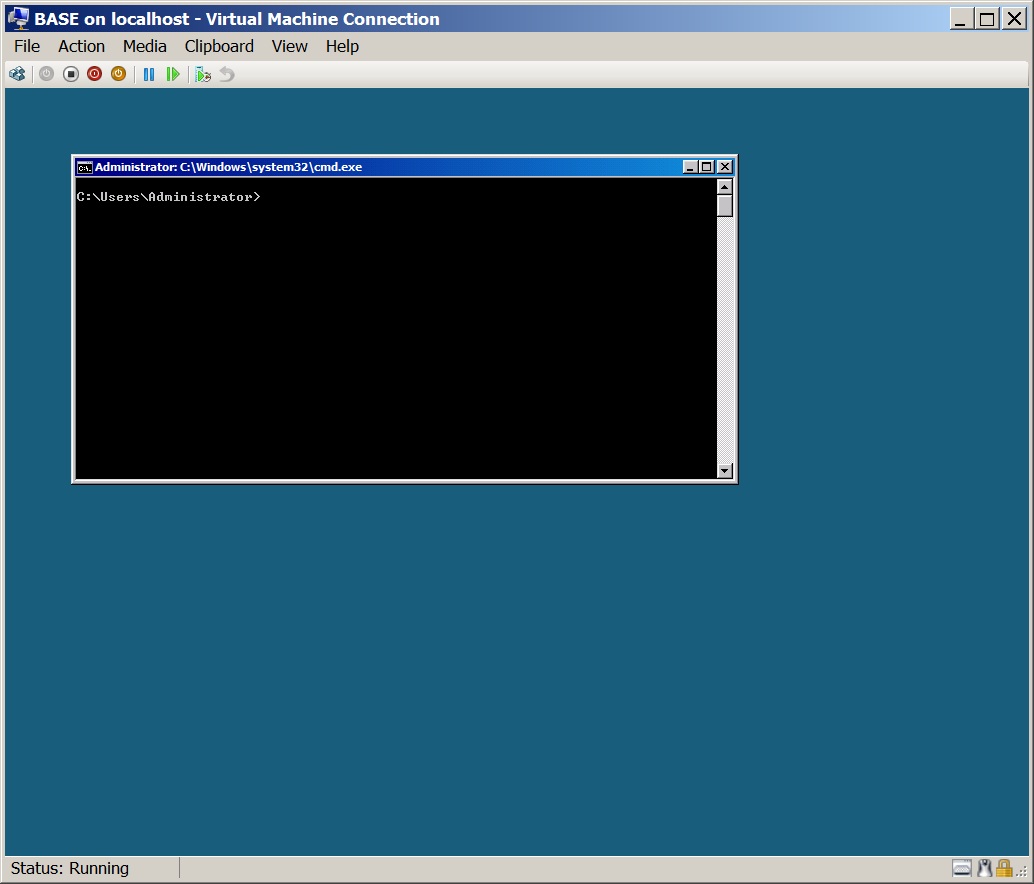
To enable automatic updates, run the following commands (remember to press ENTER after each line):
Net stop wuauserv
Cscript C:\Windows\System32\scregedit.wsf /AU 4
Net start wuauserv
To force Windows Update to detect and install any available updates, run the following command:
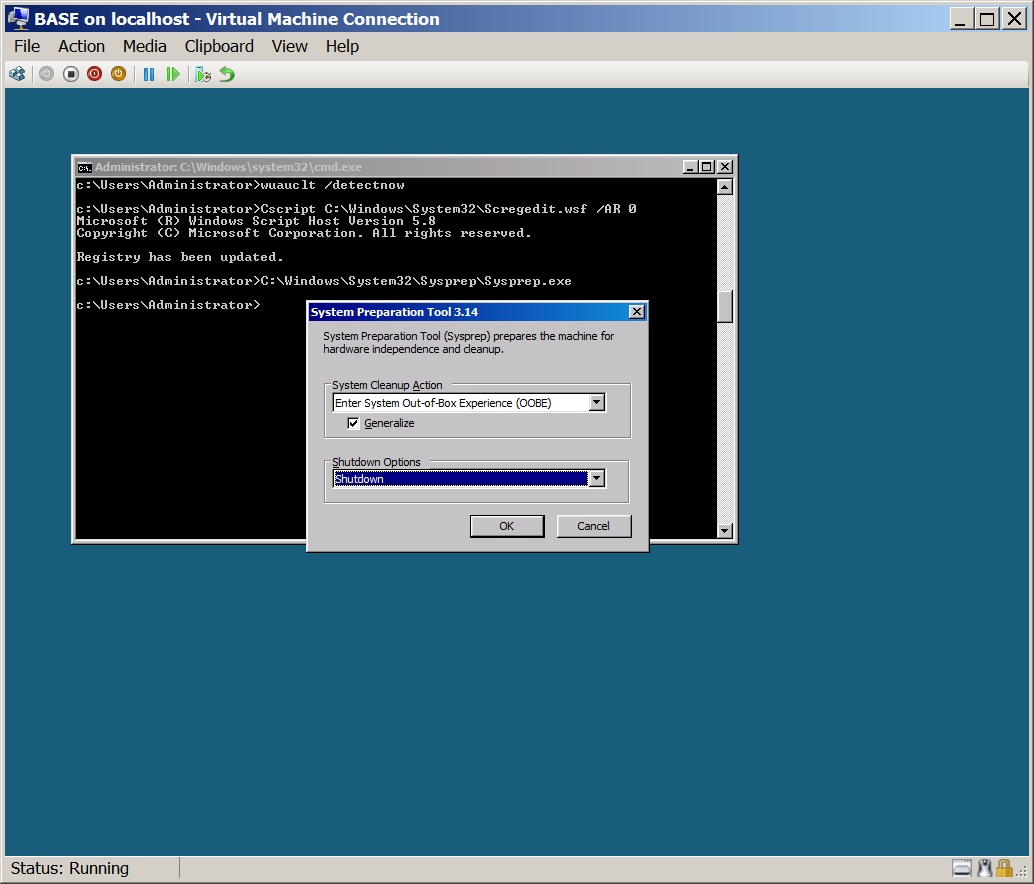
Wuauclt /detectnow Since it will be easier to administer Server Core machines from a remote desktop, run the following command to enable remote administration:
Cscript C:\Windows\System32\Scregedit.wsf /AR 0 Don’t install any roles or rename the machine. Once fully configured, run the following command:
C:\Windows\System32\Sysprep\Sysprep.exe Select the options Enter System-Out-of-Box Experience (OOBE) , Generalize and Shutdown:
You now have a new base virtual hard disk that should be less than 8GB (Full) or 3GB (Core).
Finally, remove the BASE virtual machine from Hyper-V Manager; the BASE.vhd file will not be deleted.
Create Differencing VHDs Based on your BASE Virtual Machine Image
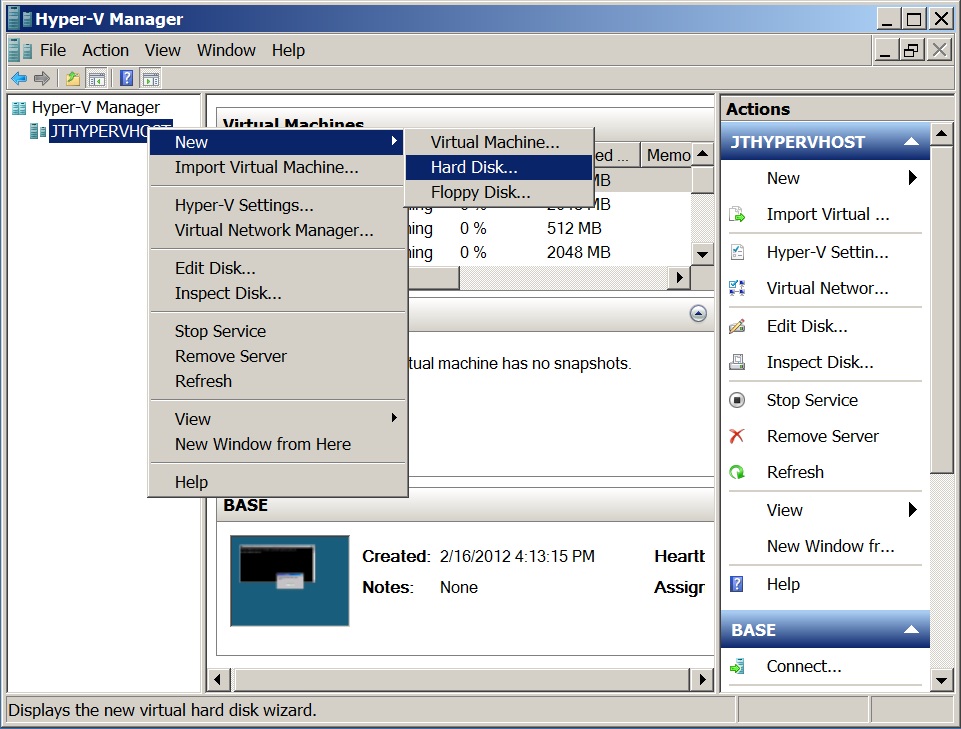
Launch Hyper-V Manager, right-click your server and then select New > Hard Disk...
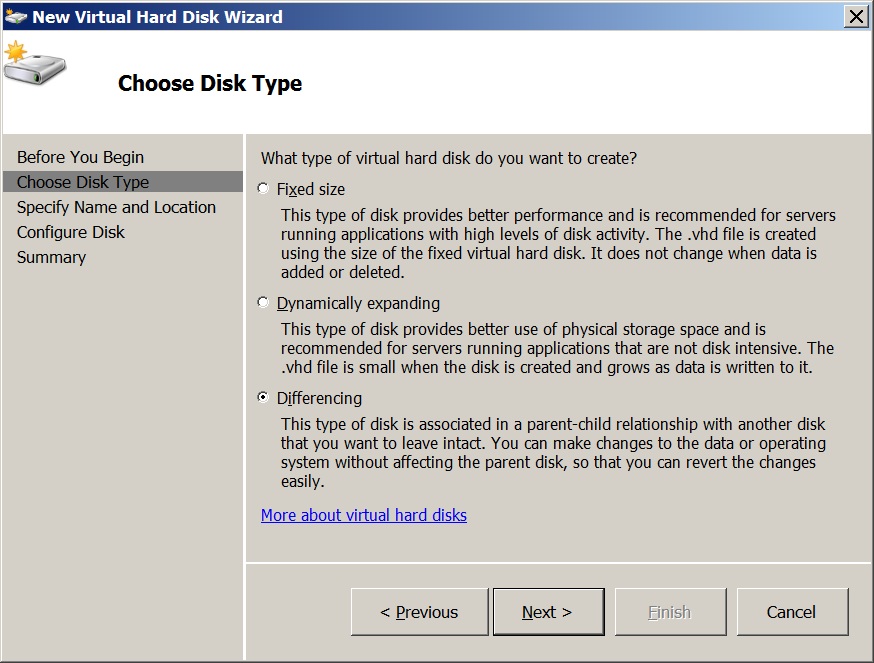
In the Choose Disk Type dialog, select the Differencing radio button, and then click the Next button.
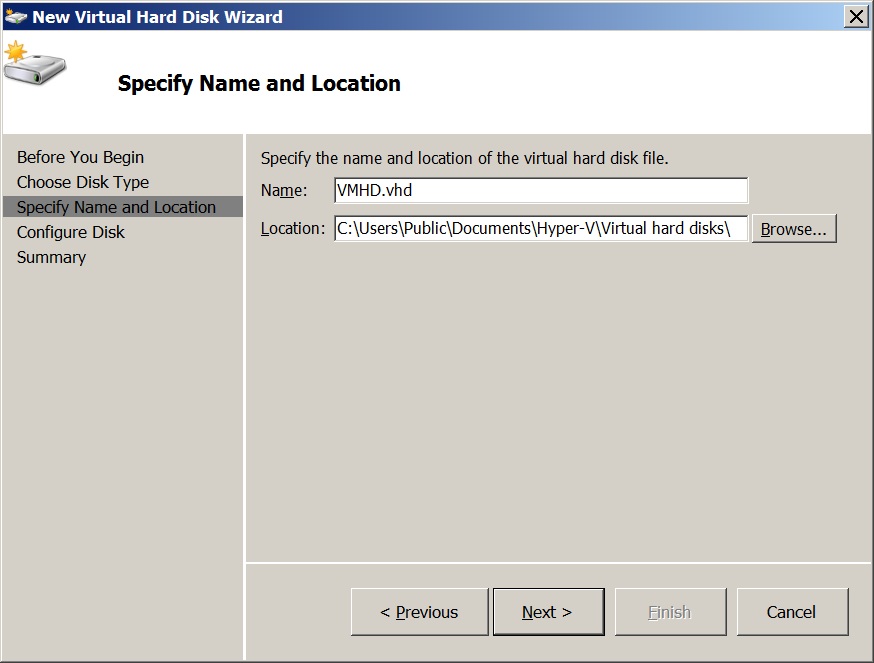
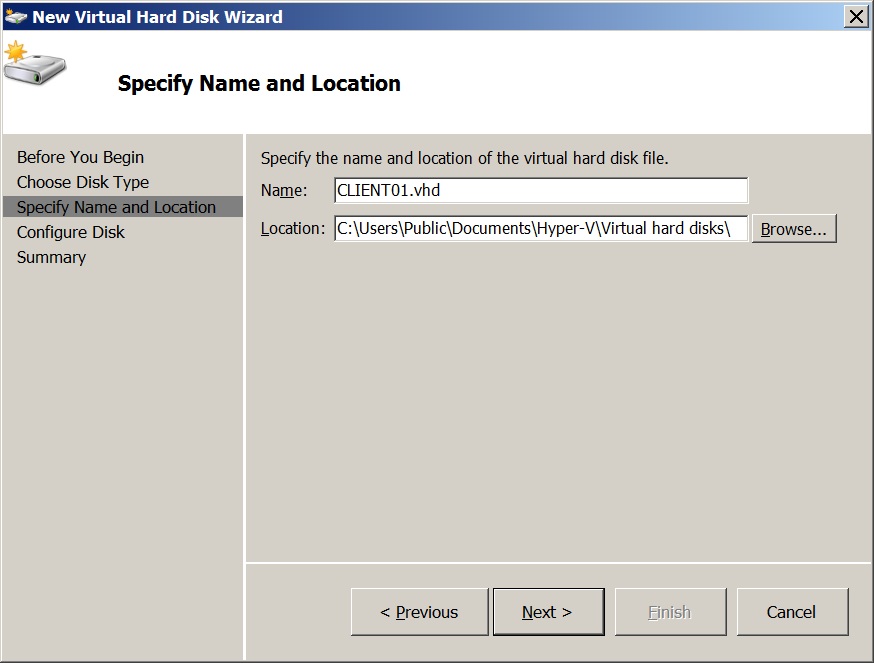
On the Specify Name and Location dialog, type a name, specify where you want to save your new differencing hard disk, and then click the Next button.
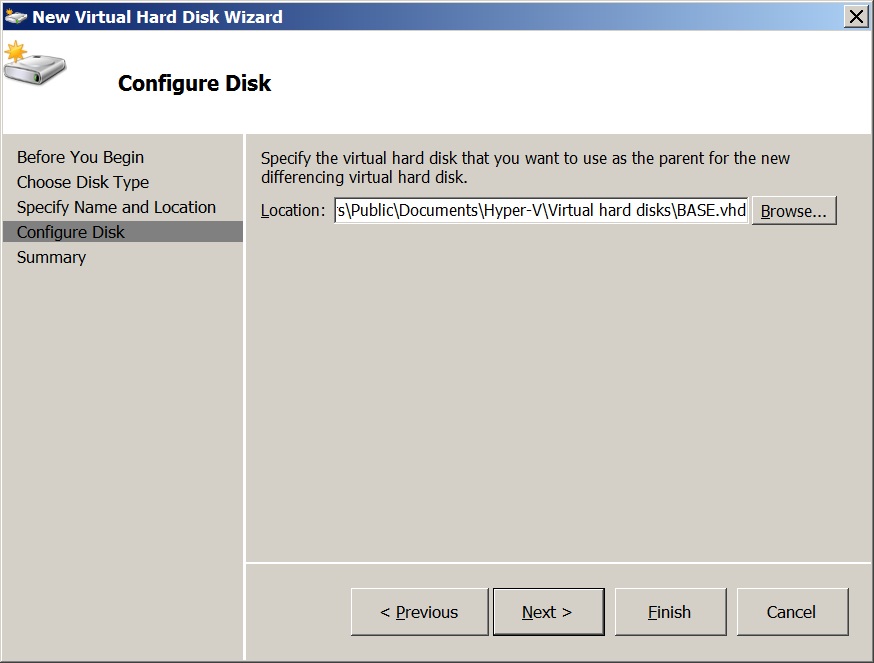
On the Configure Disk dialog, click the Browse button and navigate to the parent hard disk BASE.vhd

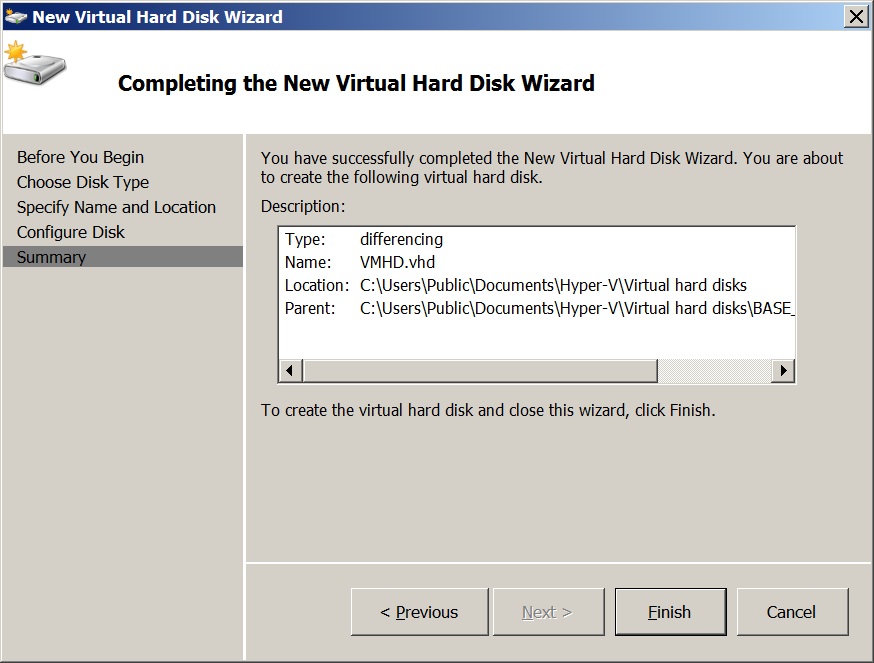
Finally, review the Completing the New Virtual Hard Disk Wizard dialog, and click the Finish button.
You now have a new differencing virtual hard disk that is under 200KB in size. Since the differencing VHD file contains only the data required to reference which parent virtual hard disk it was based upon, it can be safely copied and pasted to produce as many new virtual servers as you need. I'd recommend saving the original VHD file so it can be copied to create new machines in the future.
WARNING: If you attempt to start or otherwise change the Parent Virtual Hard Disk then all of the differencing hard disks that were based upon it will be BROKEN!
Create the Virtual Machines for Your Lab Network
Using the copy/paste method, create 6 new differencing virtual hard disks named: DC01, iSCSI-01, SQLNode01, SQLNode02, SQLNode03, SQLNode04.
Run the New Virtual Machine Wizard six times; each time creating one of the 6 new virtual machines.
- On the Configure Networking dialog, select External Virtual Network from the Connection dropdown.
- On the Connect Virtual Hard Disk dialog, select the Use an existing virtual hard disk radio button, and then click the Browse button to locate the differencing VHD you created in step 1.
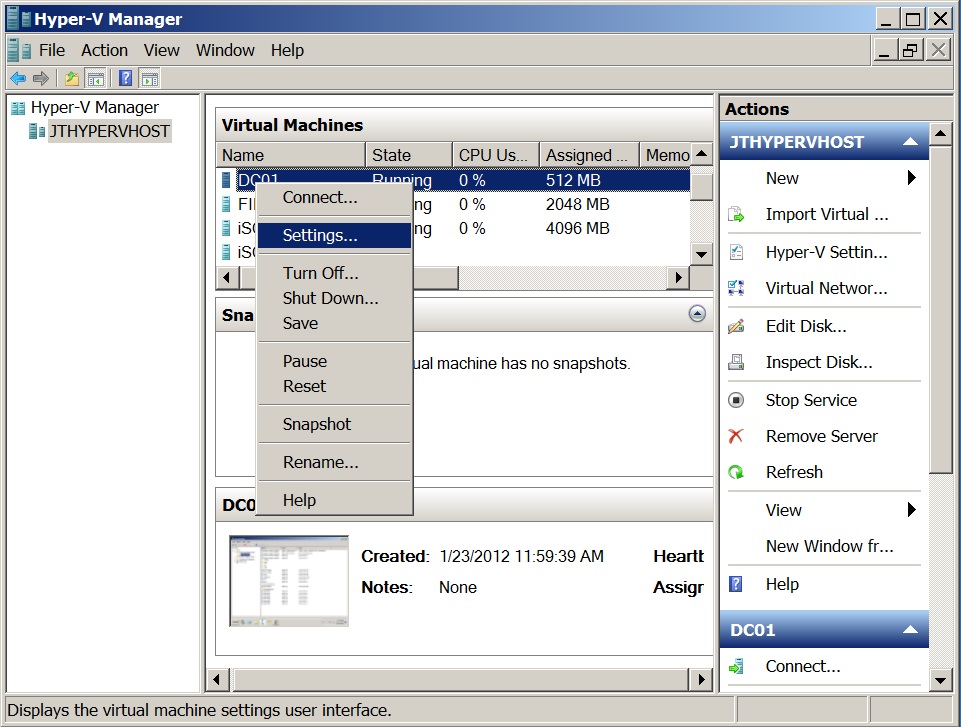
Using Hyper-V Manager, right-click each new virtual machine, and then select select Settings.
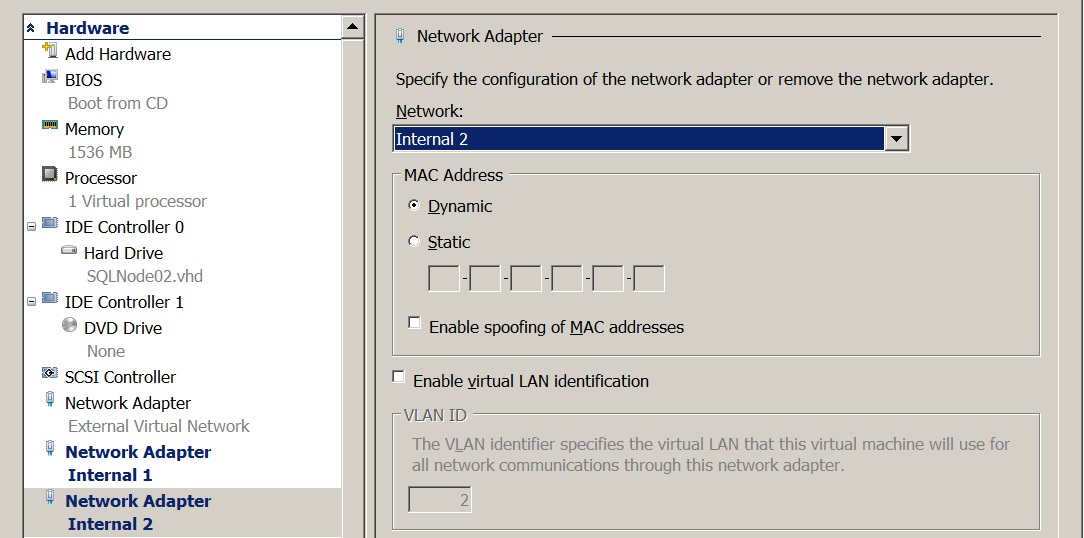
In the Settings dialog, select Add Hardware > Network Adapter, and then click the Add button to add aditional network adapters.
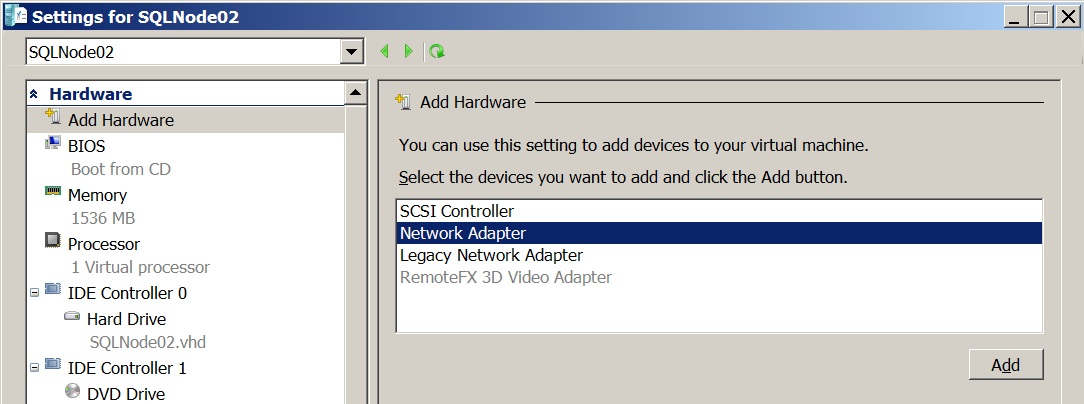
For DC01 (domain controller) and iSCSI-01 (iSCSI Target), add only one more network adapter to connect to Internal 1. DC01 and iSCSI-01 will be configured with 2 network adapters, 1 external and 1 internal.
For SQLNode01, SQLNode02, SQLNode03, SQLNode04, add 3 more network adapters to connect to Internal 1, Internal 2 and Internal 3. SQLNode01, SQLNode02, SQLNode03, and SQLNode04 will be configured with 4 network adapters, 1 external and 3 internal.
Perform Initial Configurations
Start each of the Virtual Machines, and let the initial setup complete.
Using Hyper-V Manager, connect to each virtual server, and then set its Administrator Password.
Configure the IP addresses for each network interface as specified in the table below:
- The Internal 1 network is used by the DNS/Domain Controller and the iSCSI Target.
- The External Virtual Network is used only for connecting to the Internet so it can be disabled most of the time.
- For all 3 Internal networks on all of the computers:
- Ensure the Subnet mask is set to 255.255.255.0
- Ensure the Preferred DNS server is set to 192.168.1.1.
- This will instruct them to register their names and IP addresses with the DNS server.
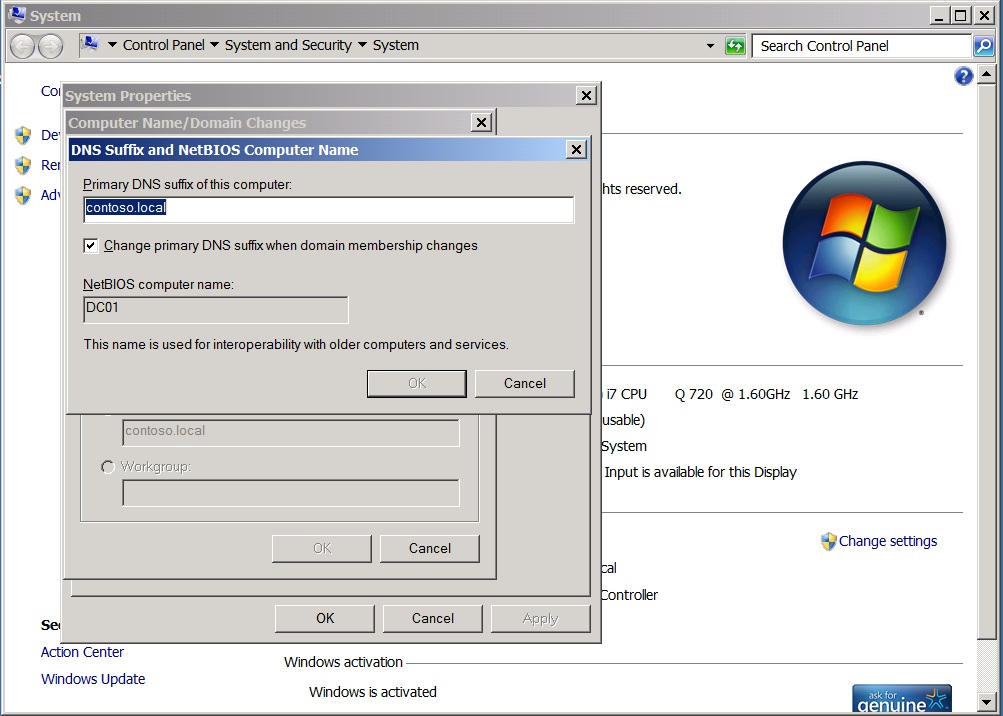
In the System Properties dialog, click the Change... button to rename each computer as specified in the table below:
Role Computer Name External Internal 1 Internal 2 Internal 3 DNS, Domain Controller DC01.contoso.local DHCP 192.168.2.1 N/A N/A iSCSI Target iSCSI-01.contoso.local DHCP 192.168.2.2 N/A N/A SQL Server 1 SQLNode01.contoso.local DHCP 192.168.2.3 192.168.3.3 192.168.4.3 SQL Server 2 SQLNode02.contoso.local DHCP 192.168.2.4 192.168.3.4 192.168.4.4 SQL Server 3 SQLNode03.contoso.local DHCP 192.168.2.5 192.168.3.5 192.168.4.5 SQL Server 4 SQLNode04.contoso.local DHCP 192.168.2.6 192.168.3.6 192.168.4.6 TIP: Rename the Network Connections in each virtual machine for easy identification. If you have trouble identifying each connection inside the virtual machine then temporarily set each adapter to Not Connected in the Hyper-V Manager - Settings dialog. This will cause the corresponding network adapter to display Network cable unplugged in Network and Sharing Center.
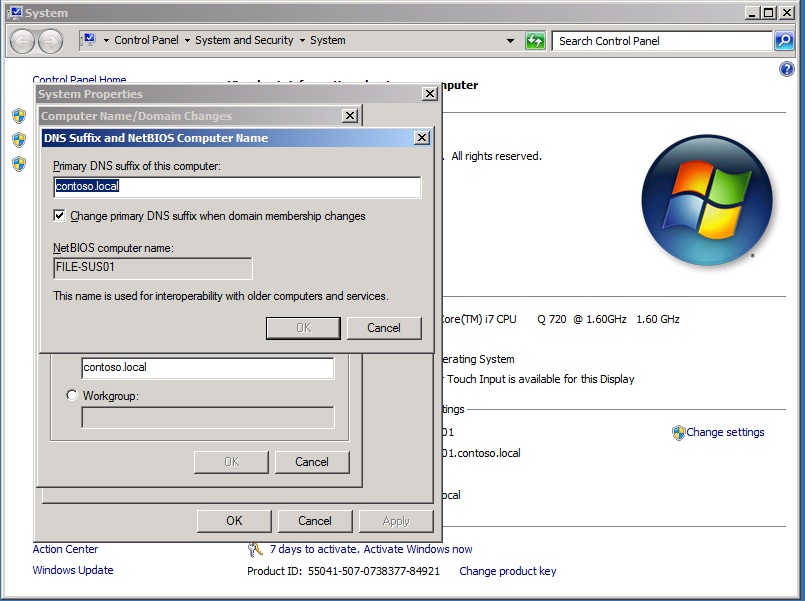
On the Computer Name/Domain Changes dialog, click the More... button, and then set the Primary DNS suffix of this computer to contoso.local in the DNS Suffix and NetBIOS Computer Name dialog.
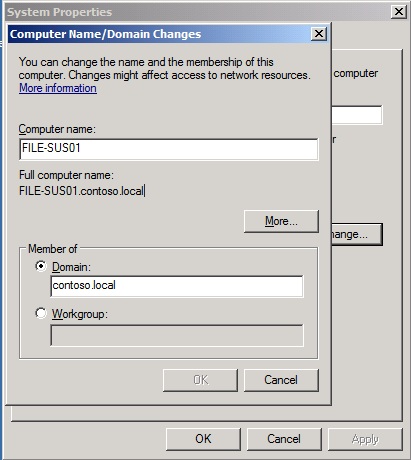
The Full computer name should be displayed including the DNS suffix in the Computer Name/Domain Changes dialog:
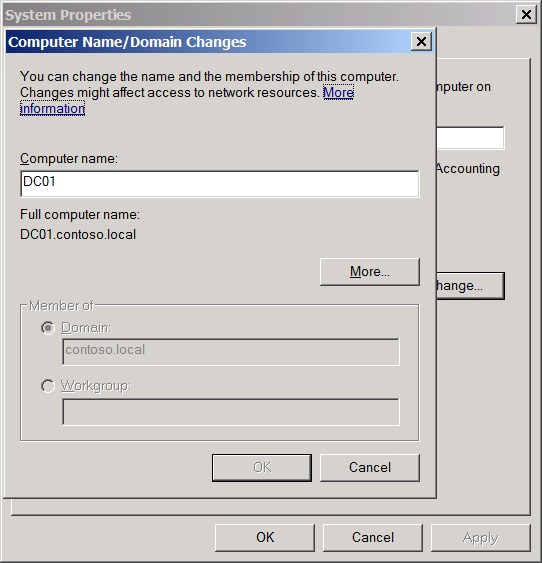
Select the Domain radio button in the Member of control group, enter contoso.local in the text box, and then click the OK button to join the computer to the domain.
Install the Domain Name Services (DNS) Server Role
The first task you must complete to establish your new dev/test lab network is to create a Domain Name Services (DNS) server and an Active Directory Domain Services domain controller to serve as the root of your new AD Forest.
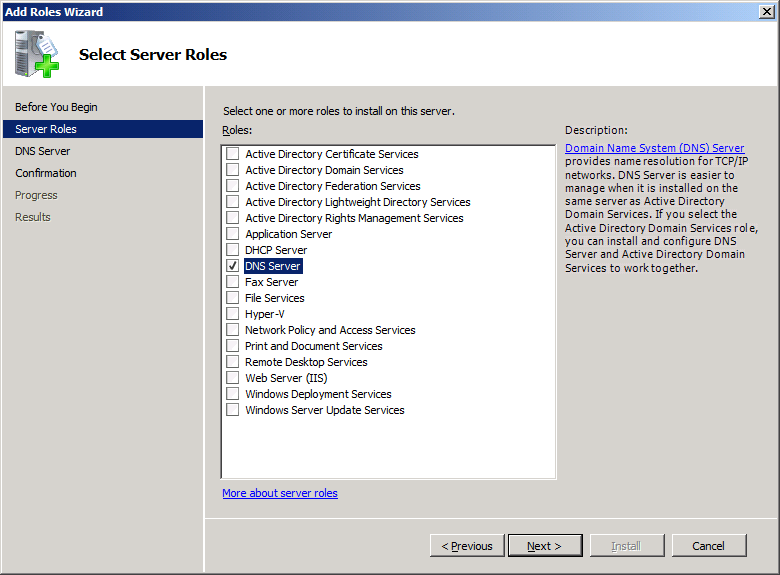
To install the DNS Server role on a Full Server Installation follow these steps:
Start the Server Manager, right-click Roles, and then select Add Roles from the action menu.

Next, select the DNS Server role, and then click the Next button
After the DNS Server role installation has been successfully completed, create one Primary Forward Lookup Zone for the contoso.local domain, and three Primary Reverse Lookup Zones; one for each of the three internal subnets you created earlier (192.168.2.x, 192.168.3.x, and 192.168.4.x). Allow both non-secure and secure dynamic updates.
Next, from each of your new server machines, register their IP Configurations with the DNS server by openning a command prompt dialog and typing:
ipconfig /registerdns Finally, open the DNS Manager on your new domain controller and confirm that each of your servers appear in the domain catalog.
Install the Active Directory Domain Services Role
After the DNS role has been successfully installed and configured we must next install the Active Directory Domain Services role and create the Contoso.local domain as the first domain in a new forest.
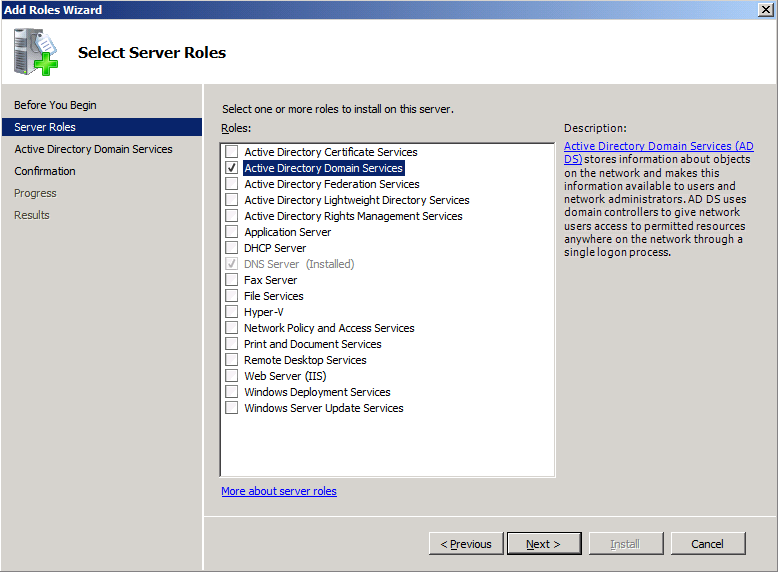
To install the Active Directory Domain Services role on a Full Server Installation follow these steps:
Start the Server Manager, right-click Roles, and then select Add Roles from the action menu.

Next, select the Active Directory Domain Services role, and then click the Next button.
To install the DNS Server role and the Active Directory Domain Services role on a Server Core Installation follow these steps:
If you ran a Server Core Installation then you cannot use the Active Directory Domain Controller Installation Wizard (Dcpromo.exe). This is especially true since DC01 will be the first server introduced into your new environment, and as a result, there will be no other Windows Server 2008 machine that can be used to host the remote server administration tools. In this case installing DNS and Active Directory must be accomplished via the command-line interface using Dcpromo.exe. It's easies to use an unattend file to install or remove the domain controller role and the DNS role as an integrated part of the process. You could run dcpromo.exe on another computer running Windows Server 2008 R2 to create an unattend file that you can then use on the server running Server Core installation, but the syntax really isn't all that complex so here we will simply create one in-place on the server using Notepad.
To create the unattend file open a new Notepad document by typing the following command at the command prompt.
Notepad Next, type the following commands, striking ENTER after each line:
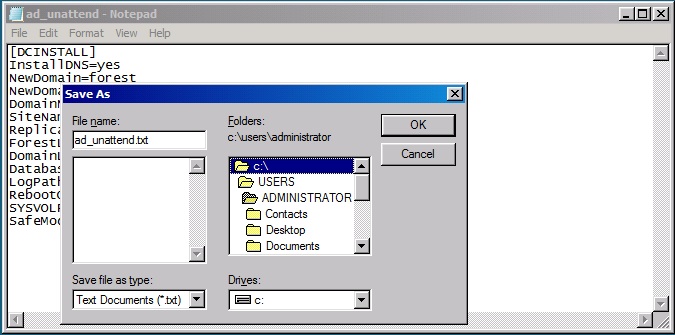
[DCINSTALL] InstallDNS=yesNewDomain=forestNewDomainDNSName=contoso.localDomainNetBiosName=contosoSiteName=FirstSiteNameReplicaOrNewDomain=domainForestLevel=4DomainLevel=4DatabasePath=%systemroot%\NTDS LogPath=%systemroot%\LOGRebootOnCompletion=yesSYSVOLPath=%systemroot%\SYSVOLSafeModeAdminPassword="Your_Secure_Password"
When your finished, simply save the file to the root of the C:\ drive by clicking File | Save As, supplying the name ad_unattend.txt, clicking the c:\ folder, and then clicking the OK button to finish.
Then, to install the DNS and Active Directory Domain Services roles on a Server Core instance of WIndows Server 2008 R2, run the following command:
dcpromo /unattend:C:\ad_unattend.txt