Running FreeBSD on Hyper-v
Hyper-V supports both emulated and Hyper-V-specific devices for Linux and FreeBSD virtual machines. When running with emulated devices, no additional software is required to be installed. However emulated devices do not provide high performance and cannot leverage the rich virtual machine management infrastructure that the Hyper-V technology offers. In order to make full use of all benefits that Hyper-V provides, it is best to use Hyper-V-specific devices for Linux and FreeBSD. The collection of drivers that are required to run Hyper-V-specific devices are known as Linux Integration Services (LIS) or FreeBSD Integration Services (BIS).
Microsoft has worked with the FreeBSD community to contribute those BIS synthetic device drivers as well as corresponding daemons to FreeBSD 10.0. Furthermore, Microsoft is improving networking and storage performance running on Hyper-v and enriching functionalities, such as live backup VM. As for detailed feature description, refer to https://technet.microsoft.com/en-us/library/dn848318.aspx.
In addition, Microsoft provides ports that contain the installable BIS drivers and corresponding daemons for older FreeBSD releases 9.x and 8.4.
This article will provide instructions on how to bring up latest FreeBSD 10.1 image on Hyper-v and use FreeBSD 9.3 as an example to highlight networking configuration and ports installation.
Create a FreeBSD VM
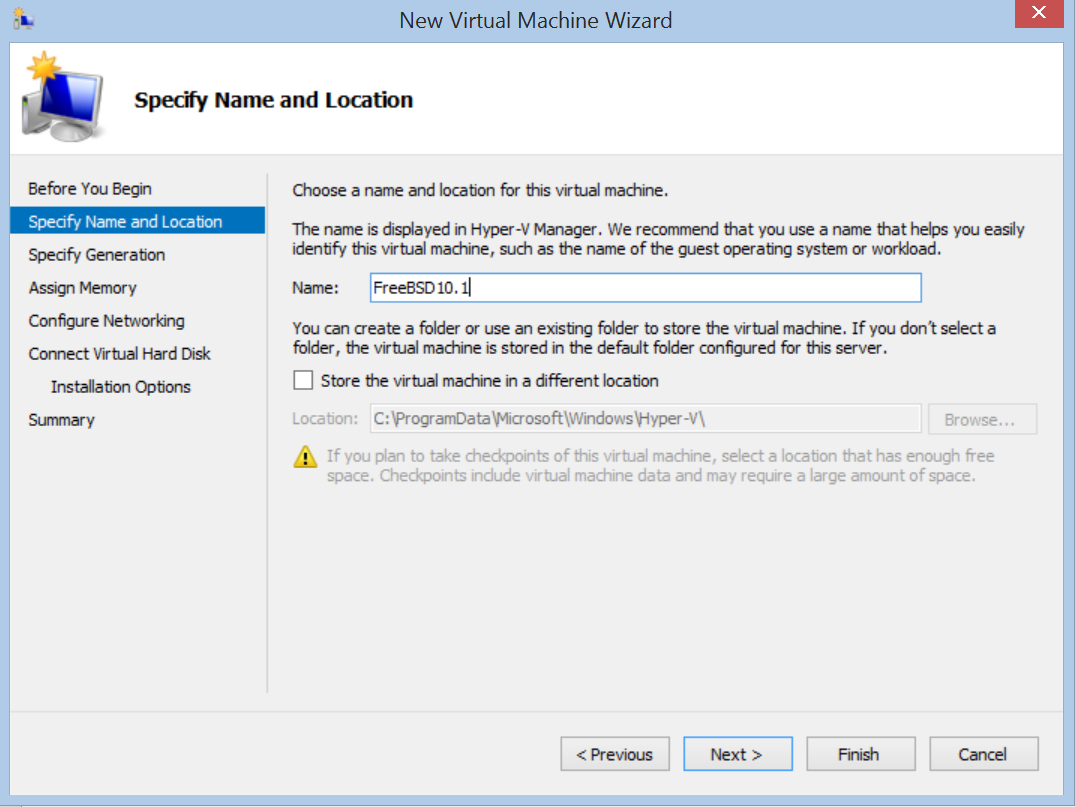
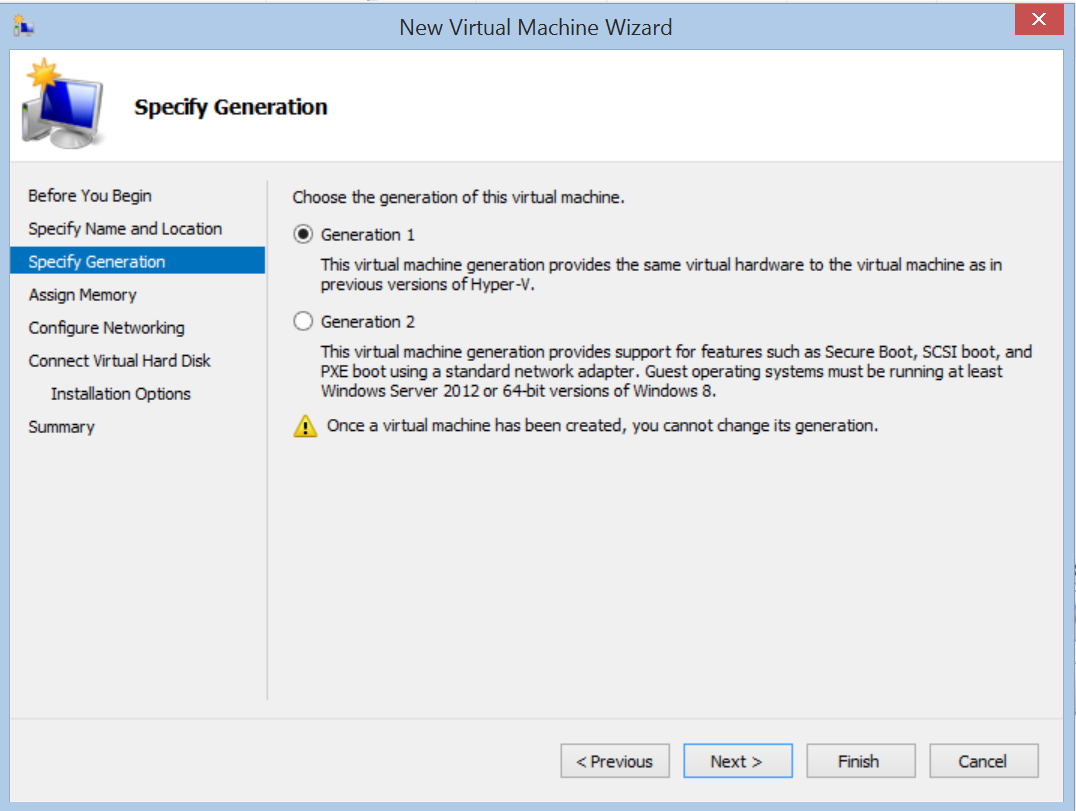
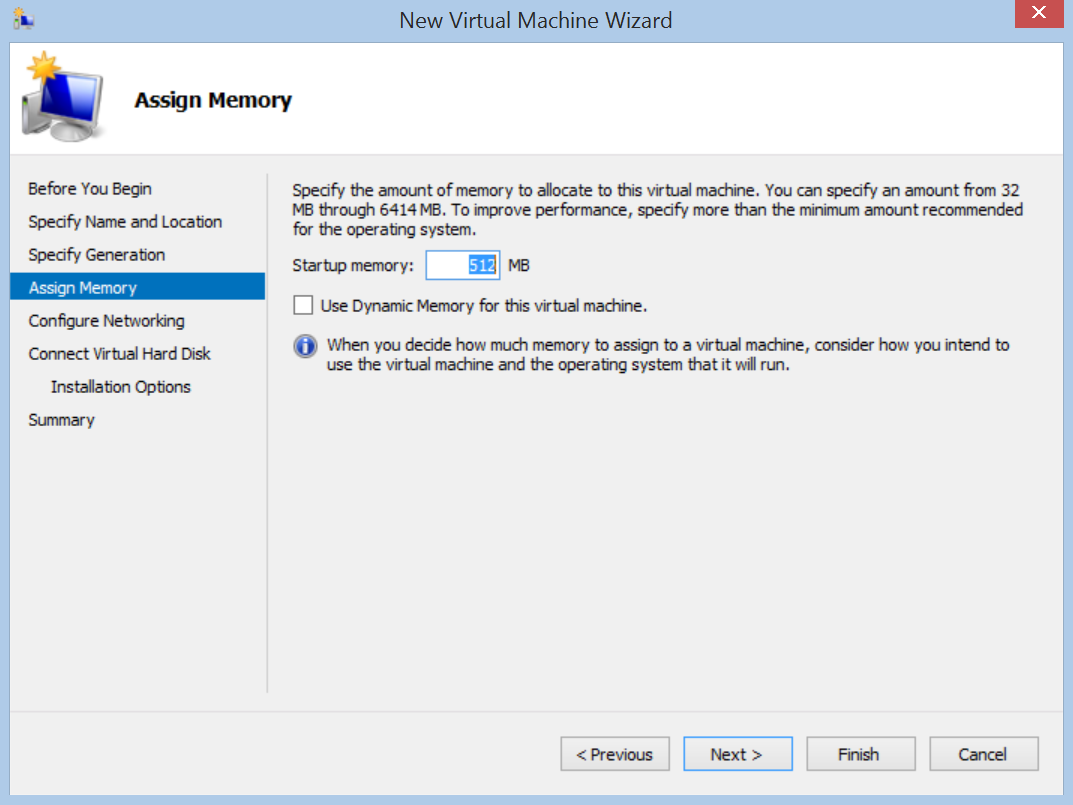
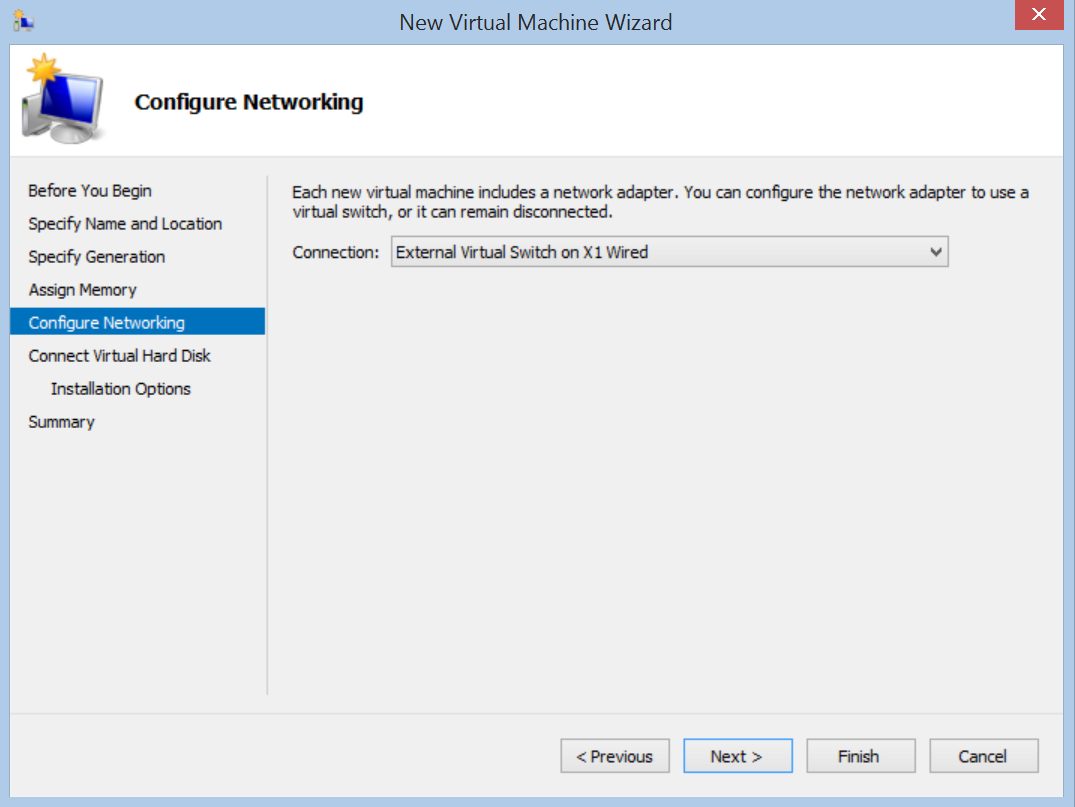
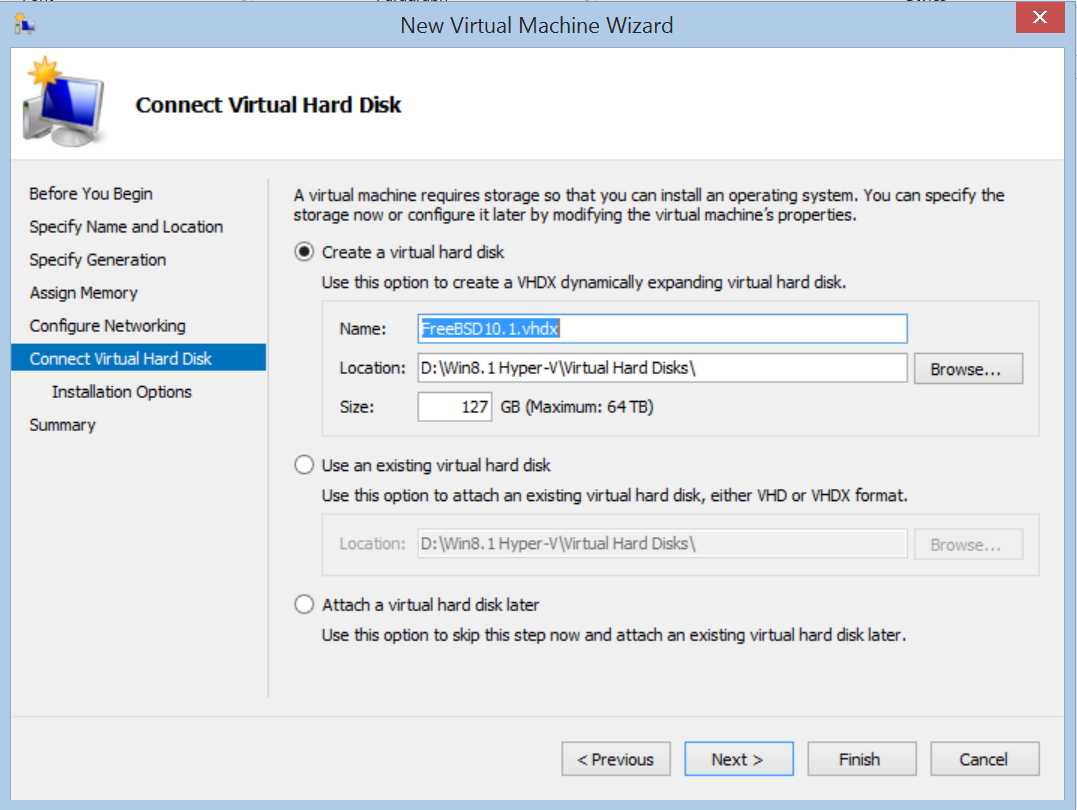
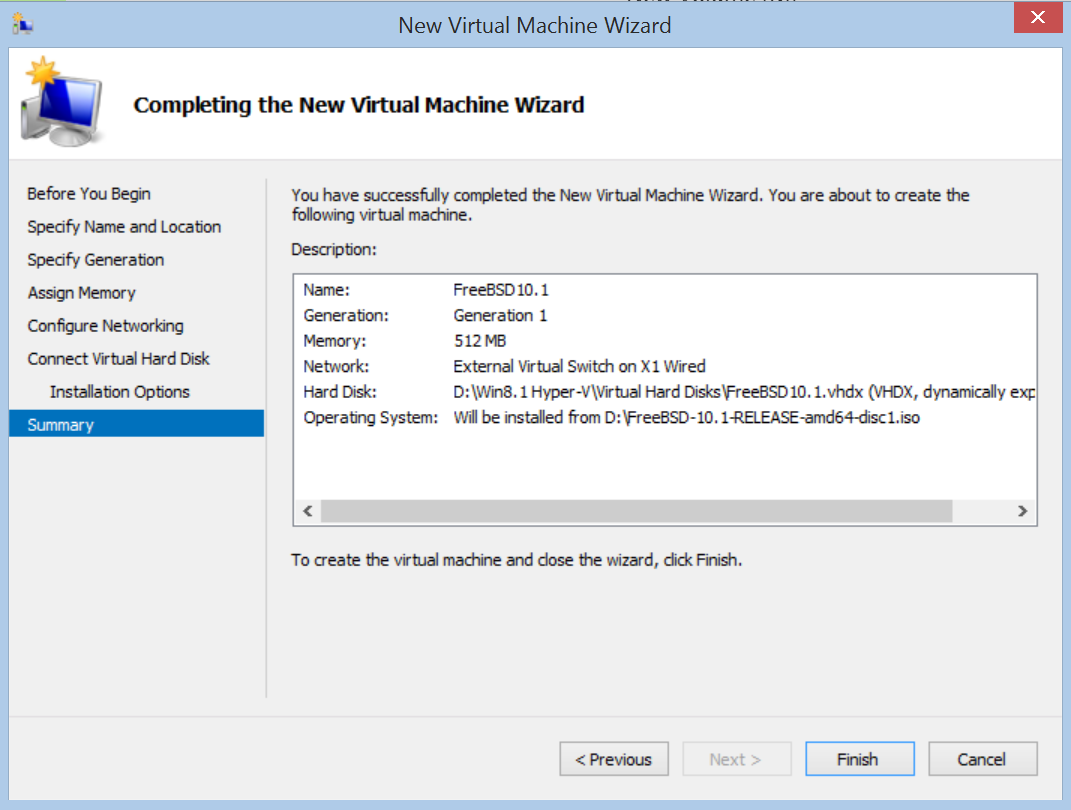
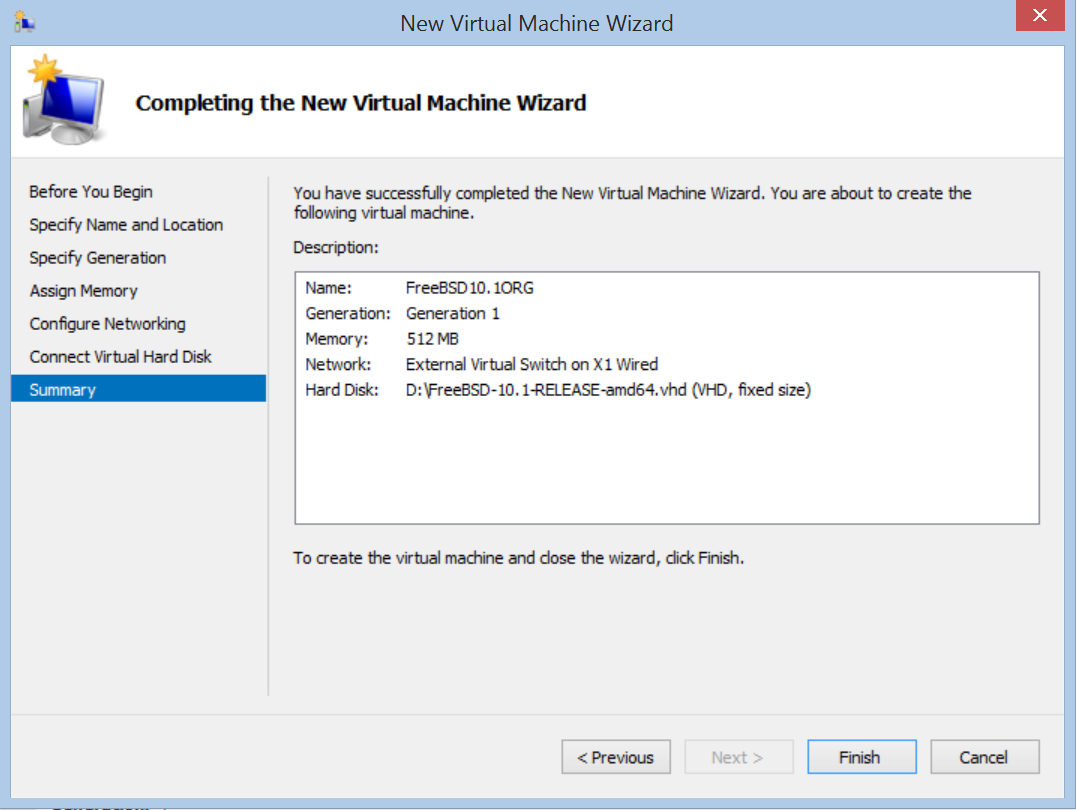
In short, follow “New Virtual Machine Wizard” to create a FreeBSD VM.
Please pay attention on “Specify Generation” and “Assign Memory”. Currently, BIS does not support Generation 2 VM and dynamic memory.
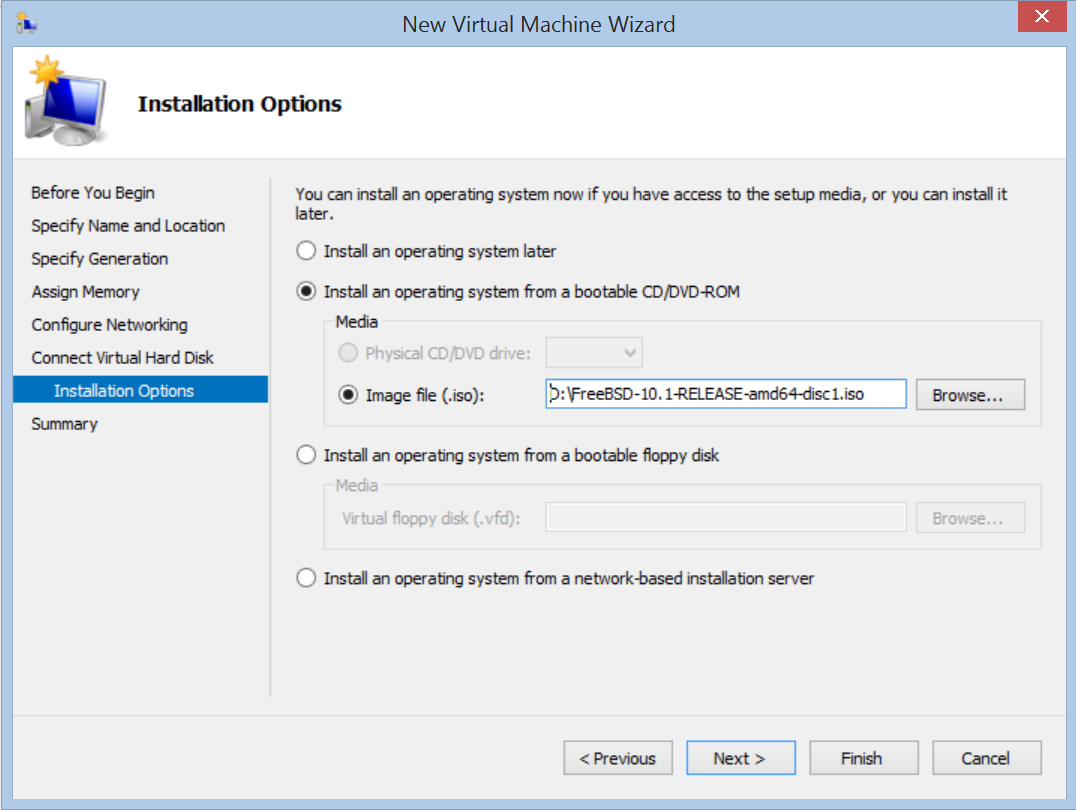
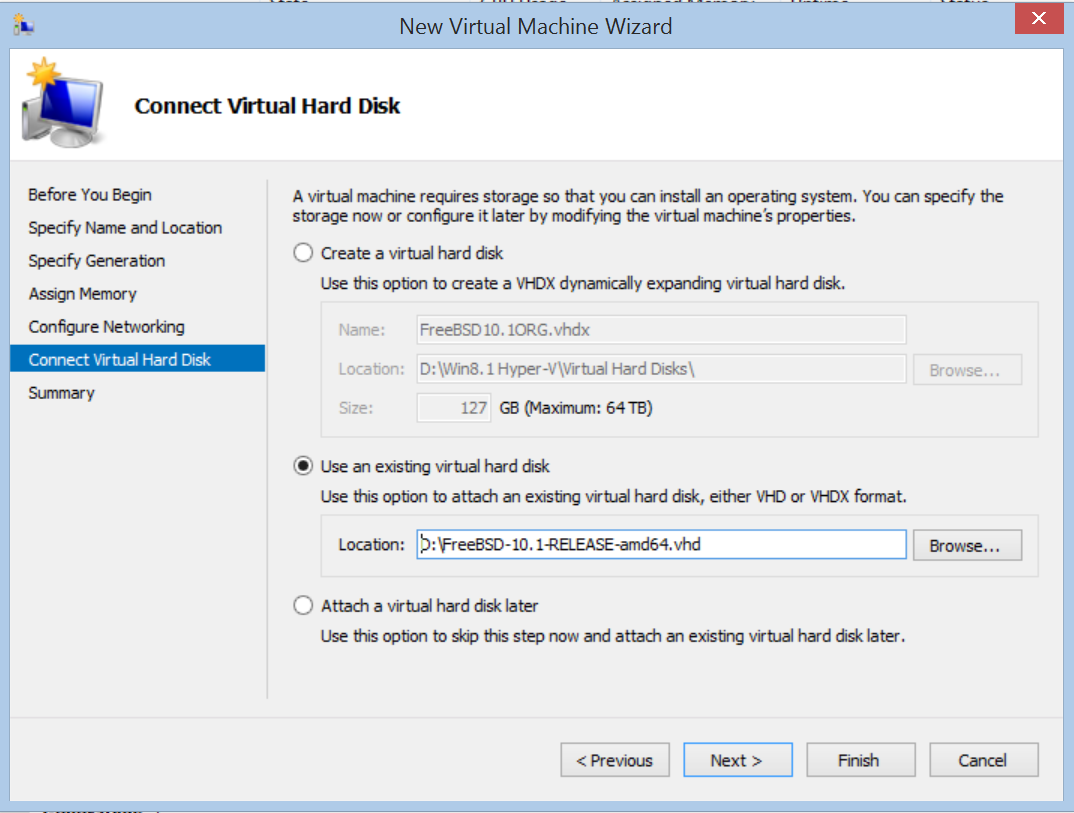
As for “Connect Virtual Hard Disk”, you could create a virtual hard disk and then install an operating system from a bootable CD/DVD-ROM, or use an existing hard disk.
- Download FreeBSD 10.1 ISO from ftp://ftp.freebsd.org/pub/FreeBSD/releases/ISO-IMAGES/10.1/.
or
- Download FreeBSD 10.1 VHD image provided by FreeBSD Community from ftp://ftp.freebsd.org/pub/FreeBSD/releases/VM-IMAGES/10.1-RELEASE/amd64/Latest/FreeBSD-10.1-RELEASE-amd64.vhd.xz and unzip it to FreeBSD-10.1-RELEASE-amd64.vhd.
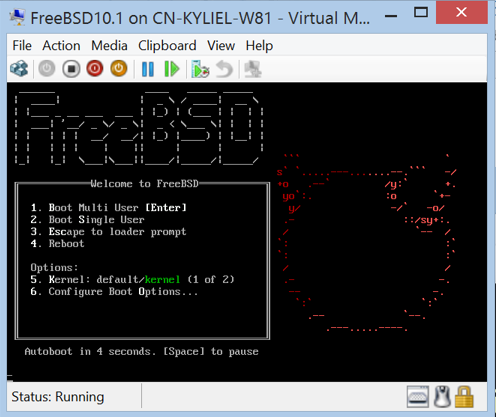
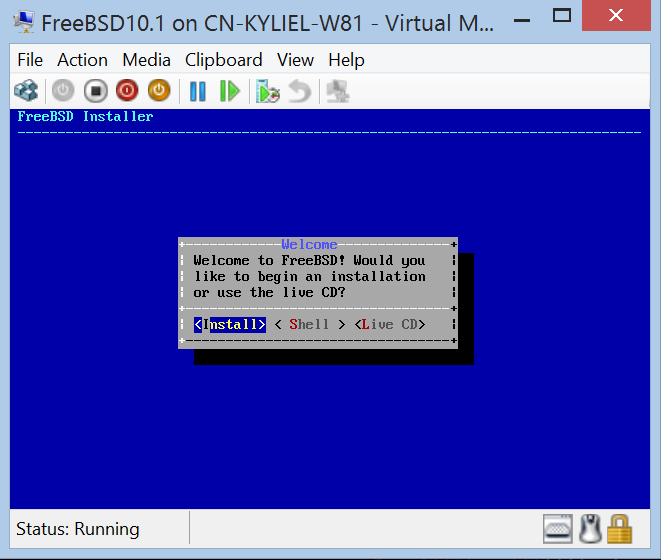
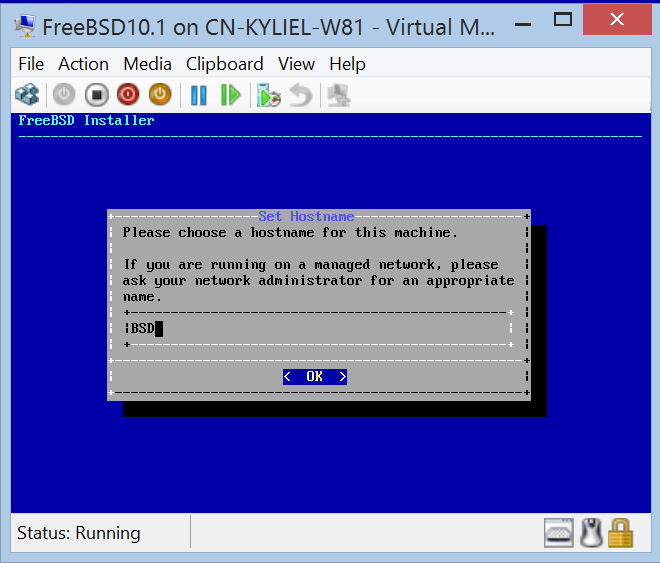
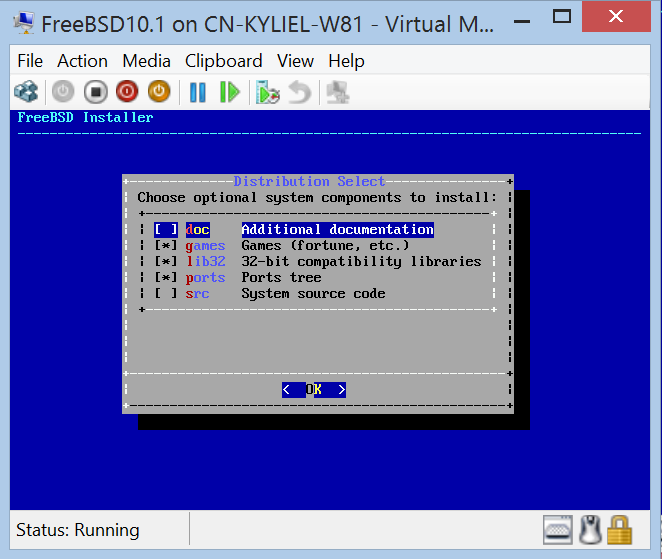
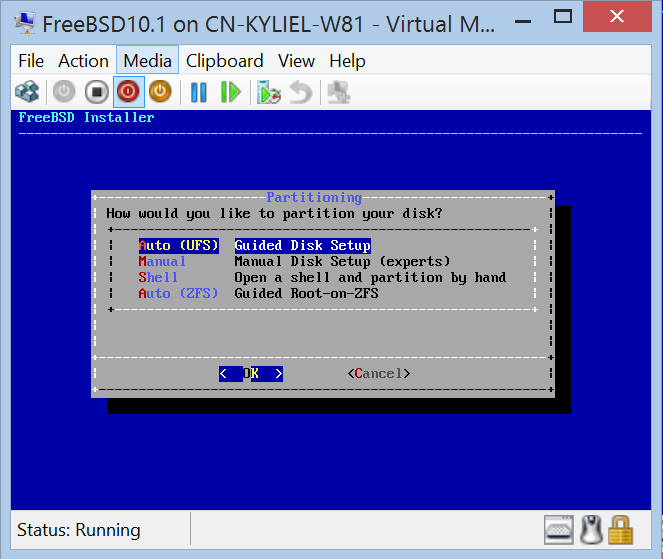
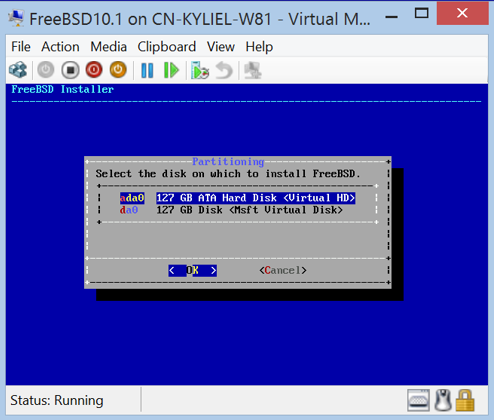
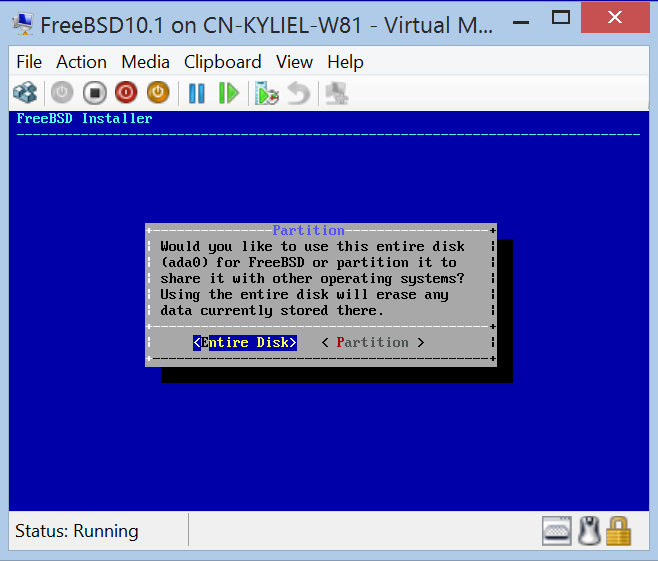
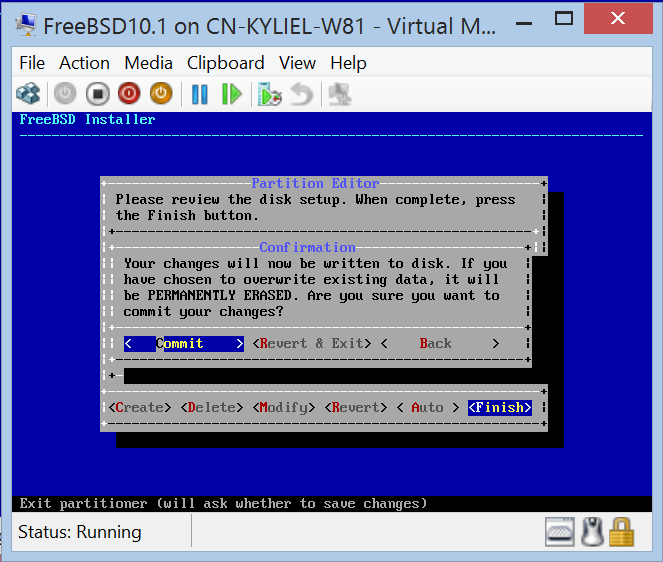
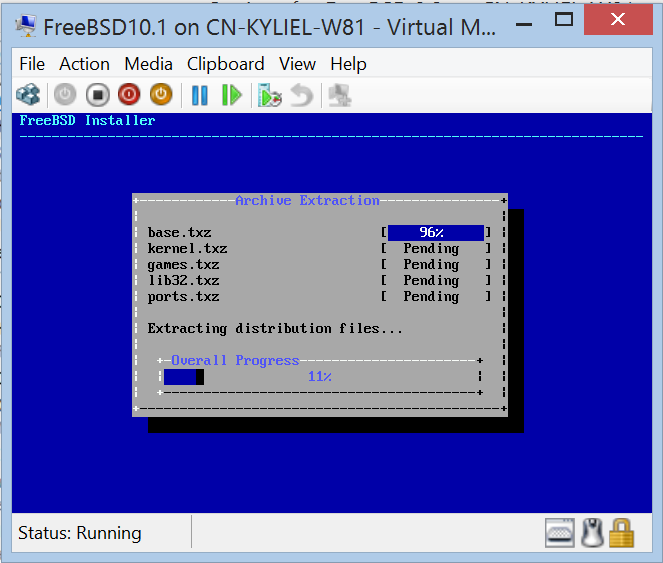
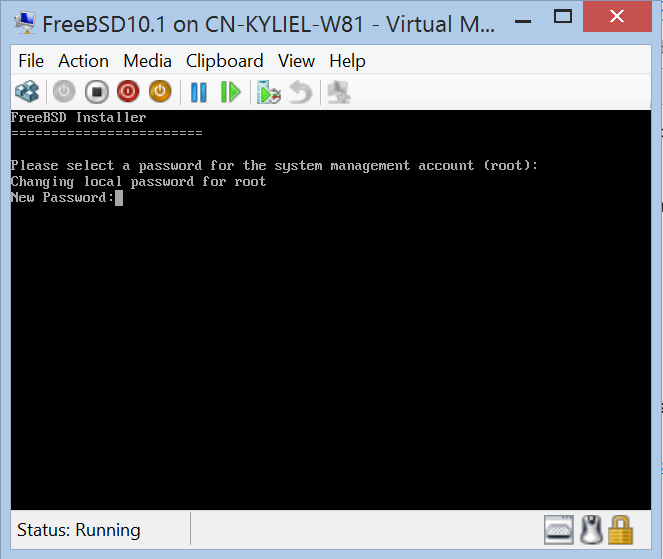
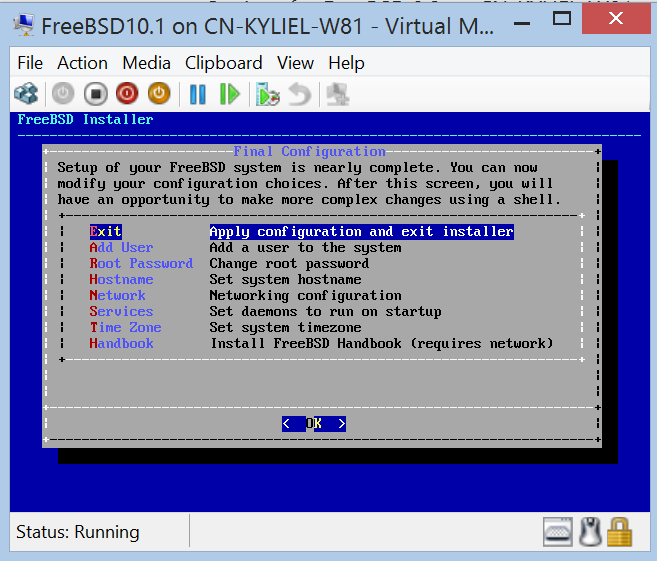
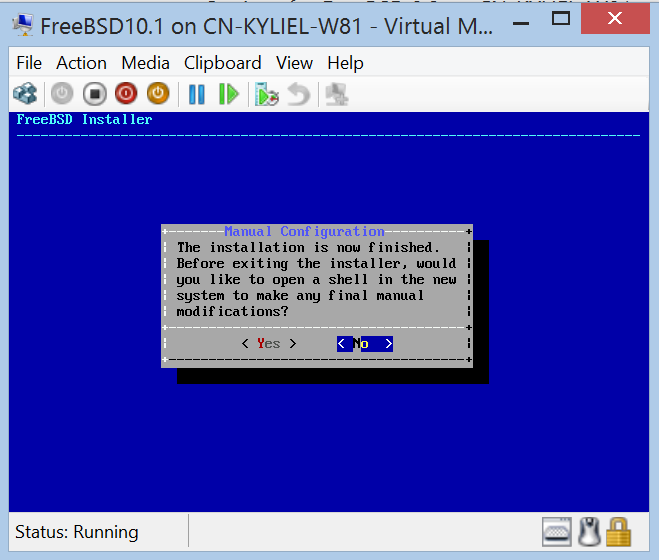
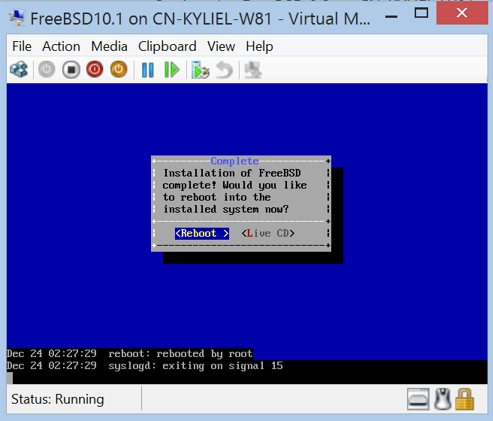
Install FreeBSD
If you use existing virtual hard disk, ignore this step.
Review BIS running in FreeBSD VM
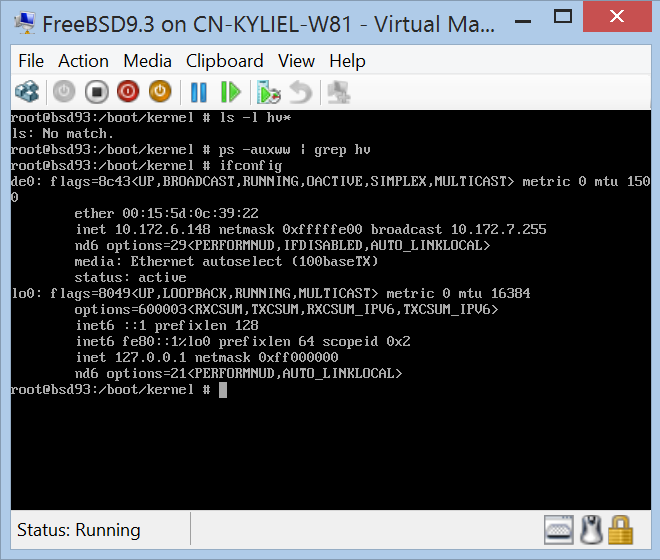
Run below commands in your FreeBSD VM, then you will see hv_*.ko and symbols for VMBUS, Storage, Networking and Utility.
#cd /boot/kernel #ls –l | grep hv
Run below command and then you will see KVP daemon is running.
#ps –auxww | grep hv
Additional Notes for FreeBSD 9.x/8.4
Networking
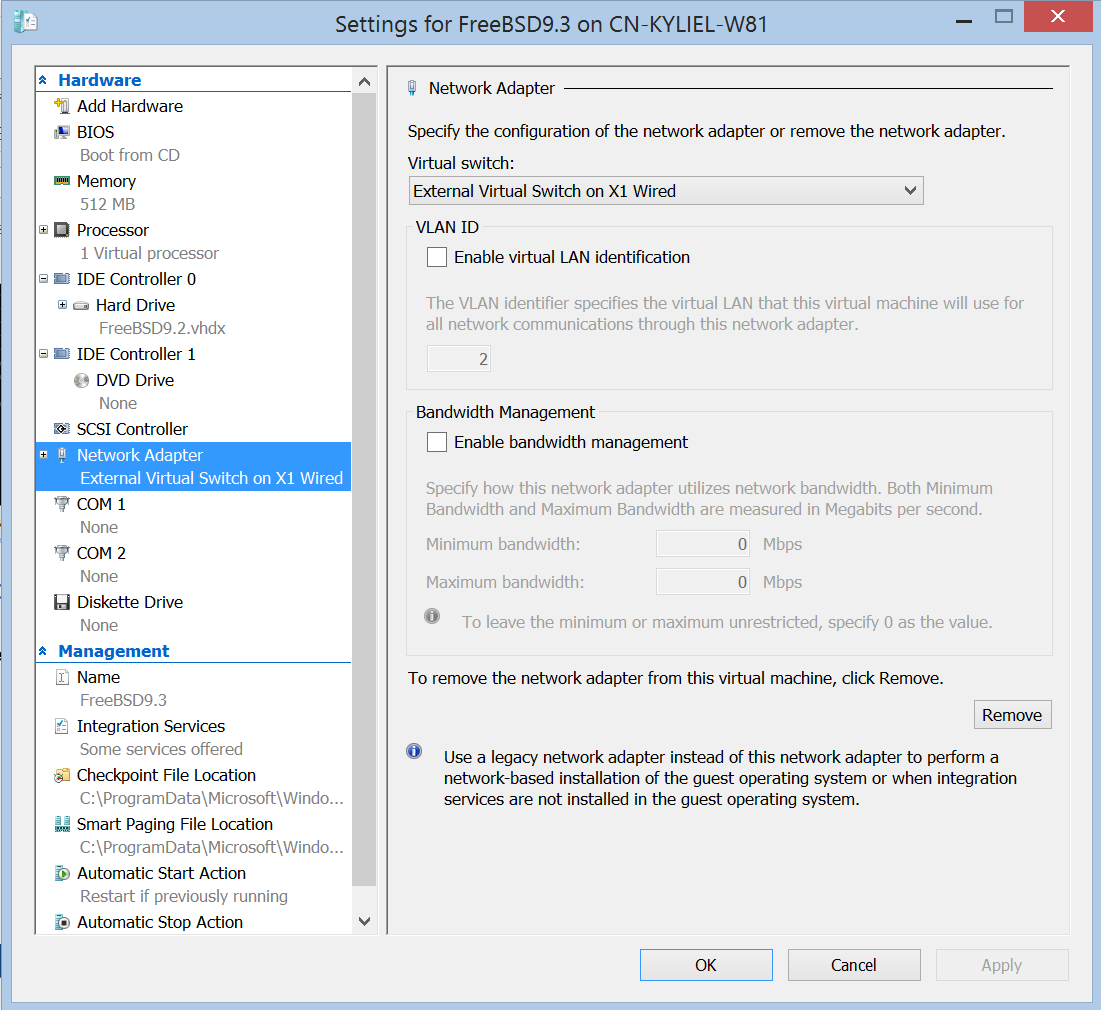
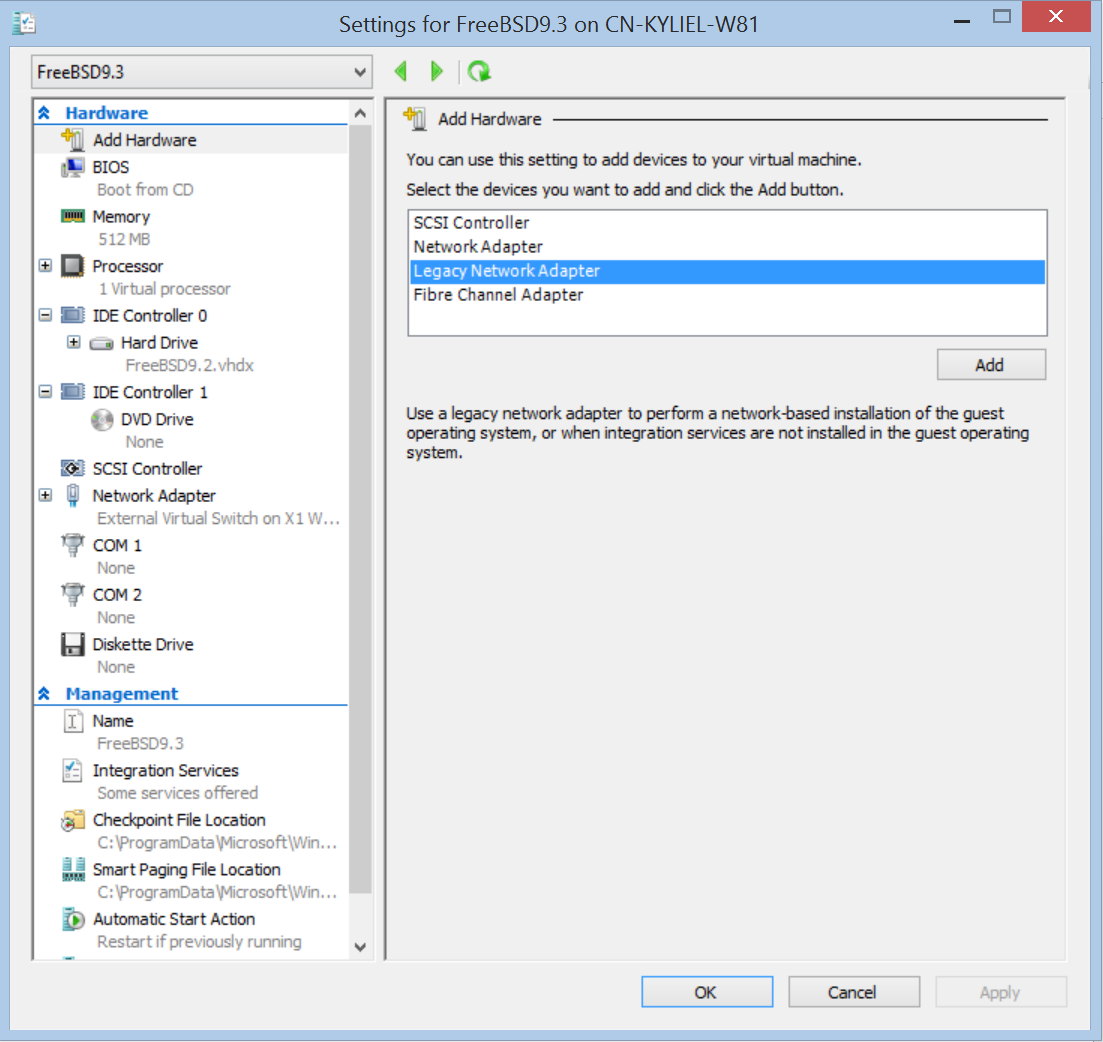
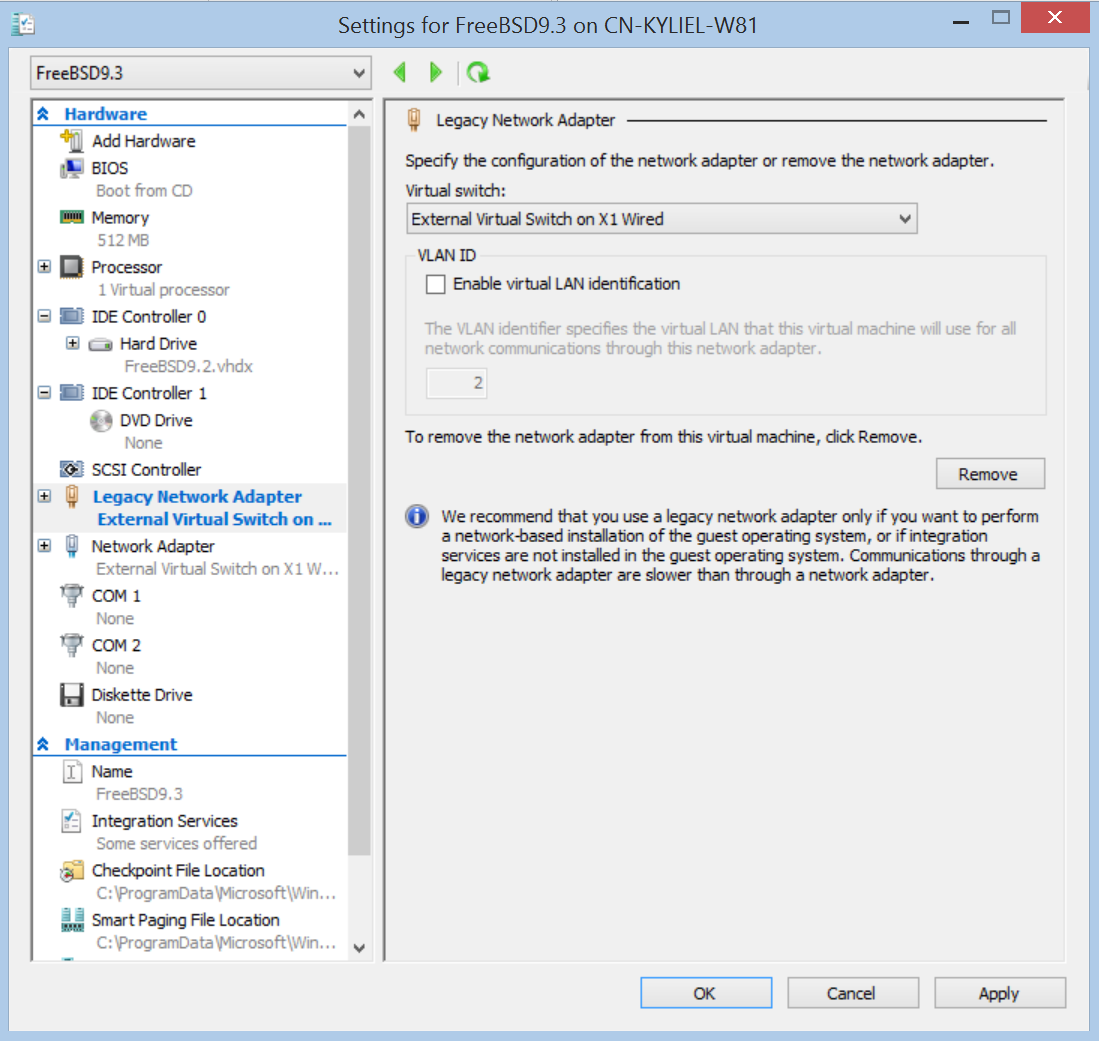
If you need to use networking before BIS ports are installed, create “Legacy Network Adapter” first and then switch to “Network Adapter” after the synthetic networking driver of BIS is installed and loaded.
Please make sure following entry is present in /etc/rc.conf – ifconfig_de0="SYNCDHCP" and then reboot or run
#ifconfig de0 down #ifconfig de0 up #dhclient de0
Ports installation
Before using ports, you must first obtain the Ports Collection /usr/ports directory. The portsnap command allows you to install ports collection over the Internet. To grab collection and then extract the snapshot into /usr/ports, run
# portsnap fetch # portsnap extract
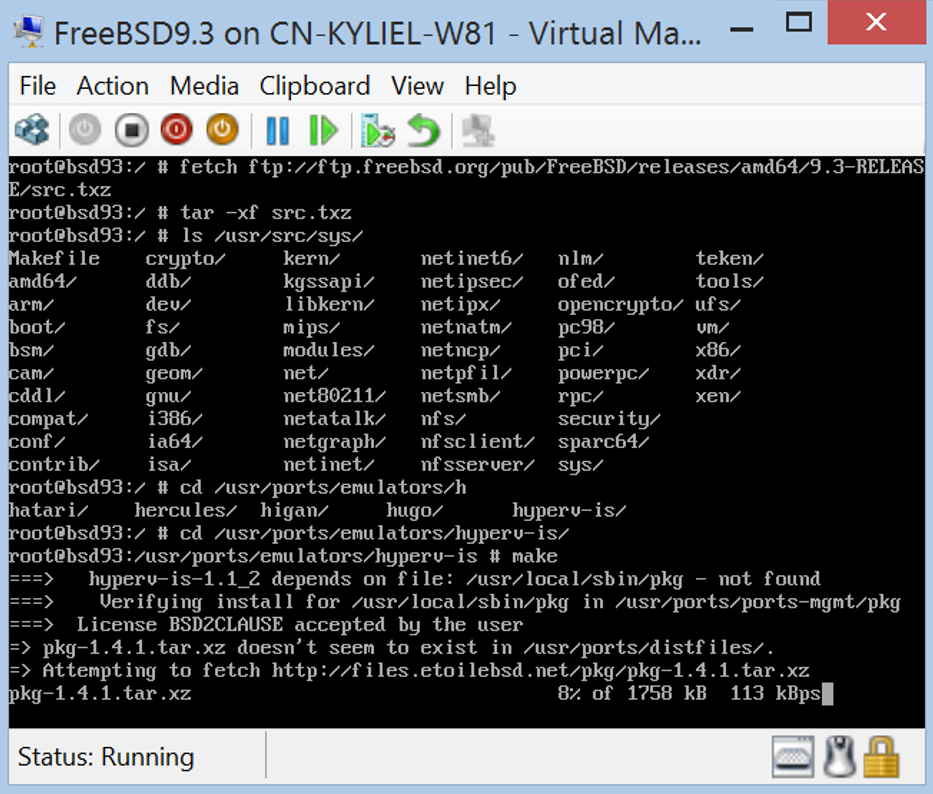
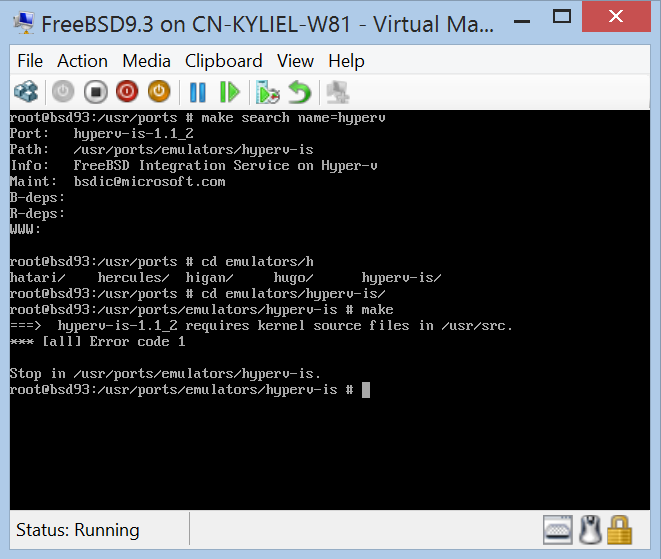
And you will find BIS ports named “hyperv-is” under “/usr/ports/emulators”. To compile ports, you will need kernel source code. If it is not under “/usr/src/sys”, run
#fetch ftp://ftp.freebsd.org/pub/FreeBSD/releases/amd64/9.3-RELEASE/src.txz #mv src.txz / #cd / #tar –xf src.txz
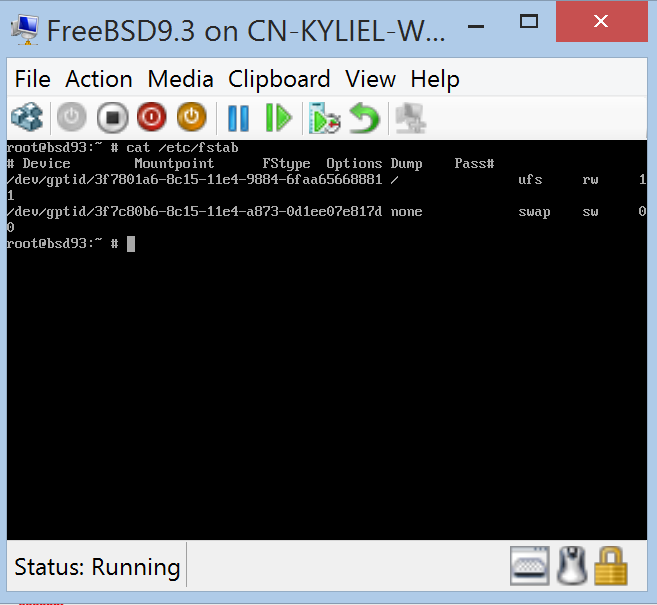
To install BIS ports on FreeBSD 9.x, you need to add UUIDs for all devices listed in fstab before installation. For more information, see Add UUIDs for all devices listed in fstab.
To install BIS ports on FreeBSD 8.x, you need to disable the fast IDE driver or create GEOM labels. For more information, see Disable the Fast IDE Driver or Create GEOM labels on FreeBSD 8.x.
Now let us start to install ports. Run
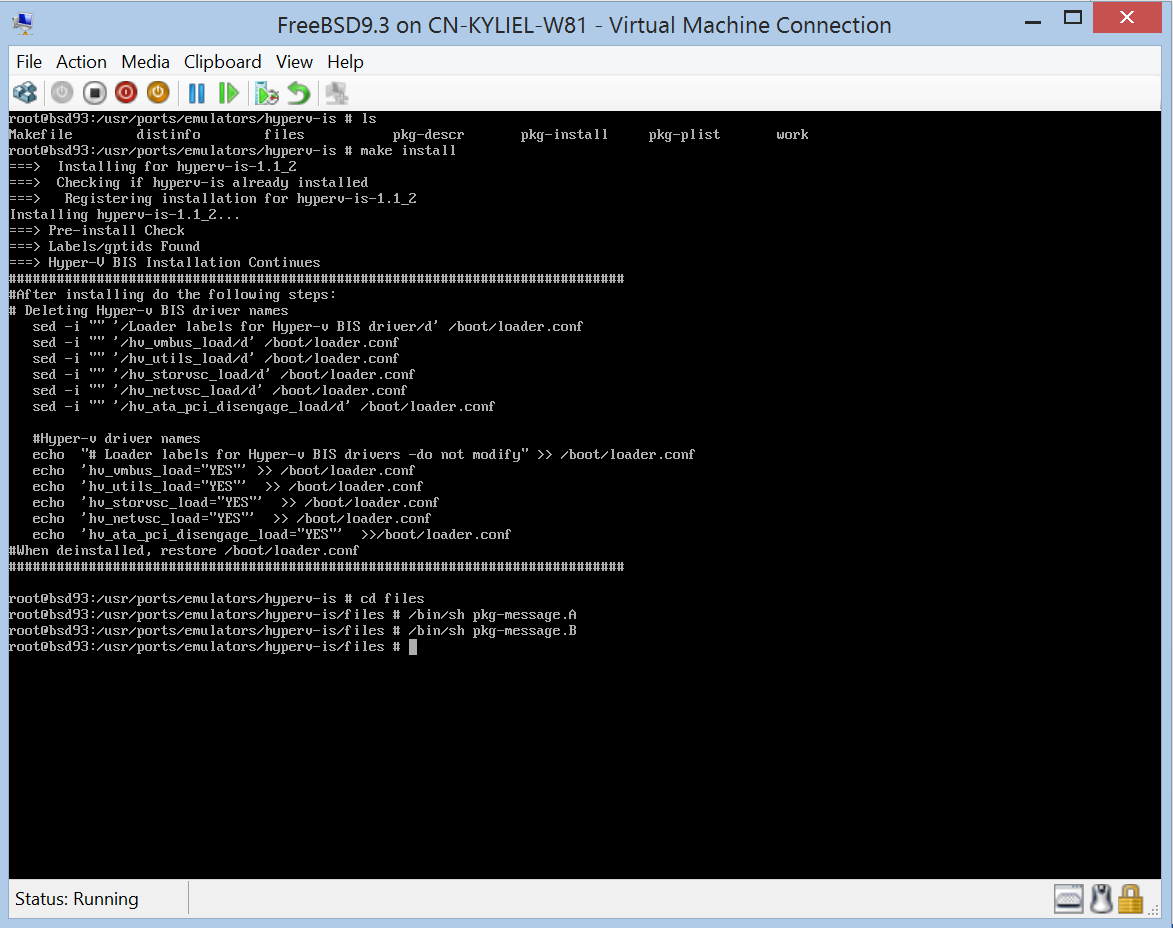
#cd /usr/ports/emulators/hyperv-is #make #make install #cd files #/bin/sh pkg-message.A #/bin/sh pkg-message.B
Reboot. You could run below commands and then see VMBUS, Storage, Networking and Utility drivers are loaded and also could see the network adapter named “hn0” now. Please also make sure following entry is present in /etc/rc.conf – ifconfig_hn0="SYNCDHCP".
#kldstat #ifconfig
Appendix: Step-by-step Instructions
- Create a FreeBSD VM
If you have existing FreeBSD virtual hard disk or download it from FreeBSD community FTP, you could go ahead with the option “Use an existing virtual hard disk”.
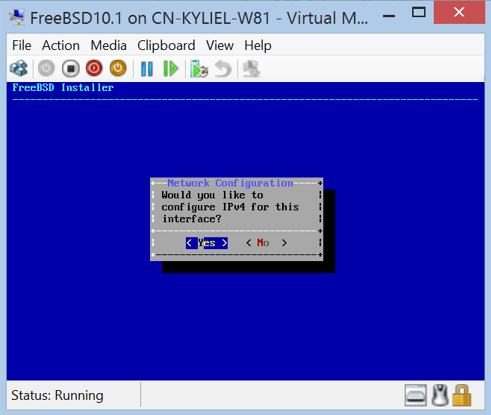
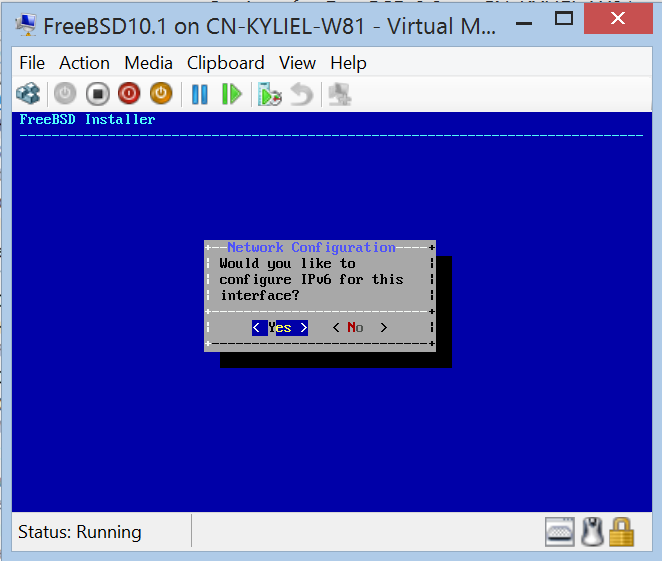
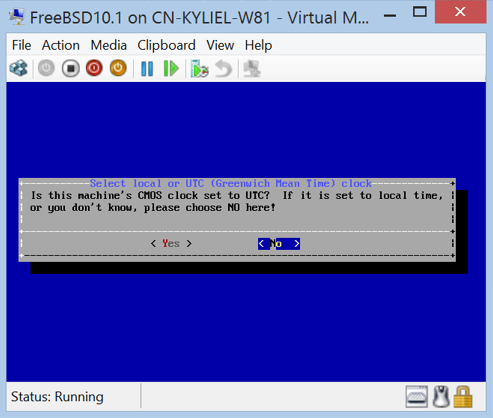
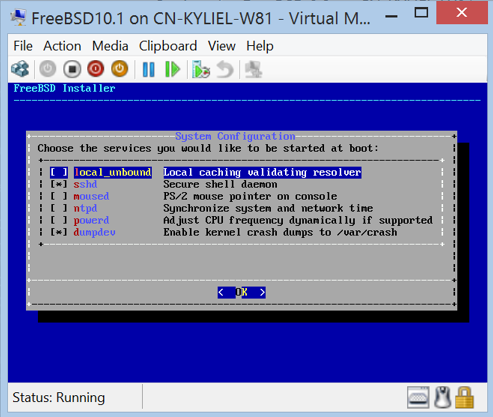
- Install FreeBSD 10.1


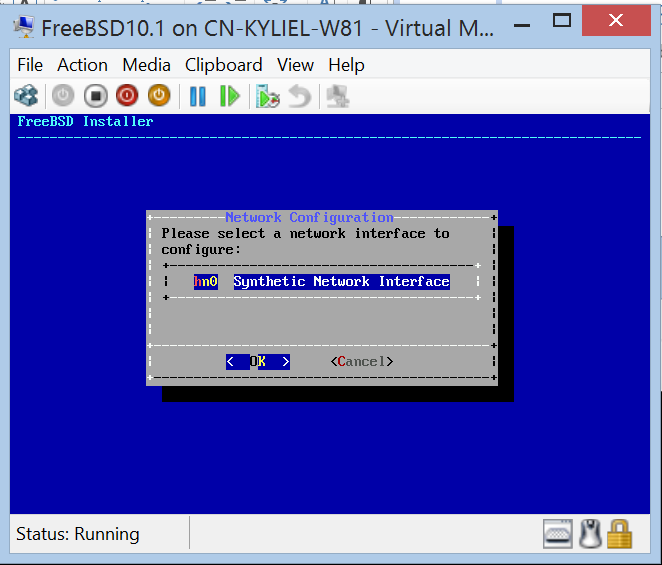

- Create "legacy network adapter" for FreeBSD 9.3

- Install BIS ports on FreeBSD9.3

Please follow Add UUIDs for all devices listed in fstab first. Otherwise, ports pre-install will fail.