Configuring a Windows 2012 Server Remote Desktop Gateway NLB cluster
This article will demonstrate how to configure 2 or more RDG nodes using IPv6 in a NLB cluster on Windows 2012 server.
In this example, each node will have two NIC’s, one for management and the other for the NLB. You will need to reserve a total of 3 IPv4 and 3 IPv6 addresses for this configuration.
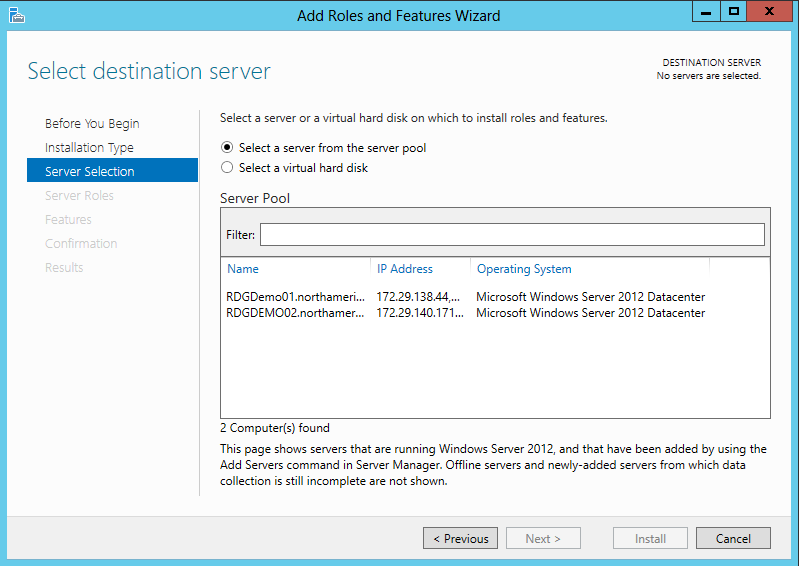
- Install the RDG feature, this can be done from a single node, just add the second server via "Add Servers" inside Server Manager
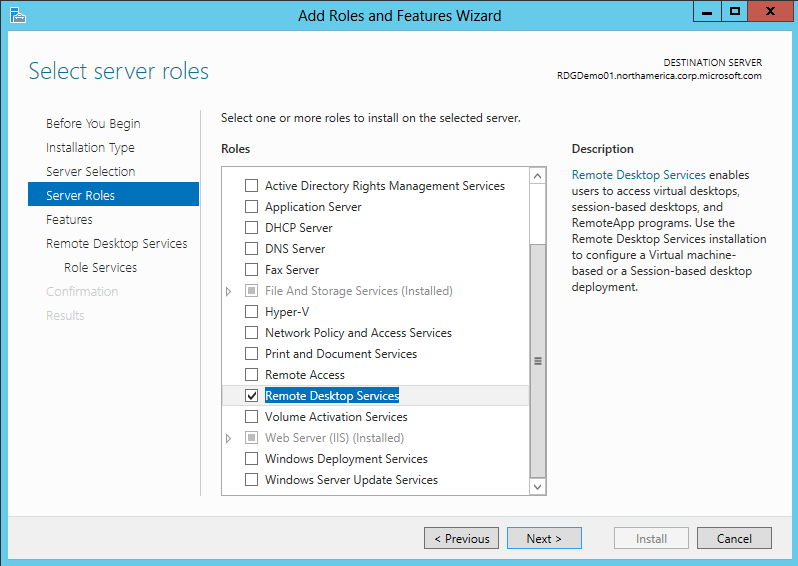
- Under "Server Roles" select "Remote Desktop Services"
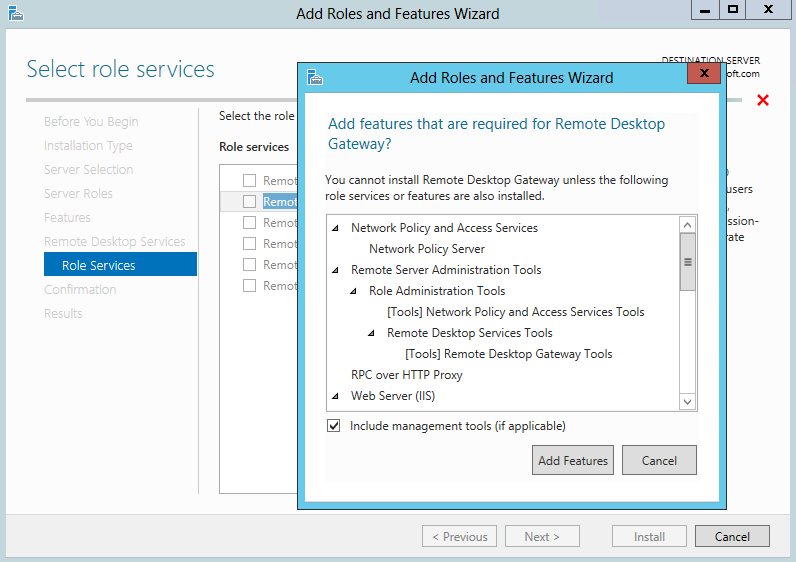
- Select "Remote Desktop Gateway" which will also add the Roles and Features below
- Select defaults for remainder of setup
- Configure RAP and CAP on each host, this can be scripted from Powershell
This script below will configure:
- TS_CAP_01 with local administrators group and domain users for Africa, SouthAmerica and NorthAmerica using “authMethod 3” (password and Smart Card)
- TS_RAP_01 with local administrators group and domain users for Africa, SouthAmerica and NorthAmerica using “ComputerGroupType 2” (Allow all users to connect to any network resource)
-----------------------------------------------------------------------------------------------------------------------------------
Import-Module ServerManager
Add-WindowsFeature -Name RDS-Gateway -IncludeAllSubFeature
Import-Module RemoteDesktopServices
Set-Location RDS:\GatewayServer\CAP
New-Item -Name TS_CAP_01 -UserGroups 'administrators@BUILTIN', 'domain users@africa', 'domain users@southamerica', 'domain users@northamerica' -AuthMethod 3
cd..
Set-Location RAP
New-Item -Name TS_RAP_01 -UserGroups 'administrators@BUILTIN', 'domain users@africa', 'domain users@southamerica', 'domain users@northamerica' -ComputerGroupType 2
-----------------------------------------------------------------------------------------------------------------------------------
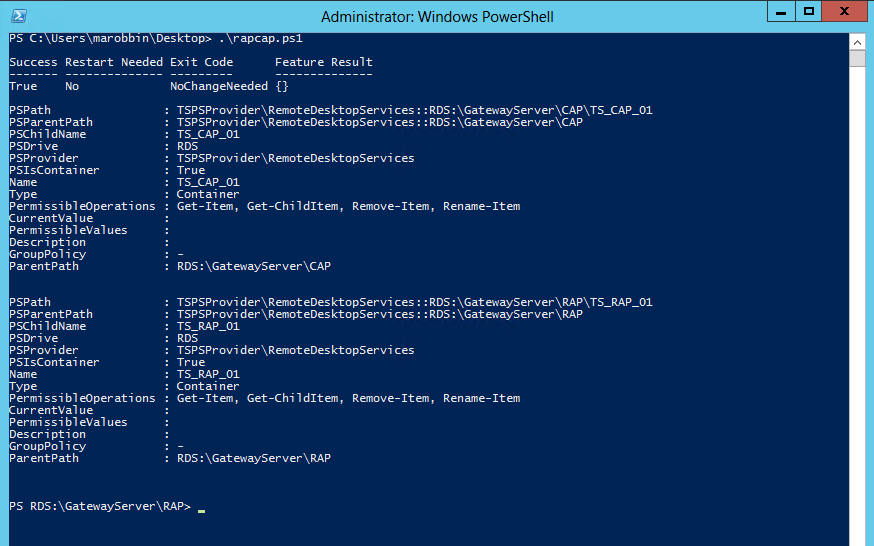
- Output from PowerShell script
- Install the NLB feature on each node (Sample PowerShell NLB install script below):
dism /online /enable-feature /featurename:NetworkLoadBalancingFullServer
dism /online /enable-feature /featurename:NetworkLoadBalancingManagementClient
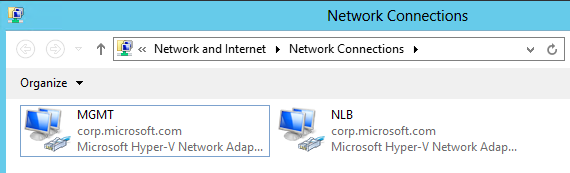
- Give each NIC a friendly name ex. MGMT and NLB
- Configure the static IPv4 and IPv6 address on the NLB interface
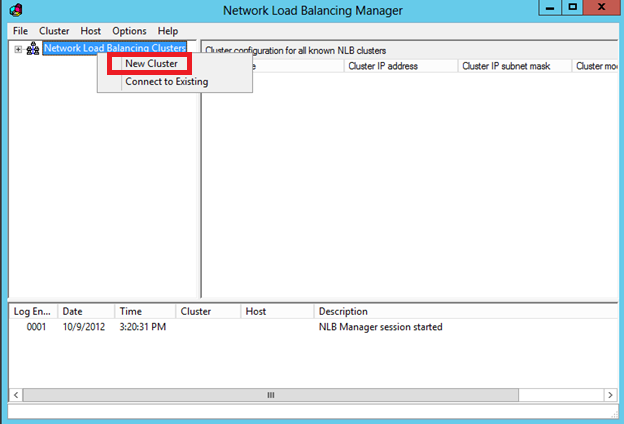
- Open the NLB manager snapin and select "New Cluster"
- Enter in the hostname of the first node in the cluster and select the NLB interface
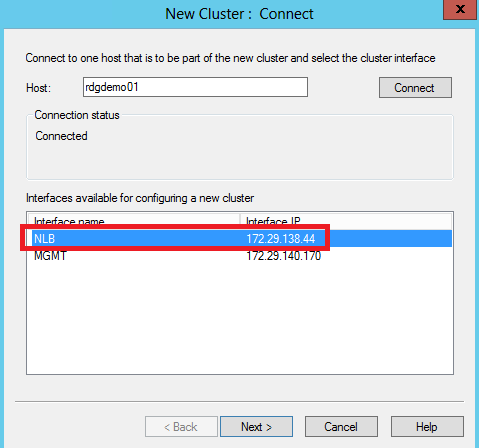
- Double check to make sure correct IP addreses are being used for the NLB interface
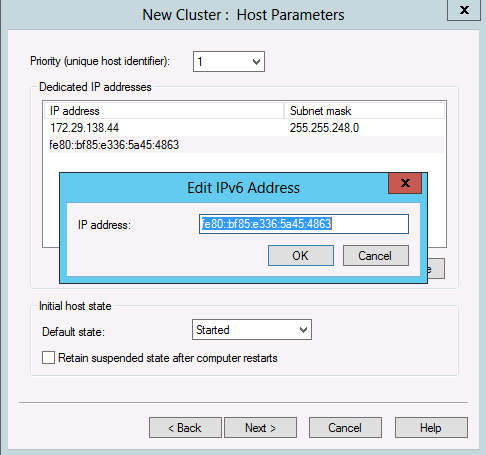
- Add the static IPv4 and IPv6 address you have reserved for your NLB cluster
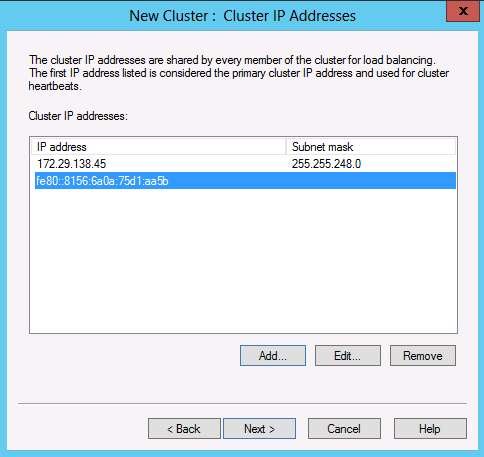
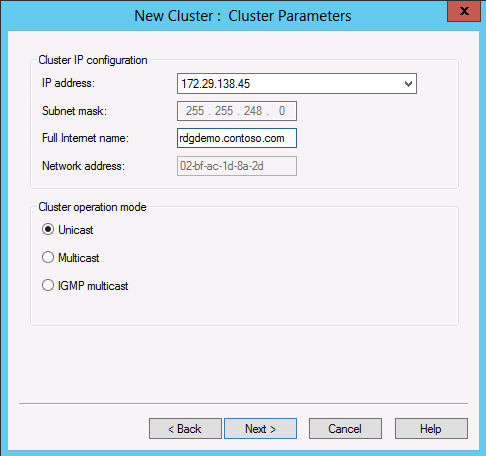
- Enter in the FQDN name of your NLB cluster
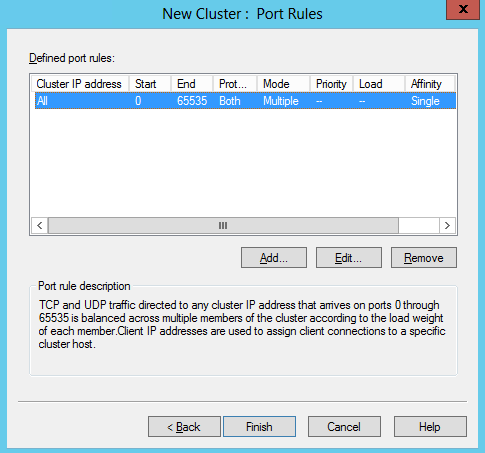
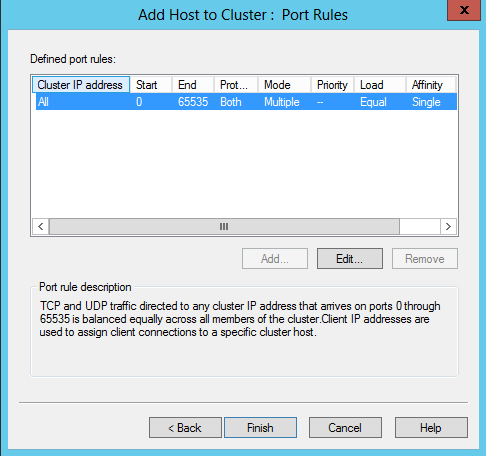
- In this example we will use the default port rule, click finish
- Right click the newly created cluster name and choose "Add Host To Cluster"
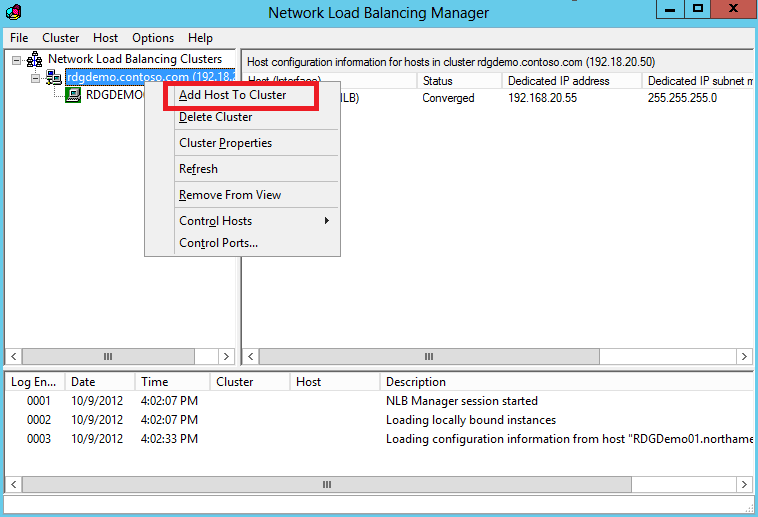
- Enter in the hostname of the second node in the cluster and select the NLB interface
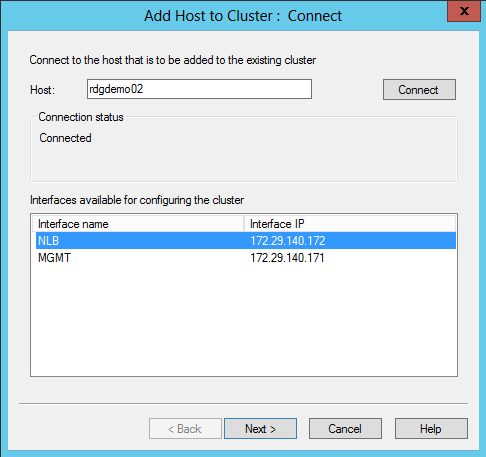
- In this example we will use the default port rule, click finish
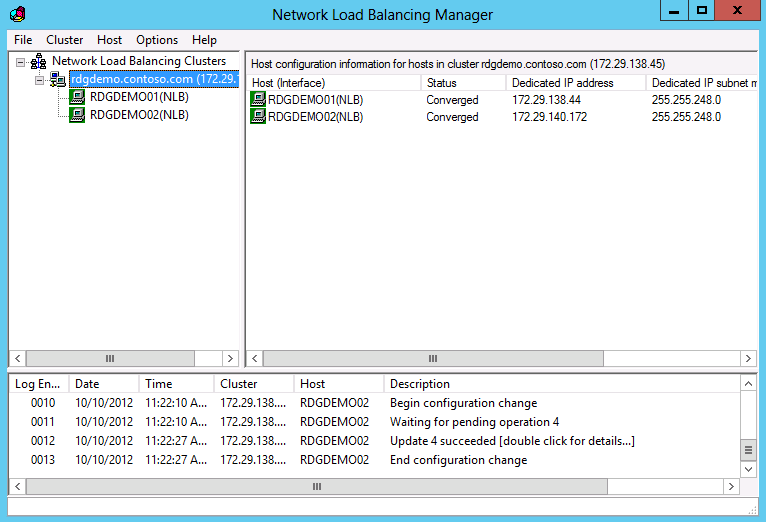
- Once status of both nodes is "converged" the NLB configuration is complete
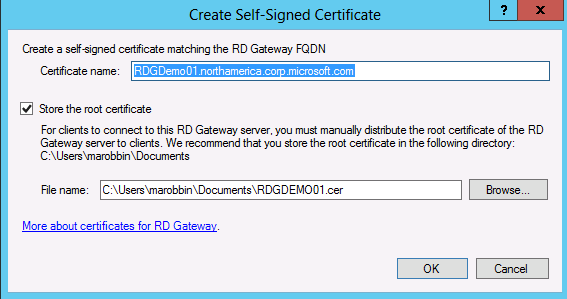
Open the RDG console on one of the nodes, properties on the RDG and add an SSL certificate as this is a requirement for the RDG to work properly
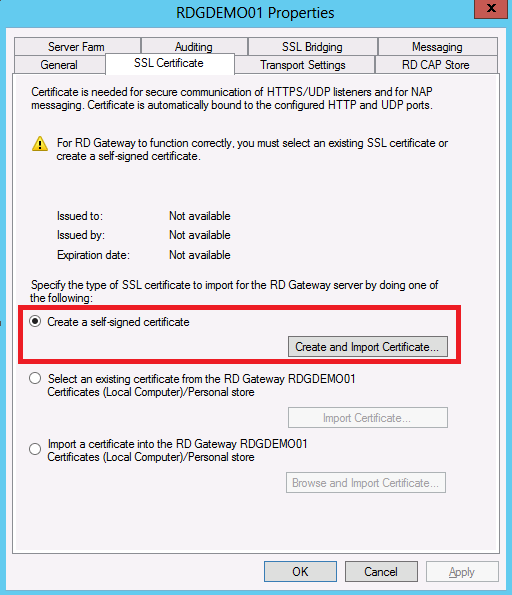
- In this example we will use a Self Signed Certificate, this certificate will need to be installed on each RDG node
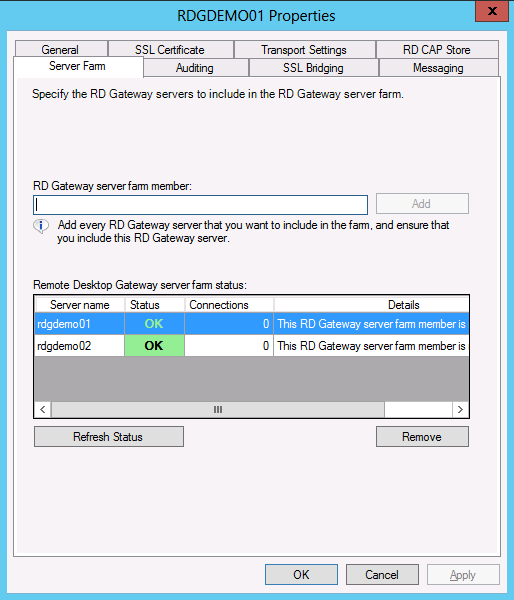
- Add both servers under the "Server Farm" tab
This is a very basic setup using most of the default settings, there are many more configurable options within NLB/RDG. Please keep a look out for my future BLOG's that take a deeper dive into NLB/RDG using WIndows Server 2012!
Please feel free to reply to this post or email me if you have any questions.
-marobbin