OneNote Class Notebook Creator in multiple languages in Office 365
As mentioned in the previous post about OneNote Class Notebook Creator, a group of educators in the Netherlands worked with the product briefly, and came up with some interesting questions. One of these concerned the support for multiple languages. Some schools are international by their nature, and offer instruction in more than one tongue. Many other schools have foreign language departments, and may wish to provide advanced students a class notebook in the language of instruction for these lessons.
It is straightforward to install the app directly in the school's Office 365 native language and start using it immediately. The key to multilingual use is SharePoint's support for multiple sites and subsites within a Site Collection, a logical grouping designed to help structure and administer multiple teams or groups within a larger organization. Different sites can use different languages, and yet all install a single local copy of the OneNote Class Notebook Creator app. In the example to follow I've created the initial Office 365 domain in English and created a subsite in Dutch, but the concept applies to any combination of supported languages, and is not limited to two languages.
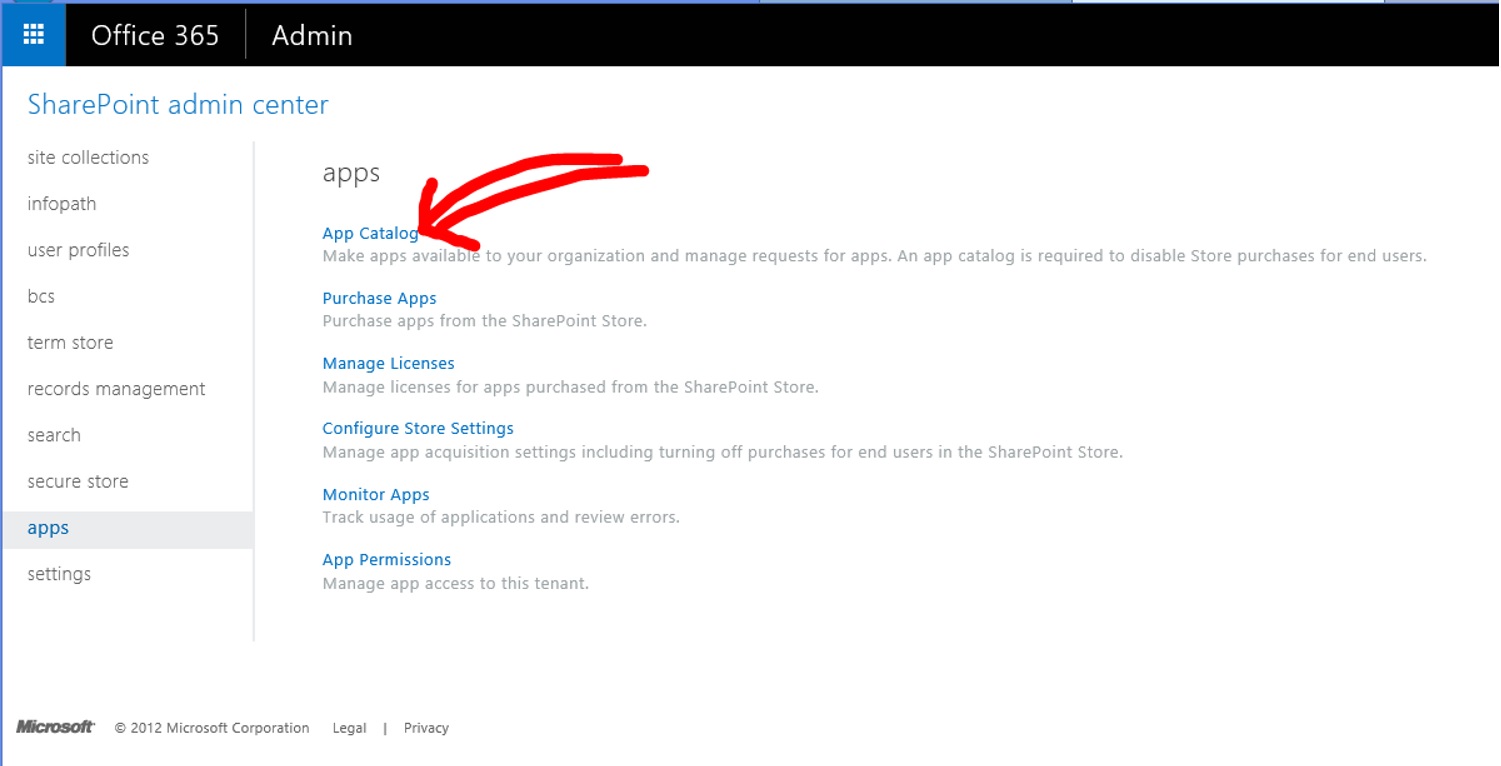
The first step to making the OneNote Class Notebook Creator available to all the users within a single SharePoint site is to download the SharePoint app from the Microsoft store to an App Catalog, a special site collection you can create from the SharePoint admin page.
Once the app is installed there, even if downloaded in one language, it is available with full language support for all the sites and subsites in the school's SharePoint domain. The steps to add OneNote Class Notebook Creator to your app catalog are simple, as shown in the screenshots below.
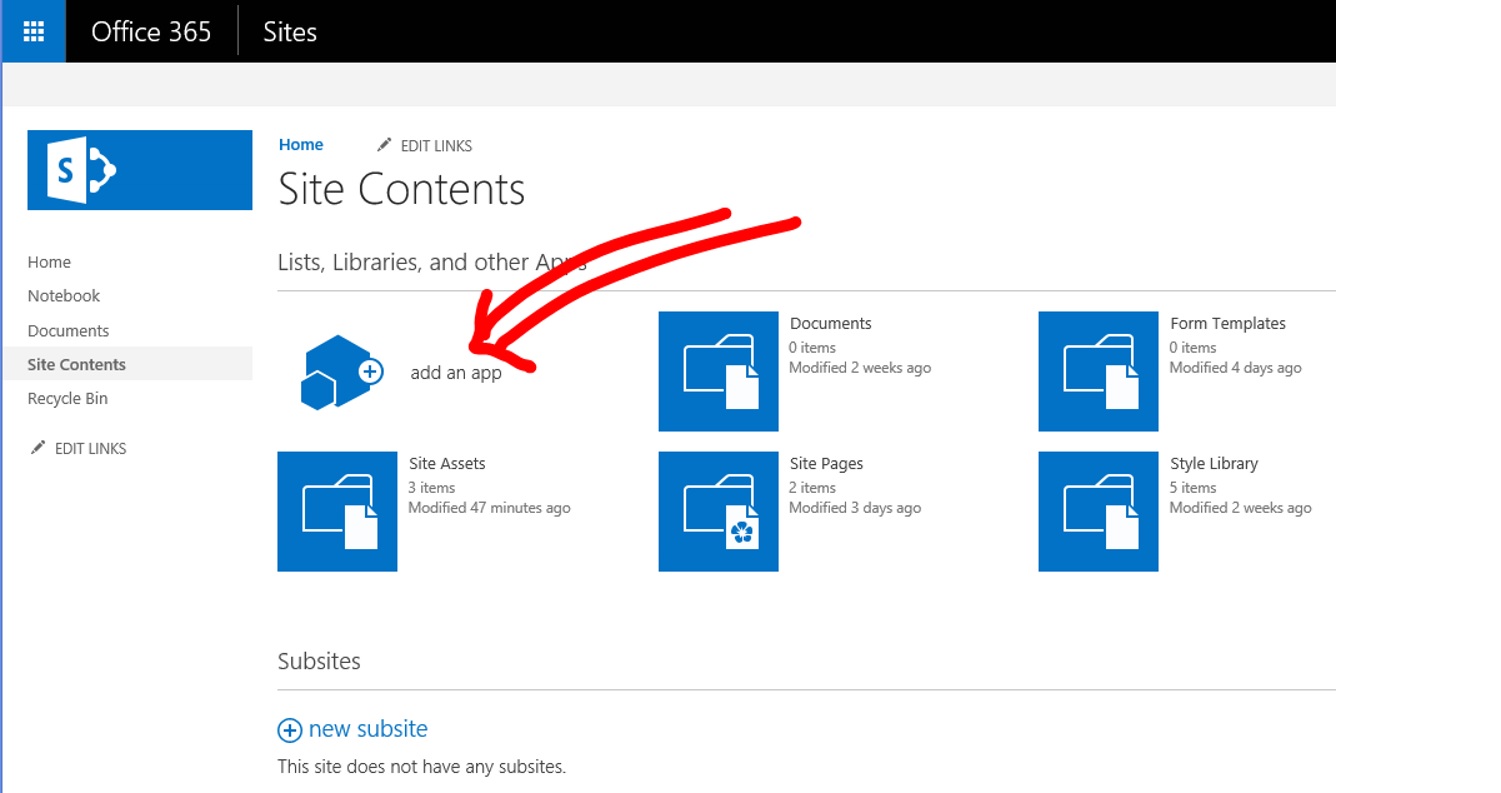
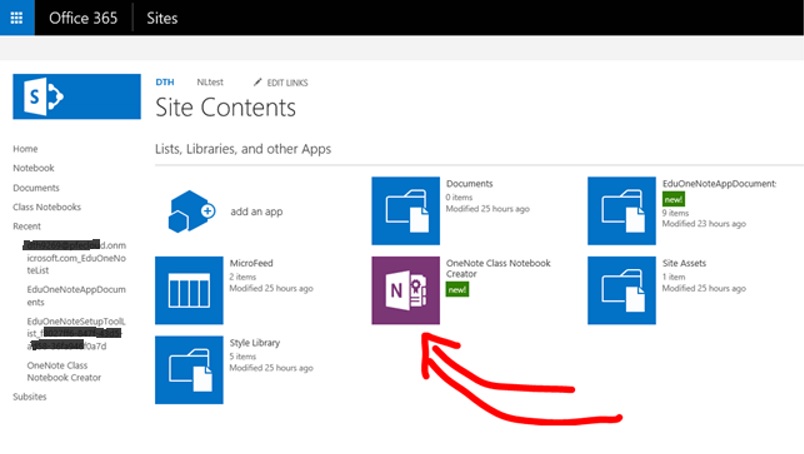
1. Download the app to the App Catalog by using the "add an app" button
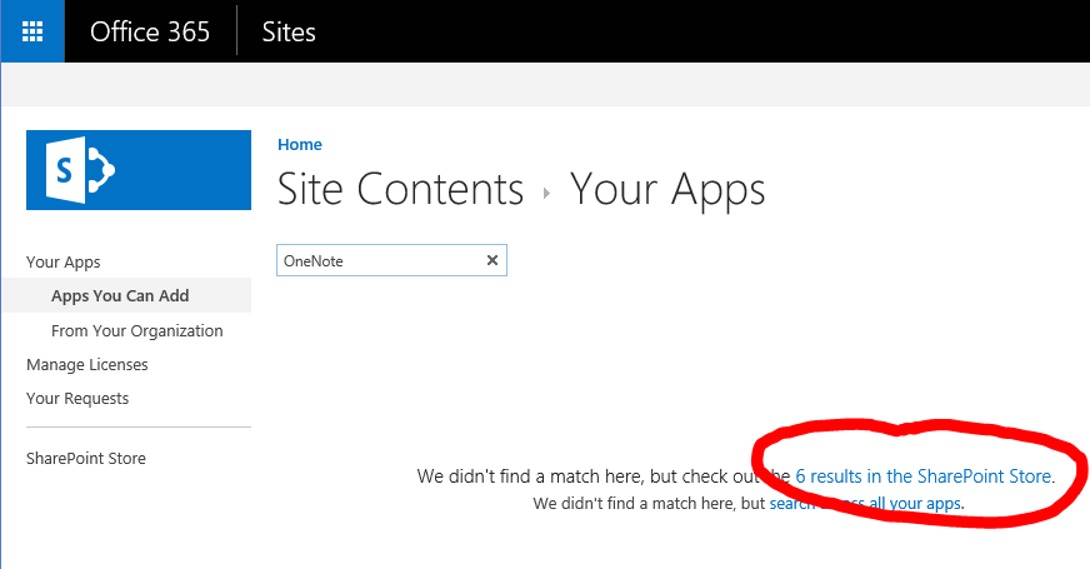
2. Search for OneNote in the provided search box, and follow the link to the SharePoint Store
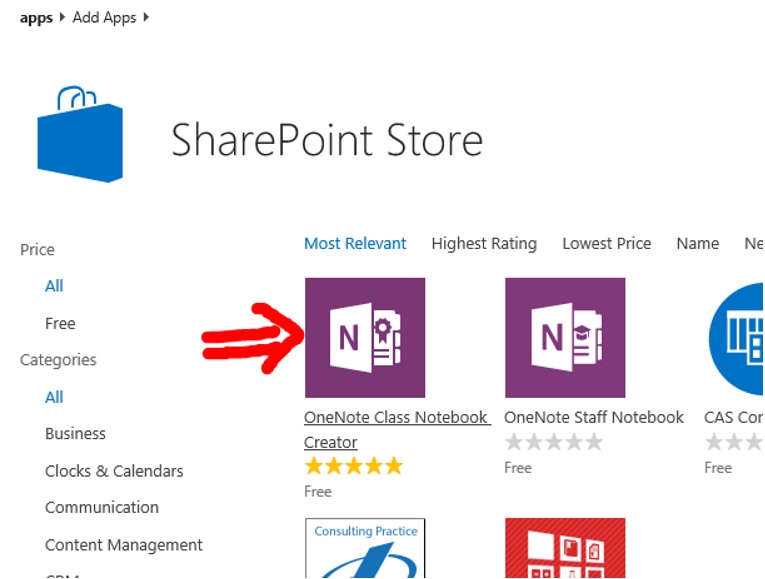
3. Select the OneNote Class Notebook Creator from the listing.
Note that the OneNote Staff Notebook for Education is also available; this is designed for school administrators and teaching staff to collaborate, without student involvement, but is otherwise similar.
Once the app is available in the App Catalog, you can install it from your main SharePoint site by going to the Site Contents page and using the same "add an app" interface. A list of locally available apps will appear, labeled "Your Apps". Click it, and it becomes an installed app in your site and can be used by teachers or other users to create notebooks, as described in OneNote Class Notebook Creator installation guide for IT administrators.
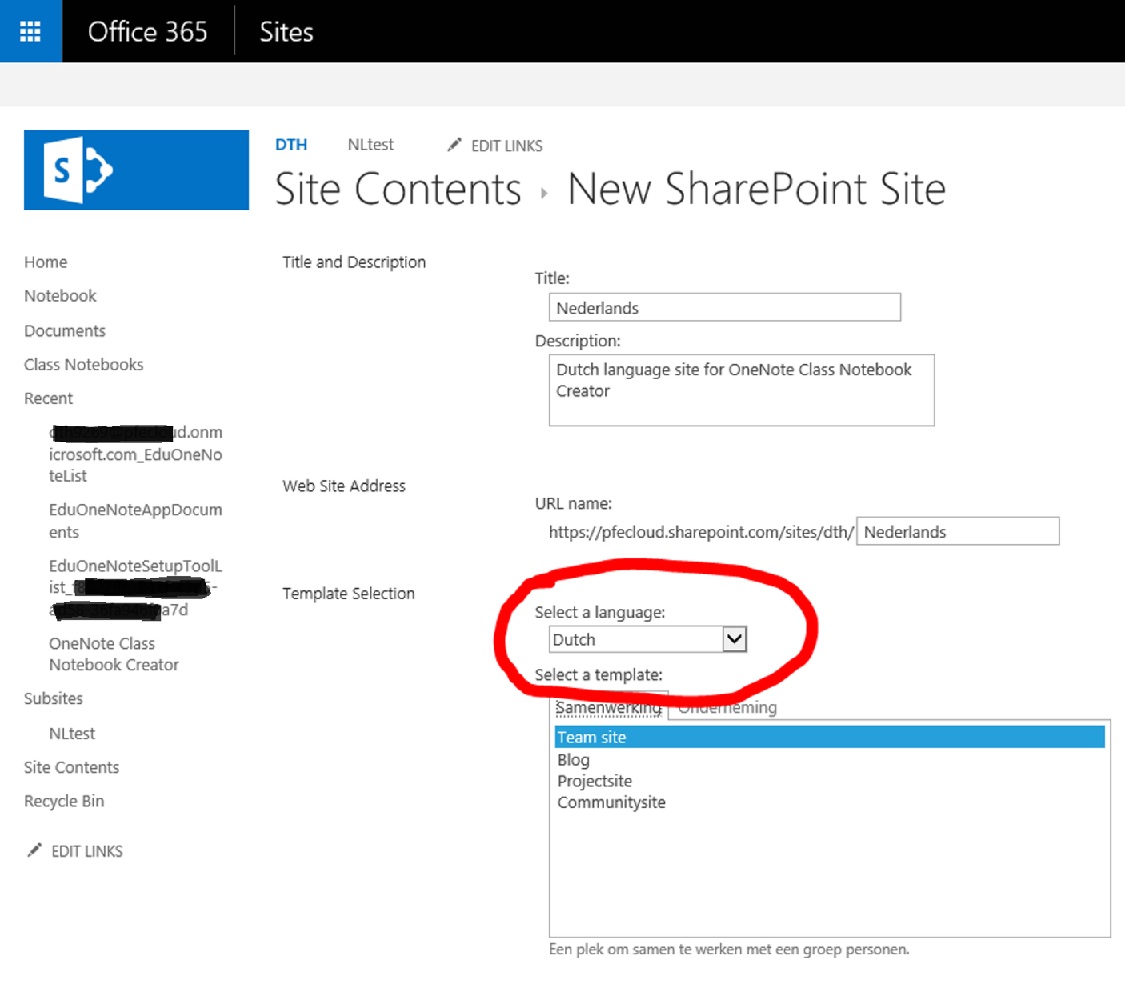
From the same Site Contents page you can then click the "new subsite" option to create a subsite that specifies a different default language. Here we'll choose a subsite in Dutch.
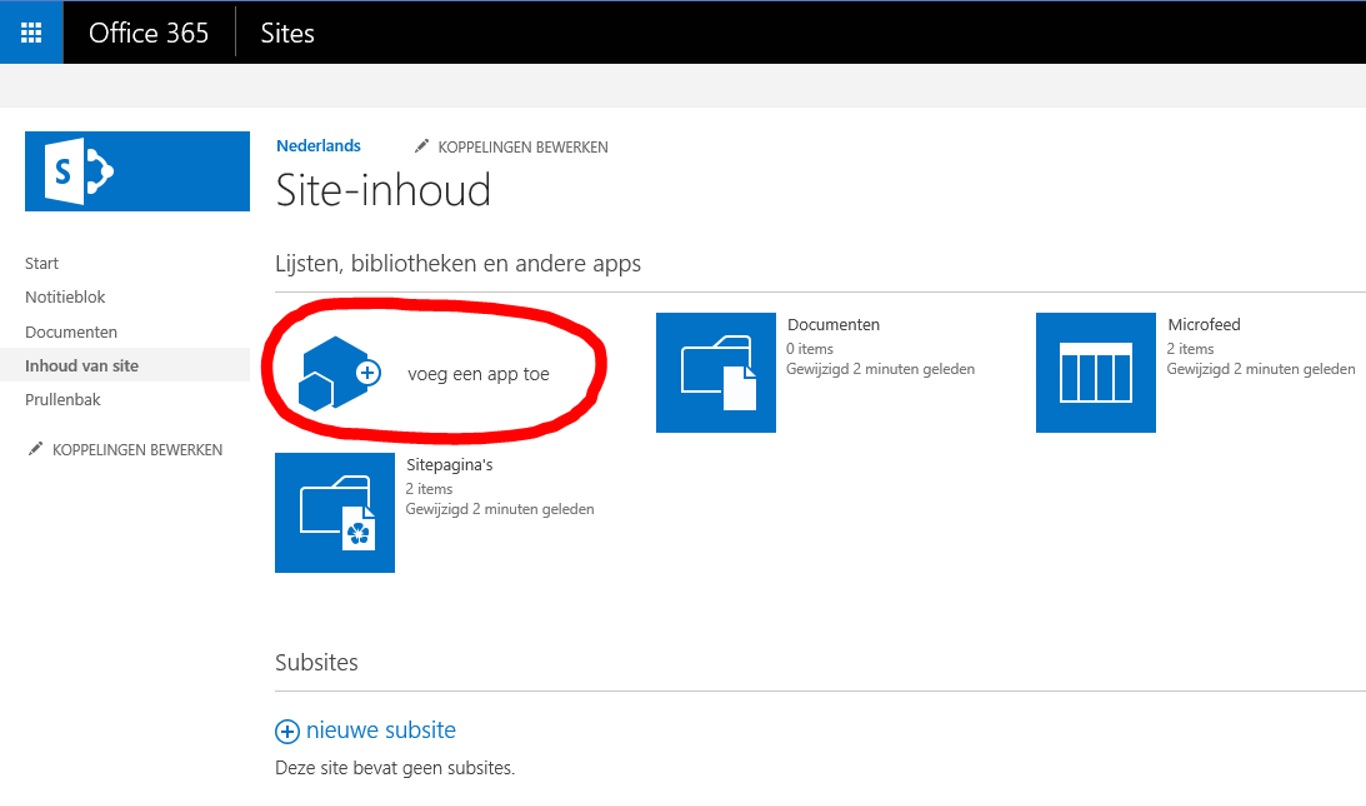
From this point, the installation of OneNote Class Notebook Creator to the Dutch subsite is the same as in the previous case, but you need to recognize that Inhoud van site is equivalent to Site Contents. In other words, it would be very helpful to understand Dutch, or whatever alternative language you've chosen that differs from your primary school site. Again, the steps are:
1. Add an app
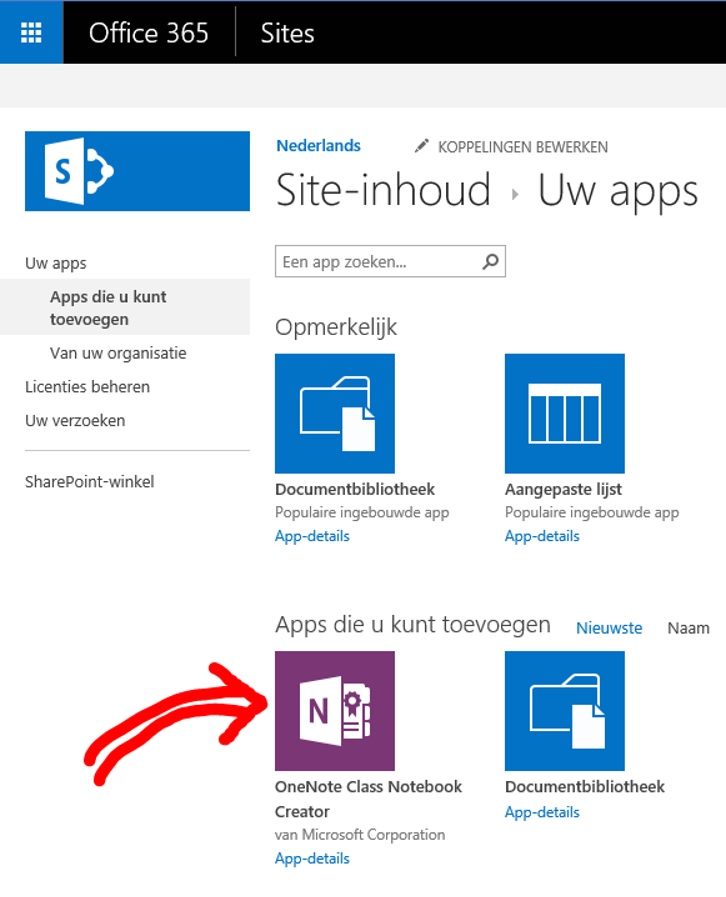
2. Click on OneNote Class Notebook Creator
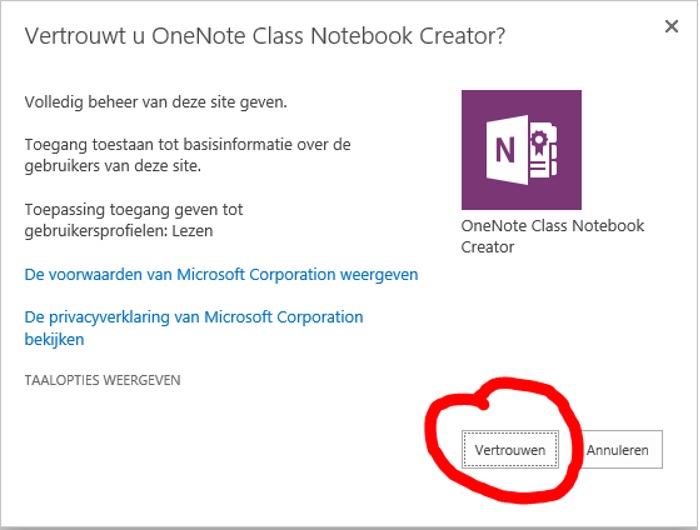
3. Verify that you trust it.
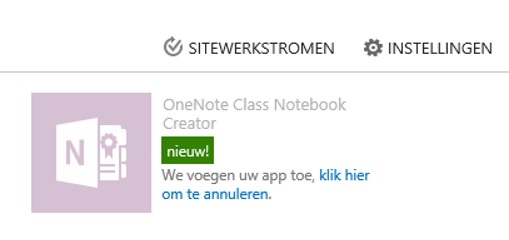
4. It will transition from Installing...
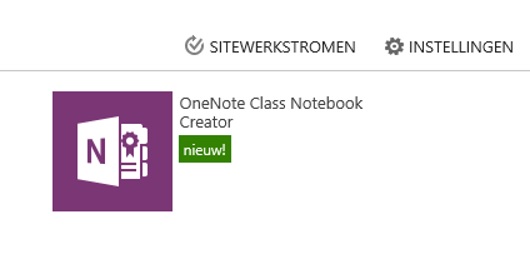
5. ...to Installed...
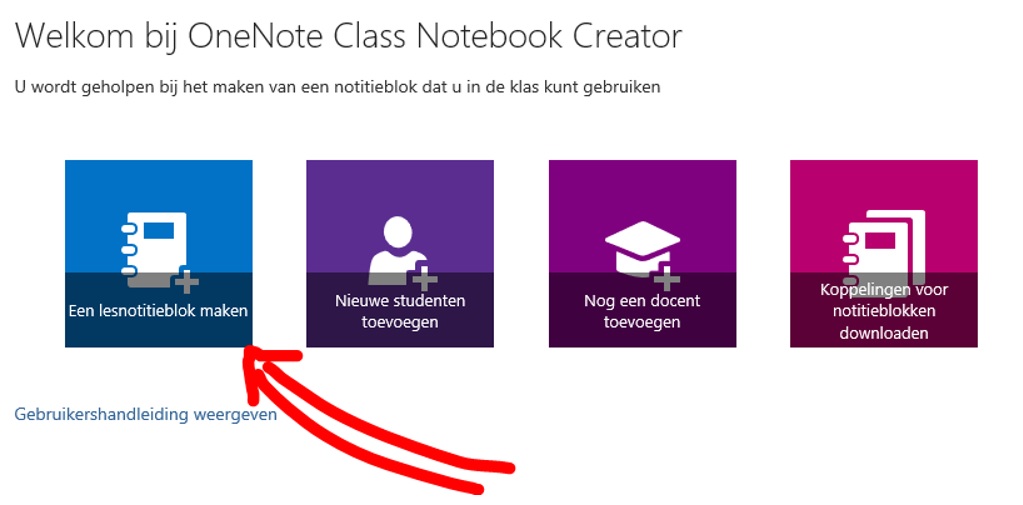
6. ...and then you can run it to create new class notebooks.
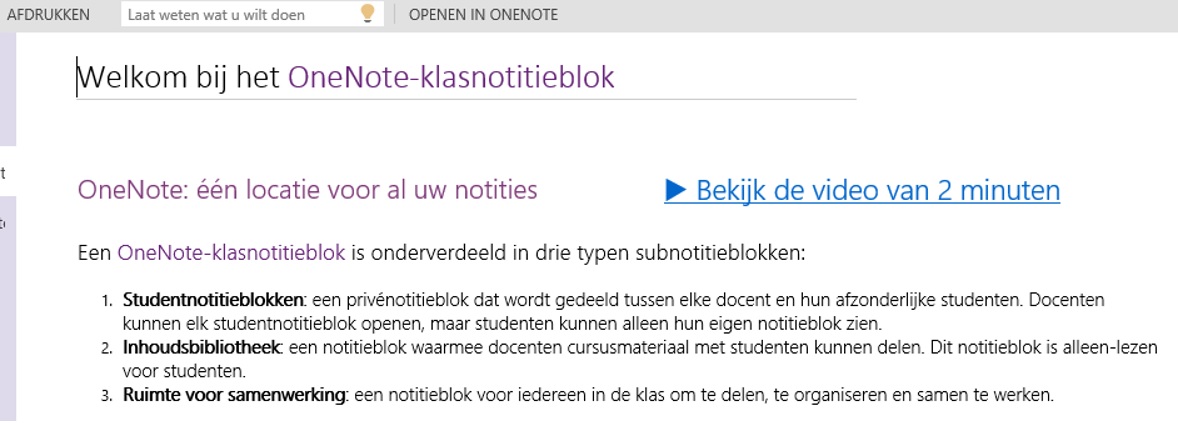
In the end, you'll have a class notebook ready for the students to use.
Once set up in this fashion, you can run OneNote Class Notebook Creator in one language on the main site, e.g. MySchool.sharepoint.com/, and in a different language in a subsite, e.g. MySchool.sharepoint.com/nederlands. Note that your primary site might be contained within a different site collection, if your SharePoint site is highly structured, and the URL may then be of the form MySchool.sharepoint.com/sites/nederlands.