Running Automated Scripts in WinPE
In WinPE you can use an answer file to specify different settings and actions. When Windows PE Starts, it looks for a file called Unattend.xml at the root of any bootable device. This is particularly handy since I need to configure the device before it can even get on the network and see a SCCM Task Sequence to run. Just some background as this work was performed using SCCM version 1602 and Modifying a MDT (x64) Integrated Boot image.
This HP model HP Elite x2 1012 G1 Tablet has an external Thunderbolt Docking station with a wired connection that we need to get working in WinPE prior to starting the Task Sequence. I added an HP driver for the thunderbolt to WinPE and created a script that the unattend.xml kicks off, that calls the HP BCU utility. This utility does a nice job of configuring the BIOS and reading the currently applied settings. Let’s take a closer look at this configuration.
The Thunderbolt dock requires the machine BIOS be set to the following security Setting.
*PCIe and DisplayPort - No Security
1.First you mount the boot image to make some customizations. The Script that we use in this example is written in PowerShell so don’t forget to add this optional component to the boot image.
Steps to Mount Boot Image:https://technet.microsoft.com/en-us/library/hh824814.aspx2.
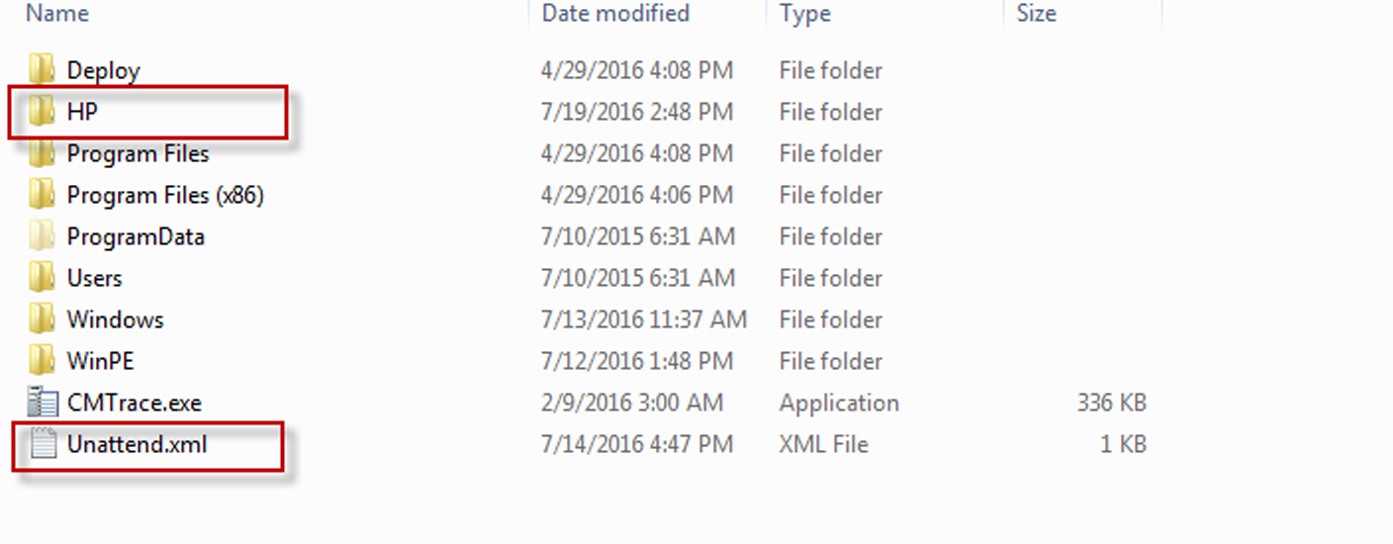
2.Add an HP folder at the Root of the boot image that contains the biosconfigutility64.exe Utility and a bat file that will be called by the unattend.xml that kicks off the script.

Thunderbolt.cmd (contains one line to execute PS1 script)
Powershell.exe -executionpolicy unrestricted -file x:\hp\thunderbolt.ps1
Note: You can also include any other required files that could also modify the bios to convert it from Legacy to UEFI.
3. Add the Unattend.xml file to the root of the boot Image that includes a RunAsynchronousCommand. You can see the command that runs the bat file we created in Step B.
<?xml version="1.0" encoding="utf-8"?>
<unattend xmlns="urn:schemas-microsoft-com:unattend">
<settings pass="windowsPE">
<component name="Microsoft-Windows-Setup" processorArchitecture="amd64" publicKeyToken="31bf3856ad364e35" language="neutral" versionScope="nonSxS" xmlns:wcm="https://schemas.microsoft.com/WMIConfig/2002/State" xmlns:xsi="https://www.w3.org/2001/XMLSchema-instance">
<RunAsynchronous>
<RunAsynchronousCommand wcm:action="add">
<Path>cmd /c x:\HP\Thunderbolt.cmd</Path>
<Order>1</Order>
<Description>Set Thunderbolt</Description>
</RunAsynchronousCommand>
</RunAsynchronous>
</component>
</settings>
<cpi:offlineImage cpi:source="wim:c:/temp/en_windows_10_enterprise_version_1511_x64_dvd_7224901/sources/install.wim#Windows 10 Enterprise Technical Preview" xmlns:cpi="urn:schemas-microsoft-com:cpi" />
</unattend>
Note: Only a handful of components are supported with the WinPE boot image.
You can create an answer file and include any of the following settings for use with Windows PE:
- Microsoft-Windows-Setup/Display
- Microsoft-Windows-Setup/EnableFirewall
- Microsoft-Windows-Setup/EnableNetwork
- Microsoft-Windows-Setup/LogPath
- Microsoft-Windows-Setup/PageFile
- Microsoft-Windows-Setup/Restart
- Microsoft-Windows-Setup/RunAsynchronous
- Microsoft-Windows-Setup/RunSynchronous
4. The Powershell Script below performs a few simple checks before running.
- Checks WMI to ensure this only runs on the correct model.
- Check the BIOS for the current Thunderbolt Security Setting, changes it if incorrect and then stops the task Sequence engine in order to reboot the system for the change to take effect.
- If the correct model and thunderbolt setting are detected it proceeds with the task sequence (Yes I will get around to adding logging)
if ($(Get-WmiObject -Namespace "root/cimv2" -Class "win32_computersystem").model -match "HP Elite x2 1012 G1")
{
$result = cmd /c BiosConfigUtility64.exe /getvalue:"Thunderbolt Security Level"
$resultxml =[xml] $result
$wmithunbolt = $resultxml.biosconfig.setting.value.Innertext
if($wmithunbolt -notmatch "\*PCIe and DisplayPort - No Security,PCIe and DisplayPort - User Authorization,PCIe and DisplayPort - Secure Connect,DisplayPort only")
{
CMD /c "x:\hp\biosconfigutility64.exe /setvalue:`"Thunderbolt Security Level`",`"PCIe and DisplayPort - No Security`""
stop-process -name "tsmboot*"
}
}
Note: Few things that gave us grief was that when WinPE loads, WMI is available but non Microsoft created ("root\HP\InstrumentedBIOS") classes throw error code (0x8004100E) in Powershell and vbscript, This resulted in us using the BiosConfigUtility64.exe /getvalue to get around the problem. Also the HP Support package SP75214.exe was adding to the Boot image as Driver pack. Thanks Victor and John M!
As you can see this provides a great way to let WinPE perform some pre-build automation right when it initializes. This could easily be modified to change the bios to UEFI in preparation for Windows 10, taking advantage of the new security features.
Disclaimer: The information on this site is provided "AS IS" with no warranties, confers no rights, and is not supported by the authors or Microsoft Corporation. Use of included script samples are subject to the terms specified in the Terms of Use