Creating an Azure Mobile Service
Let’s say that you are creating a mobile application, regardless of the platform (Windows, Android, IOS,etc.), and you want to have a backend to store some data. Sure, you have the ability to manually set up your own database and connect to it, but what if someone could do some of that work for you? Well, that’s the beauty of using an Mobile Service in Azure. You can create a Mobile Service in the Azure portal in just a few minutes, providing yourself a cross platform mobile backend for your application. Then, you can use your Azure Mobile Service to…
- Create turnkey backend solutions to power your mobile apps.
- Accelerate your mobile app development. Incorporate structured storage, user authentication and push notifications in minutes.
- Create a straightforward and secure backend-as-a-service to handle common tasks and free yourself to focus on the front end that your users value.
Let’s take a look at how to create one!
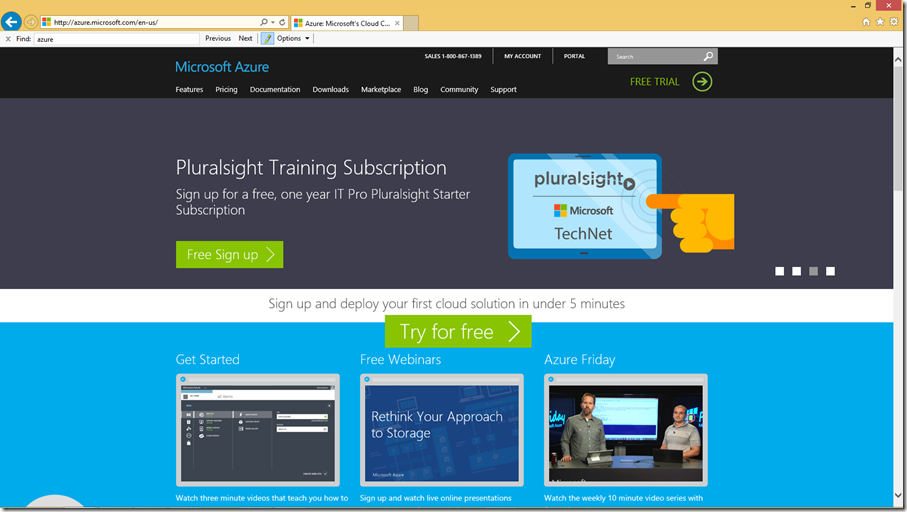
Navigate to the Azure homepage, https://azure.microsoft.com/en-us/
Note that are a couple of way to get started using Azure. You could select the “Try for free” button to start using Azure as a trial. Alternatively, if you are developing software, websites, etc. and are privately held under 5 years old and making less than $1 million in revenue, you can sign up for Bizspark. Bizspark is Microsoft’s program for startups that provides free software AND AZURE CREDITS! If you fit those qualifications, feel free to comment below to see about getting sign up.
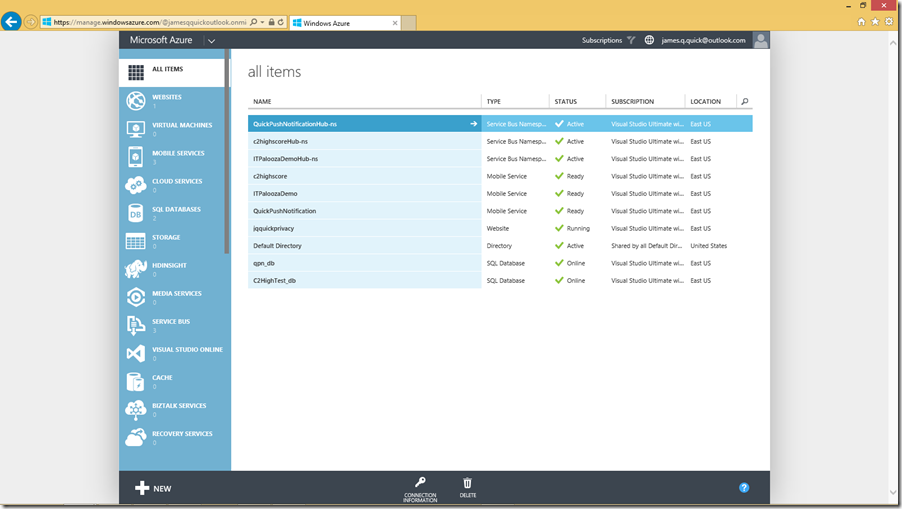
After you figure out your route to get an Azure account, you can go ahead and login by clicking “Portal” above. Once you do, you should be taken into the Azure portal. Mine is shown below. I already have created several items but your might be blank.
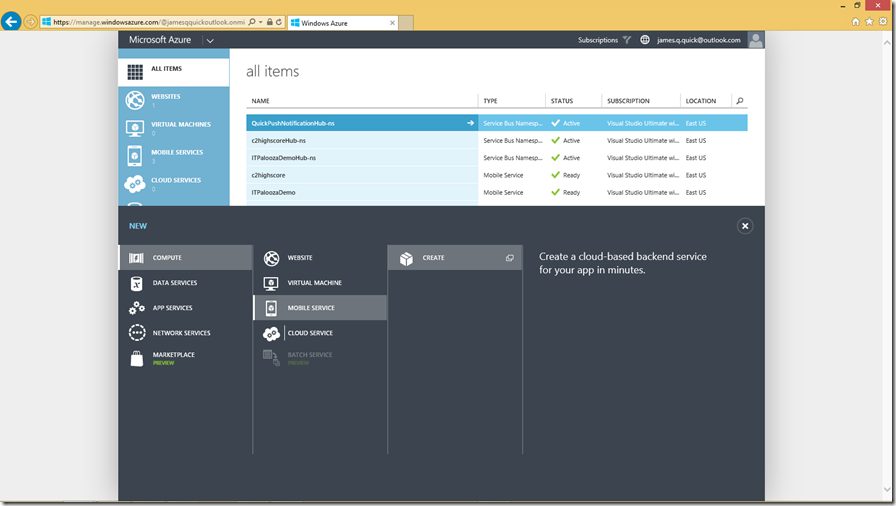
Now that you are successfully in the portal, let’s create our Azure Mobile Service. Click on the “New” button in the bottom left, then choose Compute->Mobile Service->Create.
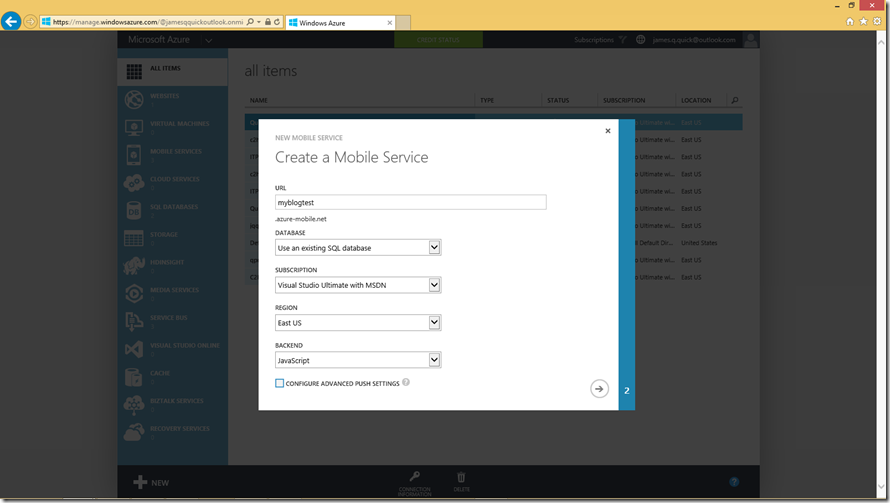
Now we need to give some extra details about our mobile service, such as the URL you want to use (has to be unique). You will also need to determine which database you want to use to store your data. You can choose to create a free 20mb SQL database. I choose to use a database that was already created below. Next, choose your subscription. If you are signed up through Bizspark or have an MSDN subscription, you can choose Visual Studio Ultimate with MSDN. Alternatively, you can choose Pay as you go. Next, choose your geographical region, and then either Javascript or .Net for your backend. You can see my settings below. After you finish, click the next arrow.
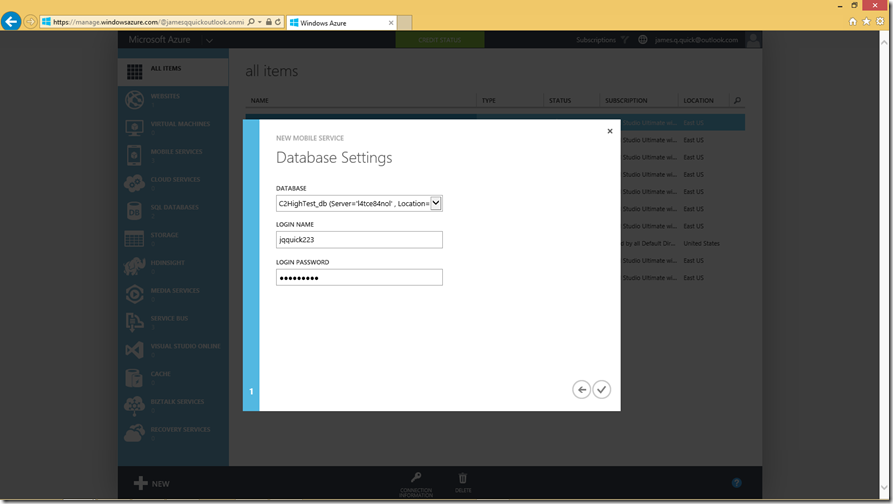
Here, I am logging in to use the previously created database. If you created a new database, you will need to add login information, username and password.
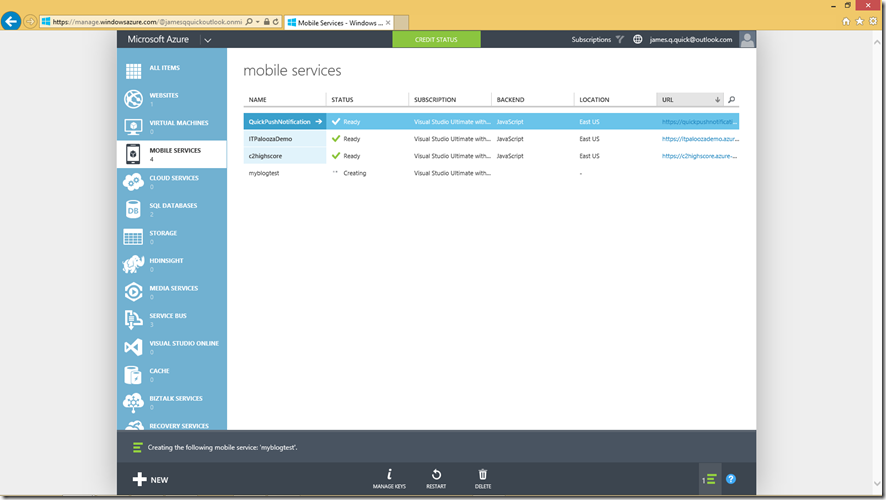
After you press the check mark above, Azure will let you know that it is creating your Mobile Service, shown below. This should only take 30 seconds or so.
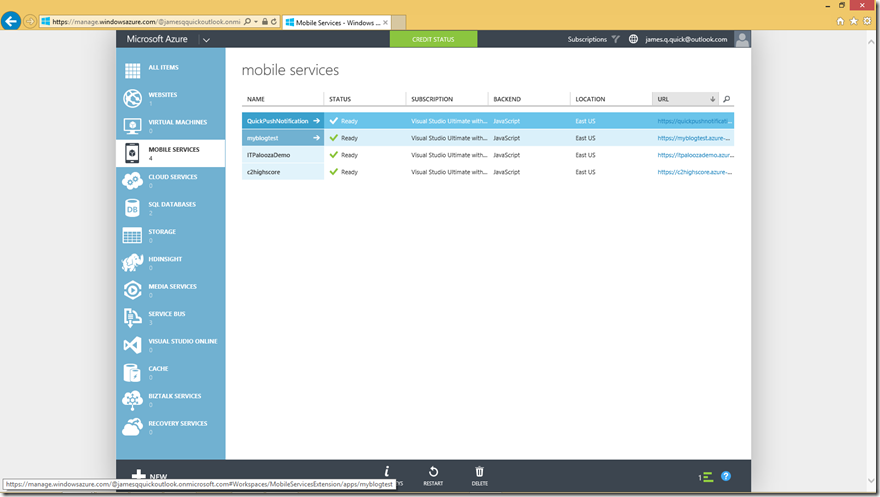
After your mobile service is created, you will see a checkbox and the word Ready next to it as below.
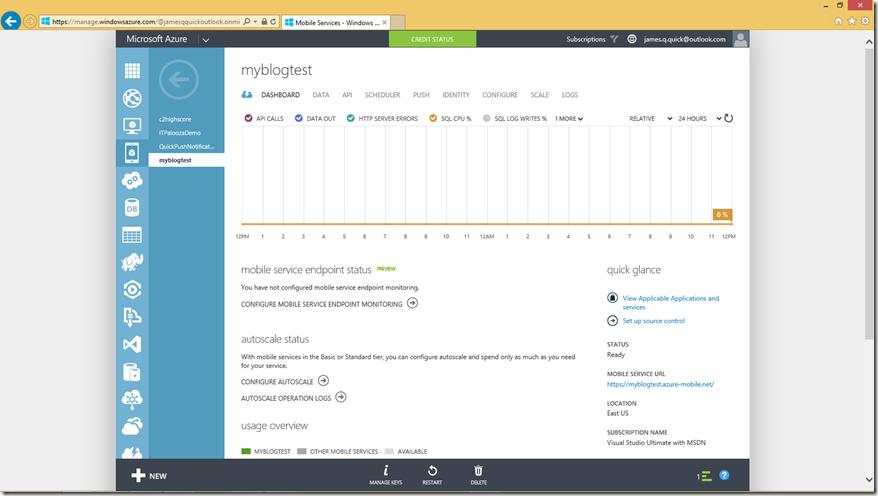
If you click on your new Mobile Service, you will be taken to its Dashboard. A couple things to note here are the Mobile Service URL shown on the right hand side and the Manage Keys button at the bottom of the screen. If you click the Manage Keys button you will be given your Application Key. You don’t need to memorize your URL or your Key, just know where to find them.
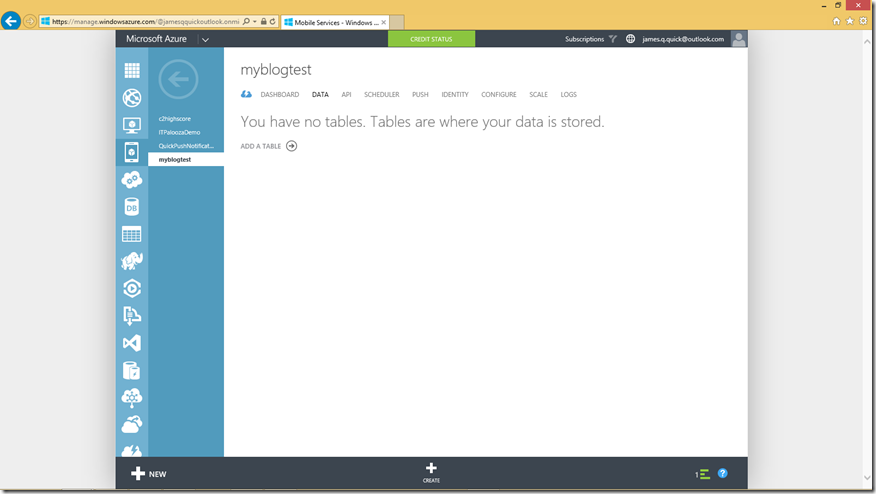
If you then click on the Data column at the top of your dashboard, you will see a list of all of your available tables. Since we haven’t created any yet, we don’t have any listed.
Check out Azure Mobile Services - Adding a Table, where I will show you how to add a table to your Azure Mobile Service. As always comment below with questions, comments, or concerns or find me on twitter @jamesqquick.
