Under the hood tour on Multi-Factor Authentication in ADFS – Part 2: MFA aware Relying Parties
Last time, we discussed how to author the policy to enable Multi-Factor Authentication (MFA) in AD FS. In this post, I want to talk about the developer experience when building relying party applications.
What's the scenario?
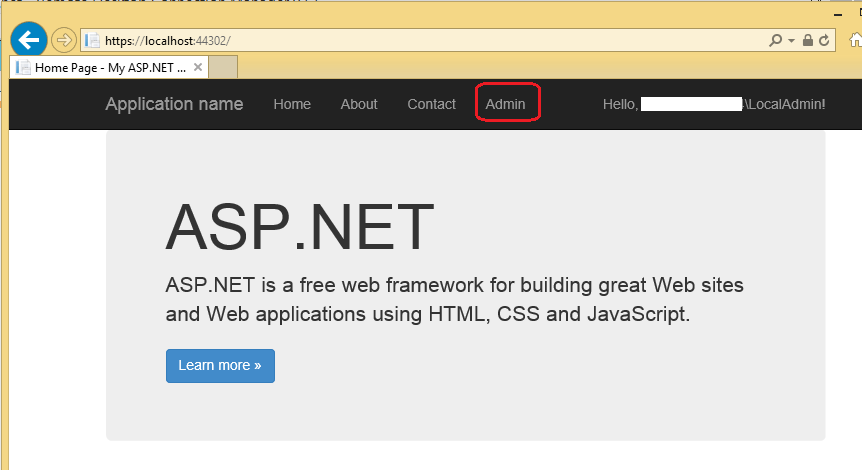
Let's say you created your ASP.NET MVC 5 application authenticated with on premises identity with AD FS. Now, you want to allow access to some (if you wanted all of the operations, you can govern that from AD FS MFA policy) of the administrative operations only if the user performed two factor authentication:
Let's start off by letting the application know whether MFA was performed
Step 1: Send the MFA claim to the Relying Party
As I mentioned in part 1 of this tour, AD FS will generate a claim of type https://schemas.microsoft.com/claims/authnmethodsreferences that indicates the methods used when authenticating the user. If we send this claim in the relying party token, we can pivot the authorization of the administrative operations in the application's code.
Let's go to AD FS management console, and pass through the claim to the relying party's issuance transform rules:

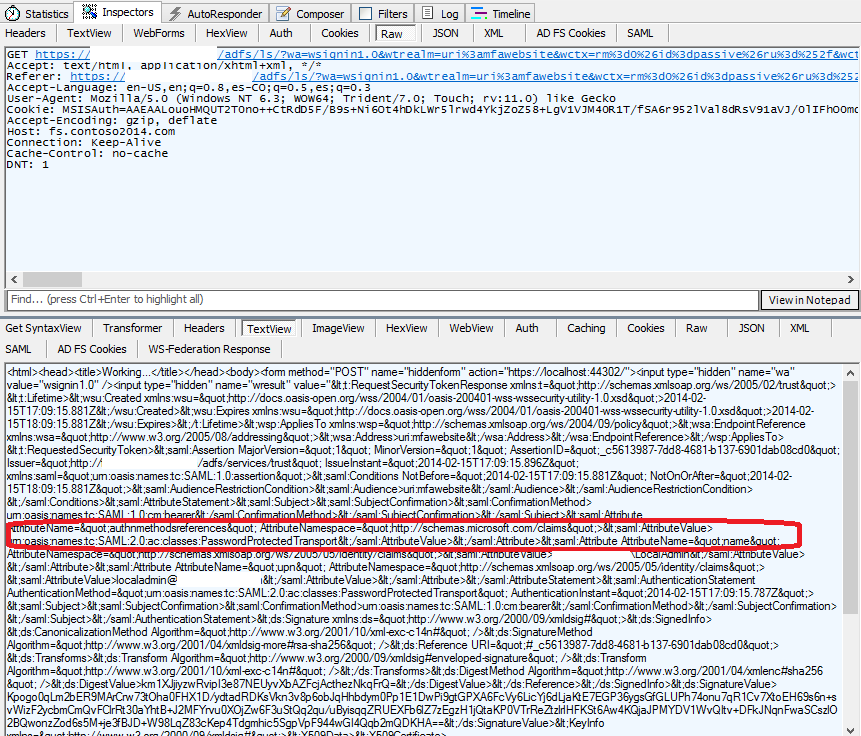
One thing that I always do to make sure I get the right claims after setting the rules is try the flow with Fiddler. Since this is a ws-federation application, the token must be in the wresult parameter in the last redirect from AD FS to your relying party's endpoint:
With that, now we are ready to go to the application code.
Step 2: Authorize access based on MFA
The claims set by AD FS are accessible through HttpContext.User as a ClaimsIdentity object in the ASP.NET web application. This means that you can put conditional logic to grant or deny access based on any claim. For this post, I chose to encapsulate the logic using ASP.NET MVC Filtering, creating a custom attribute that derives from the platform's built-in AuthorizeAttribute which looks for a specific claim and value in the ClaimsIdentity, and redirect to an Access Denied view (which I will leave as an exercise for you J) when failing. The code of the attribute is very simple:
public class AuthorizeClaimAttribute : AuthorizeAttribute
{
public string ClaimType { get; set; }
public string ClaimValue { get; set; }
protected override bool AuthorizeCore(HttpContextBase httpContext)
{
var user = httpContext.User;
//Check if the user is not authenticated
if (user == null)
{
throw new AuthenticationException(
"User is not authenticated.");
}
//If authenticated, validate this is a claims identity
if (!(user.Identity is System.Security.Claims.ClaimsIdentity))
{
throw new AuthenticationException(string.Format(
"Identity is not ClaimsIdentity. Actual type = '{0}'. ",
user.Identity.GetType().Name));
}
var userClaimsIdentity = user.Identity as System.Security.Claims.ClaimsIdentity;
bool claimsFound =
(from c in userClaimsIdentity.Claims
where (c.Type == ClaimType && c.Value == ClaimValue)
select c).Any();
if (claimsFound)
{
return false;
}
return base.AuthorizeCore(httpContext);
}
protected override void HandleUnauthorizedRequest(AuthorizationContext filterContext)
{
filterContext.Result = new RedirectToRouteResult(
new RouteValueDictionary
{
{ "action", "Index" },
{ "controller", "AccessDenied" },
{ "errorDetail", string.Format(
"You require the claim '{0}' with value '{1}'",
this.ClaimType, this.ClaimValue)
}
});
}
}
Then, you add this attribute to the methods you want in the controllers:
public class AdminOperationController : Controller
{
// GET: /AdminOperation/
[AuthorizeClaim(
ClaimType = "https://schemas.microsoft.com/claims/authnmethodsreferences",
ClaimValue = "https://schemas.microsoft.com/claims/multipleauthn")]
public ActionResult Index()
{
return View();
}
}
When you try this out, you will see the following when attempting to get to the admin operation:
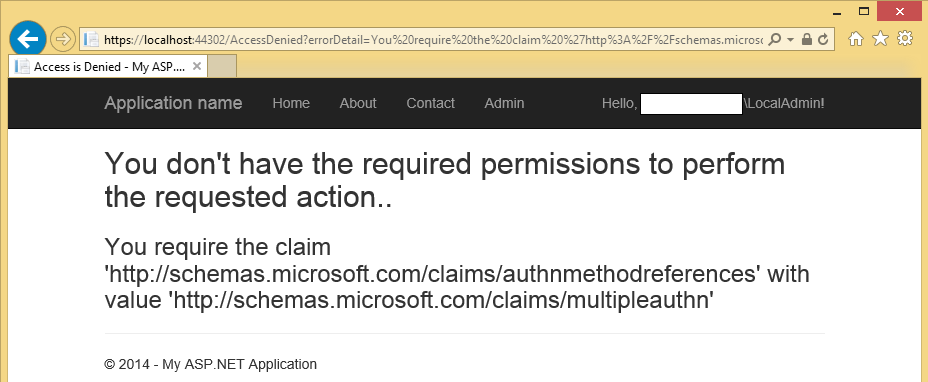
Nice! So … we are getting an access denied experience for the admin operations if MFA is not issued by AD FS. Now, how do we go about by proving that when MFA is performed, access is indeed allowed?
One more way to engage MFA
In part 1, I described how we can author policy in the server to engage MFA. Well, that is one way to do it.
In addition to this server driven behavior, we also allow request driven behavior for MFA for WS-Federation (via wauth request parameter) and SAML 2.0 (via requestedauthncontext request parameter). The value that must be supplied is https://schemas.microsoft.com/claims/multipleauthn.
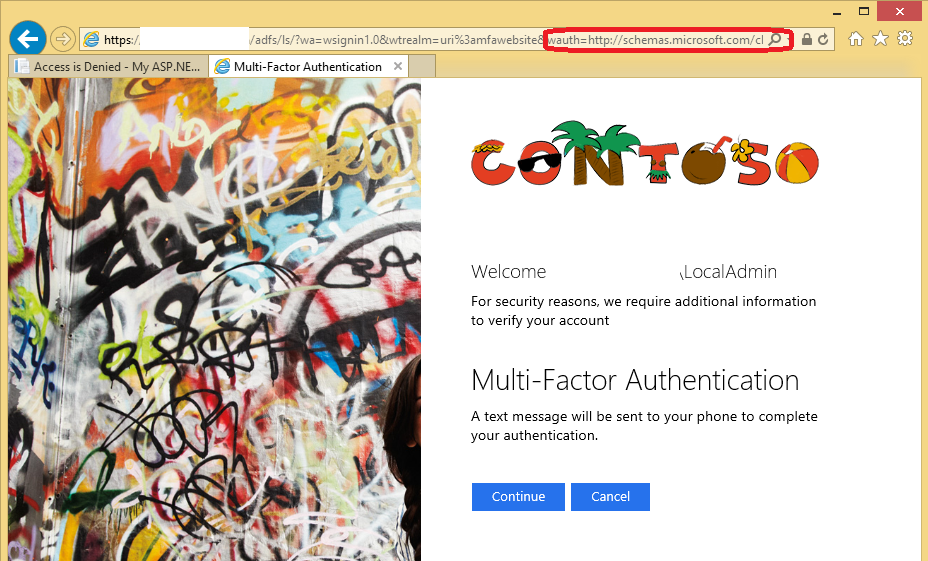
If you give a try from the browser https://<<farmName>>/adfs/ls?wa=wsiginin1.0&wtrealm=<<rpidentifier>>&wauth= https://schemas.microsoft.com/claims/multipleauthn, you should see that MFA is engaged.
As a result, then we can get access to the admin operation
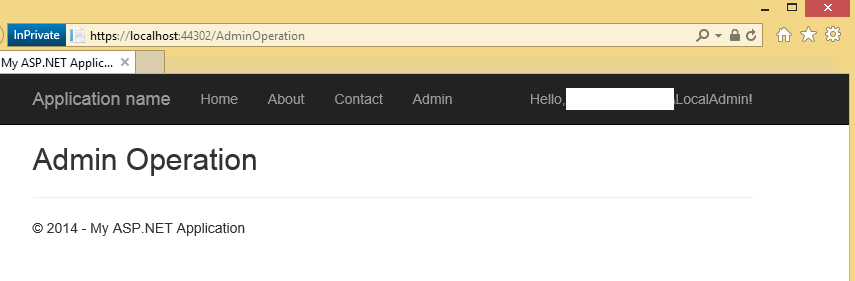
Excellent!!. However, this will work for the few users who not only foretells he needs MFA but also happens to know enough of the underlying protocols to know how to craft a request just the right way to get to get his admin task done. It does not sound very user friendly, does it?
Let's make this flow a bit more straightforward.
Step 3: Smoothen the authentication flow with a Step-up experience
One way to improve the admittedly subpar flow I described above is to have the user provide the second factor whenever he attempts an admin operation as opposed to show him an access denied page, which is commonly known as step-up authentication.
Since the AuthorizeClaimAttribute is too generic for any claim type/value that may or may not be related to authentication types, we can derive from AuthorizeClaimAttribute and specialize it to add some STS fallback semantics. Assuming that you configured your ASP.NET Application with Visual Studio 2013 web project templates, then the STS parameters are discoverable via web.config settings.
The code looks like this:
public class AuthorizeAuthenticationMethodAttribute : AuthorizeClaimAttribute
{
protected override void HandleUnauthorizedRequest(AuthorizationContext filterContext)
{
//Validate Assumptions on the input
if (string.IsNullOrEmpty(ConfigurationManager.AppSettings["ida:FederationMetadataLocation"]))
{
throw new ConfigurationErrorsException(
"The 'ida:FederationMetadata' configuration parameter is missing"
);
}
Uri federationMetadataLocation = null;
if (!Uri.TryCreate(
ConfigurationManager.AppSettings["ida:FederationMetadataLocation"],
UriKind.Absolute,
out federationMetadataLocation)
)
{
throw new ConfigurationErrorsException(
"The 'ida:FederationMetadataLocation' configuration parameter is not a valid absolute URI"
);
}
if (string.IsNullOrEmpty(ConfigurationManager.AppSettings["ida:Realm"]))
{
throw new ConfigurationErrorsException(
"The 'ida:Realm' configuration parameter is missing"
);
}
//redirect to the STS, requesting MFA, and replying back to the original URL afterwards
string stsUrl = String.Format(
"https://{0}/adfs/ls?wa=wsignin1.0&wtrealm={1}&wauth={2}&wreply={3}",
federationMetadataLocation.Host,
HttpUtility.UrlEncode(ConfigurationManager.AppSettings["ida:Realm"]),
HttpUtility.UrlEncode("https://schemas.microsoft.com/claims/multipleauthn"),
HttpUtility.UrlEncode(filterContext.RequestContext.HttpContext.Request.Url.AbsoluteUri));
filterContext.Result = new RedirectResult(stsUrl);
}
}
Then, we revisit our privileged operation to use our new attribute instead:
public class AdminOperationController : Controller
{
// GET: /AdminOperation/
[AuthorizeAuthenticationMethod(
ClaimType = "https://schemas.microsoft.com/claims/authnmethodsreferences",
ClaimValue = "https://schemas.microsoft.com/claims/multipleauthn")]
public ActionResult Index()
{
return View();
}
}
After you try this out from scratch, you will notice the following flow:
- User attempts to access to your application
- User is redirected to AD FS for authentication
- After supplying credentials, the user can access your application. Note that so far, the user has used one factor of authentication
- User now attempts to perform an operation that requires multi factor authentication
- User is redirected to AD FS for authentication, straight to the second factor challenge. The reason why the first factor is skipped is because the user acquired a single sign on (SSO) cookie that captured a bunch of details, including the fact that a first factor was performed. (The inner details of SSO are a separate topic altogether which deserves a whole post on its own J).
- After authenticating with the second factor, the user can now access the operation attempted in step 4.
- Subsequent attempts to access other operations that require MFA access will be seamless as the user now has all the data in the claims identity.
Conclusion:
- By flowing the authenticationmethodsreferences claim to your relying party, you can use it in your application.
- Using the protocol parameters, you can engage MFA from the authentication request.
- Using ASP.NET MVC Authorization Filters, you can make your application require MFA to access parts of the application and handle authorization failures by redirecting back to AD FS.
Now, your turn:
How would you go about decoupling the example above so that:
- In AD FS, you compute a level of assurance claim based on the authentication type(s).
- In the Application code, make the authorization and step-up decisions based upon the level of assurance.
- Tweak the level of assurance calculation so that Smart Card Authentication is also considered a strong level of assurance, even if it is the first factor