Working with Azure SQL Managed Instance using Azure CLI
Azure Command Line Interface (CLI) is a command line library that enables you to quickly and easily work with your Azure SQL Managed Instances. In this post, you will see some basic CLI commands that can be used with Managed Instance.
You can run Azure CLI commands using Azure portal, shell.azure.com, Azure mobile app, your command prompt on your local computed using Azure CLI 2.0, or VS Code Azure Account extension.
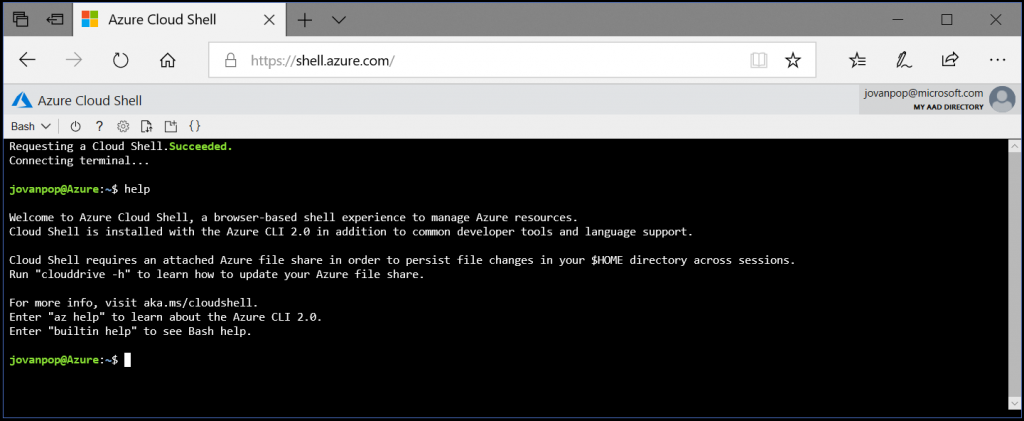
If you want to quickly try it without some installation, you just need to open shell.azure.com site where you can type the commands online:
All Azure CLI commands that work with SQL Managed Instances start with az sql mi where you can add the specific command (create, update, delete, list and show) and the parameters specific for the selected command.
Prerequisite
The prerequisite for this sample is to prepare Azure resource group , Virtual Network and subnet where the Managed Instance will be created using the instructions described here. The easiest way to setup environment is to use ARM template deployment as described in this post.
Once you sign-in and open terminal, make sure that you set the subscription that you will use using something like the following command:
az account set --subscription b9c7a824-4bde-06c0-9778-e7c2a70573e1
Replace the value b9c7a824-4bde-06c0-9778-e7c2a70573e1 with your subscription id.
Working with Managed Instances
You can list all Managed Instances in your subscription using the following command:
az sql mi list
This command will show you all sql managed instances in your subscription in one big JSON document. Currently, you can filter your search only by specifying azure resource group where you want to search for the instances using the -g my_rg_name option. If you want more advanced filtering, you can specify JMESPath query string in --query parameter.
The command az sql mi create will create a new Managed Instance:
 az sql mi create -n jovanpop-temp-mi -u myMiAdmin -p MyStron9Password1234
           -g mi_group -l "West Central US"
           --vnet-name mi_vnet --subnet mi_subnet
In this command you need to specify the name of new managed instance, admin username and password, resource group where it should be placed, location(data center) where the instance will be placed, and VNet/subnet where the instance will be configured.
If the command succeeds, you will see the properties of the created Managed Instance in the output as JSON text. You can also specify the following properties of new Managed Instance in this command:
-cnumber of cores that will be assigned to the instance.--storagestorage size expressed in GB--license-type- that can be BasePrice or LicenseIncluded--tier- GeneralPurpose or BusinessCritical--family- hardware family that can be Gen4 or Gen
A command that specifies all these properties is shown in the following example:
 az sql mi create -n jovanpop-temp-mi -u myMiAdmin -p VeryStrongPassword1234
            -g mi_group
            -l "West Central US"
            --vnet-name mi_vnet --subnet mi_subnet
            -c 8 --storage 256 --tier BusinessCritical --license-type LicenseIncluded --family Gen4
You can also retrieve properties of the instance using the show command and specifying name and resource group:
az sql mi show -n jovanpop-temp-mi -g mi_group
If you want to change the properties of some instance you can use az sql mi update command:
az sql mi update -g mi_group -n jovanpop-temp-mi --storage 64
This command might be very useful if you need to quickly change the storage size limit or number of cores assigned to the managed instance.
Finally, you can delete the instance that you don't need anymore using az sql mi delete command:
az sql mi delete -g mi_group -n jovanpop-temp-mi
Summary
One you learn Azure CLI it might became handy way to control your resources and change the properties of your managed instances. You can find complete list of AZ commands that can be used to control managed instance in Azure documentation page.