Step-by-step: Getting setup on Azure with your MSDN benefits
In my last blog post I started to talk about Azure benefits being included with MSDN along with some scenarios where customers are using these benefits to accelerate development, improve quality and reduce costs. If you missed the post you will find it here (https://aka.ms/Liai7g). This article aims to build on this by taking you through the few steps you need to take to get up and running with your MSDN Azure benefits.
If you’re reading this before September 30th 2013 head to (https://www.windowsazure.com/en-us/campaigns/car/) and not only will you get signed up for your Azure benefits, but you’ll also be entered into a draw for an Aston Martin.
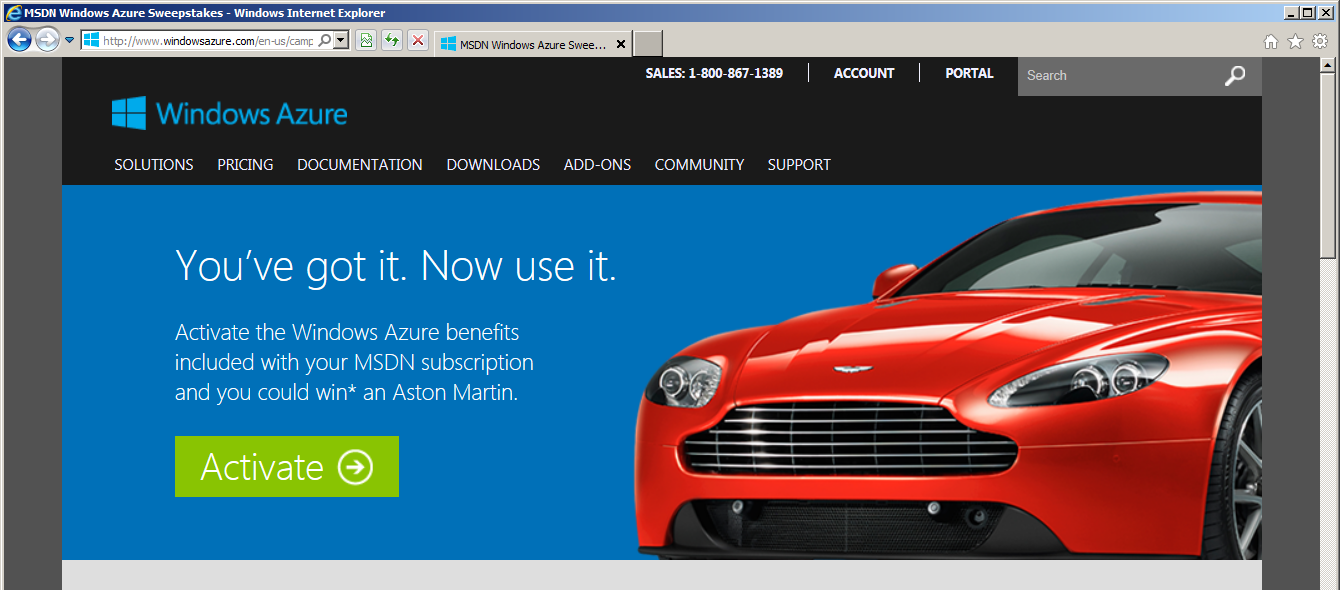
Click the Activate button to get started and ensure at the login screen you enter the credentials for the Microsoft Account that is aligned to your MSDN subscription (the one you use to logon to your MSDN subscription). Assuming you use your MSDN account then the account can be correlated at the back end and an MSDN Subscription will be added to your account like below.
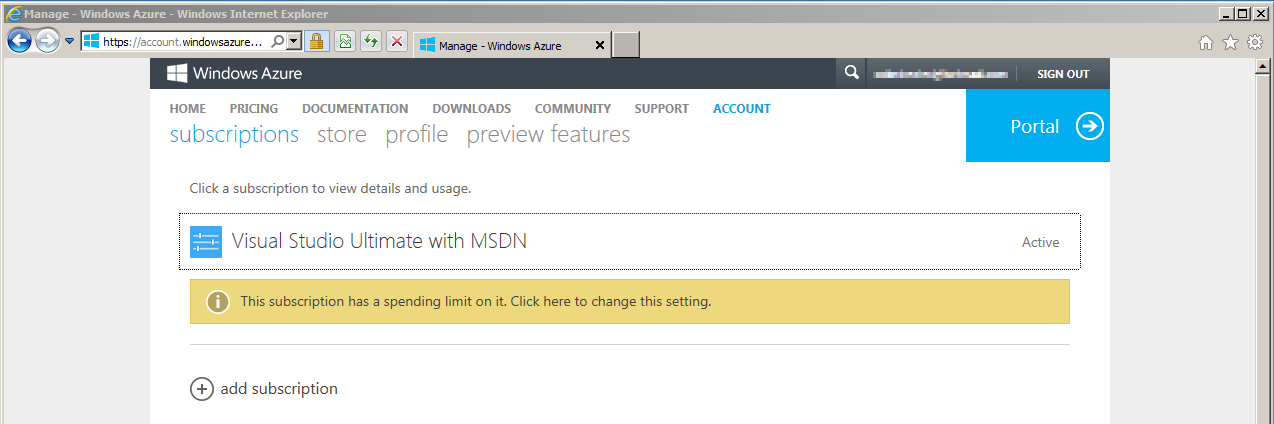
The cool thing you’ll notice is that to do this you’ve have had to enter no credit card onto the account and automatically you have a spending limit set-up meaning you can’t spend over the allocation given to you by MSDN.
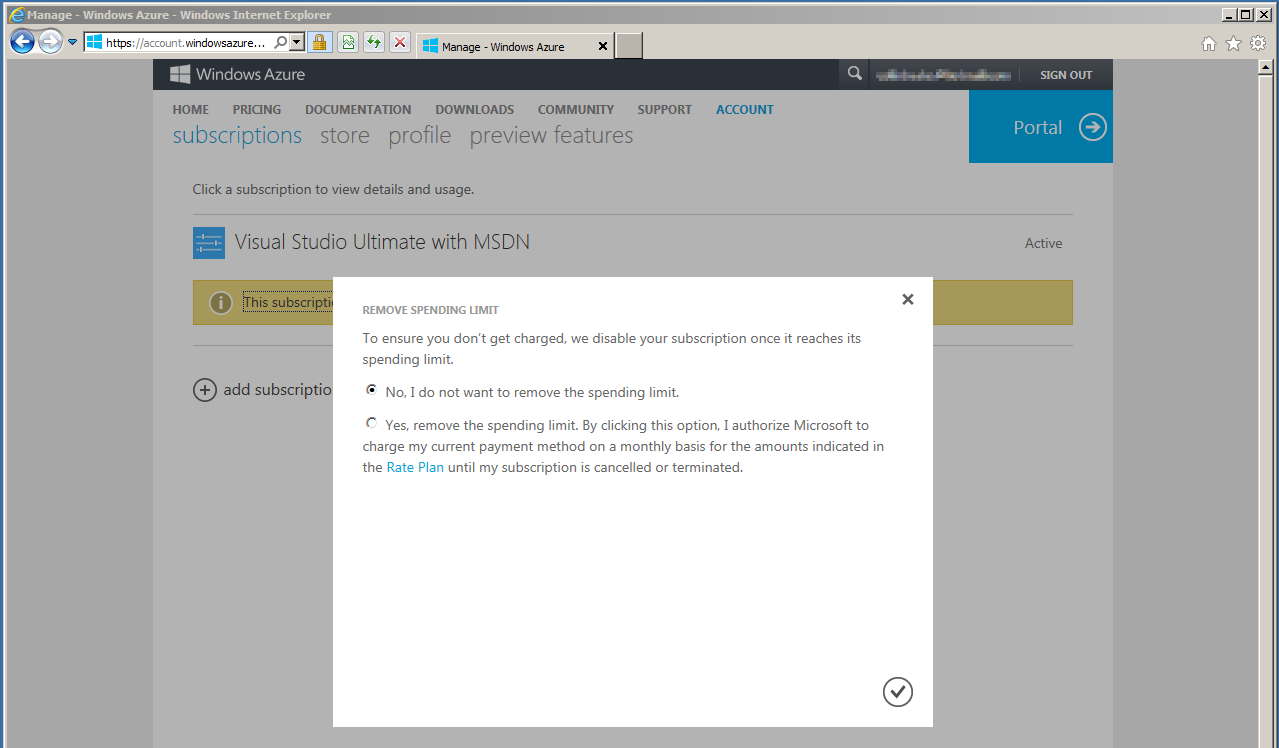
Of course if you want to increase the monetary amount on this subscription and setup a spending limit you will need to add a credit card details and setup details. You can see selecting the “Click here to change this setting” brings up a dialog to take you through this process if you do want to add this. You can also set this up at a later point in time if you ever want to change any of your initial decisions with regards to spend.
If you select the subscription from the subscriptions page it will drill into the subscriptions details, showing the amount of credit on this subscription (in my case $150) and the amount of days until I get my next monthly MSDN benefit amount. In my instance my benefits are being shown in dollars.
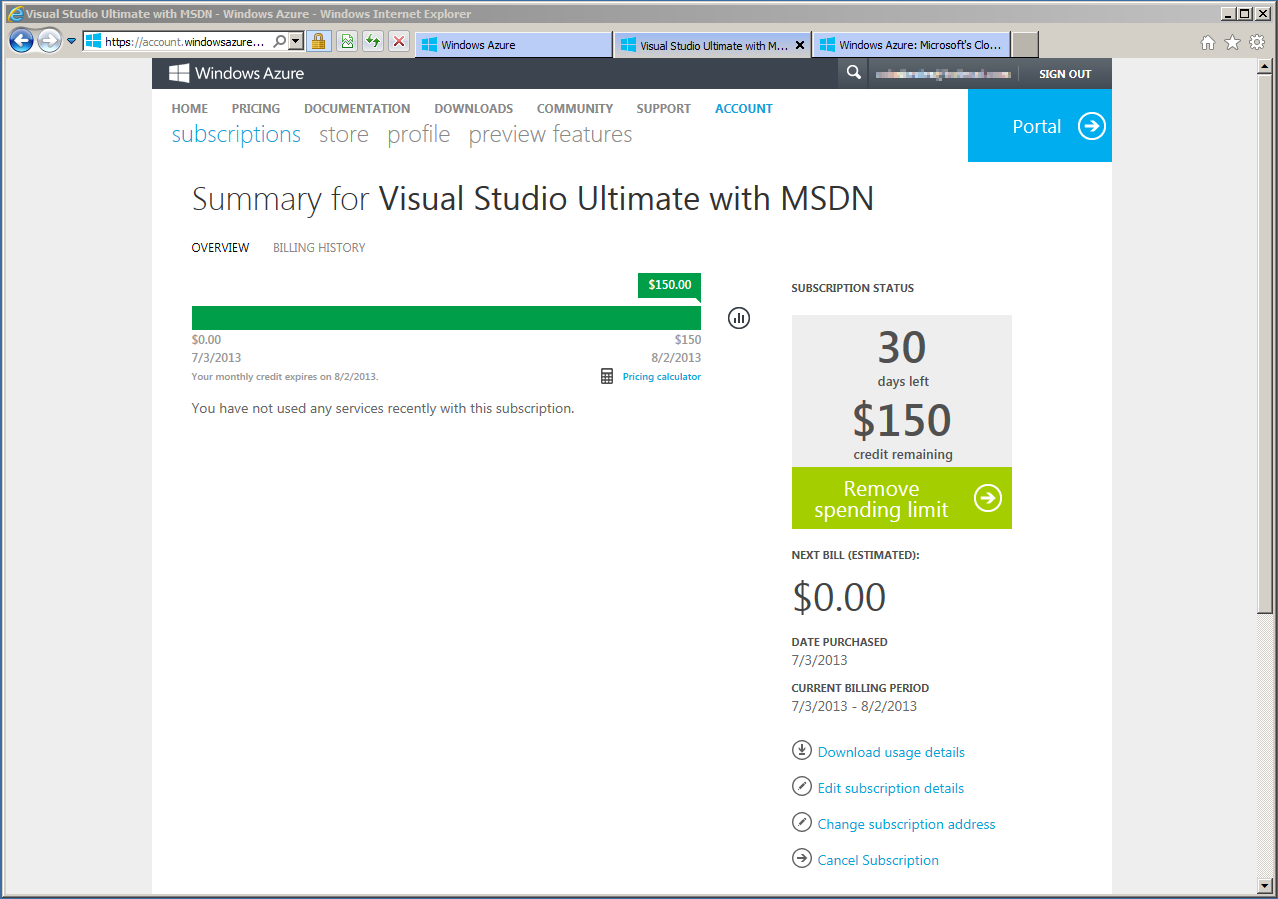
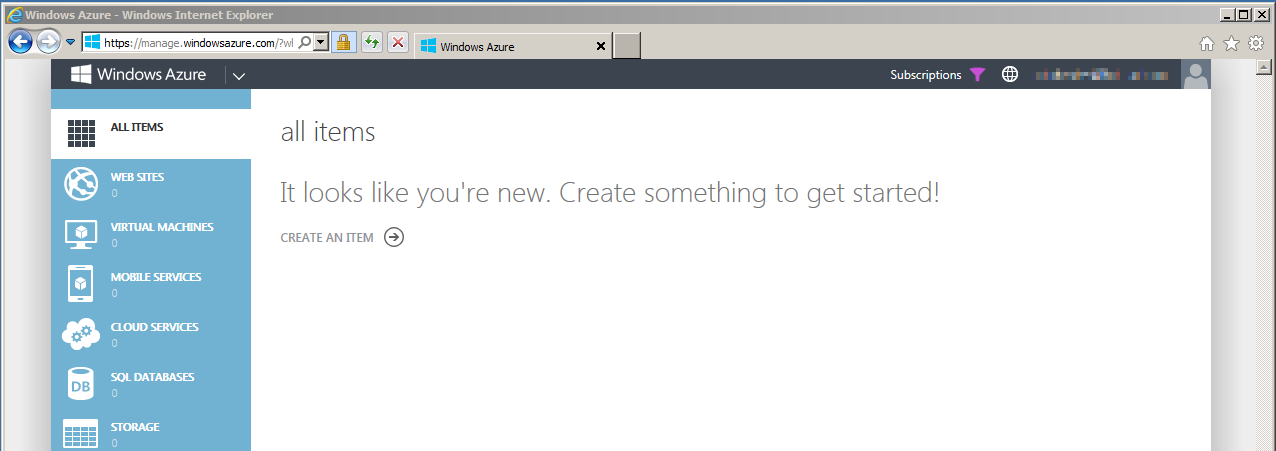
Enough administration, you’ll be itching to get started. Select the Portal button in the top right hand corner and you’ll be taken to the Windows Azure portal and ready to get started in using some cloud based resources.
Of course there’s loads you can do from this point getting setup with any of the many services that Windows Azure has to offer at the reduced rates that MSDN subscriptions give you access to. I’ll follow up with a post on getting started with Visual Studio 2013 on a VM sat in Azure, but to get started you may want follow one of these getting started guides to help you out:
- Tutorials and resources - https://www.windowsazure.com/en-us/develop/net/
- Getting started with Virtual Machines and Virtual Networks - https://channel9.msdn.com/Events/MMS/2013/WS-B329
- Getting started with Azure Websites - https://www.windowsazure.com/en-us/develop/net/tutorials/get-started/
- Getting started with Mobile Services - https://www.windowsazure.com/en-us/develop/mobile/
Welcome to the cloud with MSDN!
Colin.