Visual Studio 2013: Drag and Drop Code Onto the Toolbox
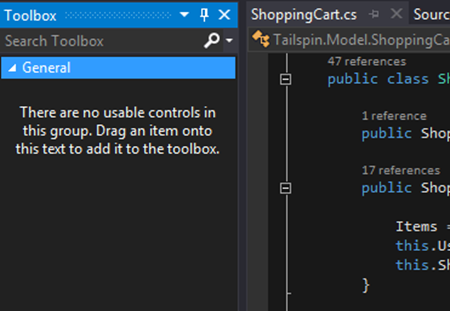
This is another feature that has been around for a while but a lot of people don’t know about. Got code you use all the time? Start using the Toolbox for more than just controls. When you are in the Editor the Toolbox looks like this:
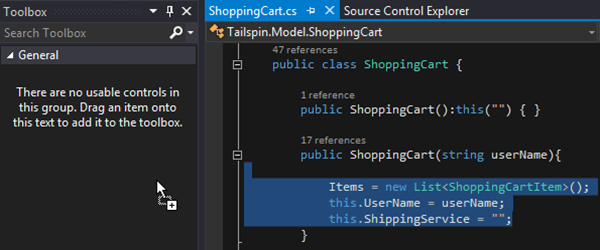
This is a vast expanse of opportunity! Just select some code you use often and drag it into the Toolbox and see the magic happen:
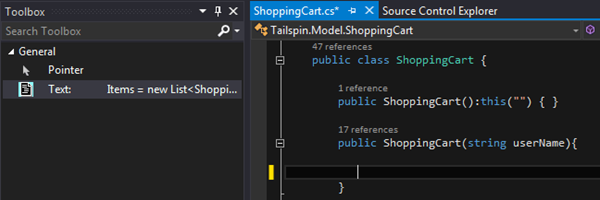
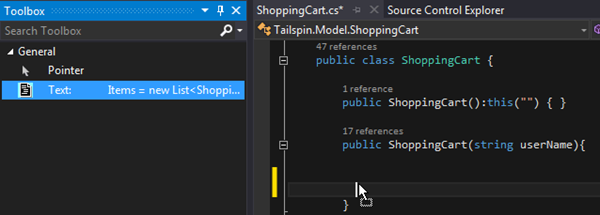
Now you have code ready to go at anytime! Just place the cursor where you want the code to go:
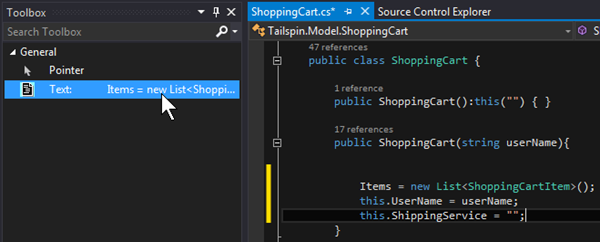
And double click on the item in your Toolbox to have the code inserted:
You can also Click and Drag where you want the code to go:
Additional Actions
There are a few extra things you can do with this feature as well. Here is are a few things to consider.
Renaming
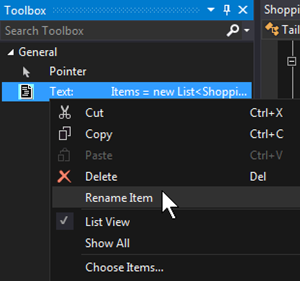
You can rename the code copy to whatever you would like by RIGHT CLICKING on the item and choosing Rename Item:
Additional Tabs
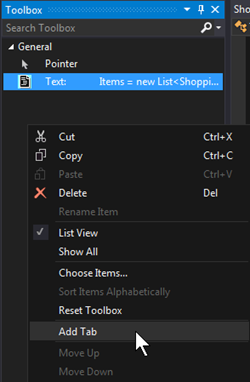
You can also create additional tabs beyond the General tab. To organize the code with additional tabs just RIGHT CLICK any open space in the toolbox and choose Add Tab:
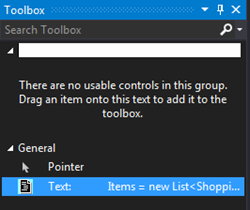
This will produce a text box where you can type in the name of the new tab:
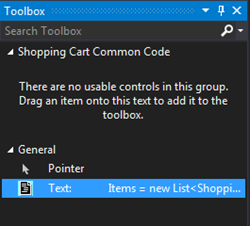
Simply enter a name and press ENTER:
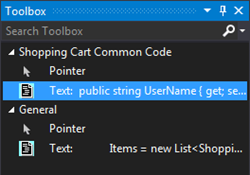
And now you can click and drag code into the new area:
Showing the Code
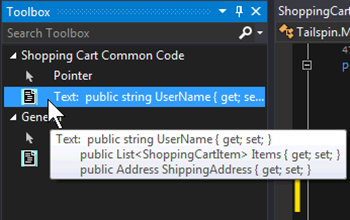
You can see the entirety of any code entry by placing your mouse cursor over the item and reading the tooltip:
Deleting
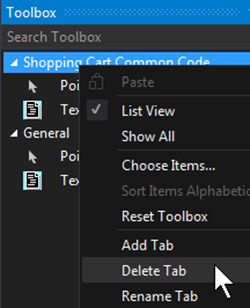
You can delete any entry or any tab except the General Tab. Simply RIGHT CLICK the item or tab and choose Delete or Delete Tab respectively:
