Install Visual Studio and connect to Azure Stack Hub
You can use Visual Studio to write and deploy Azure Resource Manager templates to Azure Stack Hub. The steps in this article describe how to install Visual Studio on Azure Stack Hub or on an external computer if you plan to use Azure Stack Hub through VPN.
Install Visual Studio
Install Visual Studio Community 2019, or one of the trial versions.
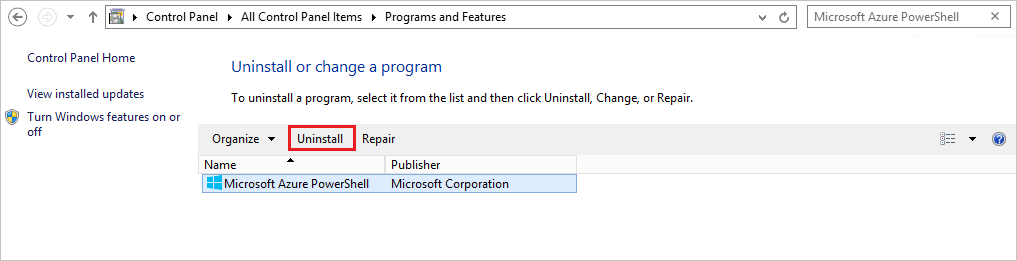
Uninstall the Microsoft Azure PowerShell that's installed as part of the Azure SDK.
Restart the computer after the installation completes.
Connect to Azure Stack Hub with Microsoft Entra ID
Note
While Azure Stack Hub supports both Visual Studio 2019 and 2022, Cloud Explorer has been deprecated from Visual Studio 2022. Therefore, although both Visual Studio 2019 and 2022 work if you're using Microsoft Entra ID, if you are using AD FS with Azure Stack Hub (as described in the next section), you must use Visual Studio 2019 or earlier.
Launch Visual Studio.
From the View menu, select Cloud Explorer.
Select Manage Accounts, then in the new pane, sign in with your Microsoft Entra credentials.

Once logged in, you can deploy templates or browse available resource types and resource groups to create your own templates.
Connect to Azure Stack Hub with AD FS
Launch Visual Studio.
From Tools, select Options.
Expand Environment in the navigation pane and select Accounts.
Select Add, and enter the user Azure Resource Manger endpoint. For the Azure Stack Development Kit (ASDK), the URL is:
https://management.local.azurestack/external. For Azure Stack Hub integrated systems, the URL is:https://management.[Region}.[External FQDN].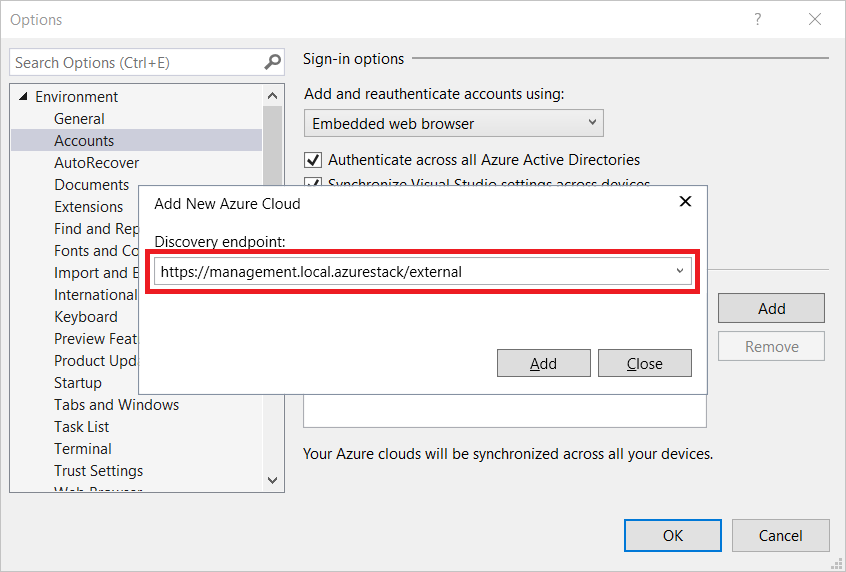
Select Add. Visual Studio calls Azure Resource Manger and discovers the endpoints, including the authentication endpoint, for Azure Directory Federated Services (AD FS). Azure Stack Hub now appears in the list of registered clouds.
Select Cloud Explorer from the View menu.
Select Manage Accounts and sign in with your AD FS credentials.
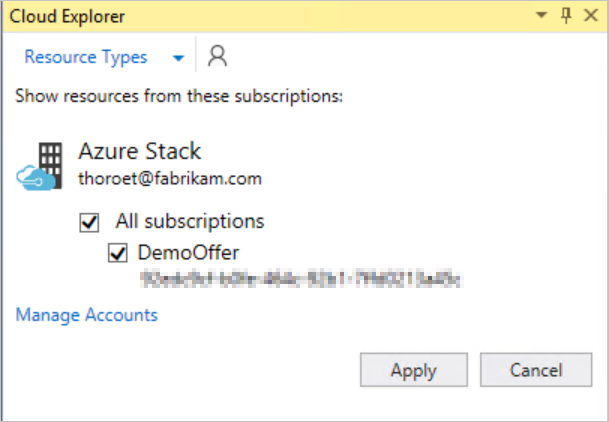
Cloud Explorer queries the available subscriptions. You can select an available subscription to manage.
Browse your existing resources, resource groups, or deploy templates.
Next steps
- Read more about Visual Studio side by side with other Visual Studio versions.
- Develop templates for Azure Stack Hub.
Feedback
Coming soon: Throughout 2024 we will be phasing out GitHub Issues as the feedback mechanism for content and replacing it with a new feedback system. For more information see: https://aka.ms/ContentUserFeedback.
Submit and view feedback for