Tutorial: Call an API and display the results
In the previous tutorial, you added the sign-in and sign-out experiences to the application. The application can now be configured to call a web API. For the purposes of this tutorial, the Microsoft Graph API is called to display the profile information of the logged-in user.
In this tutorial:
- Call the API and display the results
- Test the application
Prerequisites
- Completion of the prerequisites and steps in Tutorial: Add sign in to an application.
Call the API and display the results
Under Pages, open the Index.cshtml.cs file and replace the entire contents of the file with the following snippet. Check that the project
namespacematches your project name.using System.Text.Json; using Microsoft.AspNetCore.Mvc.RazorPages; using Microsoft.Identity.Web; using Microsoft.Identity.Abstractions; namespace sign_in_webapp.Pages; [AuthorizeForScopes(ScopeKeySection = "DownstreamApi:Scopes")] public class IndexModel : PageModel { private readonly ILogger<IndexModel> _logger; private readonly IDownstreamApi _downstreamWebApi; public IndexModel(ILogger<IndexModel> logger, IDownstreamApi downstreamWebApi) { _logger = logger; _downstreamWebApi = downstreamWebApi; } public async Task OnGet() { using var response = await _downstreamWebApi.CallApiForUserAsync("DownstreamApi").ConfigureAwait(false); if (response.StatusCode == System.Net.HttpStatusCode.OK) { var apiResult = await response.Content.ReadFromJsonAsync<JsonDocument>().ConfigureAwait(false); ViewData["ApiResult"] = JsonSerializer.Serialize(apiResult, new JsonSerializerOptions { WriteIndented = true }); } else { var error = await response.Content.ReadAsStringAsync().ConfigureAwait(false); throw new HttpRequestException($"Invalid status code in the HttpResponseMessage: {response.StatusCode}: {error}"); } } }Open Index.cshtml and add the following code to the bottom of the file. This handles how the information received from the API is displayed:
<p>Before rendering the page, the Page Model was able to make a call to Microsoft Graph's <code>/me</code> API for your user and received the following:</p>

<p><pre><code class="language-js">@ViewData["ApiResult"]</code></pre></p>

<p>Refreshing this page will continue to use the cached access token acquired for Microsoft Graph, which is valid for future page views will attempt to refresh this token as it nears its expiration.</p>
Test the application
Start the application by selecting Start without debugging.
Depending on your IDE, you may need to enter the application URI into the browser, for example
https://localhost:7100. After the sign-in window appears, select the account in which to sign in with. Ensure the account matches the criteria of the app registration.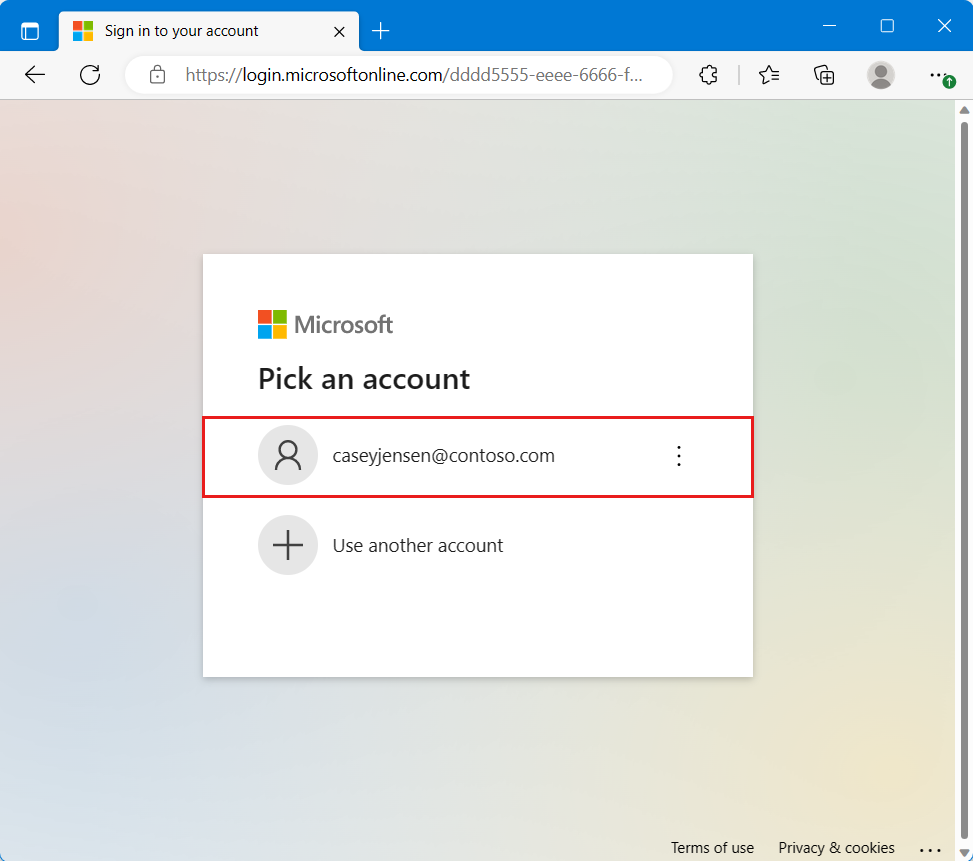
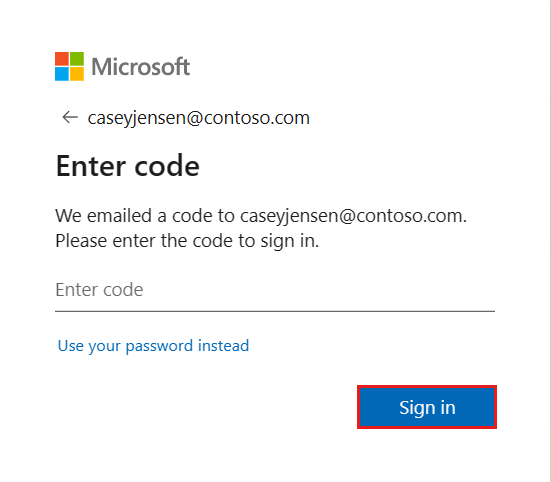
Upon selecting the account, a second window appears indicating that a code will be sent to your email address. Select Send code, and check your email inbox.

Open the email from the sender Microsoft account team, and enter the 7-digit single-use code. Once entered, select Sign in.
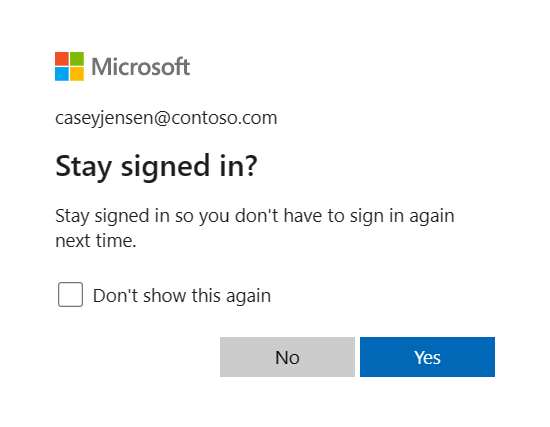
For Stay signed in, you can select either No or Yes.
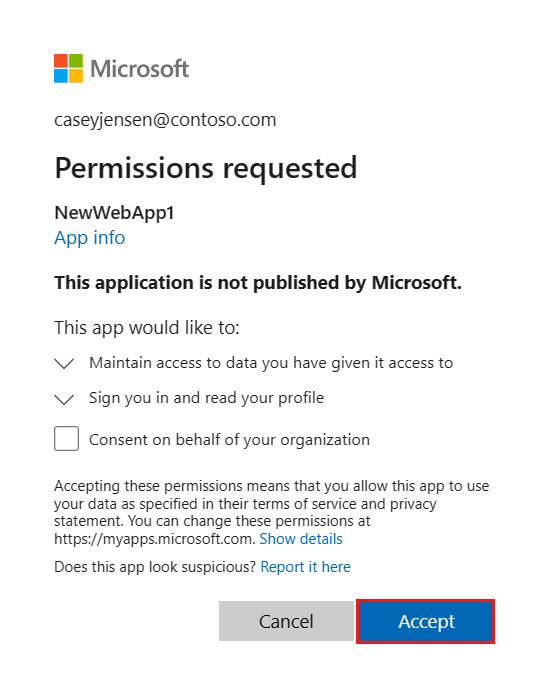
The application requests permission to maintain access to data you have given it access to, and to sign you in and read your profile. Select Accept.
The following screenshot appears, indicating that you have signed in to the application and have accessed your profile details from the Microsoft Graph API.


Sign-out from the application
- Find the Sign out link in the top right corner of the page, and select it.
- You're prompted to pick an account to sign out from. Select the account you used to sign in.
- A message appears indicating that you signed out. You can now close the browser window.
Next steps
Learn how to use the Microsoft identity platform by building a web API with the following tutorial series.
Feedback
Coming soon: Throughout 2024 we will be phasing out GitHub Issues as the feedback mechanism for content and replacing it with a new feedback system. For more information see: https://aka.ms/ContentUserFeedback.
Submit and view feedback for