Tutorial: Add add sign-in and sign-out in your Node.js web application
This tutorial is the final part of a series that demonstrates building a Node.js web app and preparing it for authentication using the Microsoft Entra admin center. In part 2 of this series, you created a Node.js web app and organized all the required files. In this tutorial, you'll add sign in, sign-up and sign out to the Node.js web app. To simplify adding authentication to the Node.js web app, you use Microsoft Authentication Library (MSAL) for Node. The sign-in flow uses OpenID Connect (OIDC) authentication protocol, which securely signs in users.
In this tutorial, you'll:
- Add sign-in and sign-out logic
- View ID token claims
- Run app and test sign-in and sign-out experience.
Prerequisites
- You've completed the steps in Tutorial: Prepare a Node.js web application for authentication.
Create MSAL configuration object
In your code editor, open authConfig.js file, then add the following code:
require('dotenv').config();

const TENANT_SUBDOMAIN = process.env.TENANT_SUBDOMAIN || 'Enter_the_Tenant_Subdomain_Here';
const REDIRECT_URI = process.env.REDIRECT_URI || 'http://localhost:3000/auth/redirect';
const POST_LOGOUT_REDIRECT_URI = process.env.POST_LOGOUT_REDIRECT_URI || 'http://localhost:3000';

/**
 * Configuration object to be passed to MSAL instance on creation.
 * For a full list of MSAL Node configuration parameters, visit:
 * https://github.com/AzureAD/microsoft-authentication-library-for-js/blob/dev/lib/msal-node/docs/configuration.md
 */
const msalConfig = {
    auth: {
        clientId: process.env.CLIENT_ID || 'Enter_the_Application_Id_Here', // 'Application (client) ID' of app registration in Azure portal - this value is a GUID
        authority: process.env.AUTHORITY || `https://${TENANT_SUBDOMAIN}.ciamlogin.com/`, // replace "Enter_the_Tenant_Subdomain_Here" with your tenant name
        clientSecret: process.env.CLIENT_SECRET || 'Enter_the_Client_Secret_Here', // Client secret generated from the app registration in Azure portal
    },
    system: {
        loggerOptions: {
            loggerCallback(loglevel, message, containsPii) {
                console.log(message);
            },
            piiLoggingEnabled: false,
            logLevel: 'Info',
        },
    },
};

module.exports = {
    msalConfig,
    REDIRECT_URI,
    POST_LOGOUT_REDIRECT_URI,
    TENANT_SUBDOMAIN
};
The msalConfig object contains a set of configuration options that you use to customize the behavior of your authentication flows.
In your authConfig.js file, replace:
Enter_the_Application_Id_Herewith the Application (client) ID of the app you registered earlier.Enter_the_Tenant_Subdomain_Hereand replace it with the Directory (tenant) subdomain. For example, if your tenant primary domain iscontoso.onmicrosoft.com, usecontoso. If you don't have your tenant name, learn how to read your tenant details.Enter_the_Client_Secret_Herewith the app secret value you copied earlier.
If you use the .env file to store your configuration information:
In your code editor, open .env file, then add the following code.
    CLIENT_ID=Enter_the_Application_Id_Here
    TENANT_SUBDOMAIN=Enter_the_Tenant_Subdomain_Here
    CLIENT_SECRET=Enter_the_Client_Secret_Here
    REDIRECT_URI=http://localhost:3000/auth/redirect
    POST_LOGOUT_REDIRECT_URI=http://localhost:3000
Replace the
Enter_the_Application_Id_Here,Enter_the_Tenant_Subdomain_HereandEnter_the_Client_Secret_Hereplaceholders as explained earlier.
You export msalConfig, REDIRECT_URI, TENANT_SUBDOMAIN and POST_LOGOUT_REDIRECT_URI variables in the authConfig.js file, which makes them accessible wherever you require the file.
Add express routes
The Express routes provide the endpoints that enable us to execute operations such as sign in, sign out and view ID token claims.
App entry point
In your code editor, open routes/index.js file, then add the following code:
const express = require('express');
const router = express.Router();

router.get('/', function (req, res, next) {
    res.render('index', {
        title: 'MSAL Node & Express Web App',
        isAuthenticated: req.session.isAuthenticated,
        username: req.session.account?.username !== '' ? req.session.account?.username : req.session.account?.name,
    });
});
module.exports = router;
The / route is the entry point to the application. It renders the views/index.hbs view that you created earlier in Build app UI components. isAuthenticated is a boolean variable that determines what you see in the view.
Sign in and sign out
In your code editor, open routes/auth.js file, then add the code from auth.js to it.
In your code editor, open controller/authController.js file, then add the code from authController.js to it.
In your code editor, open auth/AuthProvider.js file, then add the code from AuthProvider.js to it.
The
/signin,/signoutand/redirectroutes are defined in the routes/auth.js file, but you implement their logic in the auth/AuthProvider.js class.
The
loginmethod handles/signinroute:It initiates sign-in flow by triggering the first leg of auth code flow.
It initializes a confidential client application instance by using MSAL configuration object,
msalConfig, that you created earlier.const msalInstance = this.getMsalInstance(this.config.msalConfig);The
getMsalInstancemethod is defined as:getMsalInstance(msalConfig) { return new msal.ConfidentialClientApplication(msalConfig); }The first leg of auth code flow generates an authorization code request URL, then redirects to that URL to obtain the authorization code. This first leg is implemented in the
redirectToAuthCodeUrlmethod. Notice how we use MSALs getAuthCodeUrl method to generate authorization code URL://... const authCodeUrlResponse = await msalInstance.getAuthCodeUrl(req.session.authCodeUrlRequest); //...We then redirect to the authorization code URL itself.
//...
res.redirect(authCodeUrlResponse);
//...
The
handleRedirectmethod handles/redirectroute:You set this URL as Redirect URI for the web app in the Microsoft Entra admin center earlier in Register the web app.
This endpoint implements the second leg of auth code flow uses. It uses the authorization code to request an ID token by using MSAL's acquireTokenByCode method.
//...
const tokenResponse = await msalInstance.acquireTokenByCode(authCodeRequest, req.body);
//...
After you receive a response, you can create an Express session and store whatever information you want in it. You need to include
isAuthenticatedand set it totrue://... req.session.idToken = tokenResponse.idToken; req.session.account = tokenResponse.account; req.session.isAuthenticated = true; //...
The
logoutmethod handles/signoutroute:async logout(req, res, next) { /** * Construct a logout URI and redirect the user to end the * session with Azure AD. For more information, visit: * https://docs.microsoft.com/azure/active-directory/develop/v2-protocols-oidc#send-a-sign-out-request */ const logoutUri = `${this.config.msalConfig.auth.authority}${TENANT_SUBDOMAIN}.onmicrosoft.com/oauth2/v2.0/logout?post_logout_redirect_uri=${this.config.postLogoutRedirectUri}`; req.session.destroy(() => { res.redirect(logoutUri); }); }It initiates sign out request.
When you want to sign the user out of the application, it isn't enough to end the user's session. You must redirect the user to the logoutUri. Otherwise, the user might be able to reauthenticate to your applications without reentering their credentials. If the name of your tenant is contoso, then the logoutUri looks similar to
https://contoso.ciamlogin.com/contoso.onmicrosoft.com/oauth2/v2.0/logout?post_logout_redirect_uri=http://localhost:3000.
View ID token claims
In your code editor, open routes/users.js file, then add the following code:
const express = require('express');
const router = express.Router();

// custom middleware to check auth state
function isAuthenticated(req, res, next) {
    if (!req.session.isAuthenticated) {
        return res.redirect('/auth/signin'); // redirect to sign-in route
    }

    next();
};

router.get('/id',
    isAuthenticated, // check if user is authenticated
    async function (req, res, next) {
        res.render('id', { idTokenClaims: req.session.account.idTokenClaims });
    }
);
module.exports = router;
If the user is authenticated, the /id route displays ID token claims by using the views/id.hbs view. You added this view earlier in Build app UI components.
To extract a specific ID token claim, such as given name:
const givenName = req.session.account.idTokenClaims.given_name
Finalize your web app
In your code editor, open app.js file, then add the code from app.js to it.
In your code editor, open server.js file, then add the code from server.js to it.
In your code editor, open package.json file, then update the
scriptsproperty to:"scripts": { "start": "node server.js" }
Run and test the web app
In your terminal, make sure you're in the project folder that contains your web app such as
ciam-sign-in-node-express-web-app.In your terminal, run the following command:
npm startOpen your browser, then go to
http://localhost:3000. You should see the page similar to the following screenshot: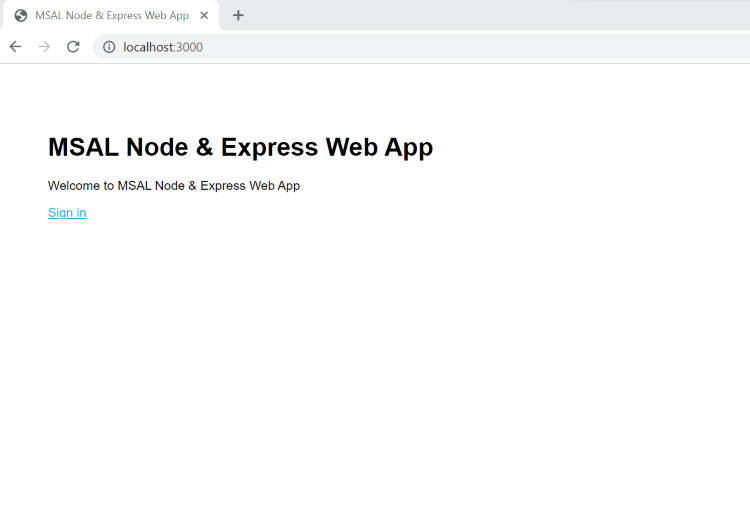
After the page completes loading, select Sign in link. You're prompted to sign in.
On the sign-in page, type your Email address, select Next, type your Password, then select Sign in. If you don't have an account, select No account? Create one link, which starts the sign-up flow.
If you choose the sign-up option, after filling in your email, one-time passcode, new password and more account details, you complete the whole sign-up flow. You see a page similar to the following screenshot. You see a similar page if you choose the sign-in option.
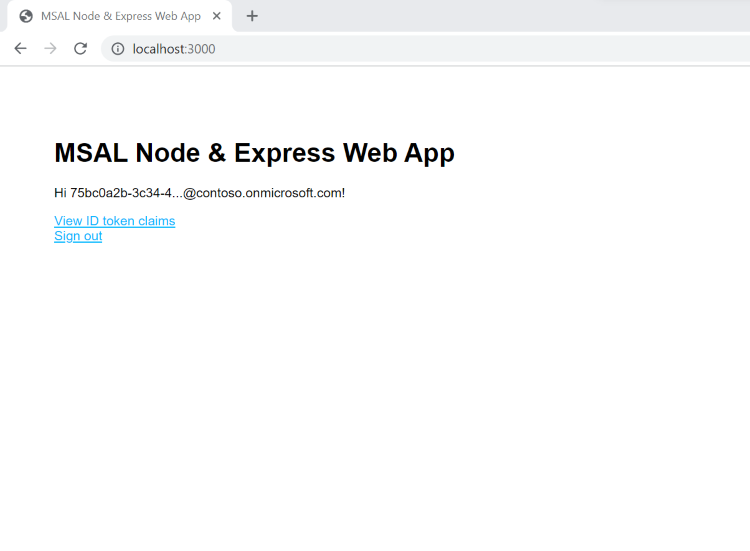
Select Sign out to sign the user out of the web app or select View ID token claims to view all ID token claims.
See also
Feedback
Coming soon: Throughout 2024 we will be phasing out GitHub Issues as the feedback mechanism for content and replacing it with a new feedback system. For more information see: https://aka.ms/ContentUserFeedback.
Submit and view feedback for