How to use Microsoft Entra Workbooks
Workbooks are found in Microsoft Entra ID and in Azure Monitor. The concepts, processes, and best practices are the same for both types of workbooks, however, workbooks for Microsoft Entra ID cover only those identity management scenarios that are associated with Microsoft Entra ID.
When using workbooks, you can either start with an empty workbook, or use an existing template. Workbook templates enable you to quickly get started using workbooks without needing to build from scratch.
- Public templates published to a gallery are a good starting point when you're just getting started with workbooks.
- Private templates are helpful when you start building your own workbooks and want to save one as a template to serve as the foundation for multiple workbooks in your tenant.
Prerequisites
To use Azure Workbooks for Microsoft Entra ID, you need:
- A Microsoft Entra tenant with a Premium P1 license
- A Log Analytics workspace and access to that workspace
- The appropriate roles for Azure Monitor and Microsoft Entra ID
Log Analytics workspace
You must create a Log Analytics workspace before you can use Microsoft Entra Workbooks. several factors determine access to Log Analytics workspaces. You need the right roles for the workspace and the resources sending the data.
For more information, see Manage access to Log Analytics workspaces.
Azure Monitor roles
Azure Monitor provides two built-in roles for viewing monitoring data and editing monitoring settings. Azure role-based access control (RBAC) also provides two Log Analytics built-in roles that grant similar access.
View:
- Monitoring Reader
- Log Analytics Reader
View and modify settings:
- Monitoring Contributor
- Log Analytics Contributor
Microsoft Entra roles
Read only access allows you to view Microsoft Entra ID log data inside a workbook, query data from Log Analytics, or read logs in the Microsoft Entra admin center. Update access adds the ability to create and edit diagnostic settings to send Microsoft Entra data to a Log Analytics workspace.
Read:
- Reports Reader
- Security Reader
- Global Reader
Update:
- Security Administrator
For more information on Microsoft Entra built-in roles, see Microsoft Entra built-in roles.
For more information on the Log Analytics RBAC roles, see Azure built-in roles.
Access Microsoft Entra workbooks
Tip
Steps in this article might vary slightly based on the portal you start from.
Sign in to the Microsoft Entra admin center as at least a Reports Reader.
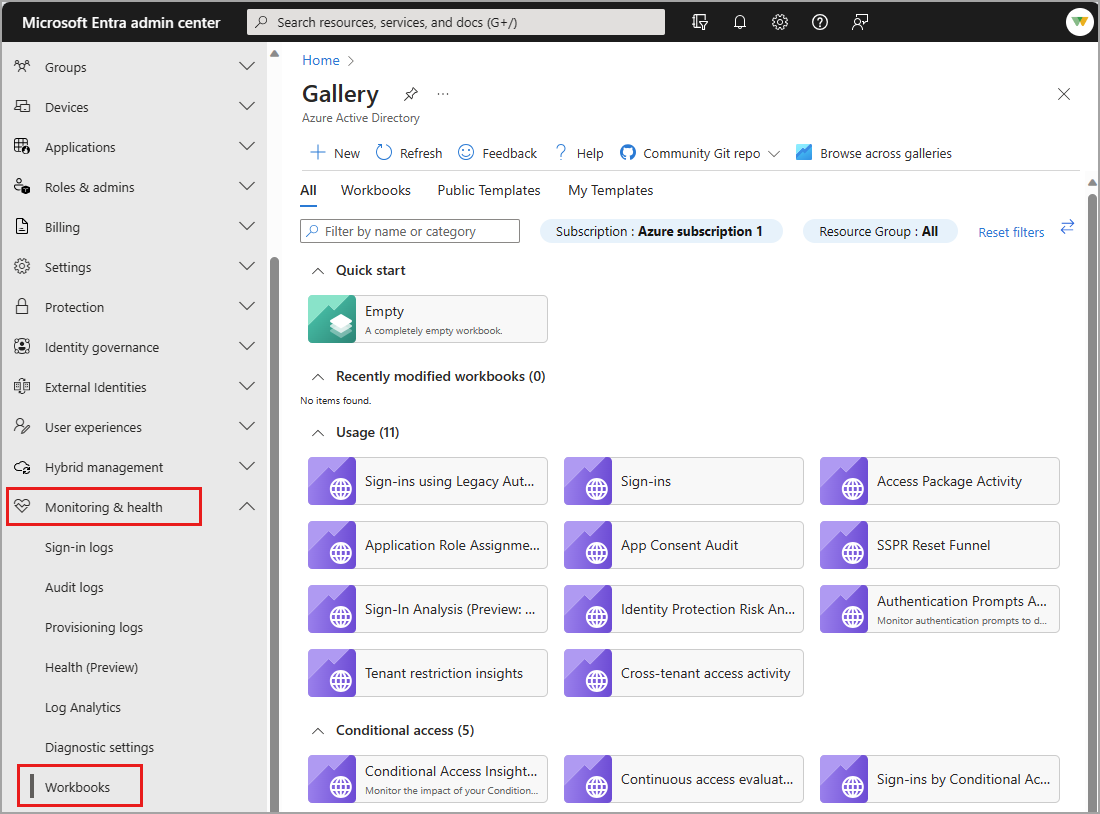
Browse to Identity > Monitoring & health > Workbooks.
- Workbooks: All workbooks created in your tenant
- Public Templates: Prebuilt workbooks for common or high priority scenarios
- My Templates: Templates you've created
Select a report or template from the list. Workbooks might take a few moments to populate.
- Search for a template by name.
- Select the Browse across galleries to view templates that aren't specific to Microsoft Entra ID.
Create a new workbook
Workbooks can be created from scratch or from a template. When creating a new workbook, you can add elements as you go or use the Advanced Editor option to paste in the JSON representation of a workbook, copied from the workbooks GitHub repository.
To create a new workbook from scratch:
Browse to Identity > Monitoring & health > Workbooks.
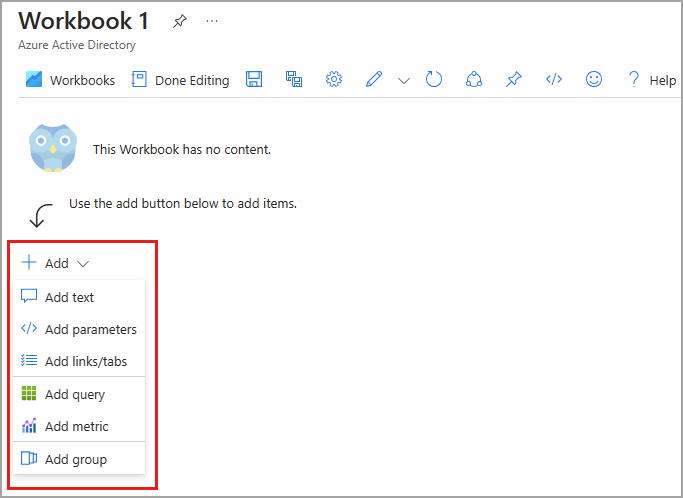
Select + New.
Select an element from the + Add menu.
For more information on the available elements, see Creating an Azure Workbook.
To create a new workbook from a template:
Browse to Identity > Monitoring & health > Workbooks.
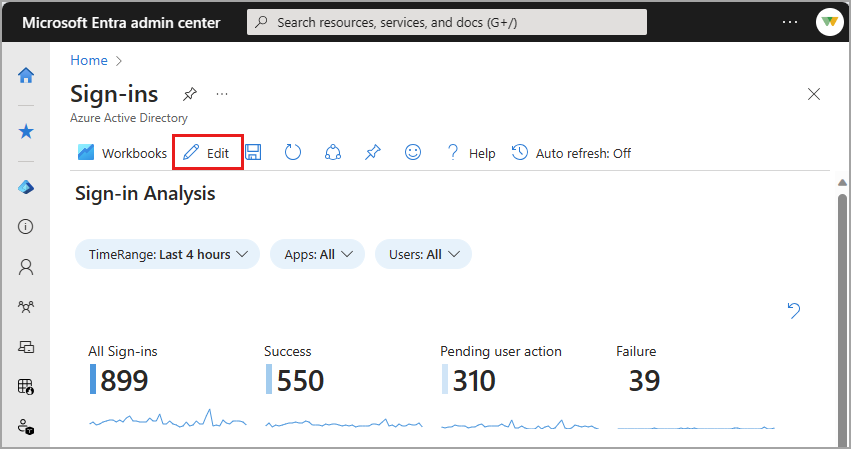
Select a workbook template from the Gallery.
Select Edit from the top of the page.
- Each element of the workbook has its own Edit button.
- For more information on editing workbook elements, see Azure Workbooks Templates
Select the Edit button for any element. Make your changes and select Done editing.
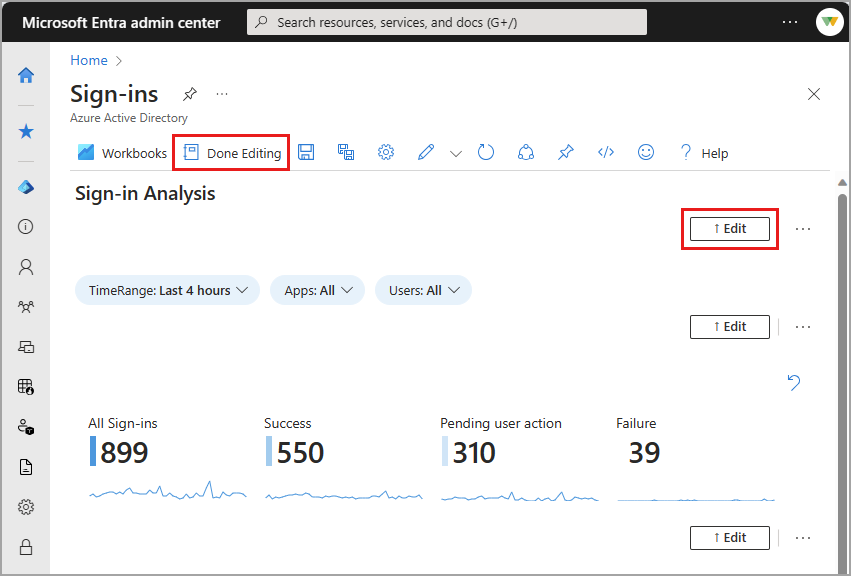
When you're done editing the workbook, select the Save button. The Save as window opens.
Provide a Title, Subscription, Resource Group* and Location
- You must have the ability to save a workbook for the selected Resource Group.
- Optionally choose to save your workbook content to an Azure Storage Account.
Select the Apply button.
Next steps
Feedback
Coming soon: Throughout 2024 we will be phasing out GitHub Issues as the feedback mechanism for content and replacing it with a new feedback system. For more information see: https://aka.ms/ContentUserFeedback.
Submit and view feedback for