How to create a vector index
Note
Azure AI Studio is currently in public preview. This preview is provided without a service-level agreement, and we don't recommend it for production workloads. Certain features might not be supported or might have constrained capabilities. For more information, see Supplemental Terms of Use for Microsoft Azure Previews.
In this article, you learn how to create and use a vector index for performing Retrieval Augmented Generation (RAG).
Prerequisites
You must have:
- An Azure AI project
- An Azure AI Search resource
Create an index from the Indexes tab
Sign in to Azure AI Studio.
Go to your project or create a new project in Azure AI Studio.
From the collapsible menu on the left, select Indexes under Components.
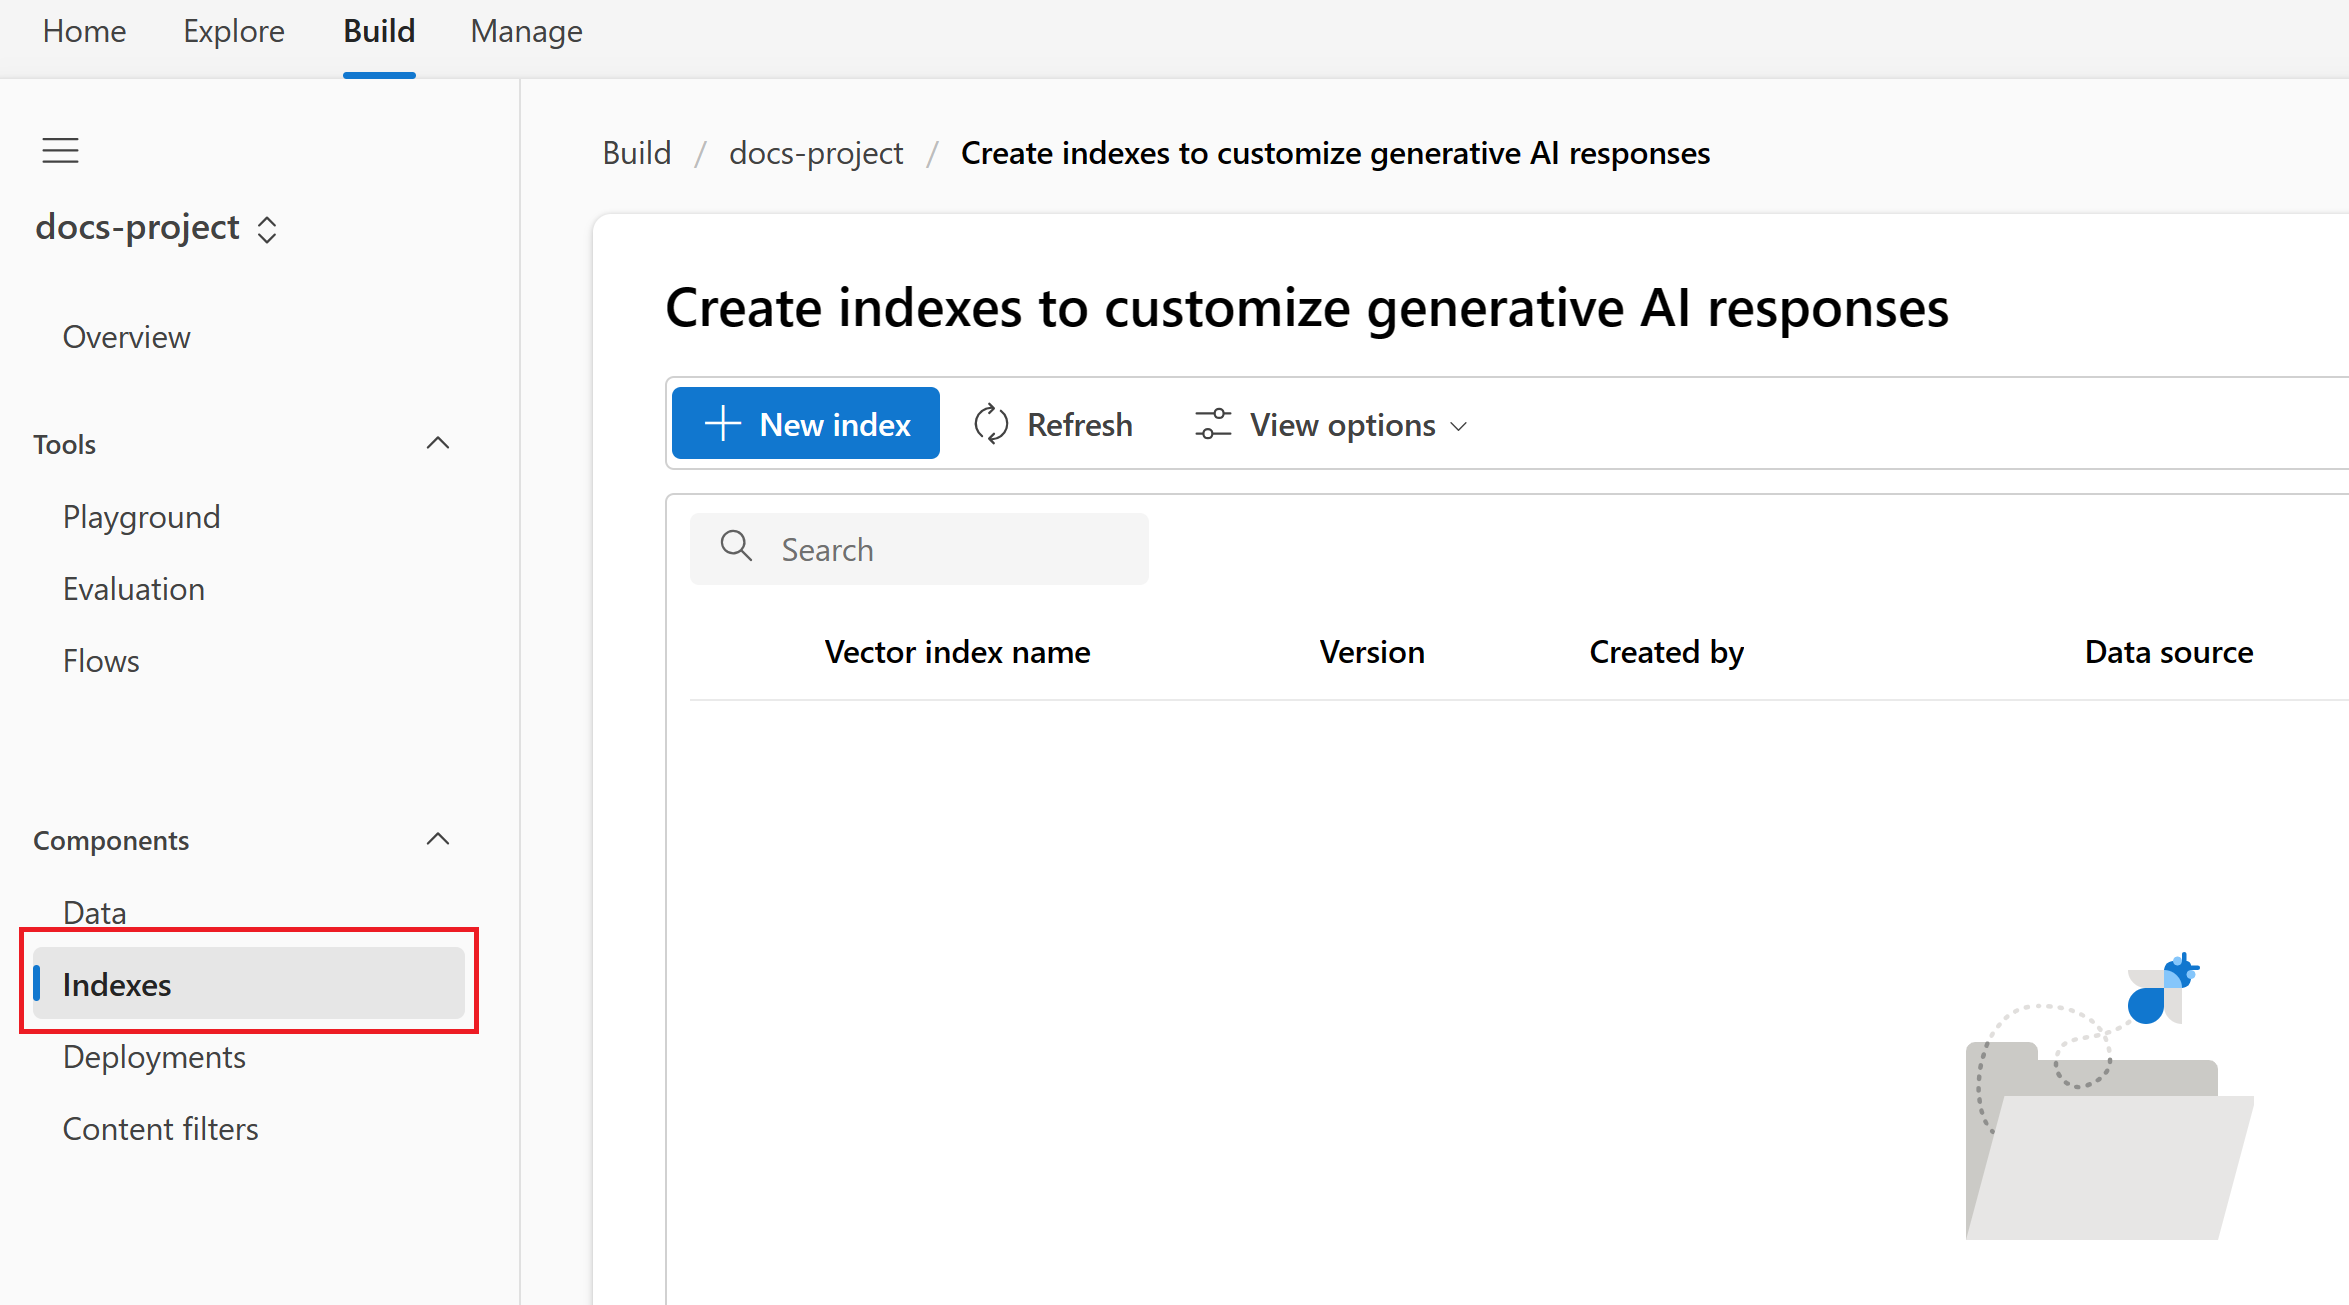
Select + New index
Choose your Source data. You can choose source data from a list of your recent data sources, a storage URL on the cloud, or upload files and folders from the local machine. You can also add a connection to another data source such as Azure Blob Storage.
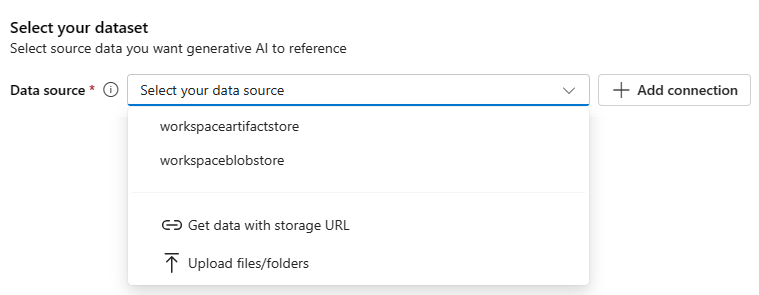
Select Next after choosing source data
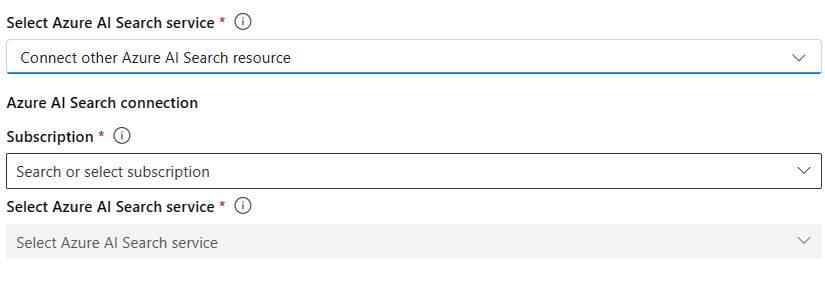
Choose the Index Storage - the location where you want your index to be stored
If you already have a connection created for an Azure AI Search service, you can choose that from the dropdown.

- If you don't have an existing connection, choose Connect other Azure AI Search service
- Select the subscription and the service you wish to use.
Select Next after choosing index storage
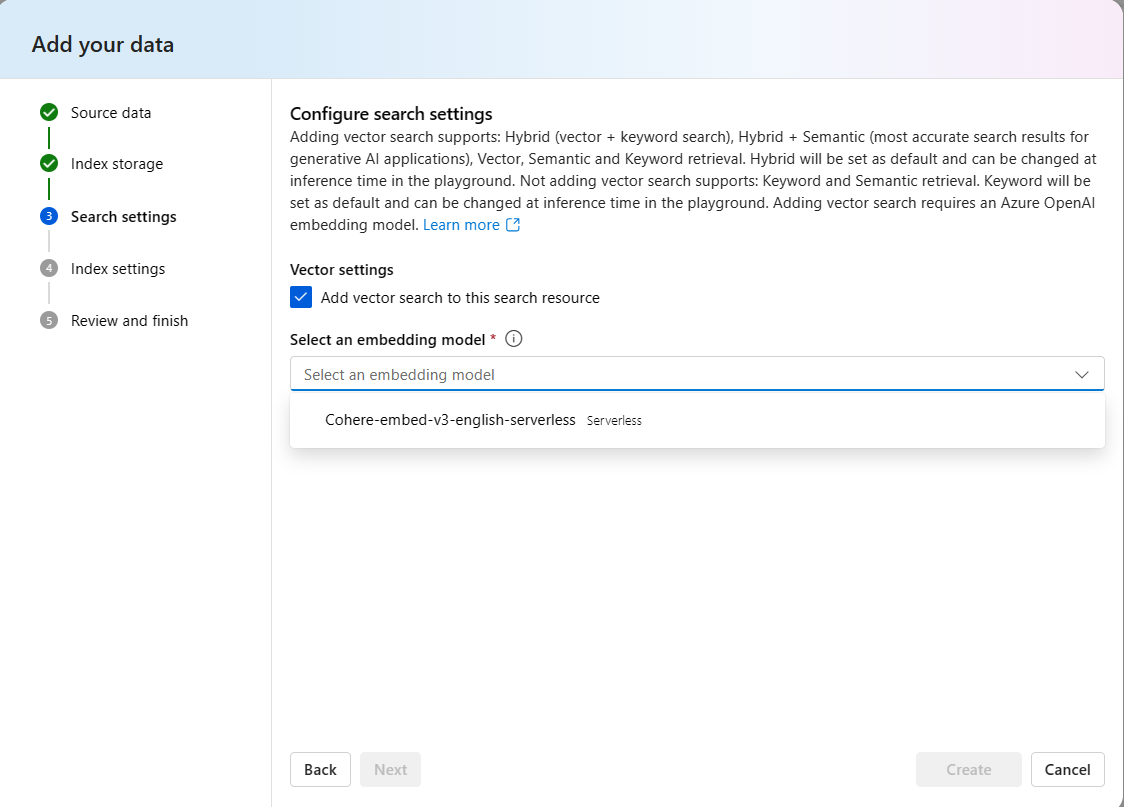
Configure your Search Settings
- The Vector settings defaults to true for Add vector search to this search resource. As noted, this enables Hybrid and Hybrid + Semantic search options. Disabling this limits vector search options to Keyword and Semantic.
- For the hybrid option to work, you need an embedding model. Choose an embedding model from the dropdown.
- Select the acknowledgment to deploy an embedding model if it doesn't already exist in your resource
If a non-Azure OpenAI model isn't appearing in the dropdown follow these steps:
- Navigate to the Project settings in Azure AI Studio.
- Navigate to connections section in the settings tab and select New connection.
- Select Serverless Model.
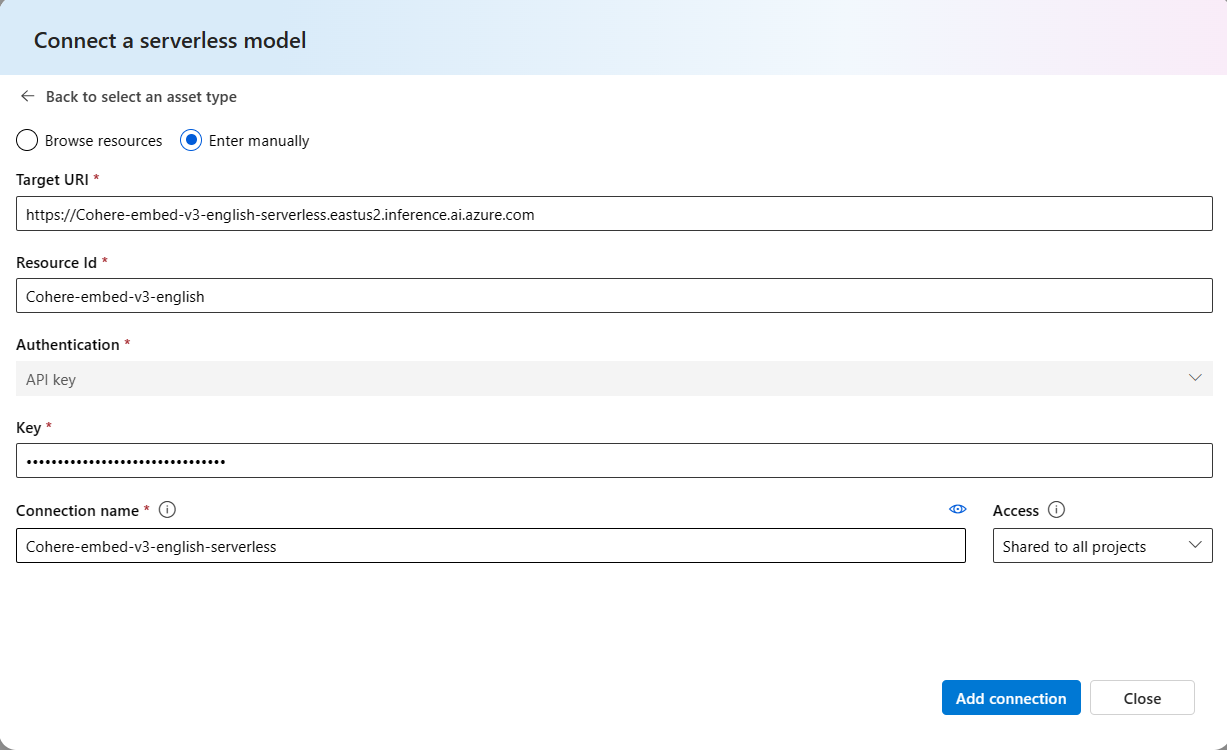
- Type in the name of your embedding model deployment and select Add connection. If the model doesn't appear in the dropdown, select the Enter manually option.
- Enter the deployment API endpoint, model name, and API key in the corresponding fields. Then add connection.
- The embedding model should now appear in the dropdown.
Select Next after configuring search settings
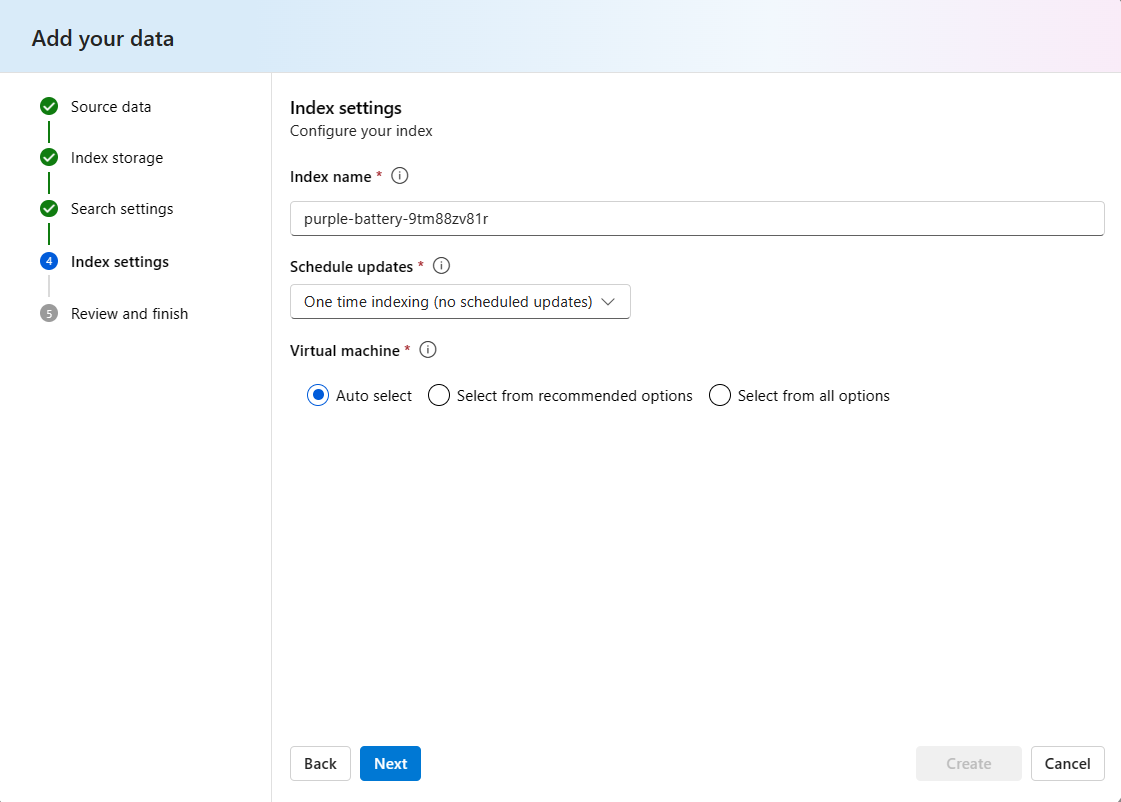
In the Index settings
- Enter a name for your index or use the autopopulated name
- Schedule updates. You can choose to update the index hourly or daily.
- Choose the compute where you want to run the jobs to create the index. You can
- Auto select to allow Azure AI to choose an appropriate VM size that is available
- Choose a VM size from a list of recommended options
- Choose a VM size from a list of all possible options
Select Next after configuring index settings
Review the details you entered and select Create
You're taken to the index details page where you can see the status of your index creation.


Create an index from the Playground
Open your AI Studio project.
Navigate to the Playground tab.
The Select available project index is displayed for existing indexes in the project. If an existing index isn't being used, continue to the next steps.
Select the Add your data dropdown.
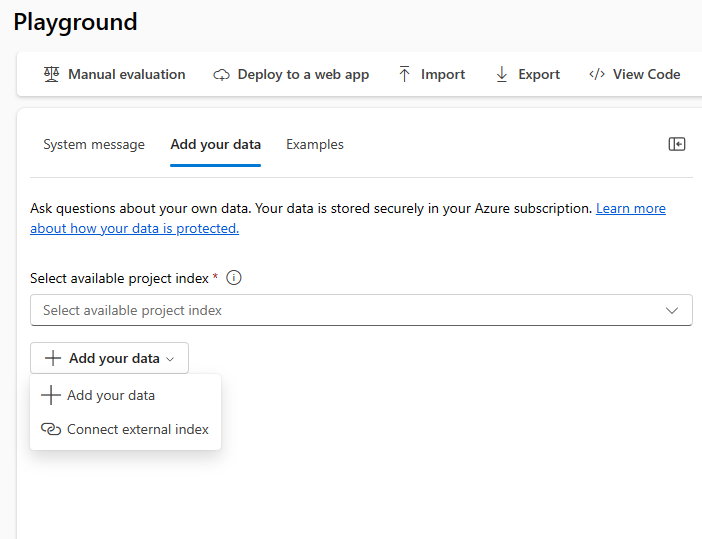
If a new index is being created, select the Add your data option. Then follow the steps from Create an index from the Indexes tab to navigate through the wizard to create an index.
If there's an external index that is being used, select the Connect external index option.
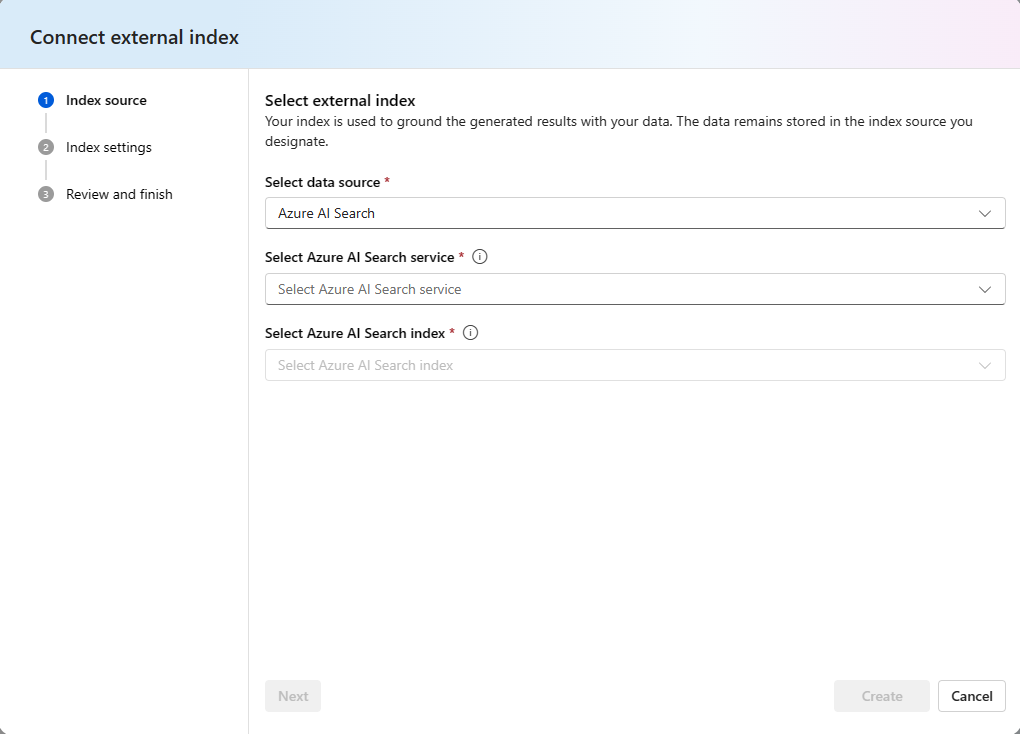
In the Index Source
- Select your data source
- Select your AI Search Service
- Select the index to be used.
Select Next after configuring search settings.
In the Index settings
- Enter a name for your index or use the autopopulated name
- Schedule updates. You can choose to update the index hourly or daily.
- Choose the compute where you want to run the jobs to create the index. You can
- Auto select to allow Azure AI to choose an appropriate VM size that is available
- Choose a VM size from a list of recommended options
- Choose a VM size from a list of all possible options
Review the details you entered and select Create.
The index is now ready to be used in the Playground.


Use an index in prompt flow
Sign in to Azure AI Studio and select your project from the Build page.
From the collapsible left menu, select Prompt flow.
Open an existing prompt flow or select + Create to create a new flow.
On the top menu of the flow designer, select More tools, and then select Index Lookup.
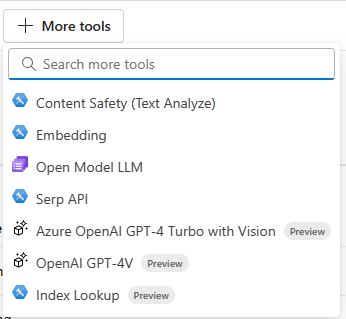
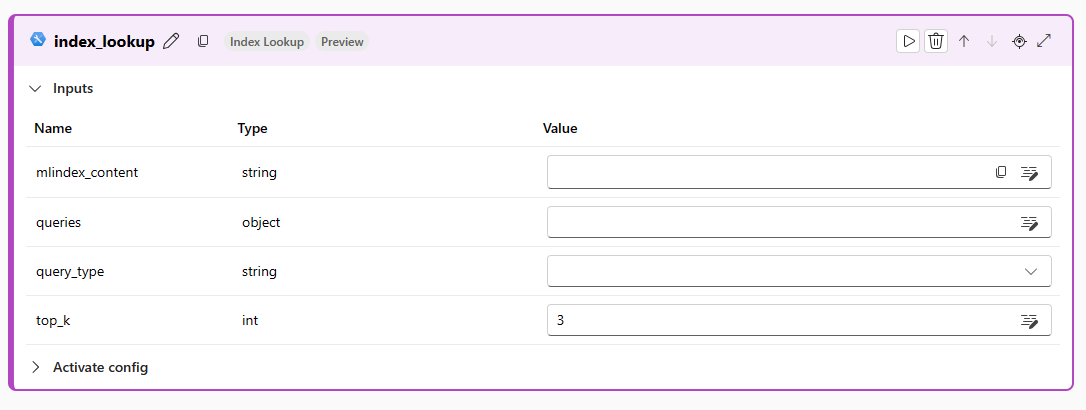
Provide a name for your Index Lookup Tool and select Add.
Select the mlindex_content value box, and select your index. After completing this step, enter the queries and query_types to be performed against the index.


Next steps
Feedback
Coming soon: Throughout 2024 we will be phasing out GitHub Issues as the feedback mechanism for content and replacing it with a new feedback system. For more information see: https://aka.ms/ContentUserFeedback.
Submit and view feedback for