Tutorial: Create an Azure Edge Hardware Center
Azure Edge Hardware Center service lets you explore and order a variety of hardware from the Azure hybrid portfolio including Azure Stack Edge devices. This tutorial describes how to create an order using the Azure Edge Hardware Center via the Azure portal.
In this tutorial, you'll:
- Review prerequisites
- Create an order
Prerequisites
Before you begin:
Make sure that the
Microsoft.EdgeOrderprovider is registered. To create an order in the Azure Edge Hardware Center, theMicrosoft.EdgeOrderprovider should be registered against your subscription.For information on how to register, go to Register resource provider.
Make sure that all the other prerequisites related to the product that you're ordering are met. For example, if ordering Azure Stack Edge device, ensure that all the Azure Stack Edge prerequisites are completed.
Create an order
When you place an order through the Azure Edge Hardware Center, you can order multiple devices, to be shipped to more than one address, and you can reuse ship to addresses from other orders.
Ordering through Azure Edge Hardware Center will create an Azure resource that will contain all your order-related information. One resource each will be created for each of the units ordered. After you have placed an order for the device, you may need to create a management resource for the device.
To place an order through the Azure Edge Hardware Center, do these steps:
Use your Microsoft Azure credentials to sign in to the Azure portal at this URL: https://portal.azure.com.
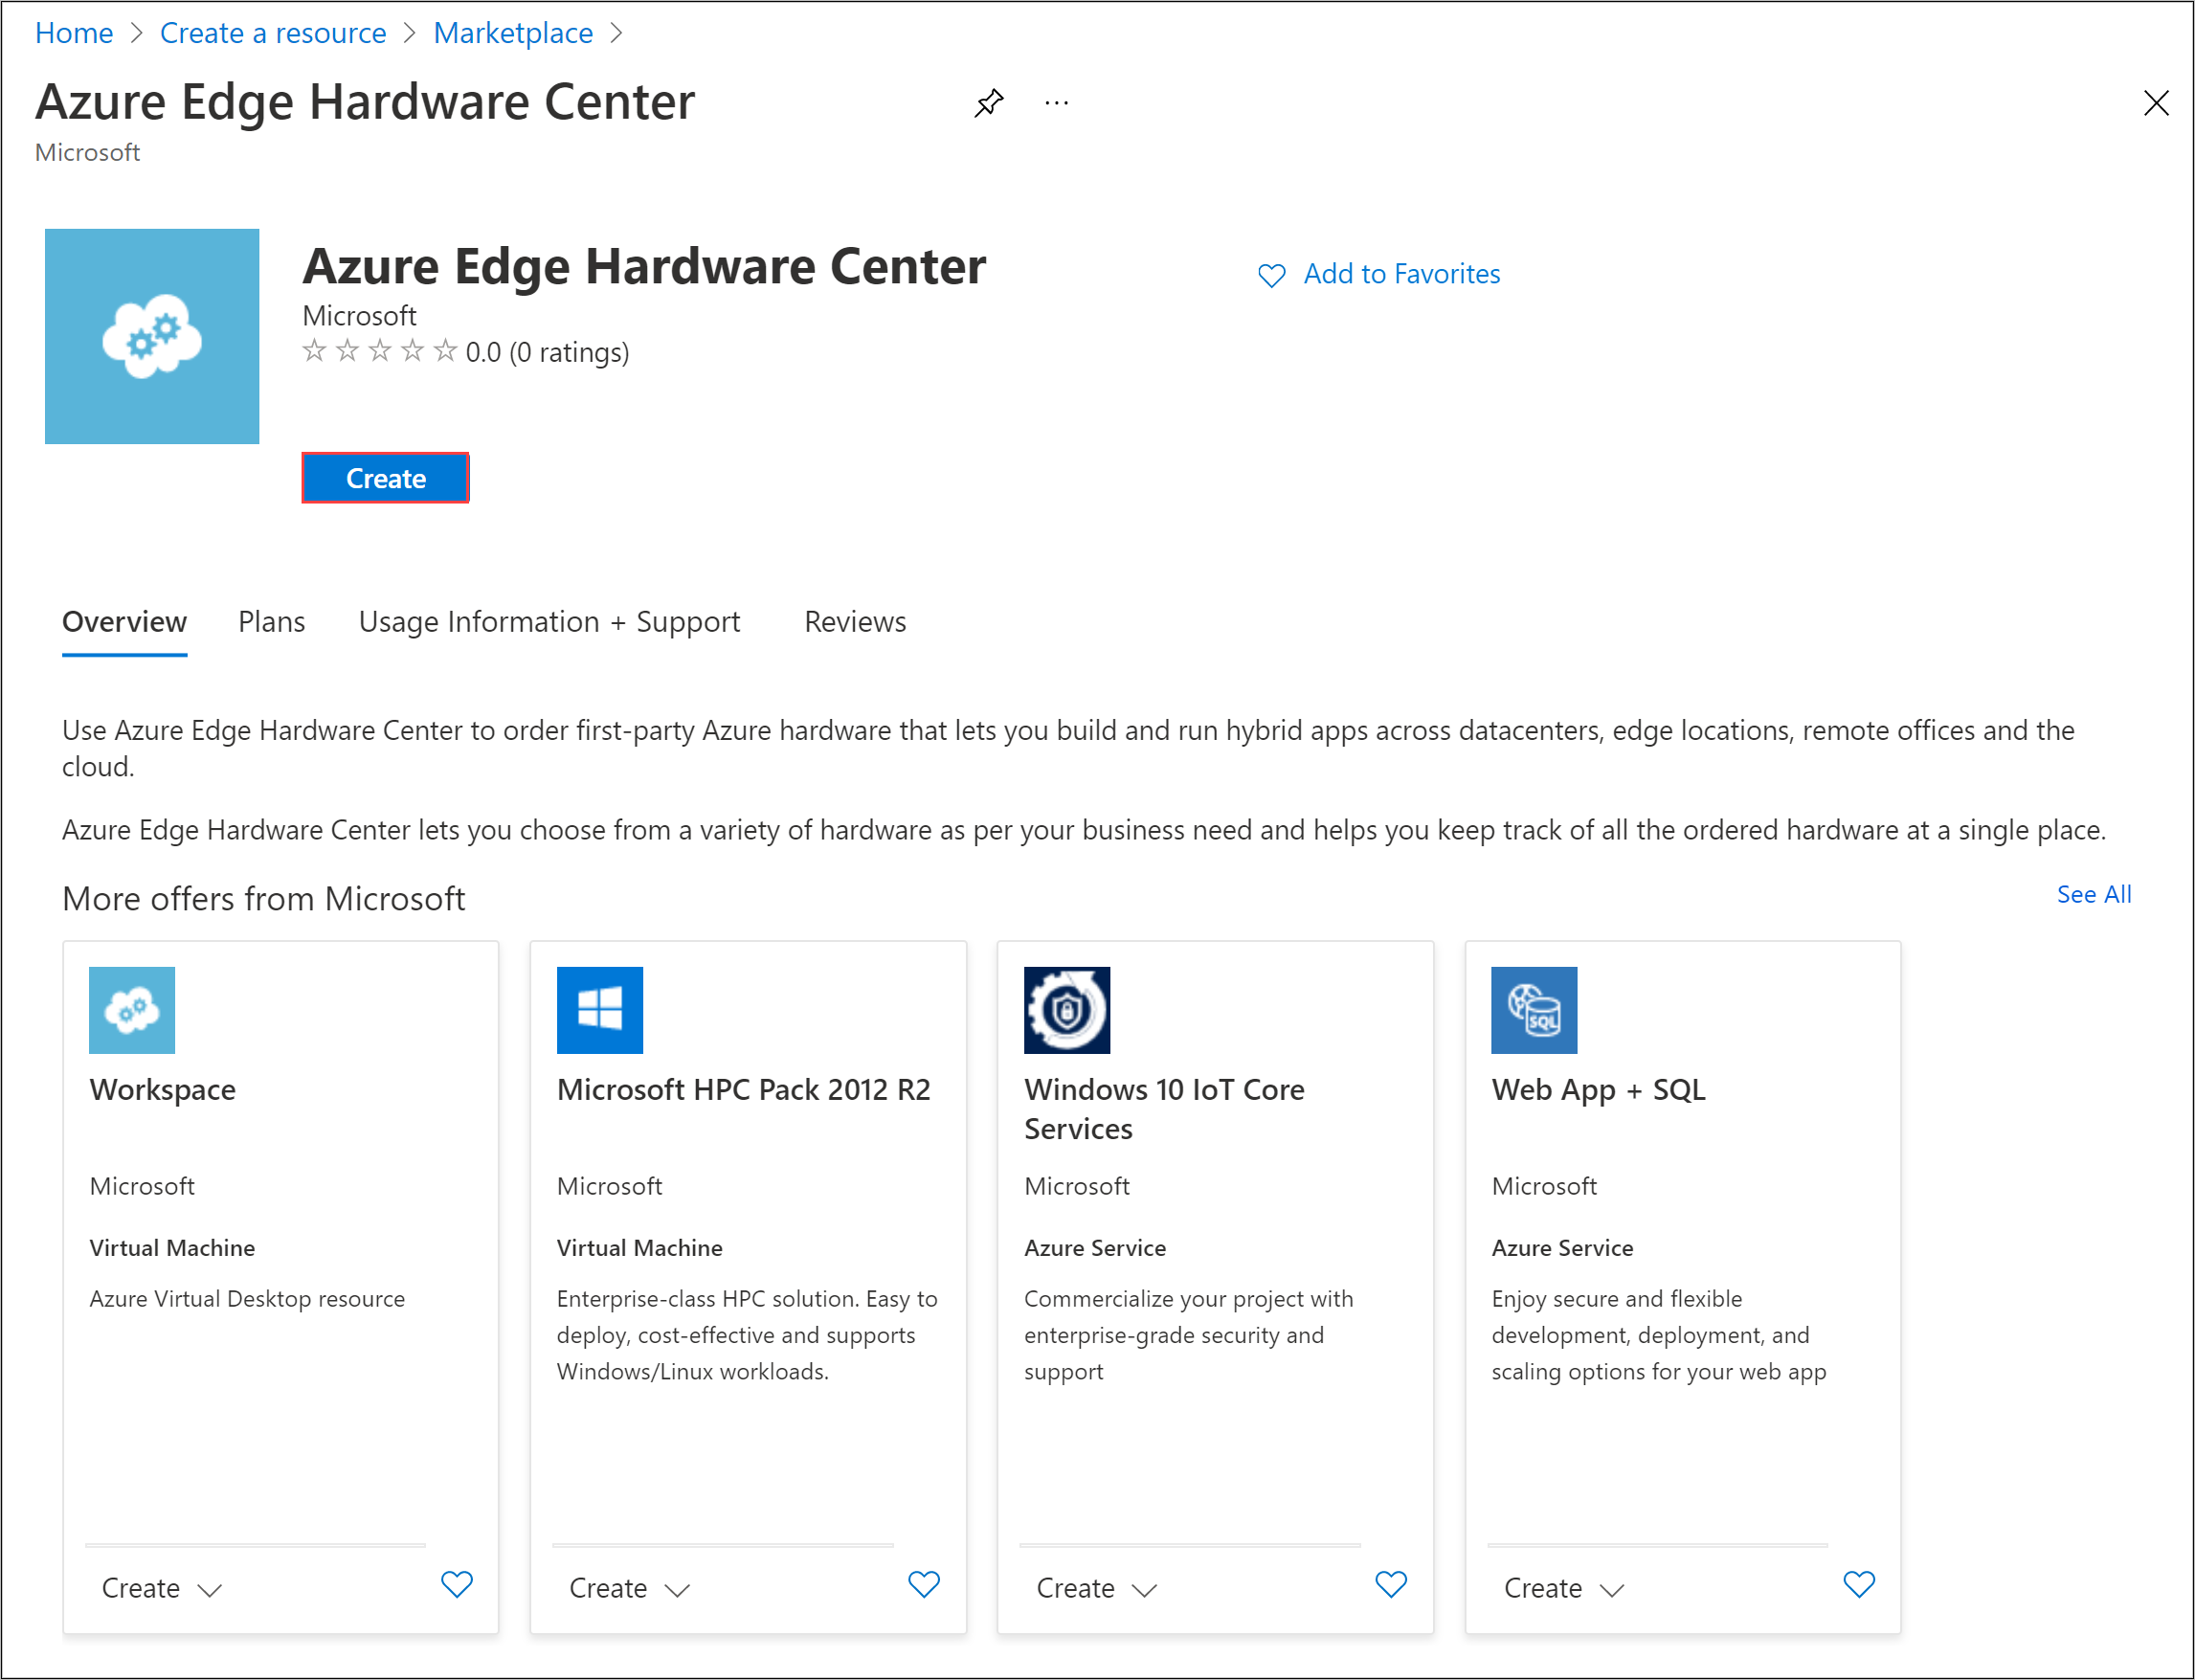
Select + Create a resource. Search for and select Azure Edge Hardware Center. In the Azure Edge Hardware Center, select Create.
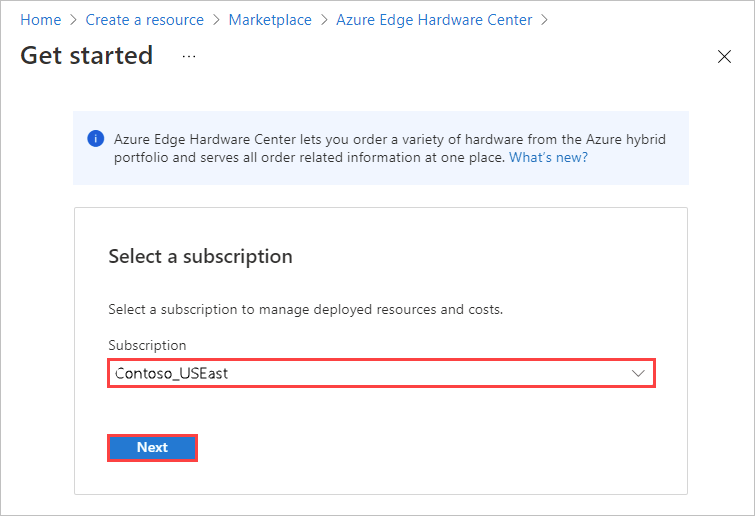
Select a subscription, and then select Next.
To start your order, select Order beside the product family that you want to order - for example, Azure Stack Edge. If you don't see the product family, you may need to use a different subscription; select Try selecting a different subscription.

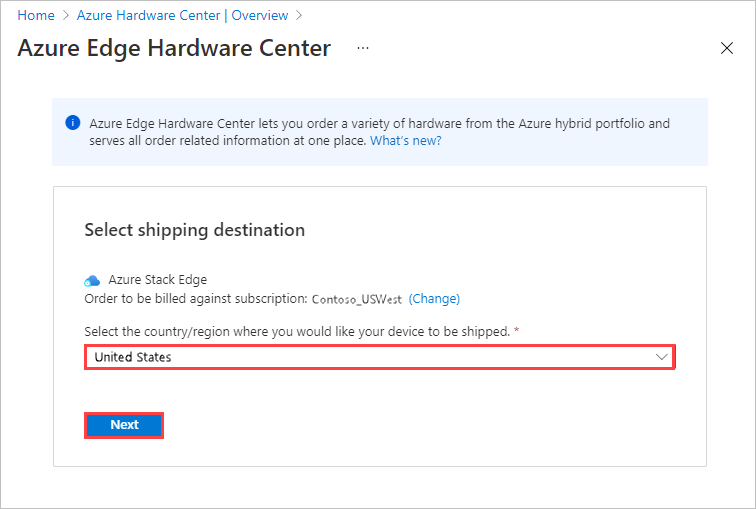
Select the shipping destination for your order.
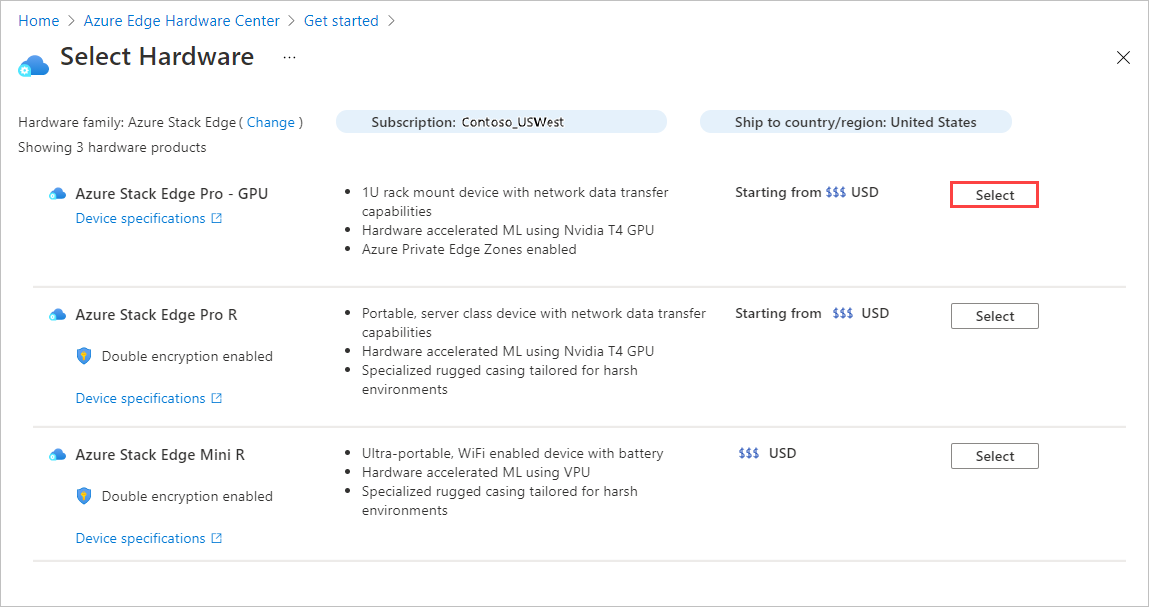
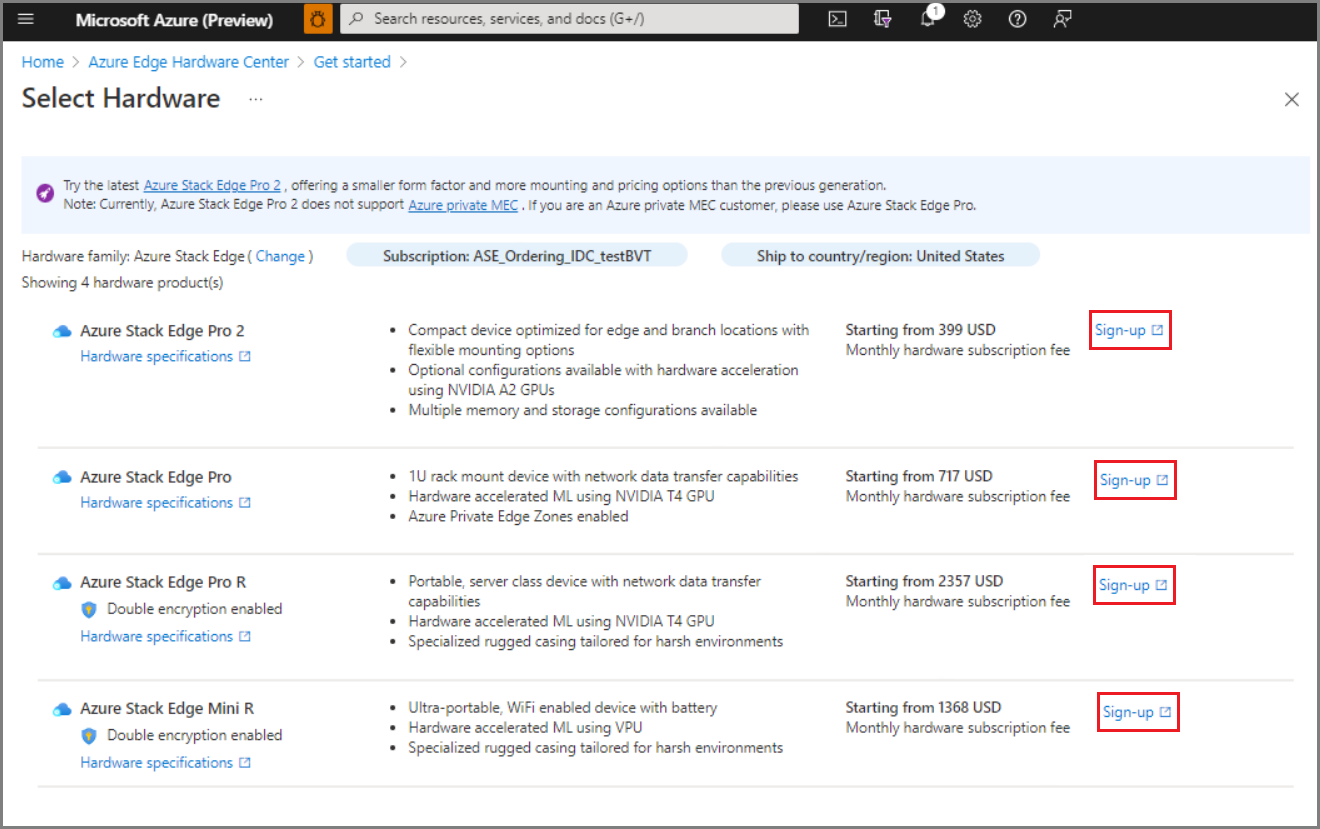
On the Select Hardware page, use the Select button to select the hardware product to order. For example, here Azure Stack Edge Pro - GPU was selected.
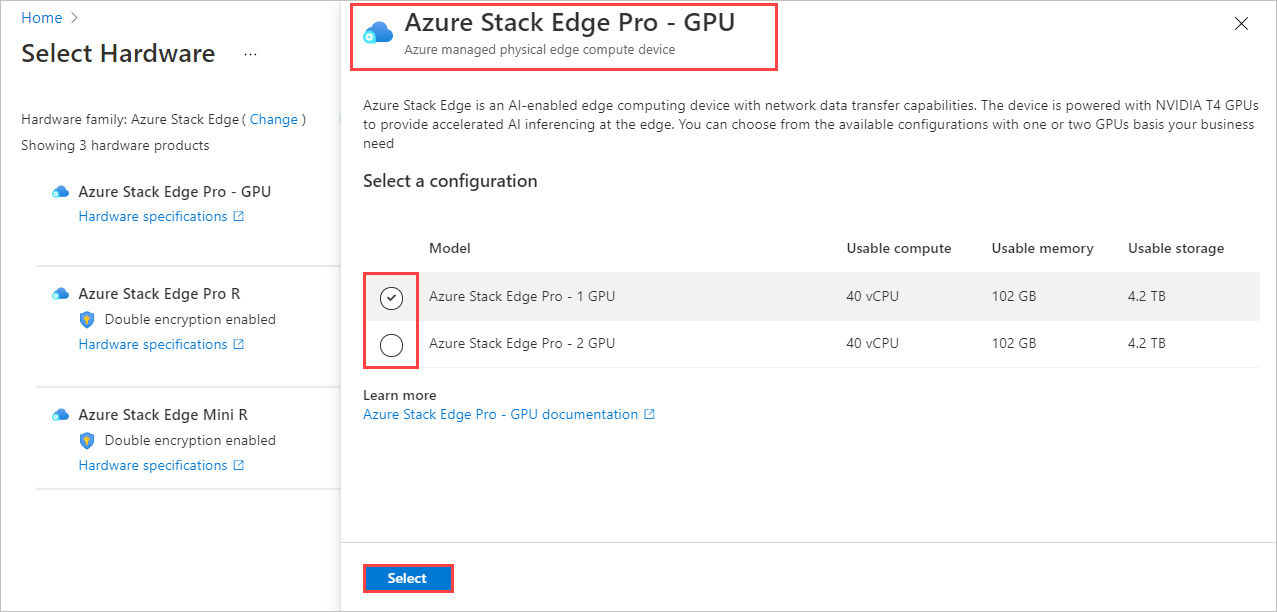
After you select a hardware product, you'll select the device configuration to order. For example, if you chose Azure Stack Edge Pro - GPU, you can choose from Azure Stack Edge Pro - 1 GPU and Azure Stack Edge Pro - 2 GPU models.
If you are placing a first-time order for Azure Stack Edge, select Sign-up and fill out the web form as part of the Azure Edge Hardware Center ordering experience.
The web form collects the following details about your deployment:
- Total deployment scale
- Cluster size
- Hardware requirements
- Geographic presence
Microsoft will evaluate the deployment details you provide and may contact you by email for more information. We have certain requirements in place for new customers to ensure that Azure Stack Edge is the right fit for the use case; not all requests will be fulfilled. If you have questions, you can send email to AzureStack1Pinquiry@microsoft.com.
Select the device configuration, and then choose Select. The available configurations depend on the hardware you selected. The screen below shows available configurations for Azure Stack Edge Pro - GPU devices.
If you're ordering Azure Stack Edge Mini R devices, which all have the same configuration, you won't see this screen.
The Create order wizard opens.
On the Basics tab, provide an Order name, Resource group, and Region. Then select Next: Shipping + quantity >.

Next, you'll add each ship to address you want to send devices to and then specify how many devices to send to each address. You can order up to 20 units (devices) per order.
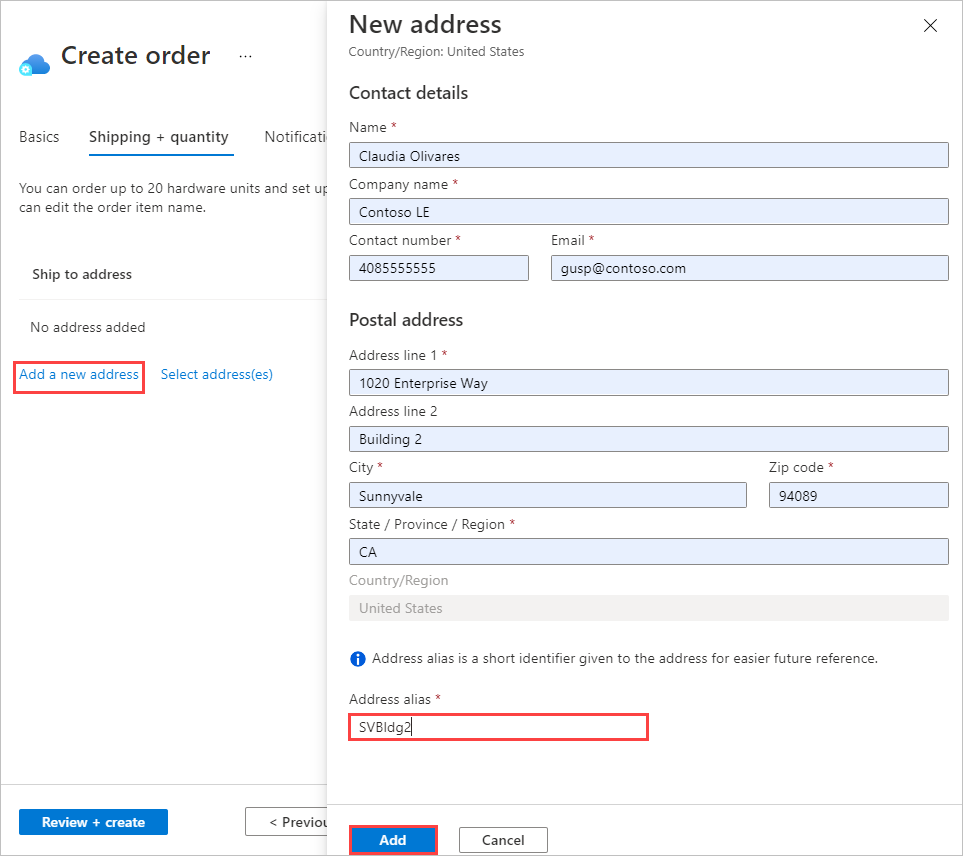
On the Shipping + quantity tab, add each ship to address to send devices to:
To add a new ship to address, select Add a new address.
A required Address alias field on the New address screen identifies the address for later use. Select Add when you finish filling in the address fields. Then use Select address(es) to add the address to your order.
To use a ship to address from a previous order, or to use an address that you just added, choose Select address(es). Then, on the Select address(es) screen, select one or more addresses, and choose Select.

The Shipping + quantity tab now has a separate item for each ship to address.
Each order item name includes a name prefix (the order name followed by the address alias), with an item number for each device that is shipped to that address.
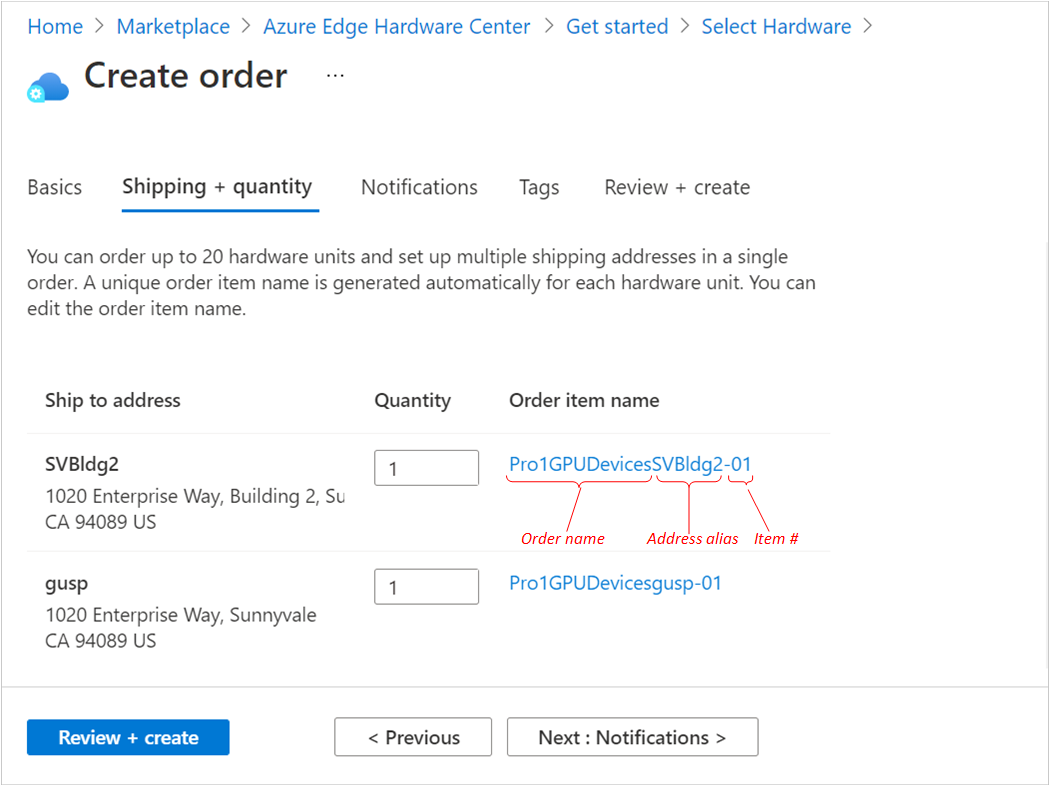
For each address, enter the Quantity of devices to ship on the Shipping + quantity tab.
When you enter a quantity of more than one, a +n more label appears after the order item name.
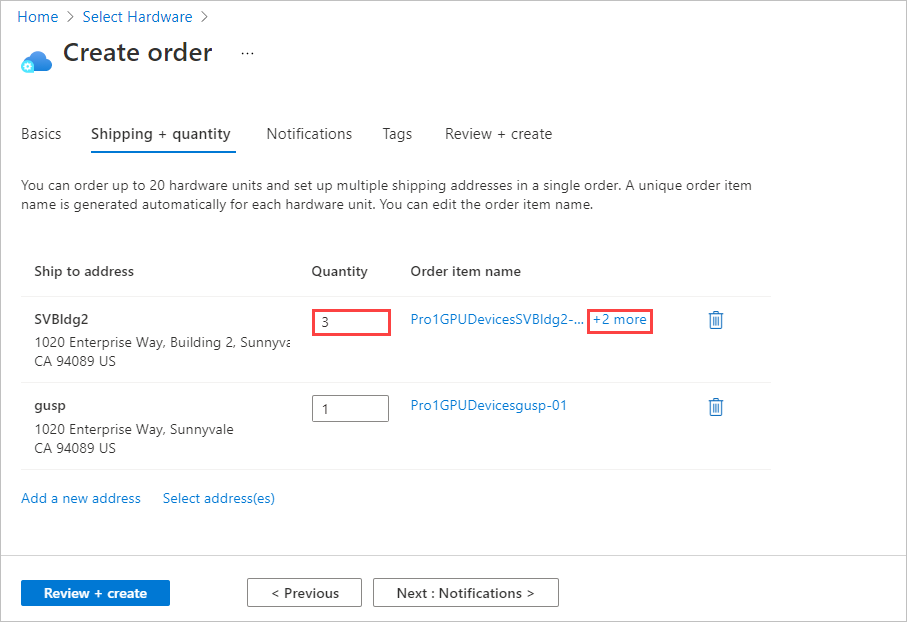
If you want to change the names of order items, select and click the order item name to open the Rename order item pane. If you're shipping more than one item to an address, select +n more.
You can make two types of name change:
To use a different name prefix for all of the order items, edit the Name prefix and then select Apply, as shown on the following screen.
You can also edit the name of each order item individually.
When you finish, select Done.

Select Next: Notifications > to continue.
If you want to receive status notifications as your order progresses, enter the email address for each recipient on the Notifications tab.
To add an email address, enter the address, and select Add. You can add up to 20 email addresses.
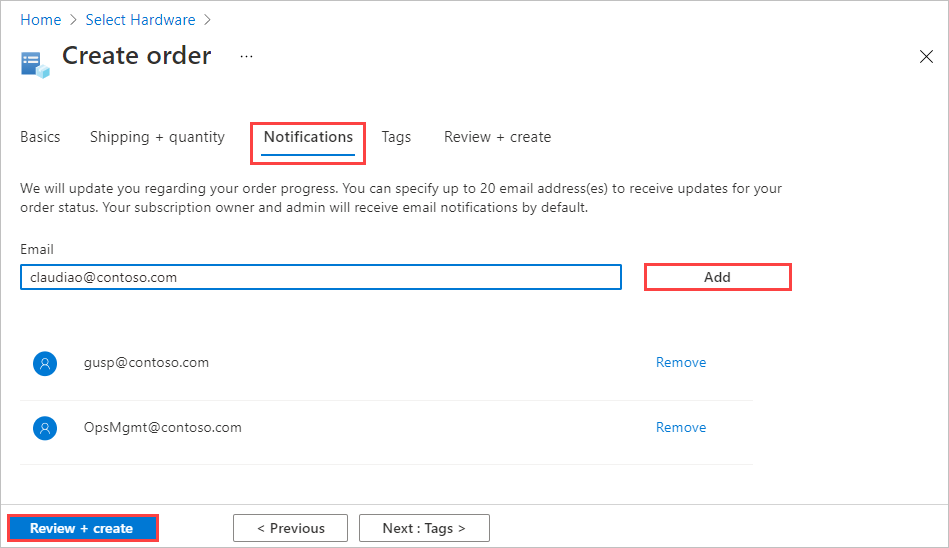
When you finish, select Review + create to continue.
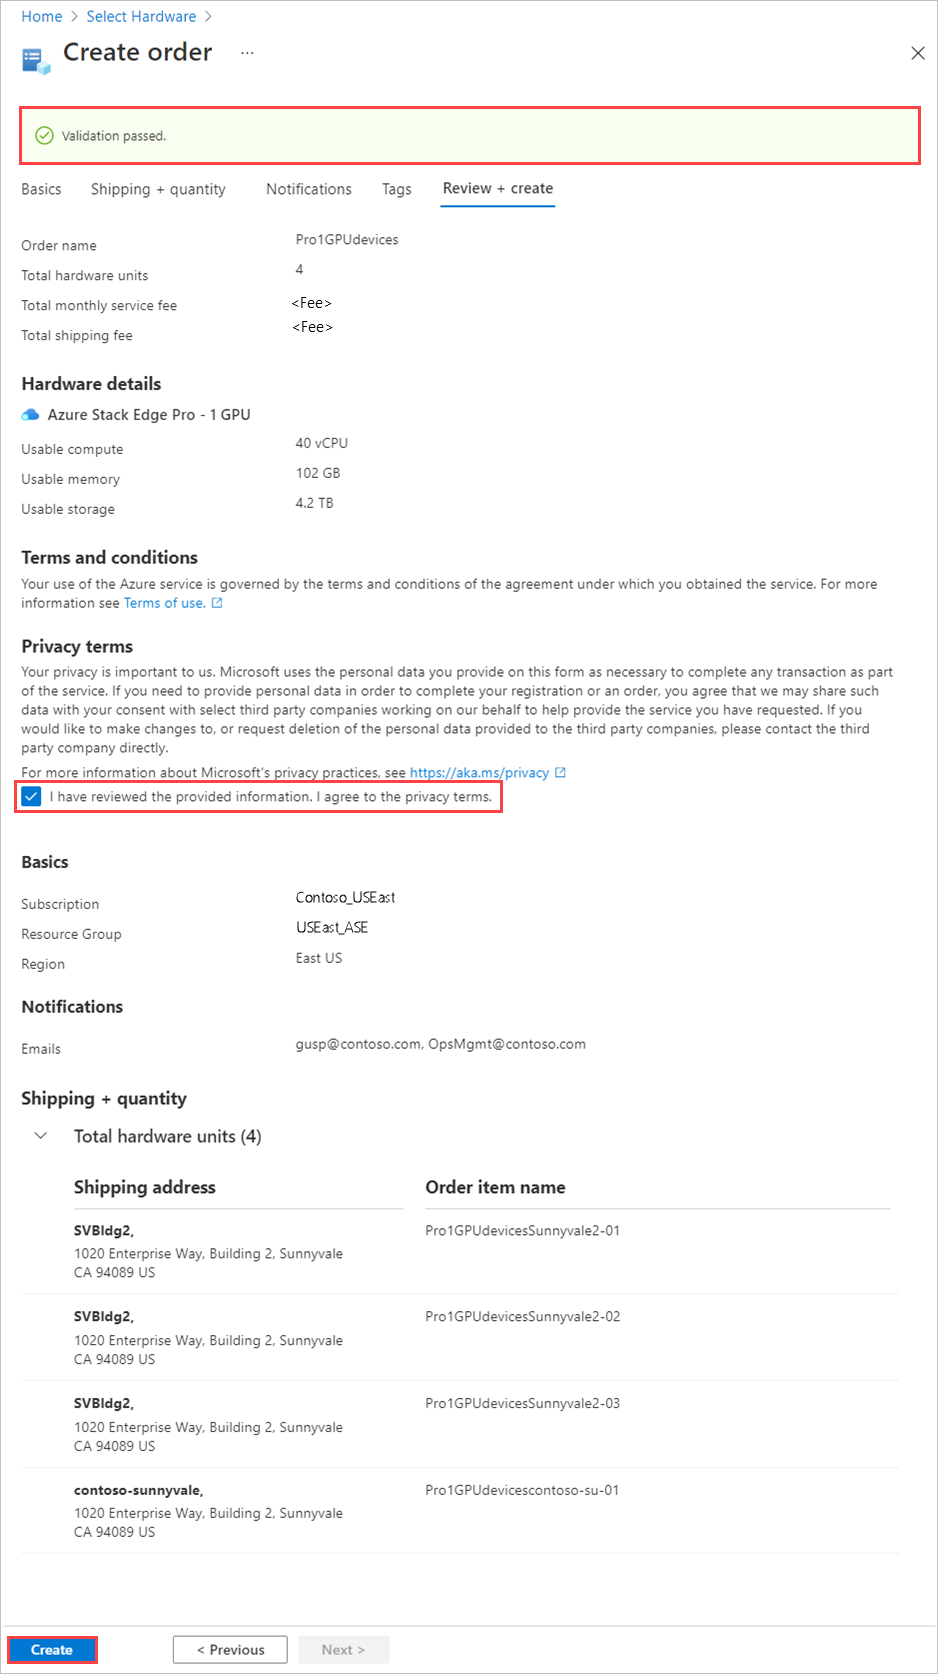
On the Review + create tab:
Review your order. The order is automatically validated when you open this screen. If you see a Validation failed banner, you'll have to fix the issues before you create the order.
Review the Privacy terms, and select the check box to agree to them.
Select Create.
During deployment, the order opens in the portal, with the status of each order item displayed. After deployment completes, you may need to click the Down arrow by Deployment details to see the status of individual items.

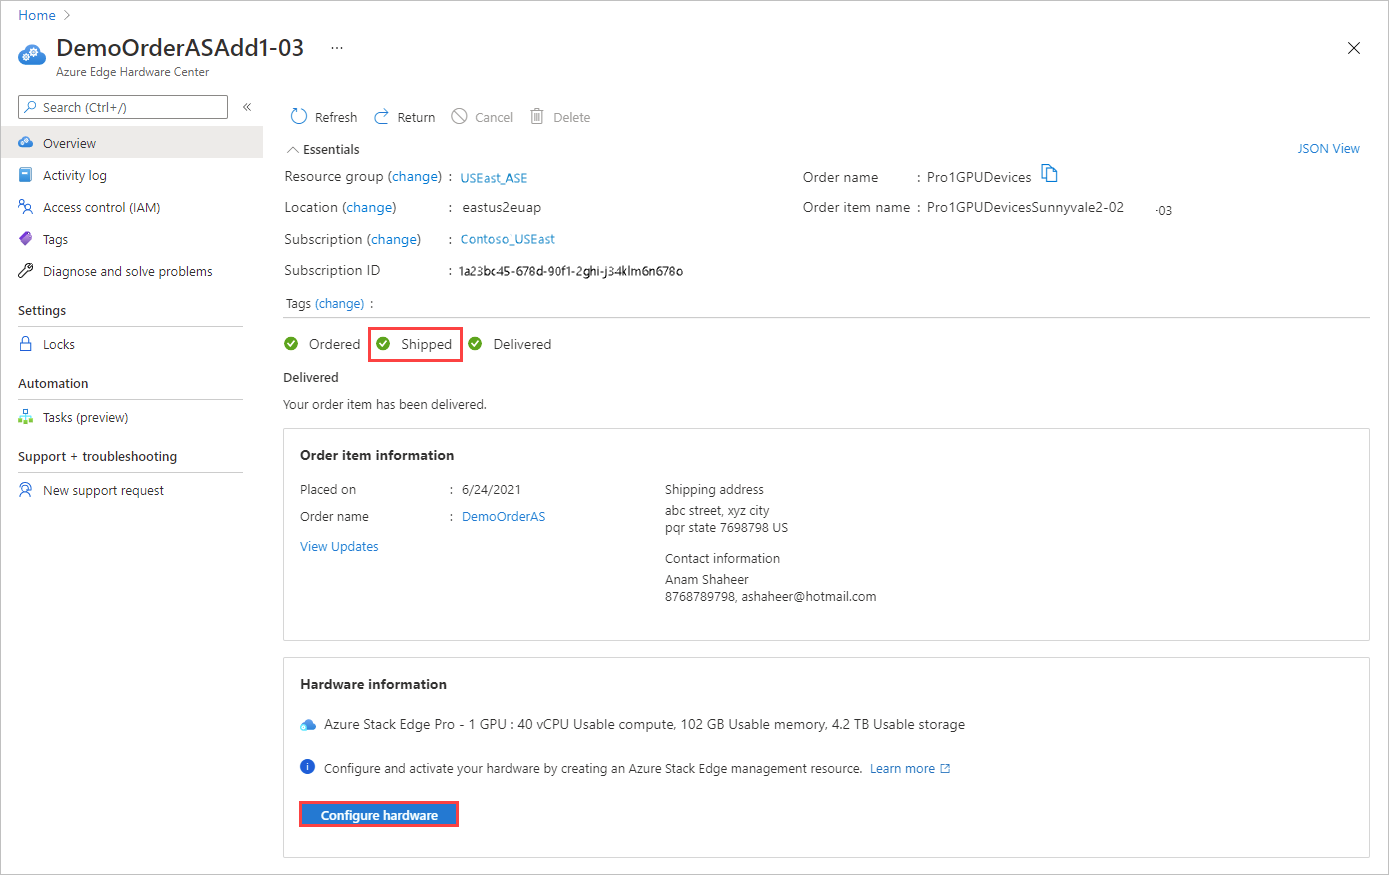
To view details for an order item, shown below, select the item in the Resource column of the deployment details.
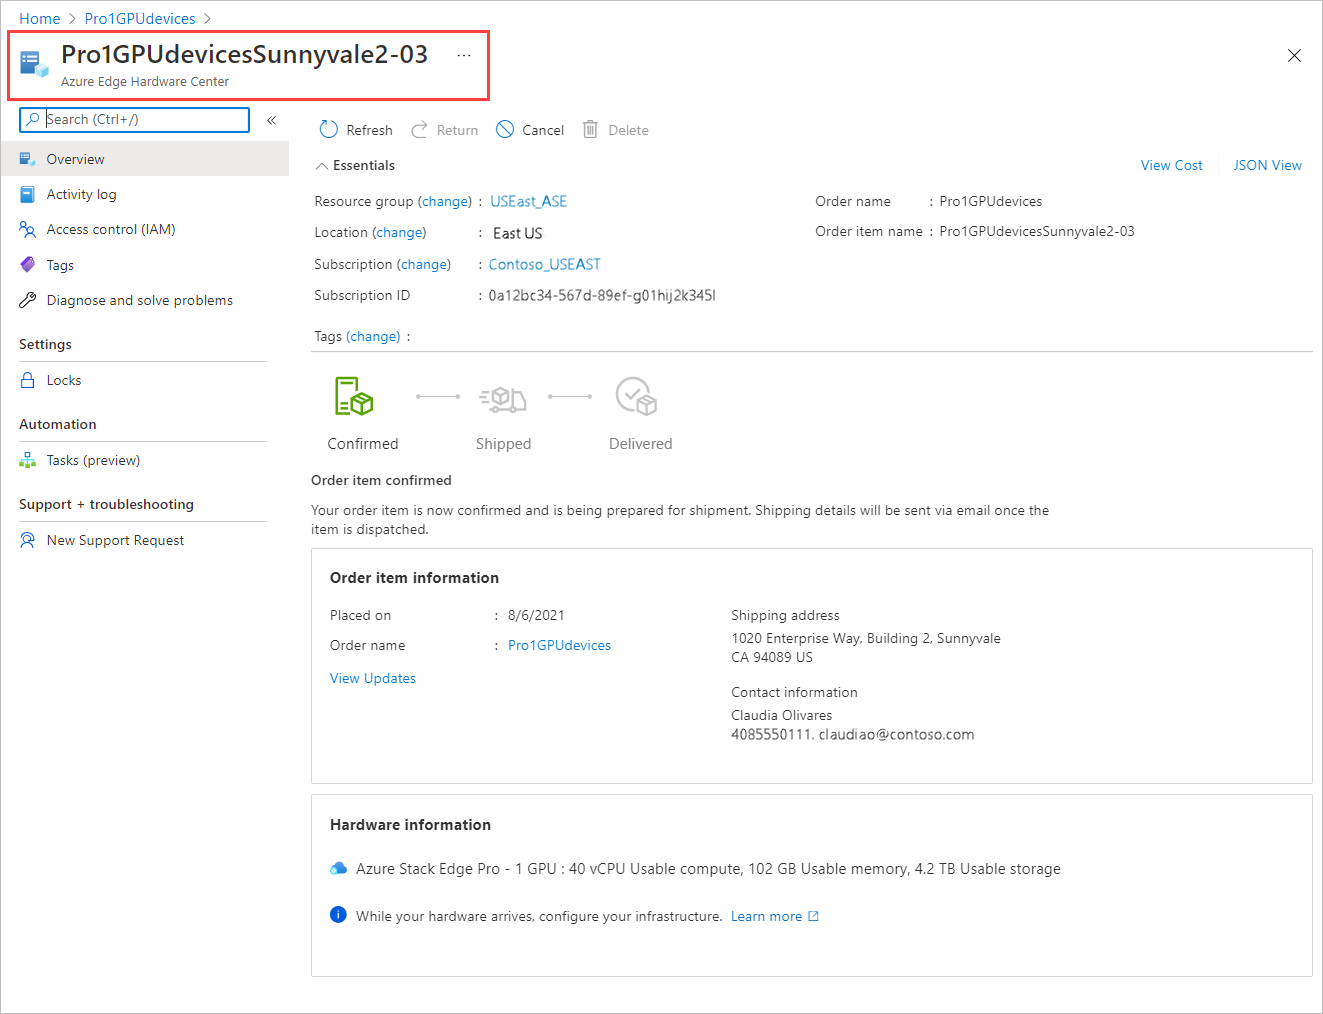
After a device ships (Shipped tag is green), a Configure hardware option is added to the item details. Select that option to create a management resource for the device in Azure Stack Edge.
The subscription, resource group, and deployment area are filled in from the order, but you can change them.

After you activate the device, you'll be able to open the management resource from the item, and open the order item from the management resource.
Next steps
In this tutorial, you learned about topics such as:
- Review prerequisites
- Create an order
Learn more on how to Manage Azure Edge Hardware Center orders
Feedback
Coming soon: Throughout 2024 we will be phasing out GitHub Issues as the feedback mechanism for content and replacing it with a new feedback system. For more information see: https://aka.ms/ContentUserFeedback.
Submit and view feedback for