Autoscale a web app by using custom metrics
This article describes how to set up autoscale for a web app by using a custom metric in the Azure portal.
Autoscale allows you to add and remove resources to handle increases and decreases in load. In this article, we'll show you how to set up autoscale for a web app by using one of the Application Insights metrics to scale the web app in and out.
Note
Autoscaling on custom metrics in Application Insights is supported only for metrics published to Standard and Azure.ApplicationInsights namespaces. If any other namespaces are used for custom metrics in Application Insights, it returns an Unsupported Metric error.
Azure Monitor autoscale applies to:
- Azure Virtual Machine Scale Sets
- Azure Cloud Services
- Azure App Service - Web Apps
- Azure Data Explorer cluster
- Integration service environment and Azure API Management
Prerequisite
You need an Azure account with an active subscription. You can create an account for free.
Overview
To create an autoscaled web app:
- If you don't already have one, create an App Service plan. You can't set up autoscale for free or basic tiers.
- If you don't already have one, create a web app by using your service plan.
- Configure autoscaling for your service plan.
Create an App Service plan
An App Service plan defines a set of compute resources for a web app to run on.
Open the Azure portal.
Search for and select App Service plans.
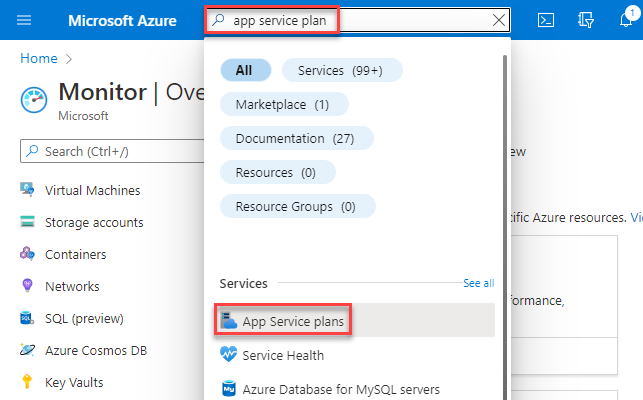
On the App Service plan page, select Create.
Select a Resource group or create a new one.
Enter a Name for your plan.
Select an Operating system and Region.
Select an SKU and size.
Note
You can't use autoscale with free or basic tiers.
Select Review + create > Create.

Create a web app
Search for and select App services.
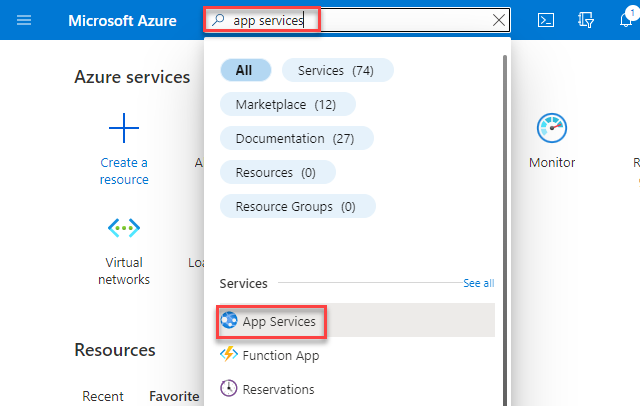
On the App Services page, select Create.
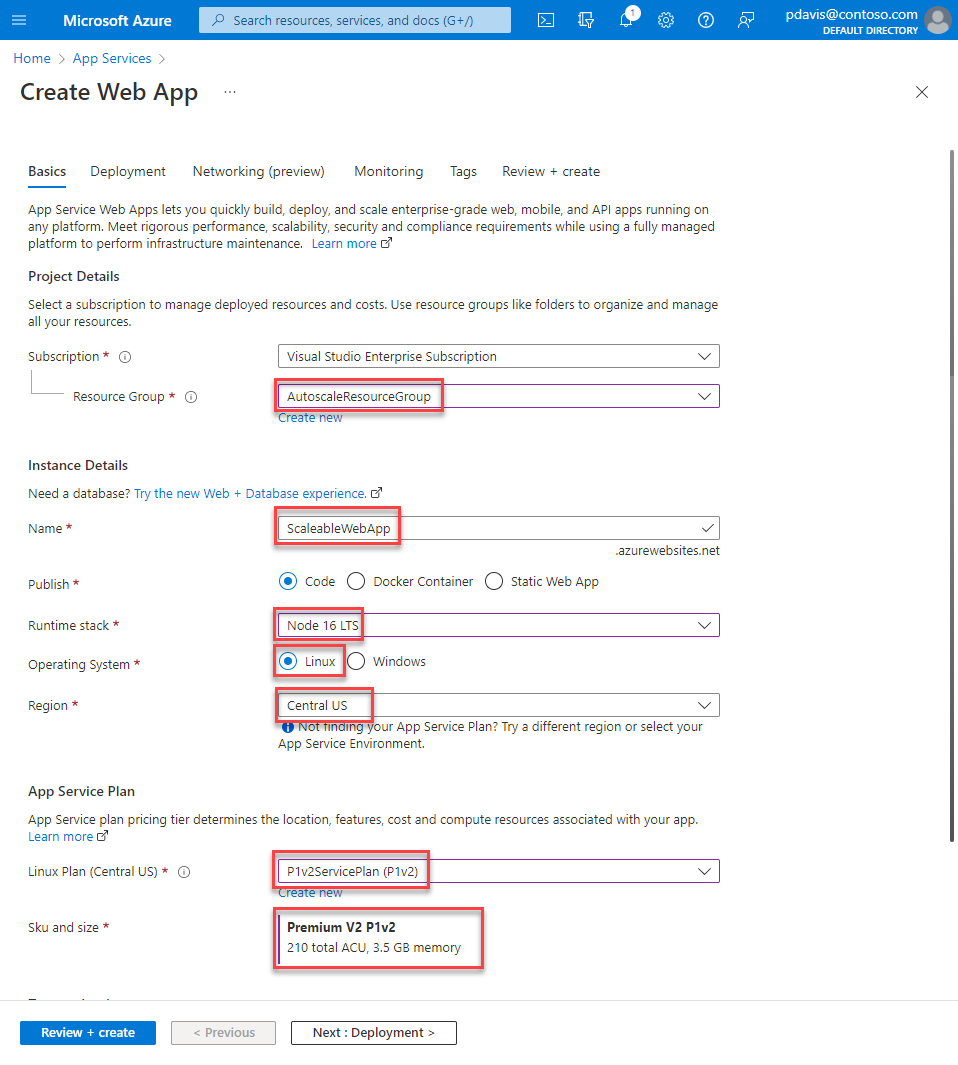
On the Basics tab, enter a Name and select a Runtime stack.
Select the Operating System and Region that you chose when you defined your App Service plan.
Select the App Service plan that you created earlier.
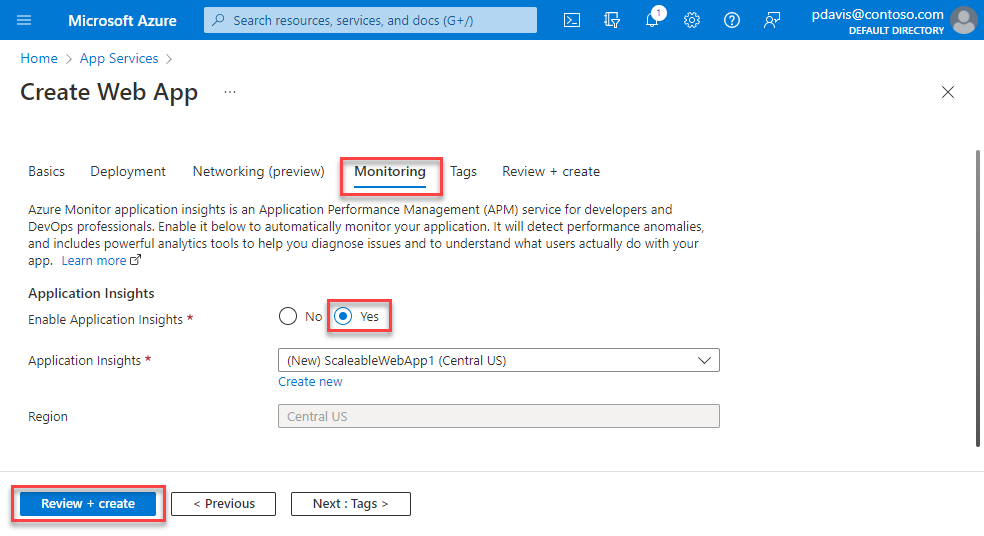
Select the Monitoring tab.
On the Monitoring tab, select Yes to enable Application Insights.
Select Review + create > Create.
Configure autoscale
Configure the autoscale settings for your App Service plan.
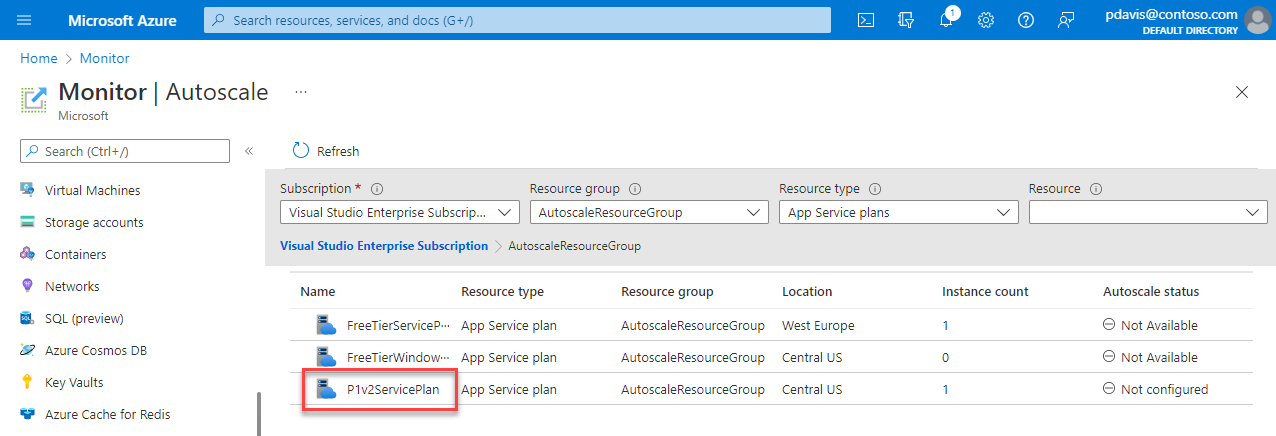
Search and select autoscale in the search bar or select Autoscale under Monitor in the menu bar on the left.
Select your App Service plan. You can only configure production plans.
Set up a scale-out rule
Set up a scale-out rule so that Azure spins up another instance of the web app when your web app is handling more than 70 sessions per instance.
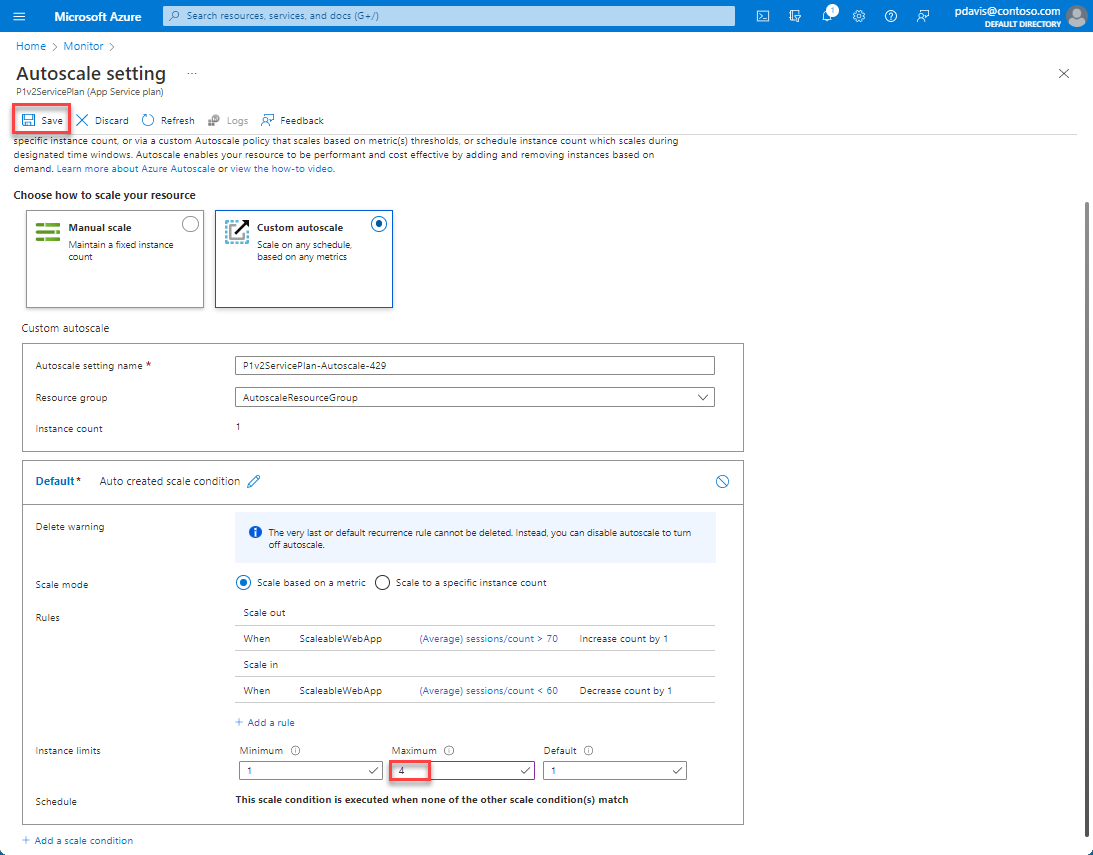
Select Custom autoscale.
In the Rules section of the default scale condition, select Add a rule.

From the Metric source dropdown, select Other resource.
From Resource type, select Application Insights.
From the Resource dropdown, select your web app.
Select a Metric name to base your scaling on. For example, use Sessions.
Select the Enable metric divide by instance count checkbox so that the number of sessions per instance is measured.
From the Operator dropdown, select Greater than.
Enter the Metric threshold to trigger the scale action. For example, use 70.
Under Action, set Operation to Increase count by. Set Instance count to 1.
Select Add.

Set up a scale-in rule
Set up a scale-in rule so that Azure spins down one of the instances when the number of sessions your web app is handling is less than 60 per instance. Azure reduces the number of instances each time this rule is run until the minimum number of instances is reached.
In the Rules section of the default scale condition, select Add a rule.
From the Metric source dropdown, select Other resource.
From Resource type, select Application Insights.
From the Resource dropdown, select your web app.
Select a Metric name to base your scaling on. For example, use Sessions.
Select the Enable metric divide by instance count checkbox so that the number of sessions per instance is measured.
From the Operator dropdown, select Less than.
Enter the Metric threshold to trigger the scale action. For example, use 60.
Under Action, set Operation to Decrease count by and set Instance count to 1.
Select Add.

Limit the number of instances
Set the maximum number of instances that can be spun up in the Maximum field of the Instance limits section. For example, use 4.
Select Save.
Clean up resources
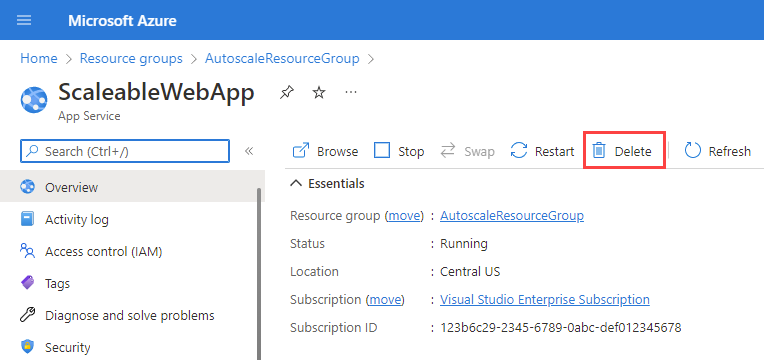
If you're not going to continue to use this application, delete resources.
On the App Service overview page, select Delete.
On the Autoscale setting page, in the JSON tab, select the trash bin icon next to the Autoscale setting name. Note that the autoscale settings are not deleted along with the App Service plan unless you delete the resource group. If you dont delete the Autoscale settings and you recreate an app service plan with the same name, it will inherit the original autoscale settings.
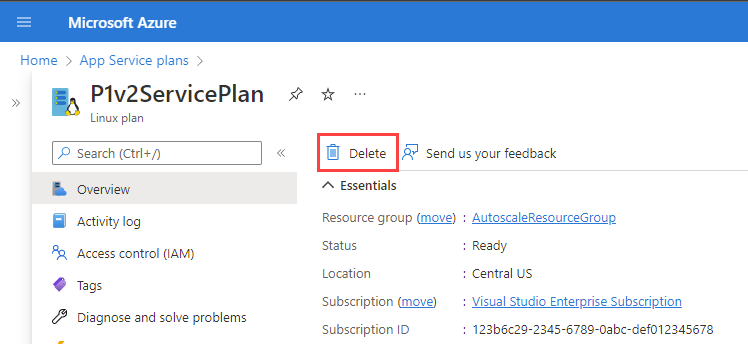
On the App Service plans page, select Delete.
Next steps
To learn more about autoscale, see the following articles:
Feedback
Coming soon: Throughout 2024 we will be phasing out GitHub Issues as the feedback mechanism for content and replacing it with a new feedback system. For more information see: https://aka.ms/ContentUserFeedback.
Submit and view feedback for