Set up advanced network settings on the Azure Percept DK
Important
Retirement of Azure Percept DK:
Update 22 February 2023: A firmware update for the Percept DK Vision and Audio accessory components (also known as Vision and Audio SOM) is now available here, and will enable the accessory components to continue functioning beyond the retirement date.
The Azure Percept public preview will be evolving to support new edge device platforms and developer experiences. As part of this evolution the Azure Percept DK and Audio Accessory and associated supporting Azure services for the Percept DK will be retired March 30th, 2023.
Effective March 30th, 2023, the Azure Percept DK and Audio Accessory will no longer be supported by any Azure services including Azure Percept Studio, OS updates, containers updates, view web stream, and Custom Vision integration. Microsoft will no longer provide customer success support and any associated supporting services. For more information, please visit the Retirement Notice Blog Post.
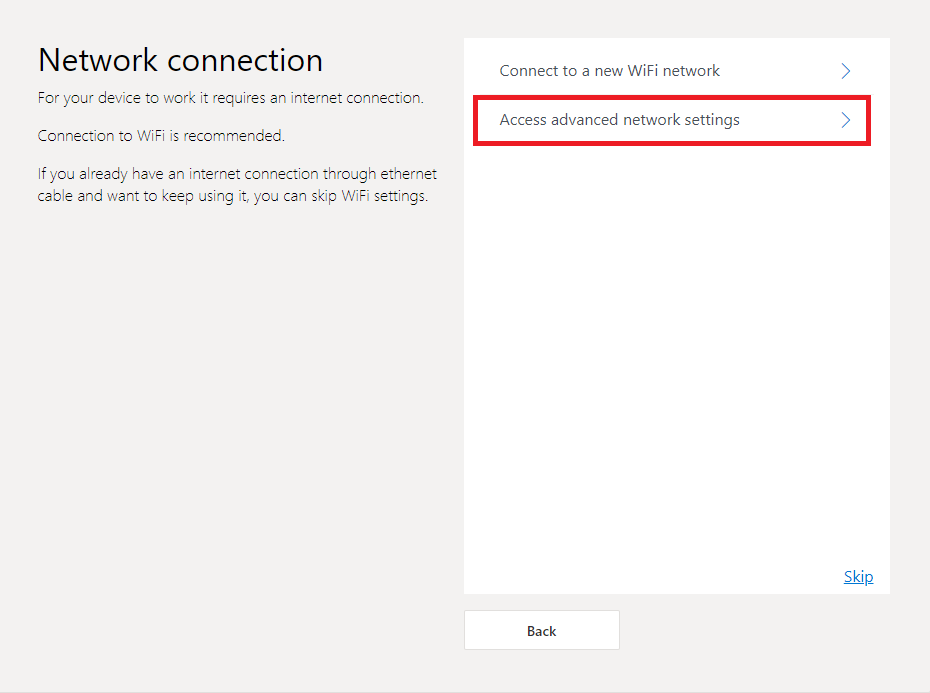
The Azure Percept DK allows you to control various networking components on the dev kit. This is done via the Advanced Networking Settings in the setup experience. To access these settings, you must start the setup experience and select Access advanced network settings on the Network connection page.
Select the security setting
IPv4 and IPv6 are both supported on the Azure Percept DK for local connectivity.
Note
Azure IoTHub does not supports IPv6. IPv4 must be used to communicate with IoTHub.
- Select the IPv4 radio button and then select an item under Network Settings to change its IPv4 settings
- Select the IPv6 radio button and then select an item under Network Settings to change its IPv6 settings
- The Network setting options may change depending on your selection
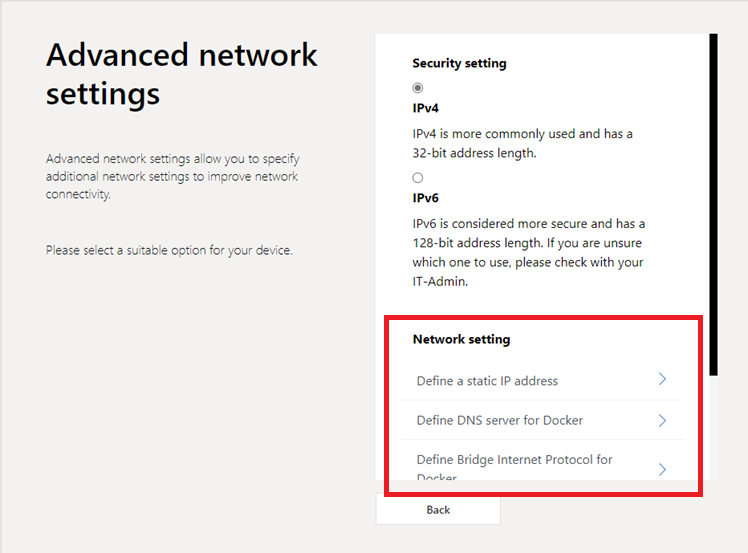
Define a Static IP Address
- From the Advanced network settings page, select Define a static IP address from the list
- Select your Network interface from the drop-down menu
- Uncheck Dynamic IP address
- Enter your static IP address
- Enter your subnet IP address (also known as your subnet mask)
- Enter your gateway IP address (also known as your default gateway)
- If applicable, enter your DNS address
- Select Save
- Select Back to return to the main Advanced networking settings page
Define DNS server for Docker
These settings allow you to modify or add new Docker DNS IP addresses.
Note
The Docker service is configured to only accept IPv4 DNS entries. Entries added from the IPv6 screens will be ignored.
- From the Advanced network settings page, select Define DNS server for Docker from the list
- Enter your Docker IPv4 DNS address
- Select Save
- Select Back to return to the main Advanced networking settings page
Define Bridge Internet Protocol for Docker
The Bridge Internet Protocol screens allow you to change the IPv4 address space for Docker containers.
If your device’s IP address shares the same route as the Azure Percept Devkit’s Docker service (172.17.x.x), then you'll need to change Docker’s Bridge to something else to allow communications between Docker containers and Azure IoTHub.
- From the Advanced network settings page, select Define Bridge Internet Protocol for Docker from the list
- Type in the Docker Bridge Internet Protocol IPv4 address (BIP)
- Select Save
- Select Back to return to the main Advanced networking settings page
Define an internet proxy server
This option allows you to define a proxy server.
- From the Advanced network settings page, select Define an internet proxy server from the list
- Check the Use a proxy server box to enable this option.
- Enter the HTTP address of your proxy server (if applicable)
- Enter the HTTPS address of your proxy server (if applicable)
- Enter the FTP address of your proxy server (if applicable)
- In the No proxy addresses box, enter any IP addresses that the proxy server shouldn't be used for
- Select Save
- Select Back to return to the main Advanced networking settings page
Setup Zero Touch Provisioning
Important
The Setup Zero Touch Provisioning setting are not currently functional
This option allows you to turn your Azure Percept DK into a Wi-Fi Easy ConnectTM Bulk Configurator for onboarding multiple devices at once to your Wi-Fi infrastructure.
Define access point passphrase
This option allows you to update the Azure Percept DK Wi-Fi access point passphrase.
Caution
You will be immediately disconnected from the Wi-Fi access point after saving your new passphrase. Please reconnect using the new passphrase to regain access.
Passphrase requirements:
- Must be between 12 and 123 characters long
- Must contain at least one lower case, one upper case, one number, and one special character.
- From the Advanced network settings page, select Define access point passphrase from the list
- Enter a new passphrase
- Select Save
- Select Back to return to the main Advanced networking settings page
Next steps
After you have finished making changes in Advanced network settings, select the Back button to continue through the Azure Percept DK setup experience.