Back up an Exchange server to Azure with Azure Backup Server
This article describes how to configure Microsoft Azure Backup Server (MABS) to back up a Microsoft Exchange server to Azure.
Prerequisites for backup of an Exchange server
Before you continue, ensure that Azure Backup Server is installed and prepared.
MABS protection agent
To install the MABS protection agent on the Exchange server, follow these steps:
- Ensure that the firewalls are correctly configured. See Configure firewall exceptions for the agent.
- Install the agent on the Exchange server by selecting Management > Agents > Install in MABS Administrator Console. See Install the MABS protection agent for detailed steps.
Create a protection group for the Exchange server
To create a protection group for the Exchange server, follow these steps:
In the MABS Administrator Console, select Protection, and then select New on the tool ribbon to open the Create New Protection Group wizard.
On the Welcome screen of the wizard, select Next.
On the Select protection group type screen, select Servers and select Next.
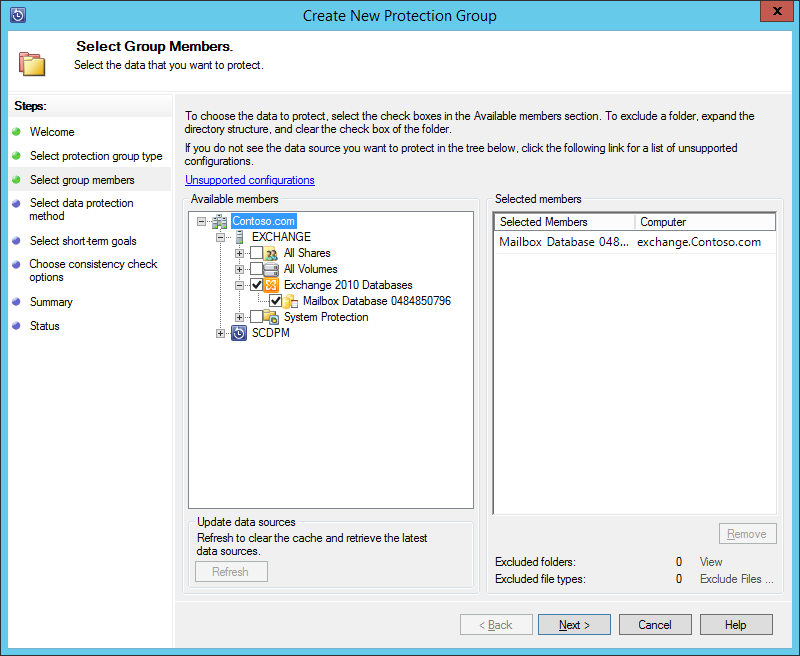
Select the Exchange server database that you want to protect and select Next.
Note
If you are protecting Exchange 2013, check the Exchange 2013 prerequisites.
In the following example, the Exchange 2010 database is selected.
Select the data protection method.
Name the protection group, and then select both of the following options:
- I want short-term protection using Disk.
- I want online protection.
Select Next.
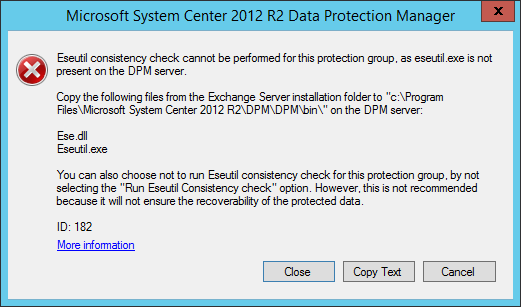
Select the Run Eseutil to check data integrity option to check the integrity of the Exchange Server databases.
After you select this option, backup consistency checking will be run on MABS to avoid the I/O traffic that's generated by running the eseutil command on the Exchange server.
Note
To use this option, you must copy the Ese.dll and Eseutil.exe files to the C:\Program Files\Microsoft Azure Backup\DPM\DPM\bin directory on the MABS server. Otherwise, the following error is triggered:
Select Next.
Select the database for Copy Backup, and then select Next.
Note
If you don't select "Full backup" for at least one DAG copy of a database, logs won't be truncated.
Configure the goals for Short-Term backup, and then select Next.
Review the available disk space, and then select Next.
Select the time at which the MABS Server will create the initial replication, and then select Next.
Select the consistency check options, and then select Next.
Choose the database that you want to back up to Azure, and then select Next. For example:

Define the schedule for Azure Backup, and then select Next. For example:
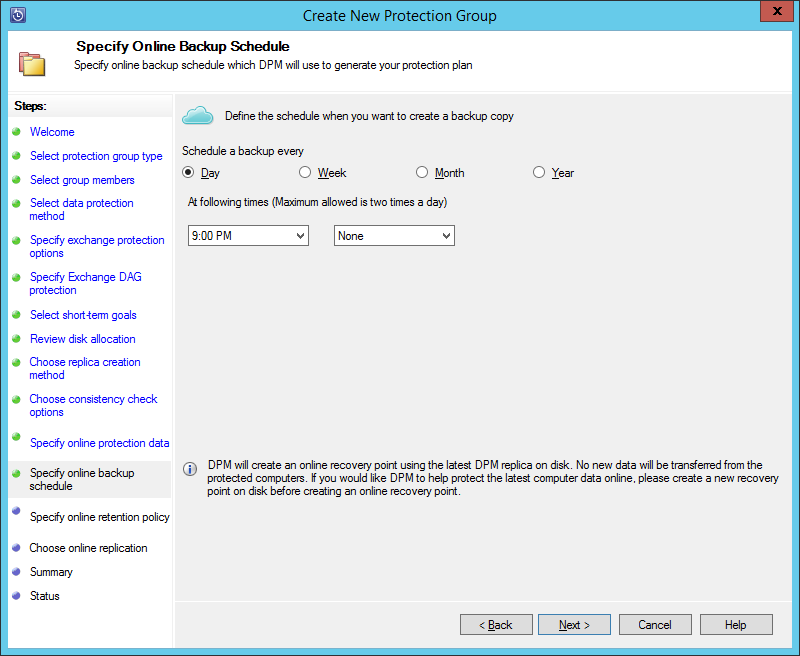
Note
Online recovery points are based on express full recovery points. Therefore, you must schedule the online recovery point after the time that's specified for the express full recovery point.
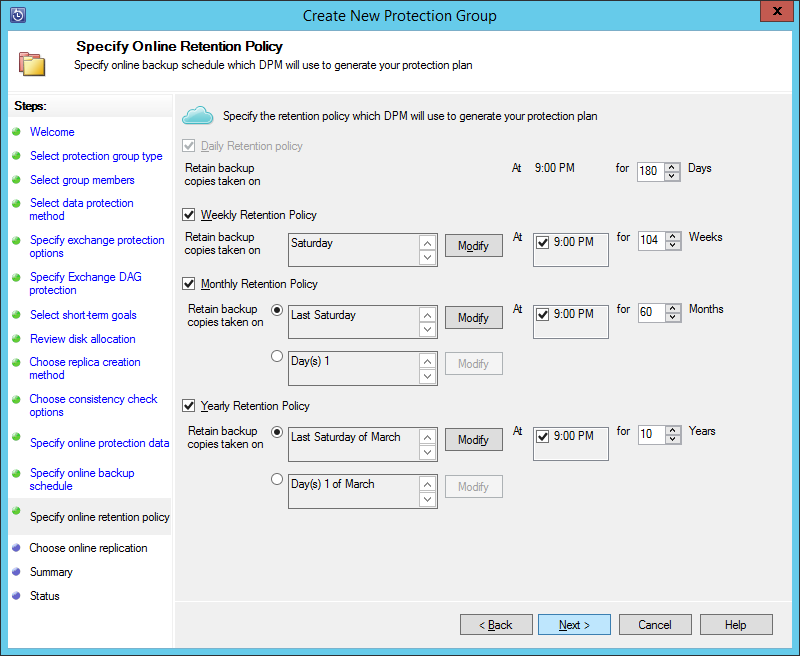
Configure the retention policy for Azure Backup, and then select Next.
Choose an online replication option and select Next.
If you have a large database, it could take a long time for the initial backup to be created over the network. To avoid this issue, you can create an offline backup.
Confirm the settings, and then select Create Group.
Select Close.
Recover the Exchange database
To recover the Exchange database, follow these steps:
- Select Recovery in the MABS Administrator Console.
- Locate the Exchange database that you want to recover.
- Select an online recovery point from the recovery time drop-down list.
- Select Recover to start the Recovery Wizard.
For online recovery points, there are five recovery types:
Recover to original Exchange Server location: The data will be recovered to the original Exchange server.
Recover to another database on an Exchange Server: The data will be recovered to another database on another Exchange server.
Recover to a Recovery Database: The data will be recovered to an Exchange Recovery Database (RDB).
Copy to a network folder: The data will be recovered to a network folder.
Copy to tape: If you have a tape library or a stand-alone tape drive attached and configured on MABS, the recovery point will be copied to a free tape.

Next steps
Feedback
Coming soon: Throughout 2024 we will be phasing out GitHub Issues as the feedback mechanism for content and replacing it with a new feedback system. For more information see: https://aka.ms/ContentUserFeedback.
Submit and view feedback for