Use VMware PowerCLI to scale onboarding VMware vSphere Windows Server virtual machines to Azure Arc
This article provides guidance for using the provided VMware PowerCLI script so you can perform an automated scaled deployment of the Azure Arc-connected machine agent in multiple VMware vSphere virtual machines and as a result, onboarding these VMs as an Azure Arc-enabled servers.
This guide assumes you already have an exiting inventory of VMware virtual machines and will use the PowerCLI PowerShell module to automate the onboarding process of the VMs to Azure Arc.
Prerequisites
Clone the Azure Arc Jumpstart repository.
git clone https://github.com/microsoft/azure_arc.gitInstall or update Azure CLI to version 2.7 or higher. Use this command to check your current installed version:
az --versionInstall VMware PowerCLI.
Note
This guide was tested with the latest version of PowerCLI as of date (12.0.0) but earlier versions are expected to work as well
- Supported PowerShell versions: VMware PowerCLI 12.0.0 is compatible with the following PowerShell versions:
Windows PowerShell 5.1
PowerShell 7
Detailed installation instructions can be found in Install PowerCLI, but the easiest way is to use the VMware.PowerCLI module from the PowerShell gallery using the following command.
Install-Module -Name VMware.PowerCLI
- Supported PowerShell versions: VMware PowerCLI 12.0.0 is compatible with the following PowerShell versions:
To be able to read the VM inventory from vCenter as well as invoke a script on the VM OS-level, the following permissions are needed:
VirtualMachine.GuestOperationsuser accountVMware vCenter Server user assigned with a read-only role
Create an Azure service principal.
To connect the VMware vSphere virtual machine to Azure Arc, an Azure service principal assigned with the Contributor role is required. To create it, sign in to your Azure account and run the following command. You can also run this command in Azure Cloud Shell.
az login
az account set -s <Your Subscription ID>
az ad sp create-for-rbac -n "<Unique SP Name>" --role contributor --scopes "/subscriptions/<Your Subscription ID>"
For example:
az ad sp create-for-rbac -n "http://AzureArcServers" --role contributor --scopes "/subscriptions/00000000-0000-0000-0000-000000000000"The output should look like this:
{
  "appId": "XXXXXXXXXXXXXXXXXXXXXXXXXXXX",
  "displayName": "http://AzureArcServers",
  "password": "XXXXXXXXXXXXXXXXXXXXXXXXXXXX",
  "tenant": "XXXXXXXXXXXXXXXXXXXXXXXXXXXX"
}
Note
We highly recommend that you scope the service principal to a specific Azure subscription and resource group.
Automation flow
Below you can find the automation flow for this scenario:
The user edits the
vars.ps1PowerCLI script.The
scale_deploy.ps1script execution will initiate authentication against vCenter and will scan the targeted VM folder where Azure Arc candidate VMs are located and will copy both thevars.ps1and theinstall_azure_arc_agent.ps1PowerCLI scripts to VM Windows OS located in theazure-arcGitHub repository to each VM in that VM folder.The
install-azure_arc_agent.ps1PowerCLI script will run on the VM guest OS and will install the Azure Arc-connected machine agent in order to onboard the VM to Azure Arc.
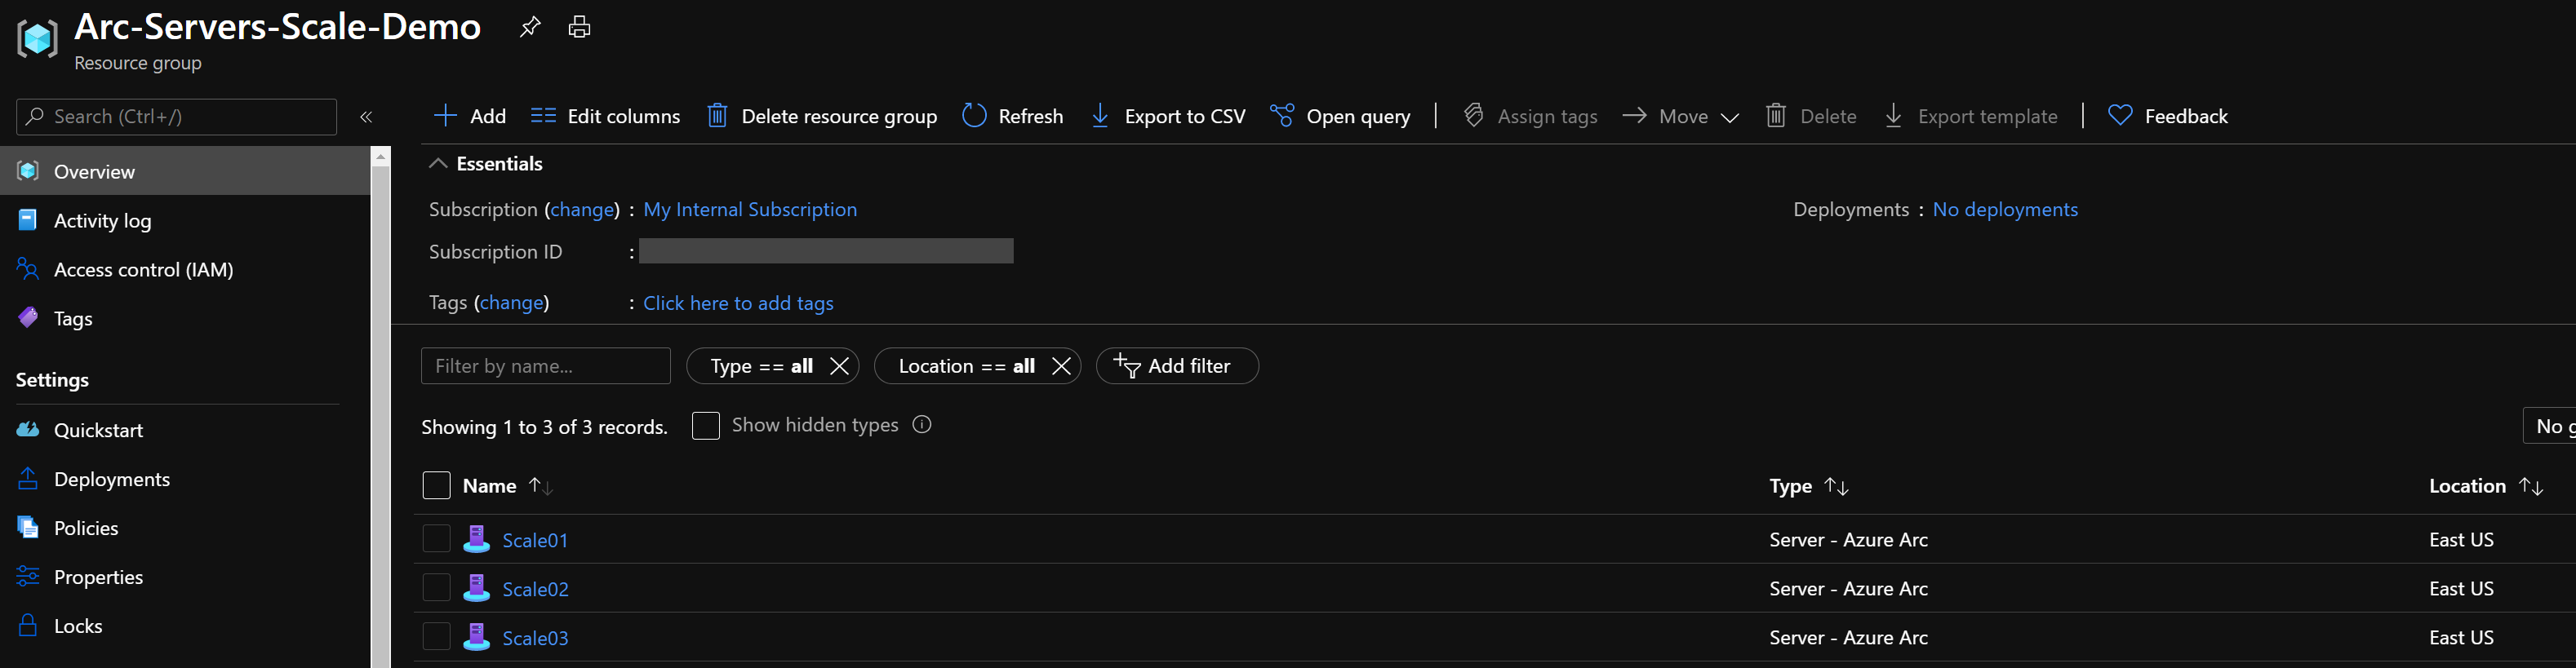
Predeployment
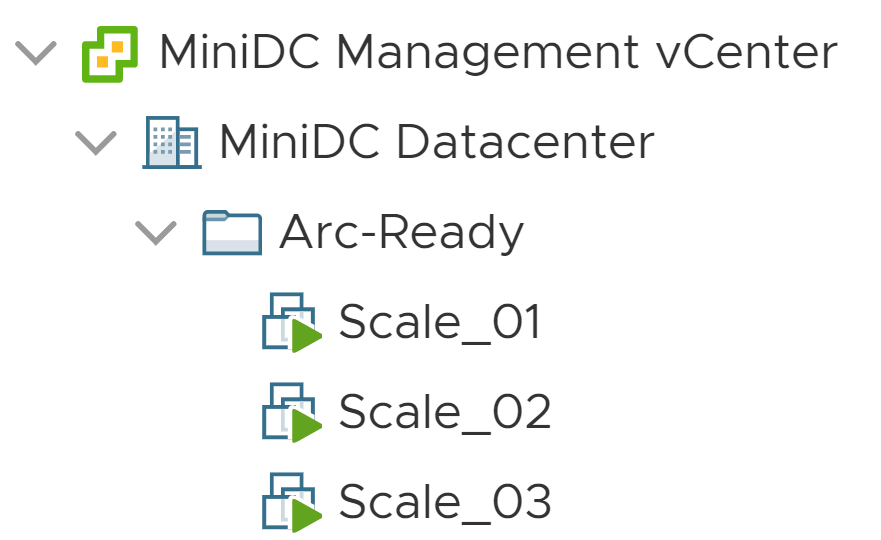
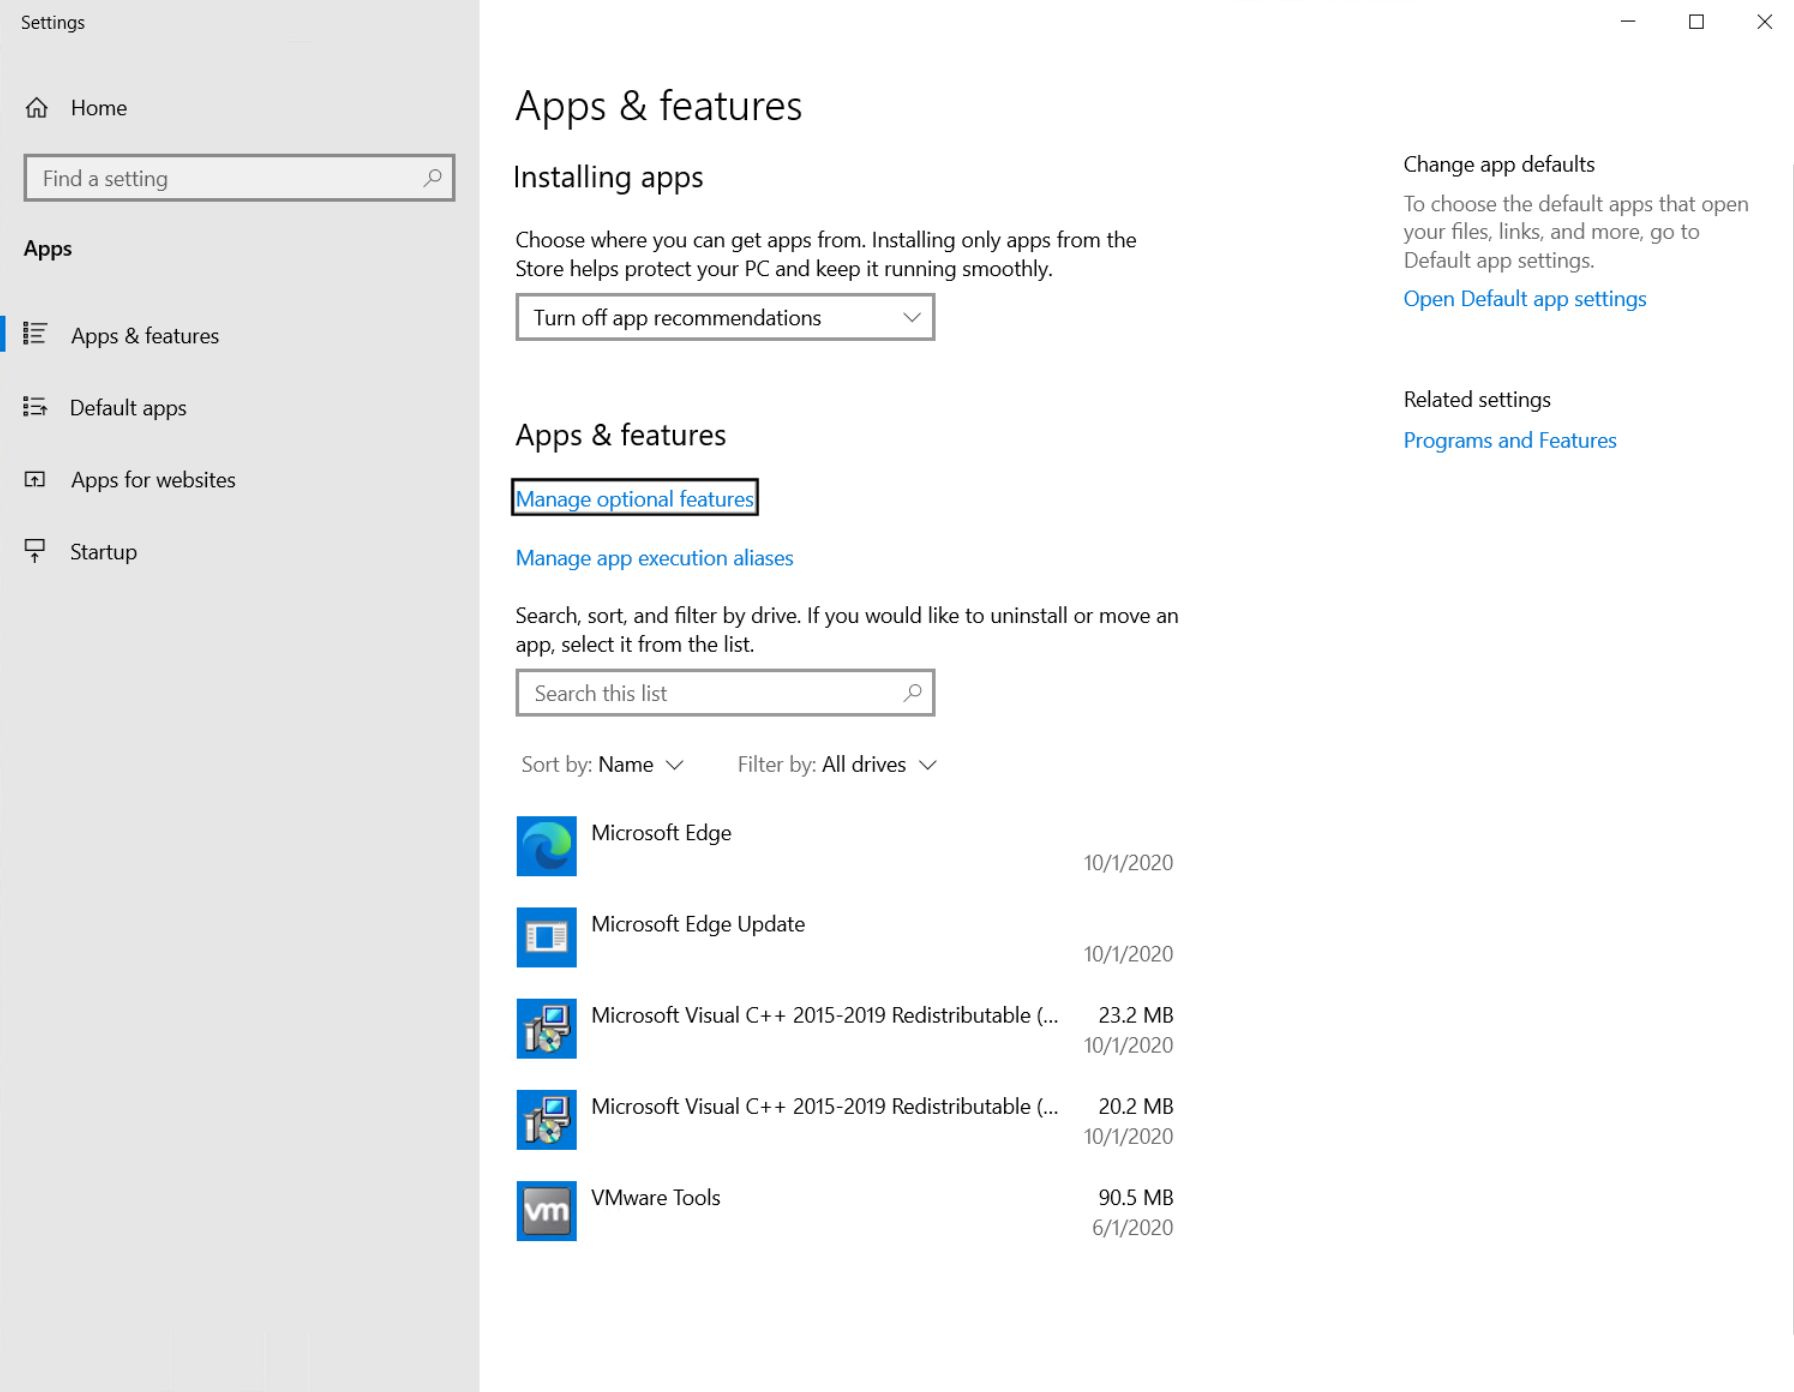
To demonstrate the before and after for this scenario, the following screenshots show a dedicated, empty Azure resource group, a vCenter VM folder with candidate VMs and the Apps & features view in Windows showing no agent is installed.

Deployment
Before running the PowerCLI script, you must set the environment variables which will be used by the install_arc_agent.ps1 script. These variables are based on the Azure service principal you've just created, your Azure subscription and tenant, and your VMware vSphere credentials and data.
Retrieve your Azure subscription ID and tenant ID using the
az account listcommandUse the Azure service principal ID and password created in the prerequisites section:

From the
azure_arc_servers_jumpstart\vmware\scaled-deploy\powercli\windowsfolder, open PowerShell session as an administrator and run thescale-deploy.ps1script.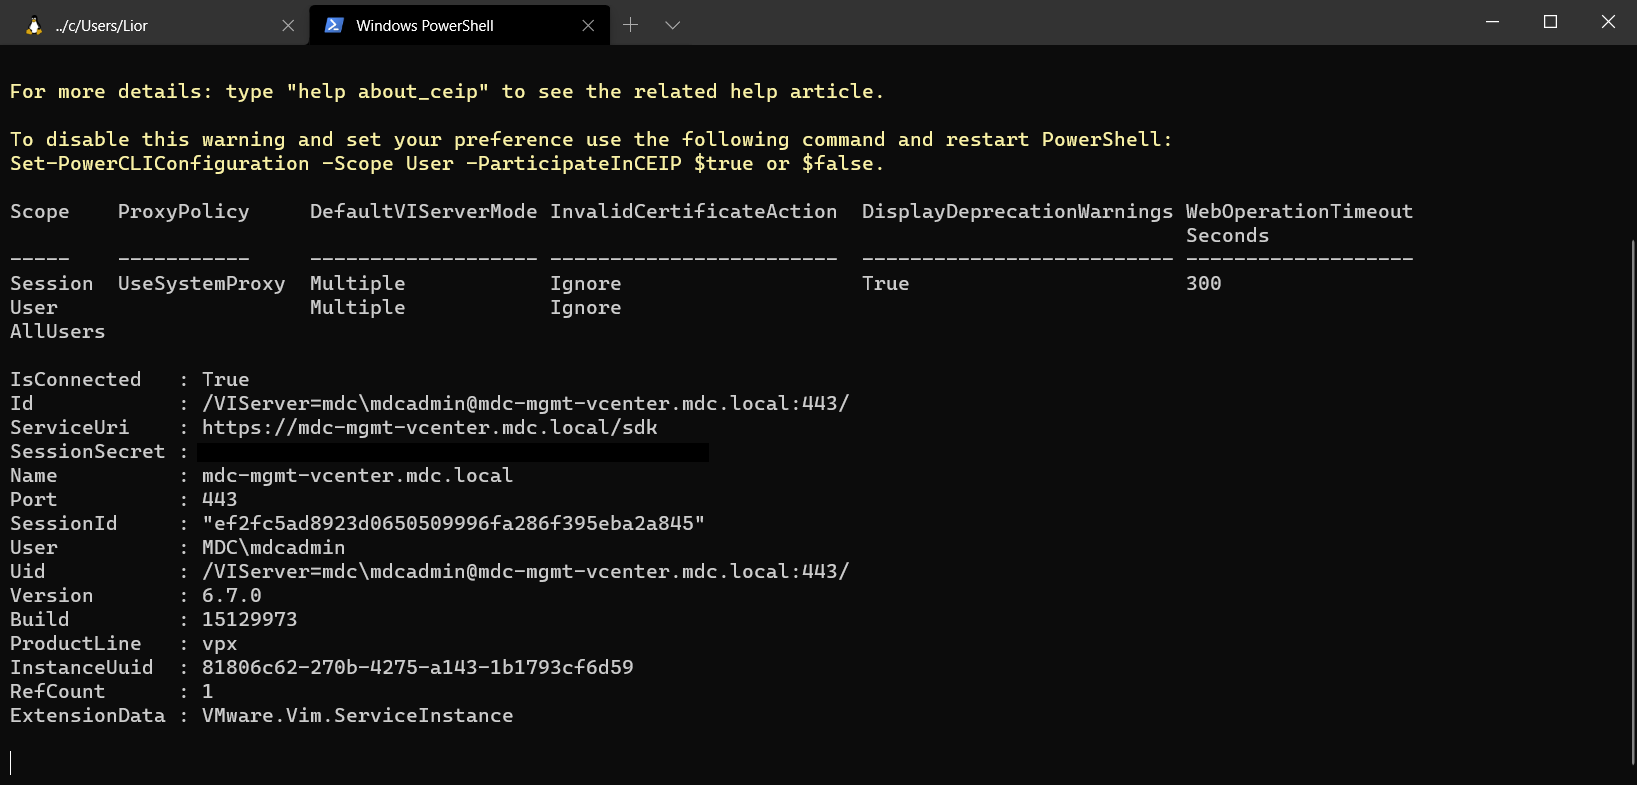

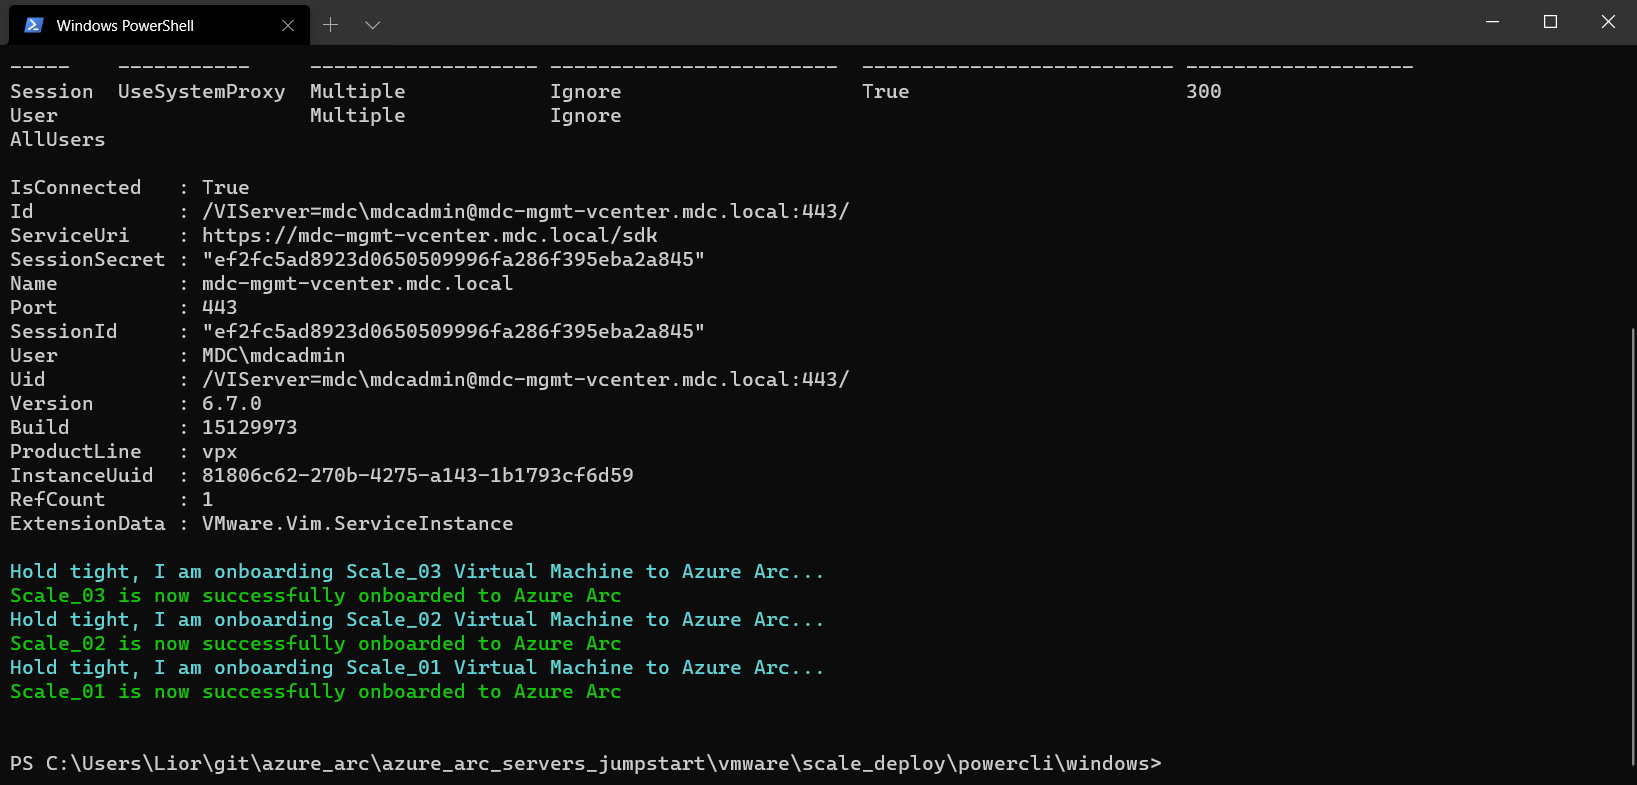
Upon completion, the VM will have the Azure Arc-connected machine agent installed as well as the Azure resource group populated with the new Azure Arc-enabled servers.


Feedback
Coming soon: Throughout 2024 we will be phasing out GitHub Issues as the feedback mechanism for content and replacing it with a new feedback system. For more information see: https://aka.ms/ContentUserFeedback.
Submit and view feedback for