Create a VMware vSphere template for Ubuntu Server 18.04
This article provides guidance for creating an Ubuntu Server 18.04 VMware vSphere virtual machine template.
Prerequisites
Note
This guide assumes that you have some VMware vSphere familiarity. It's not designed to review either VMware or Ubuntu best practices.
VMware vSphere 6.5 and above
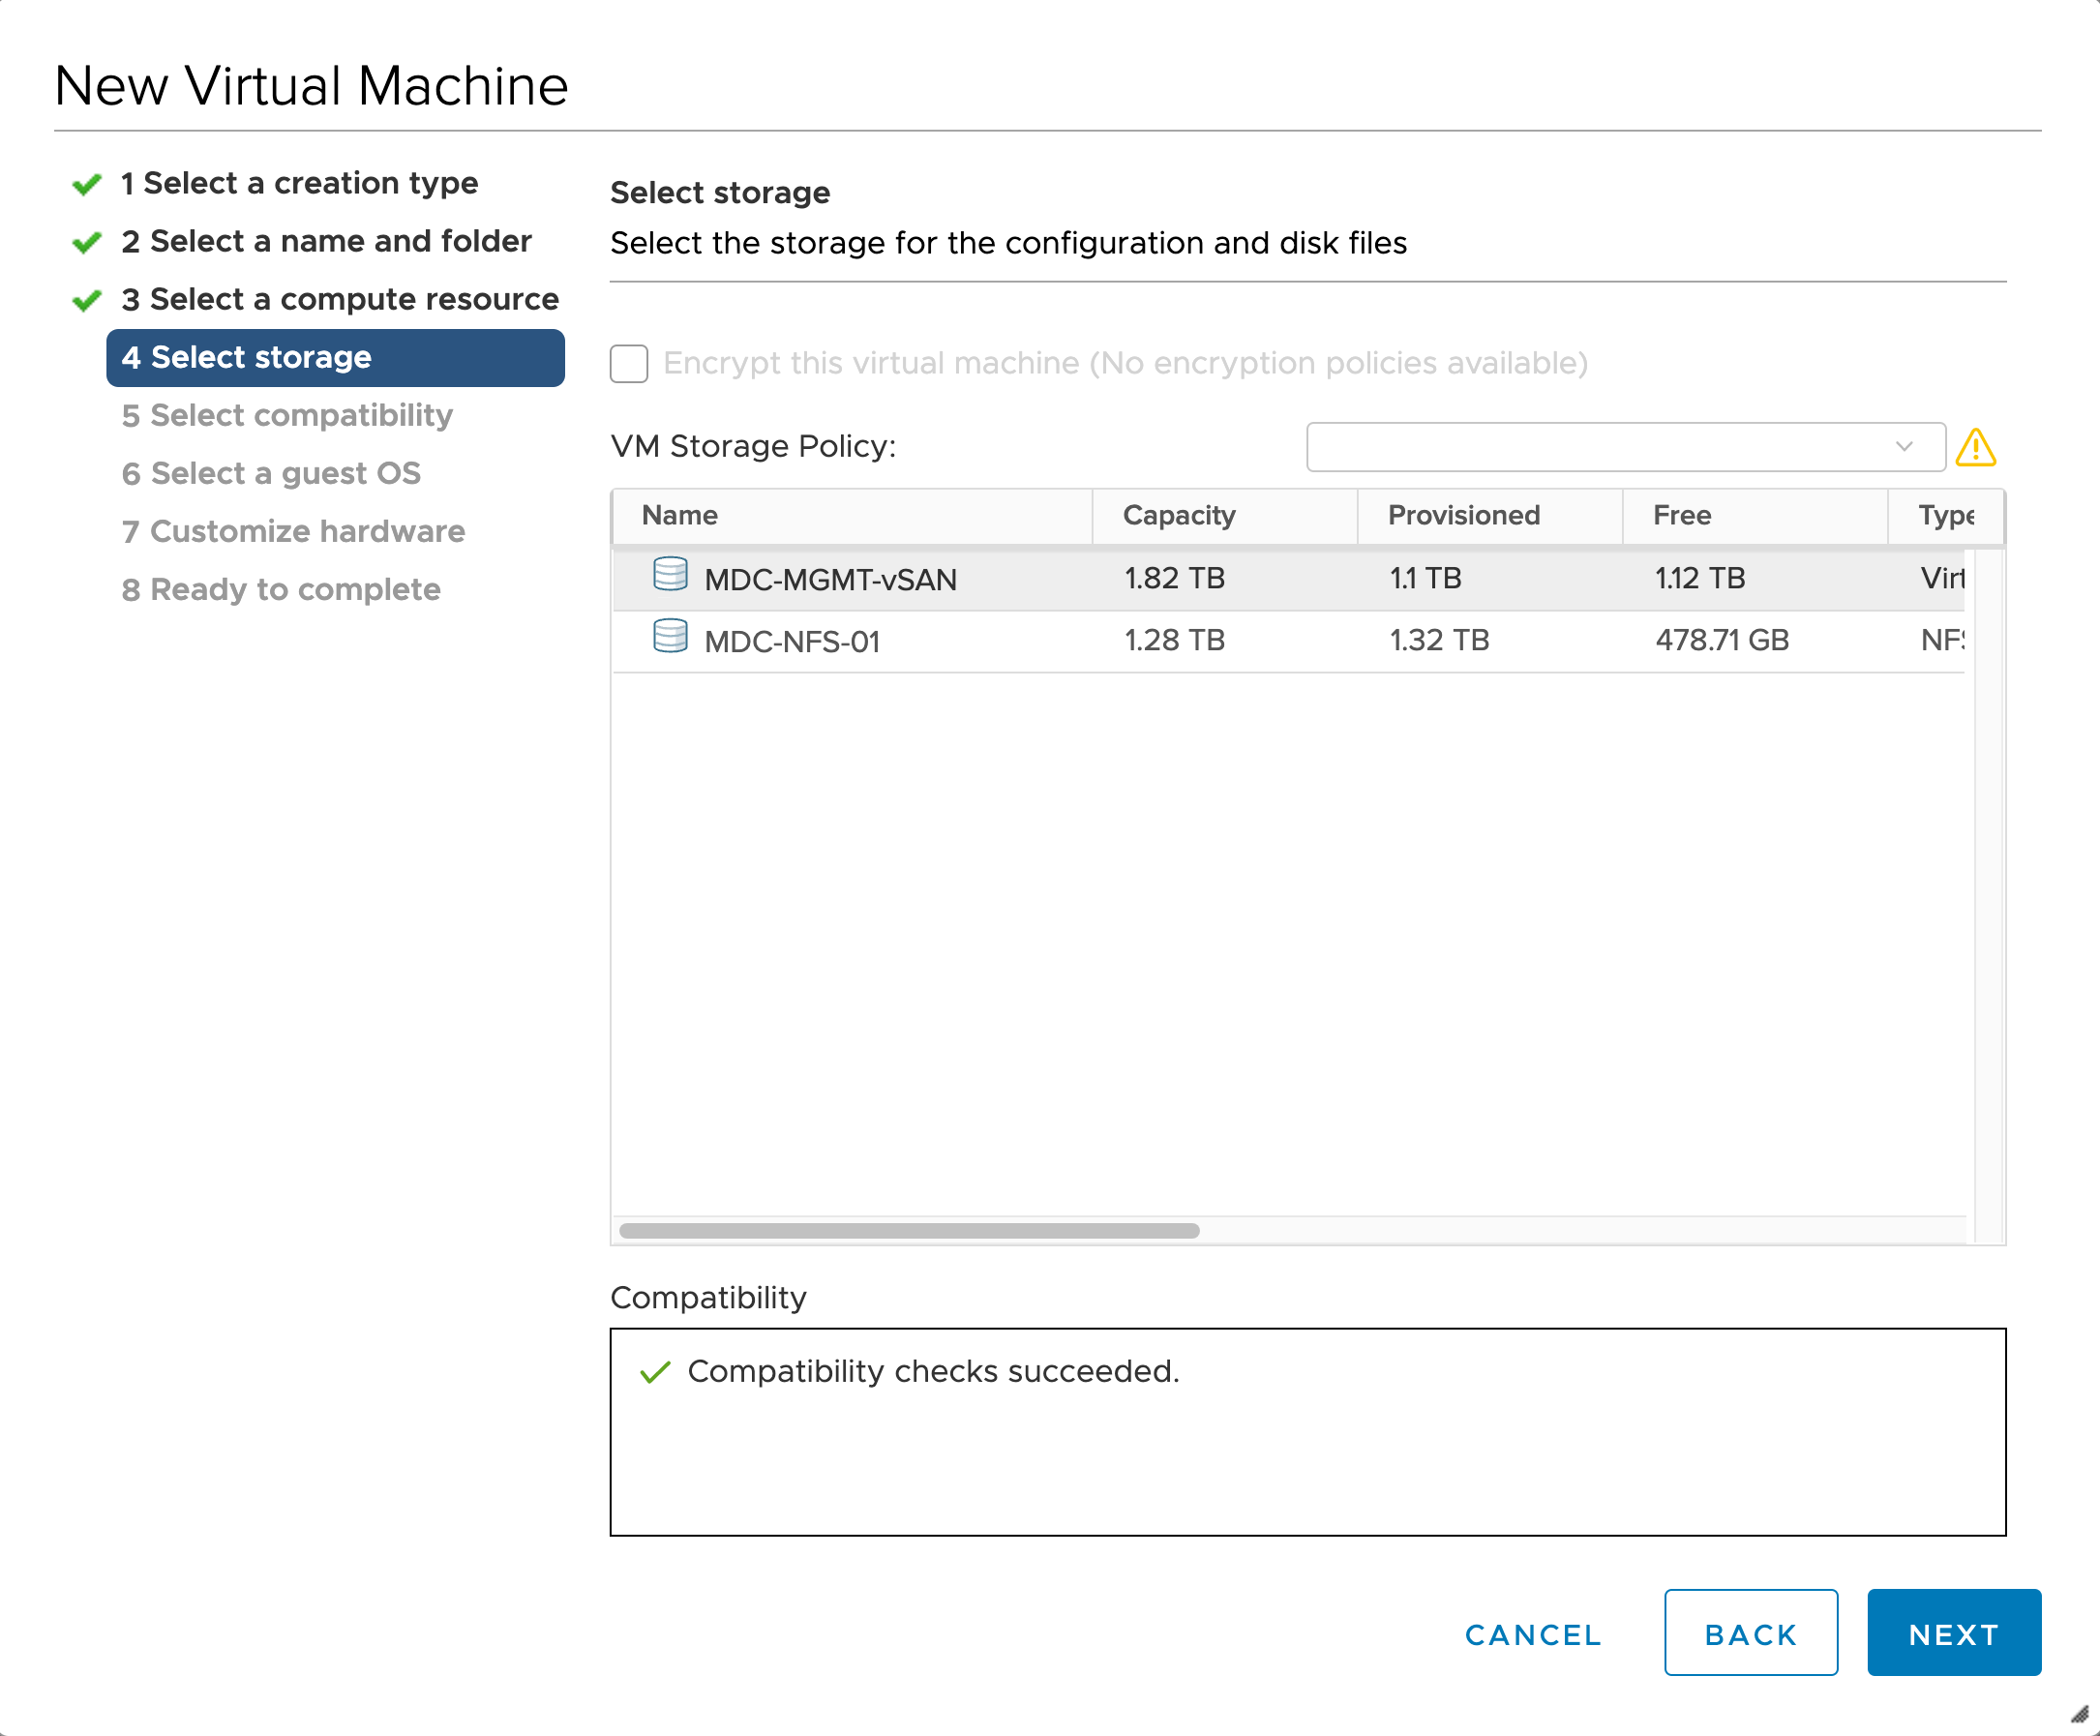
Although it can be used locally, for faster deployment, upload the file to a vSphere datastore or to vCenter content library.
Creating Ubuntu 18.04 VM template
Deploying and installing Ubuntu
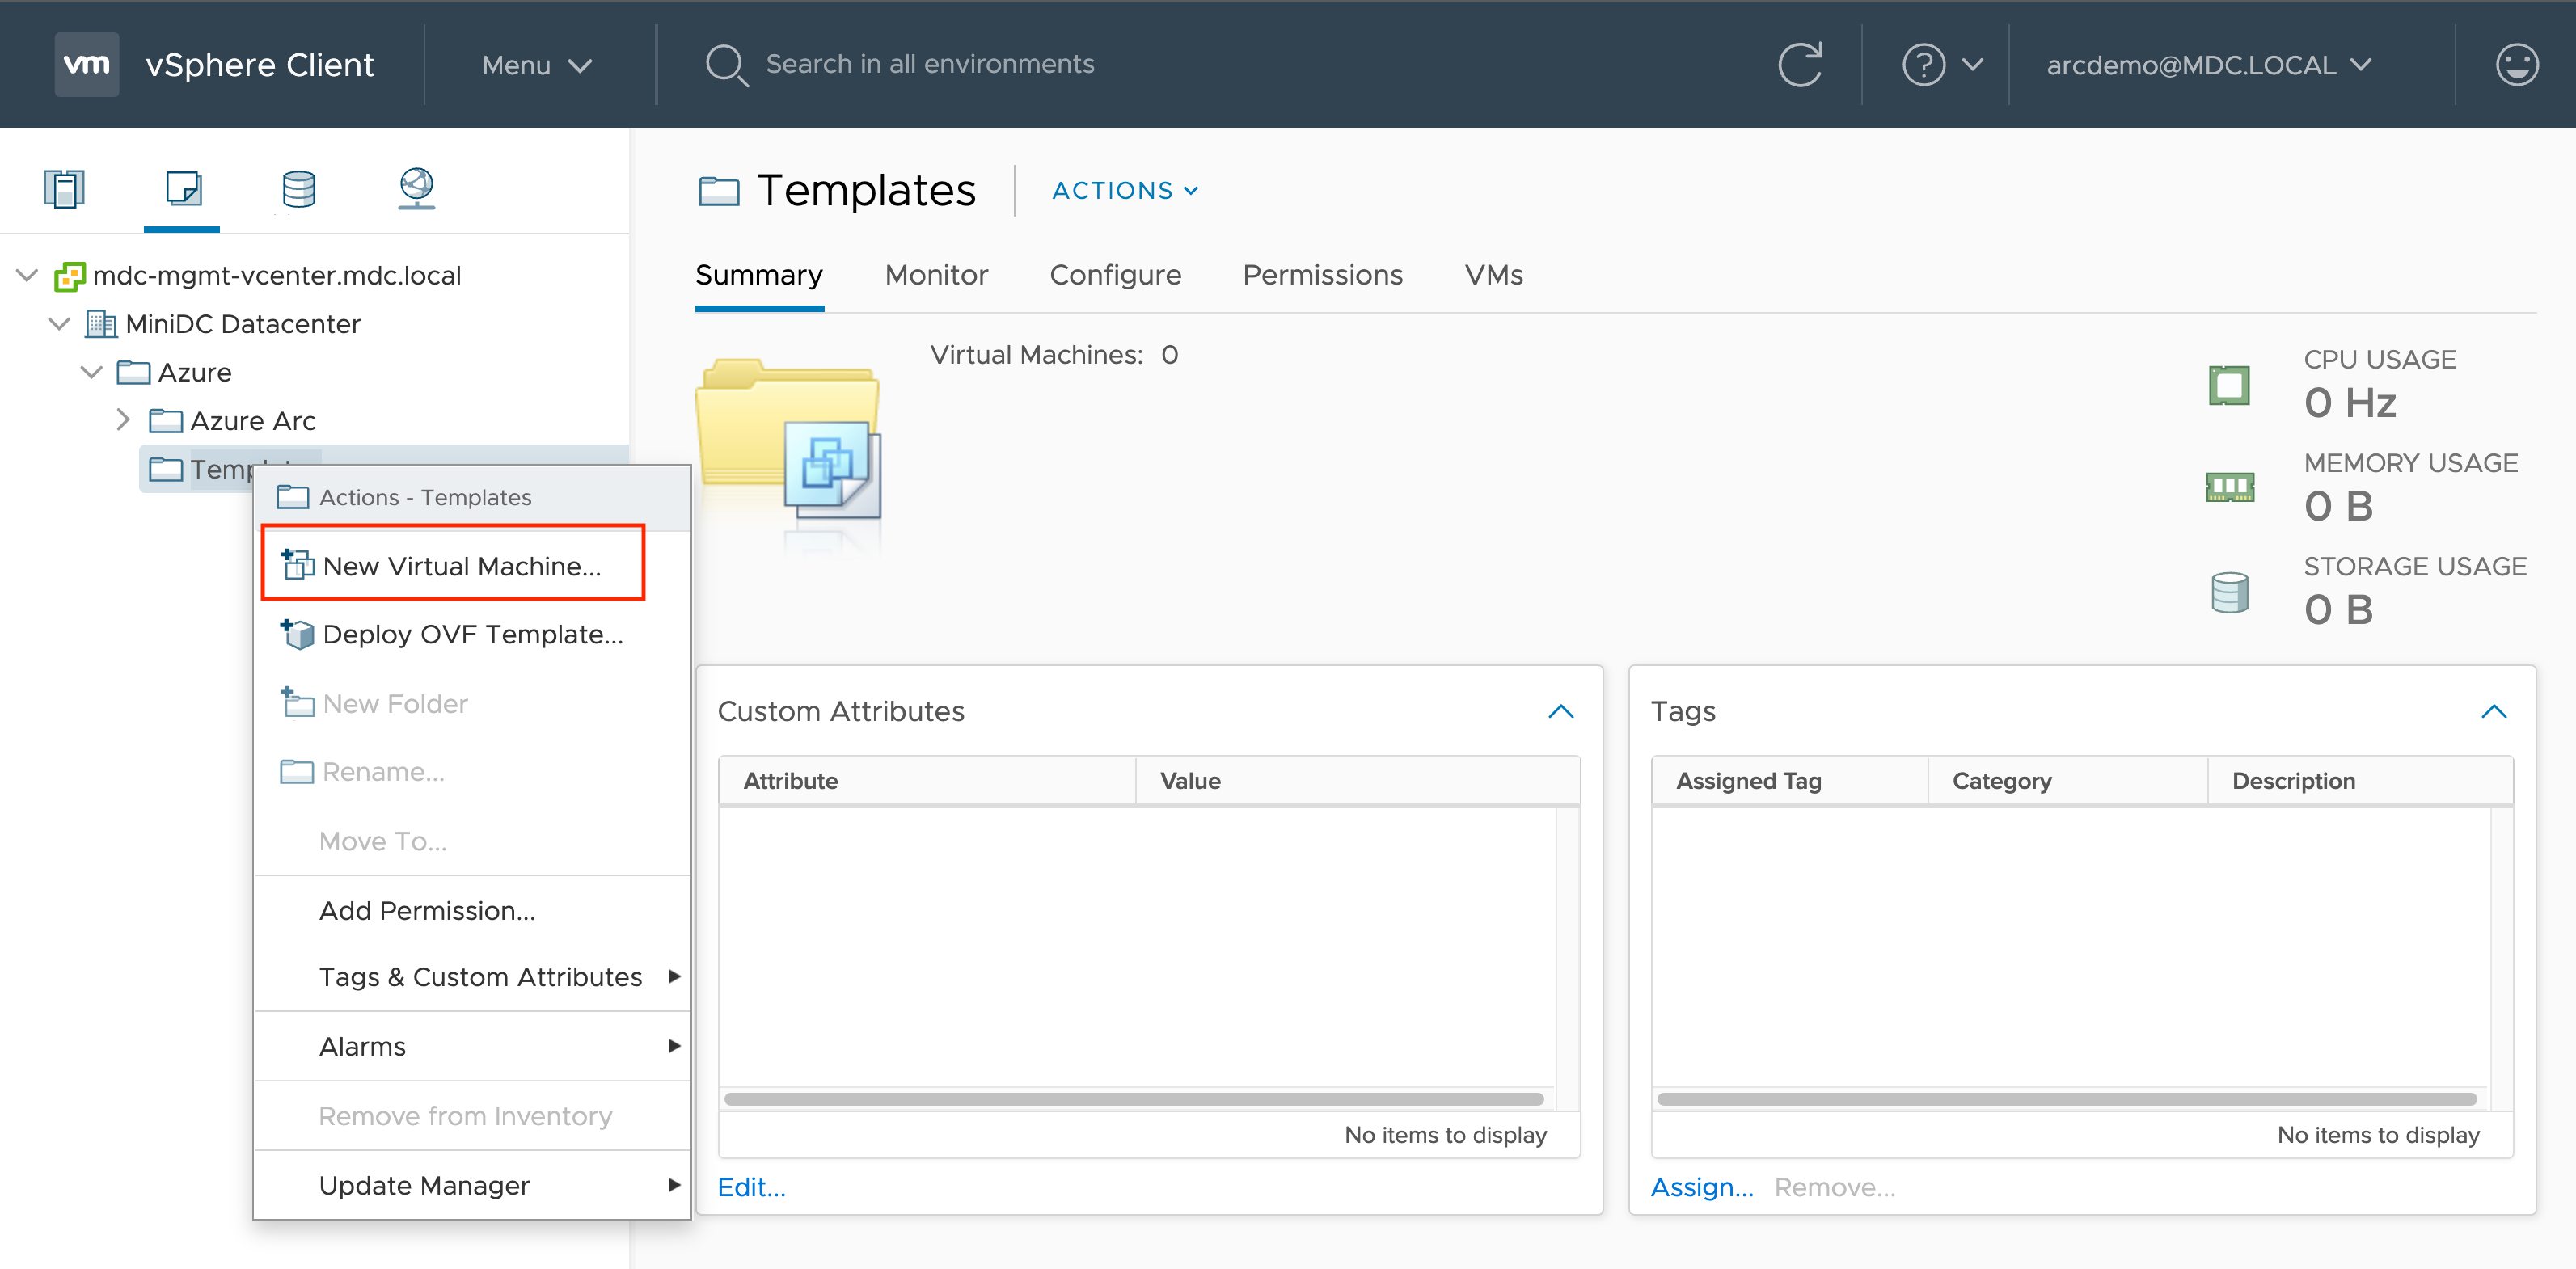
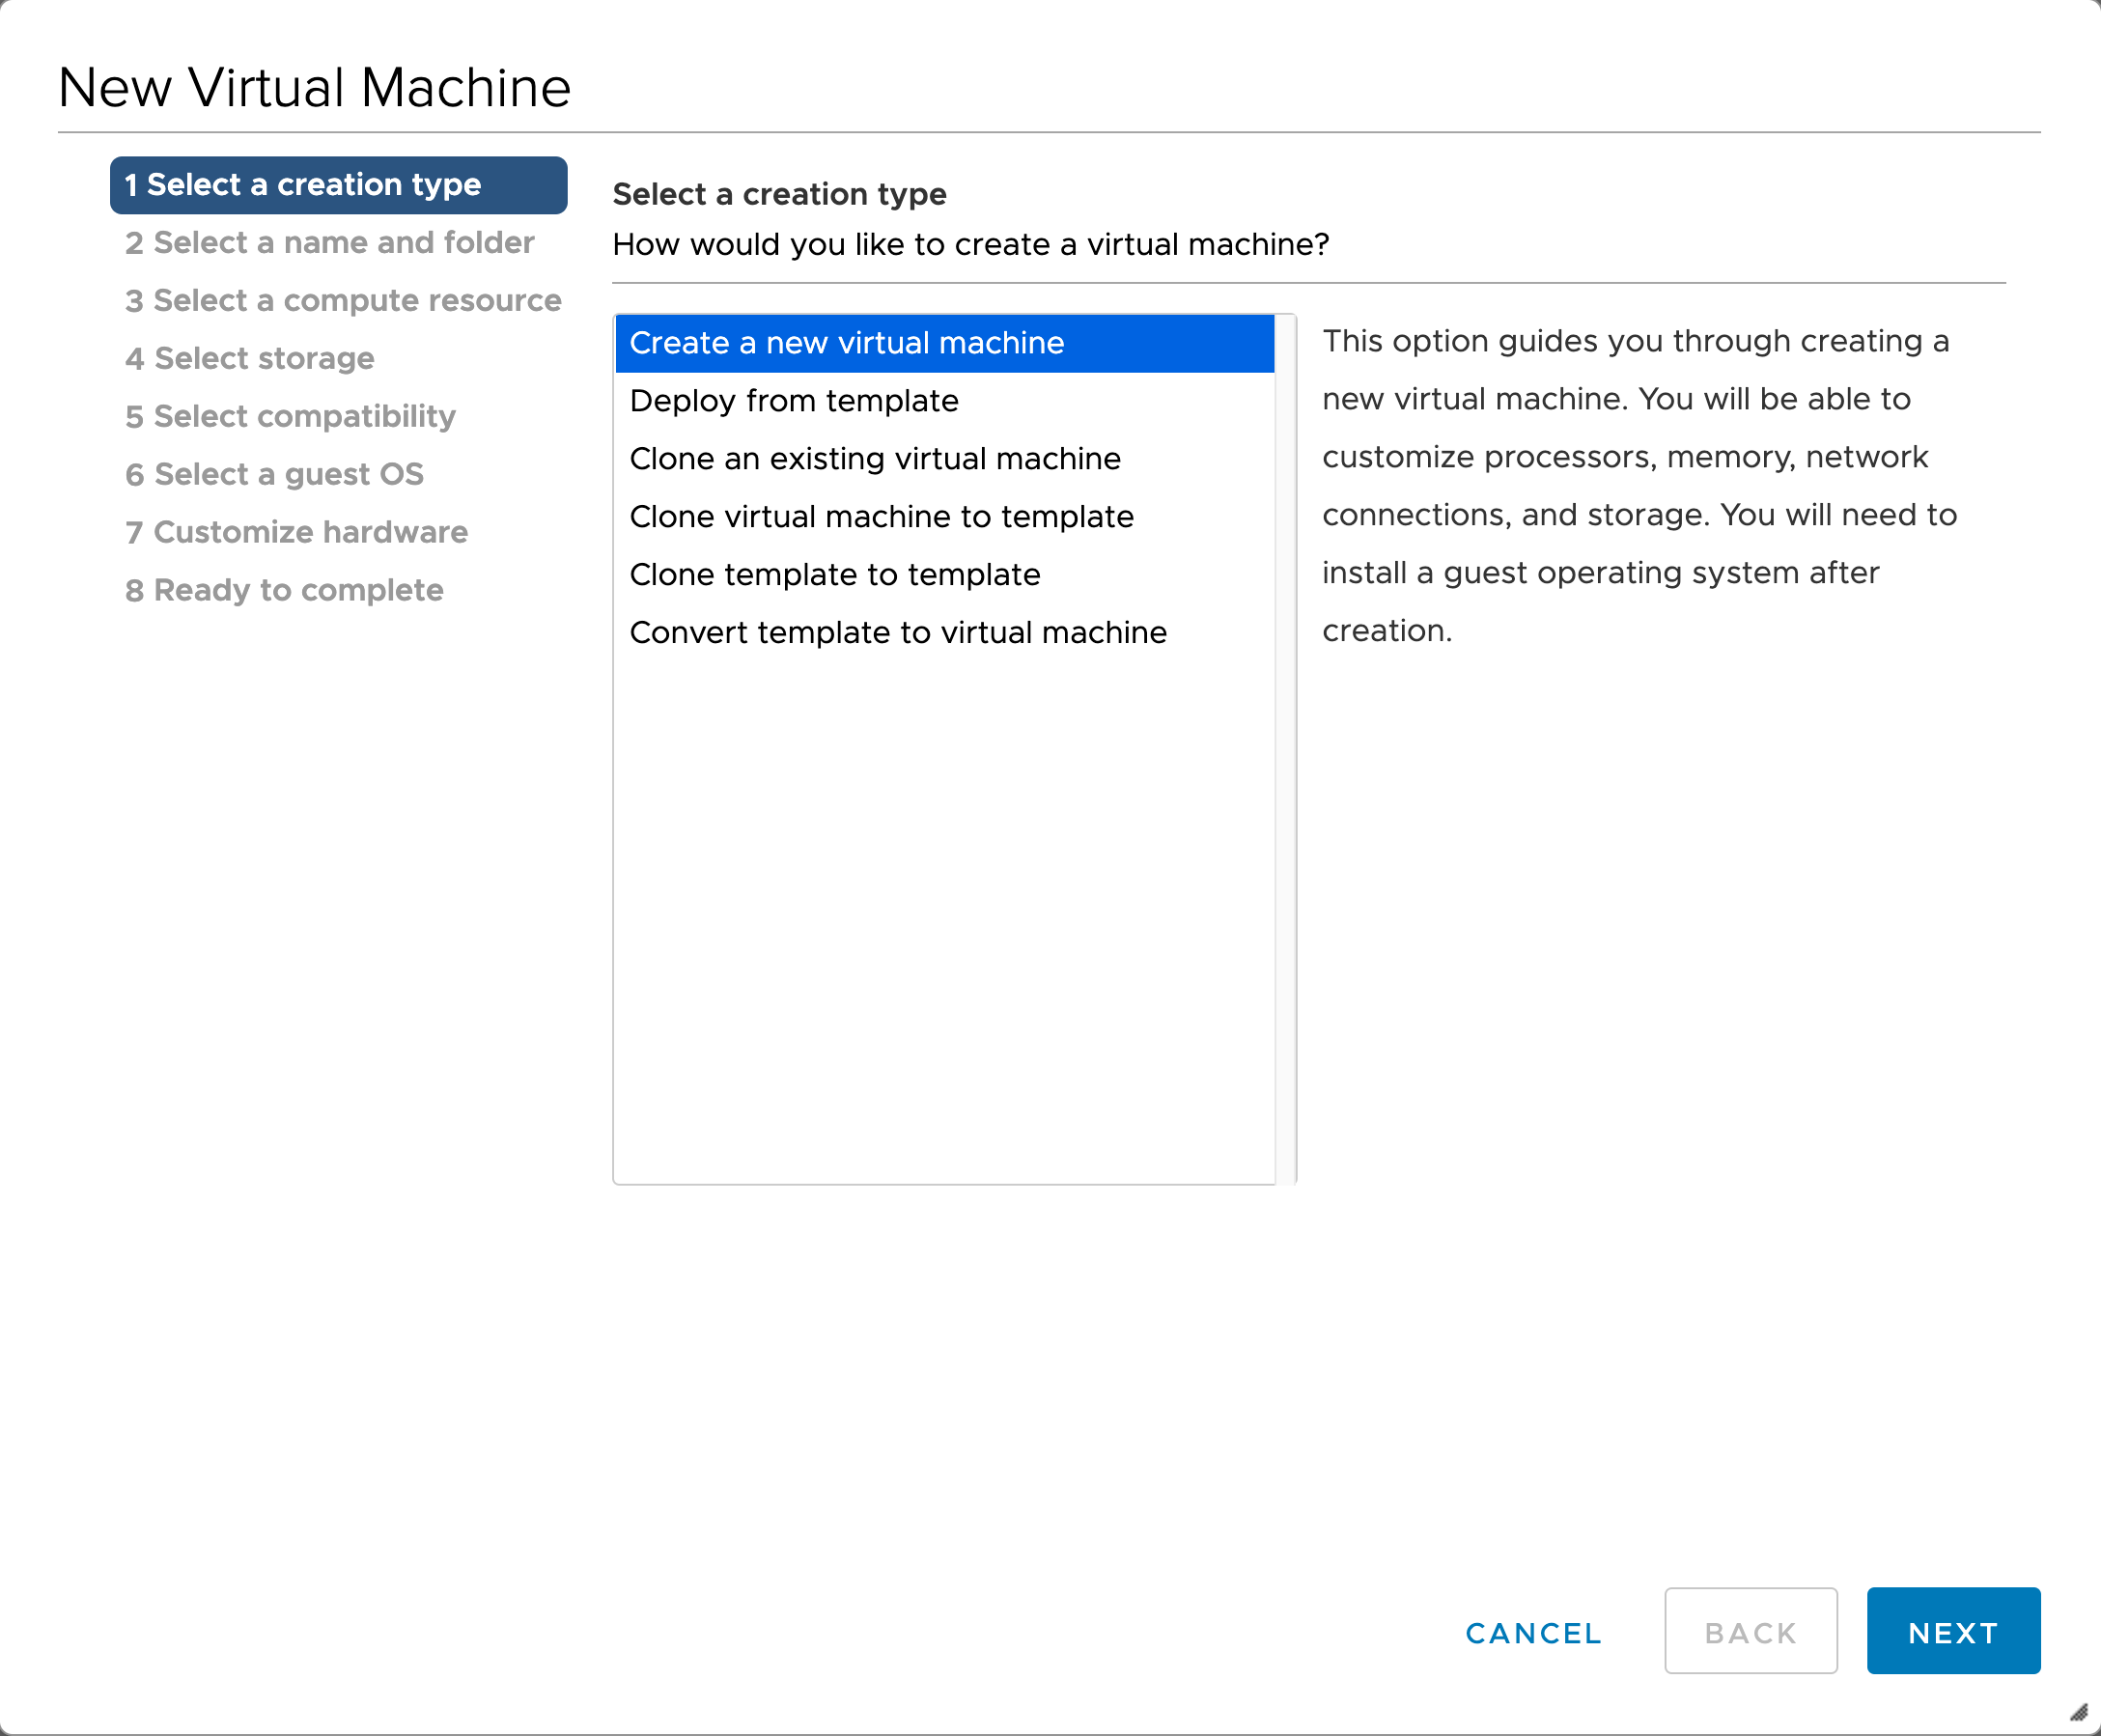
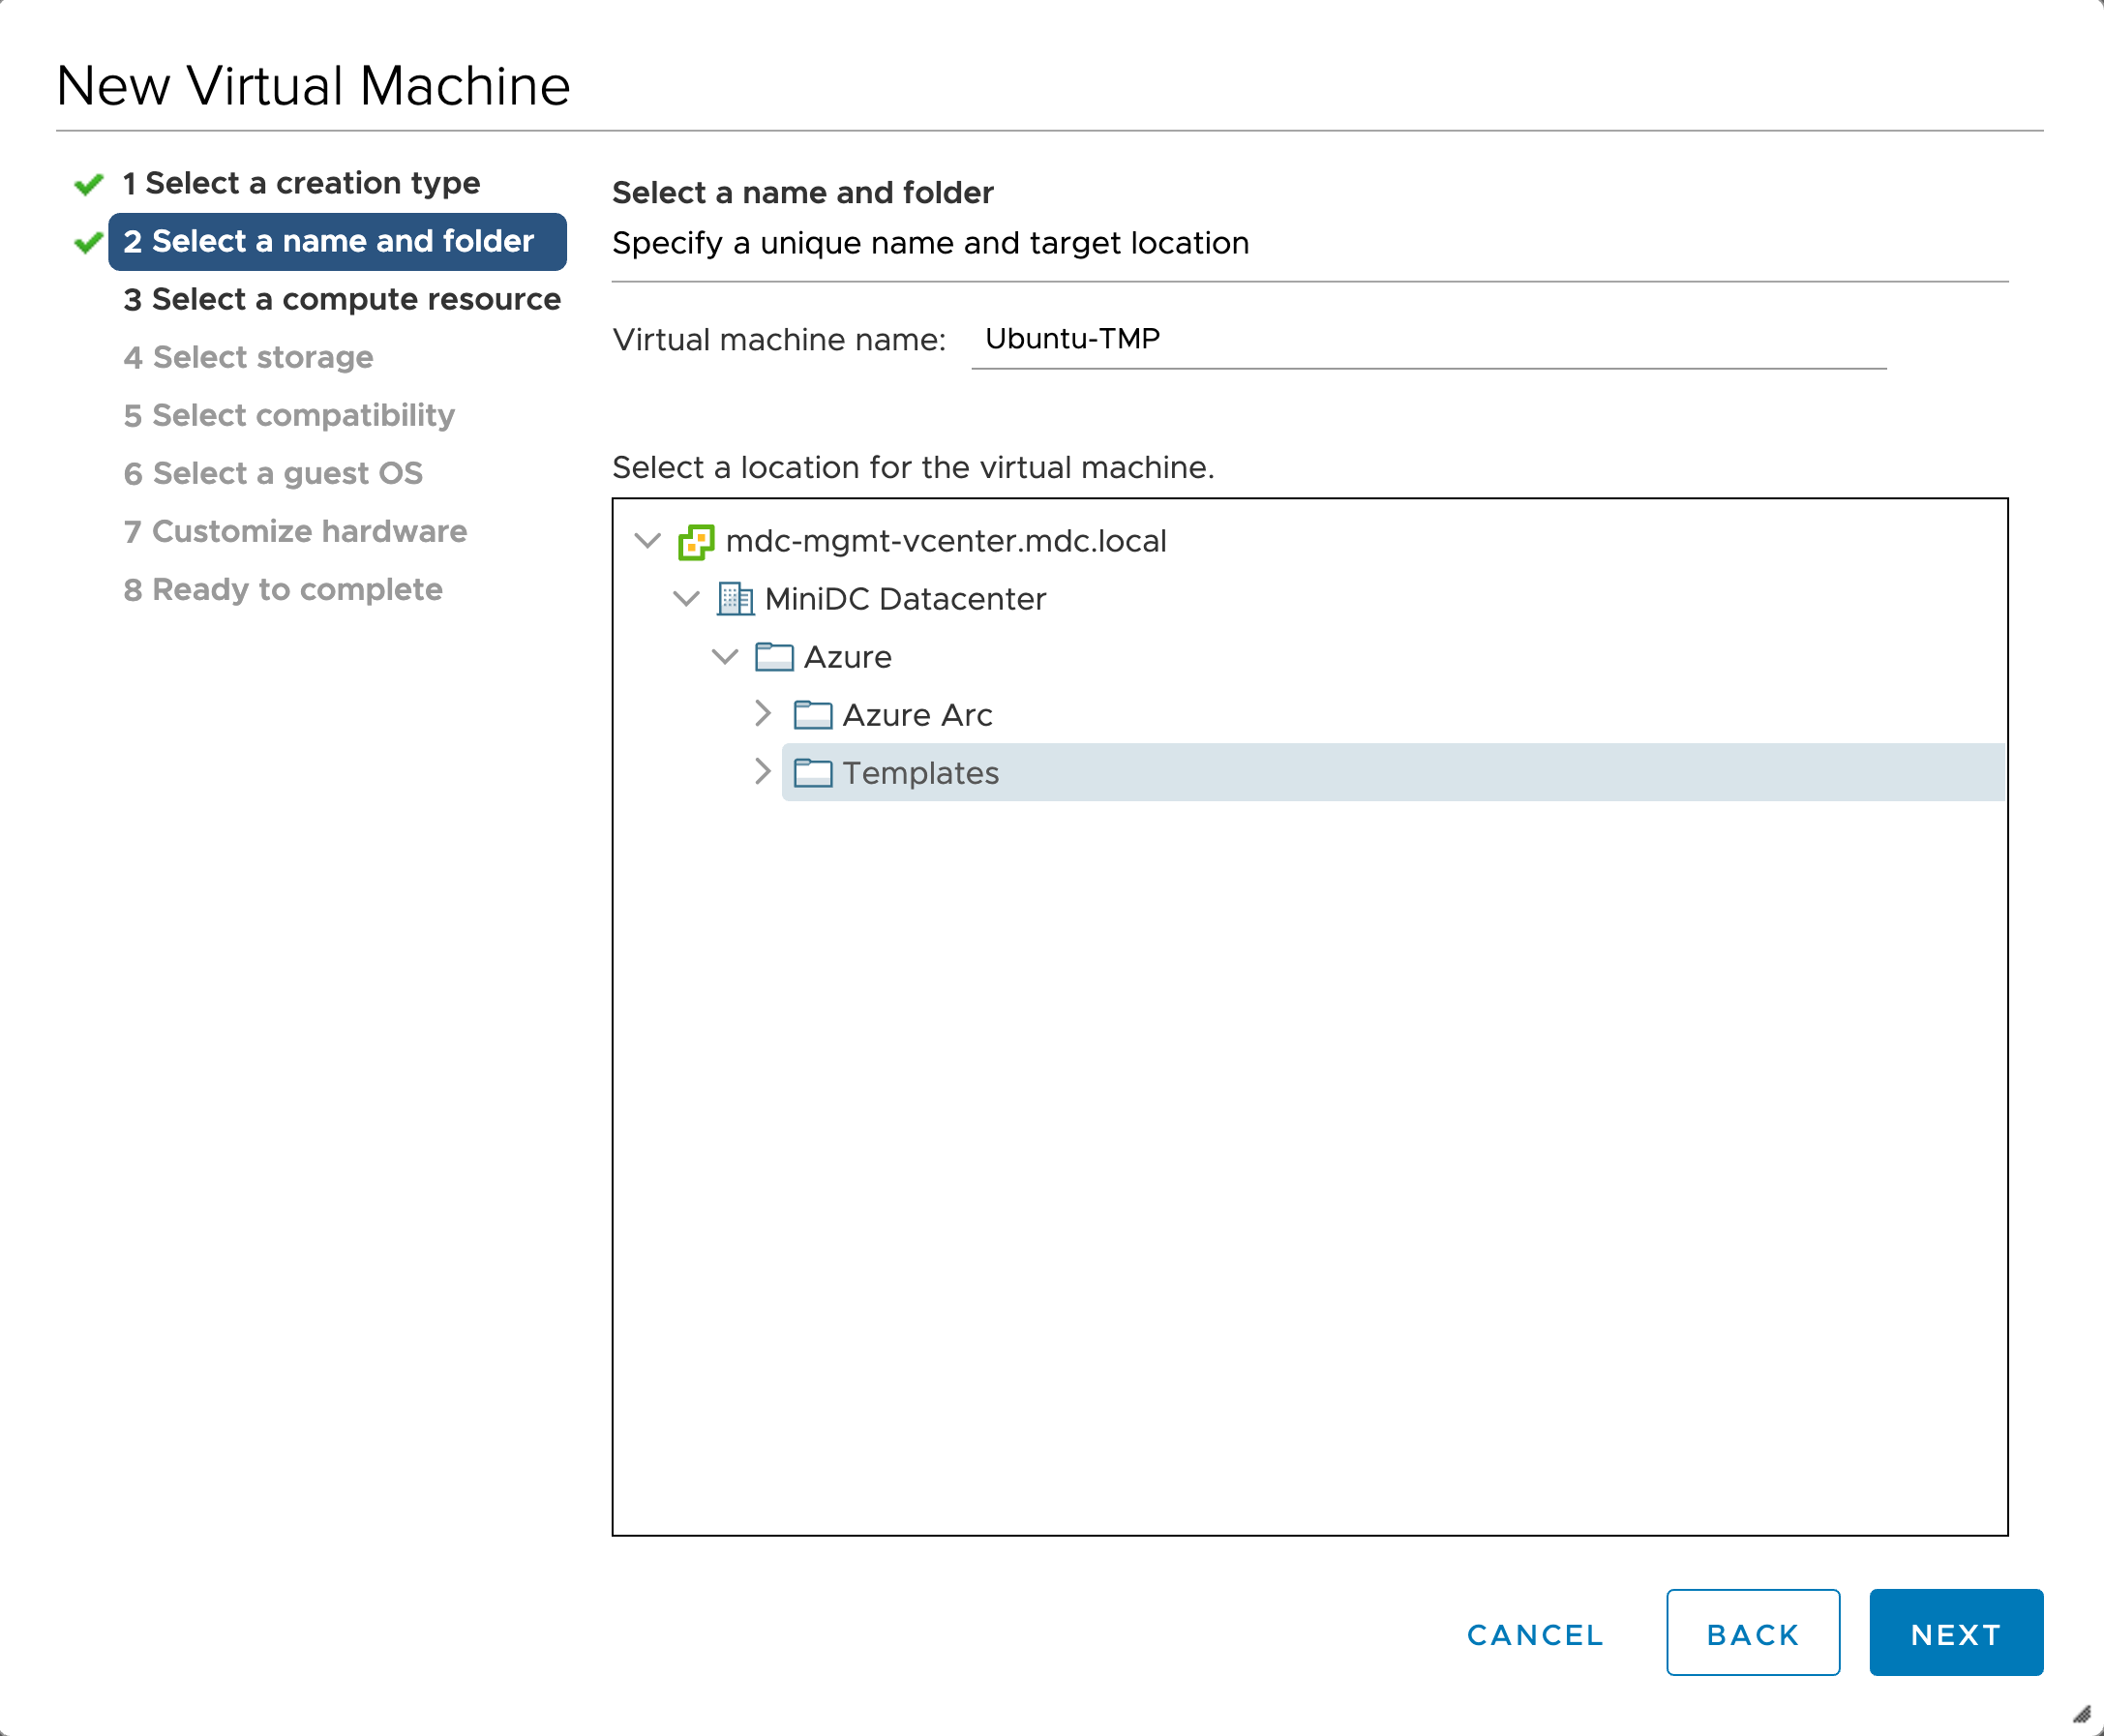
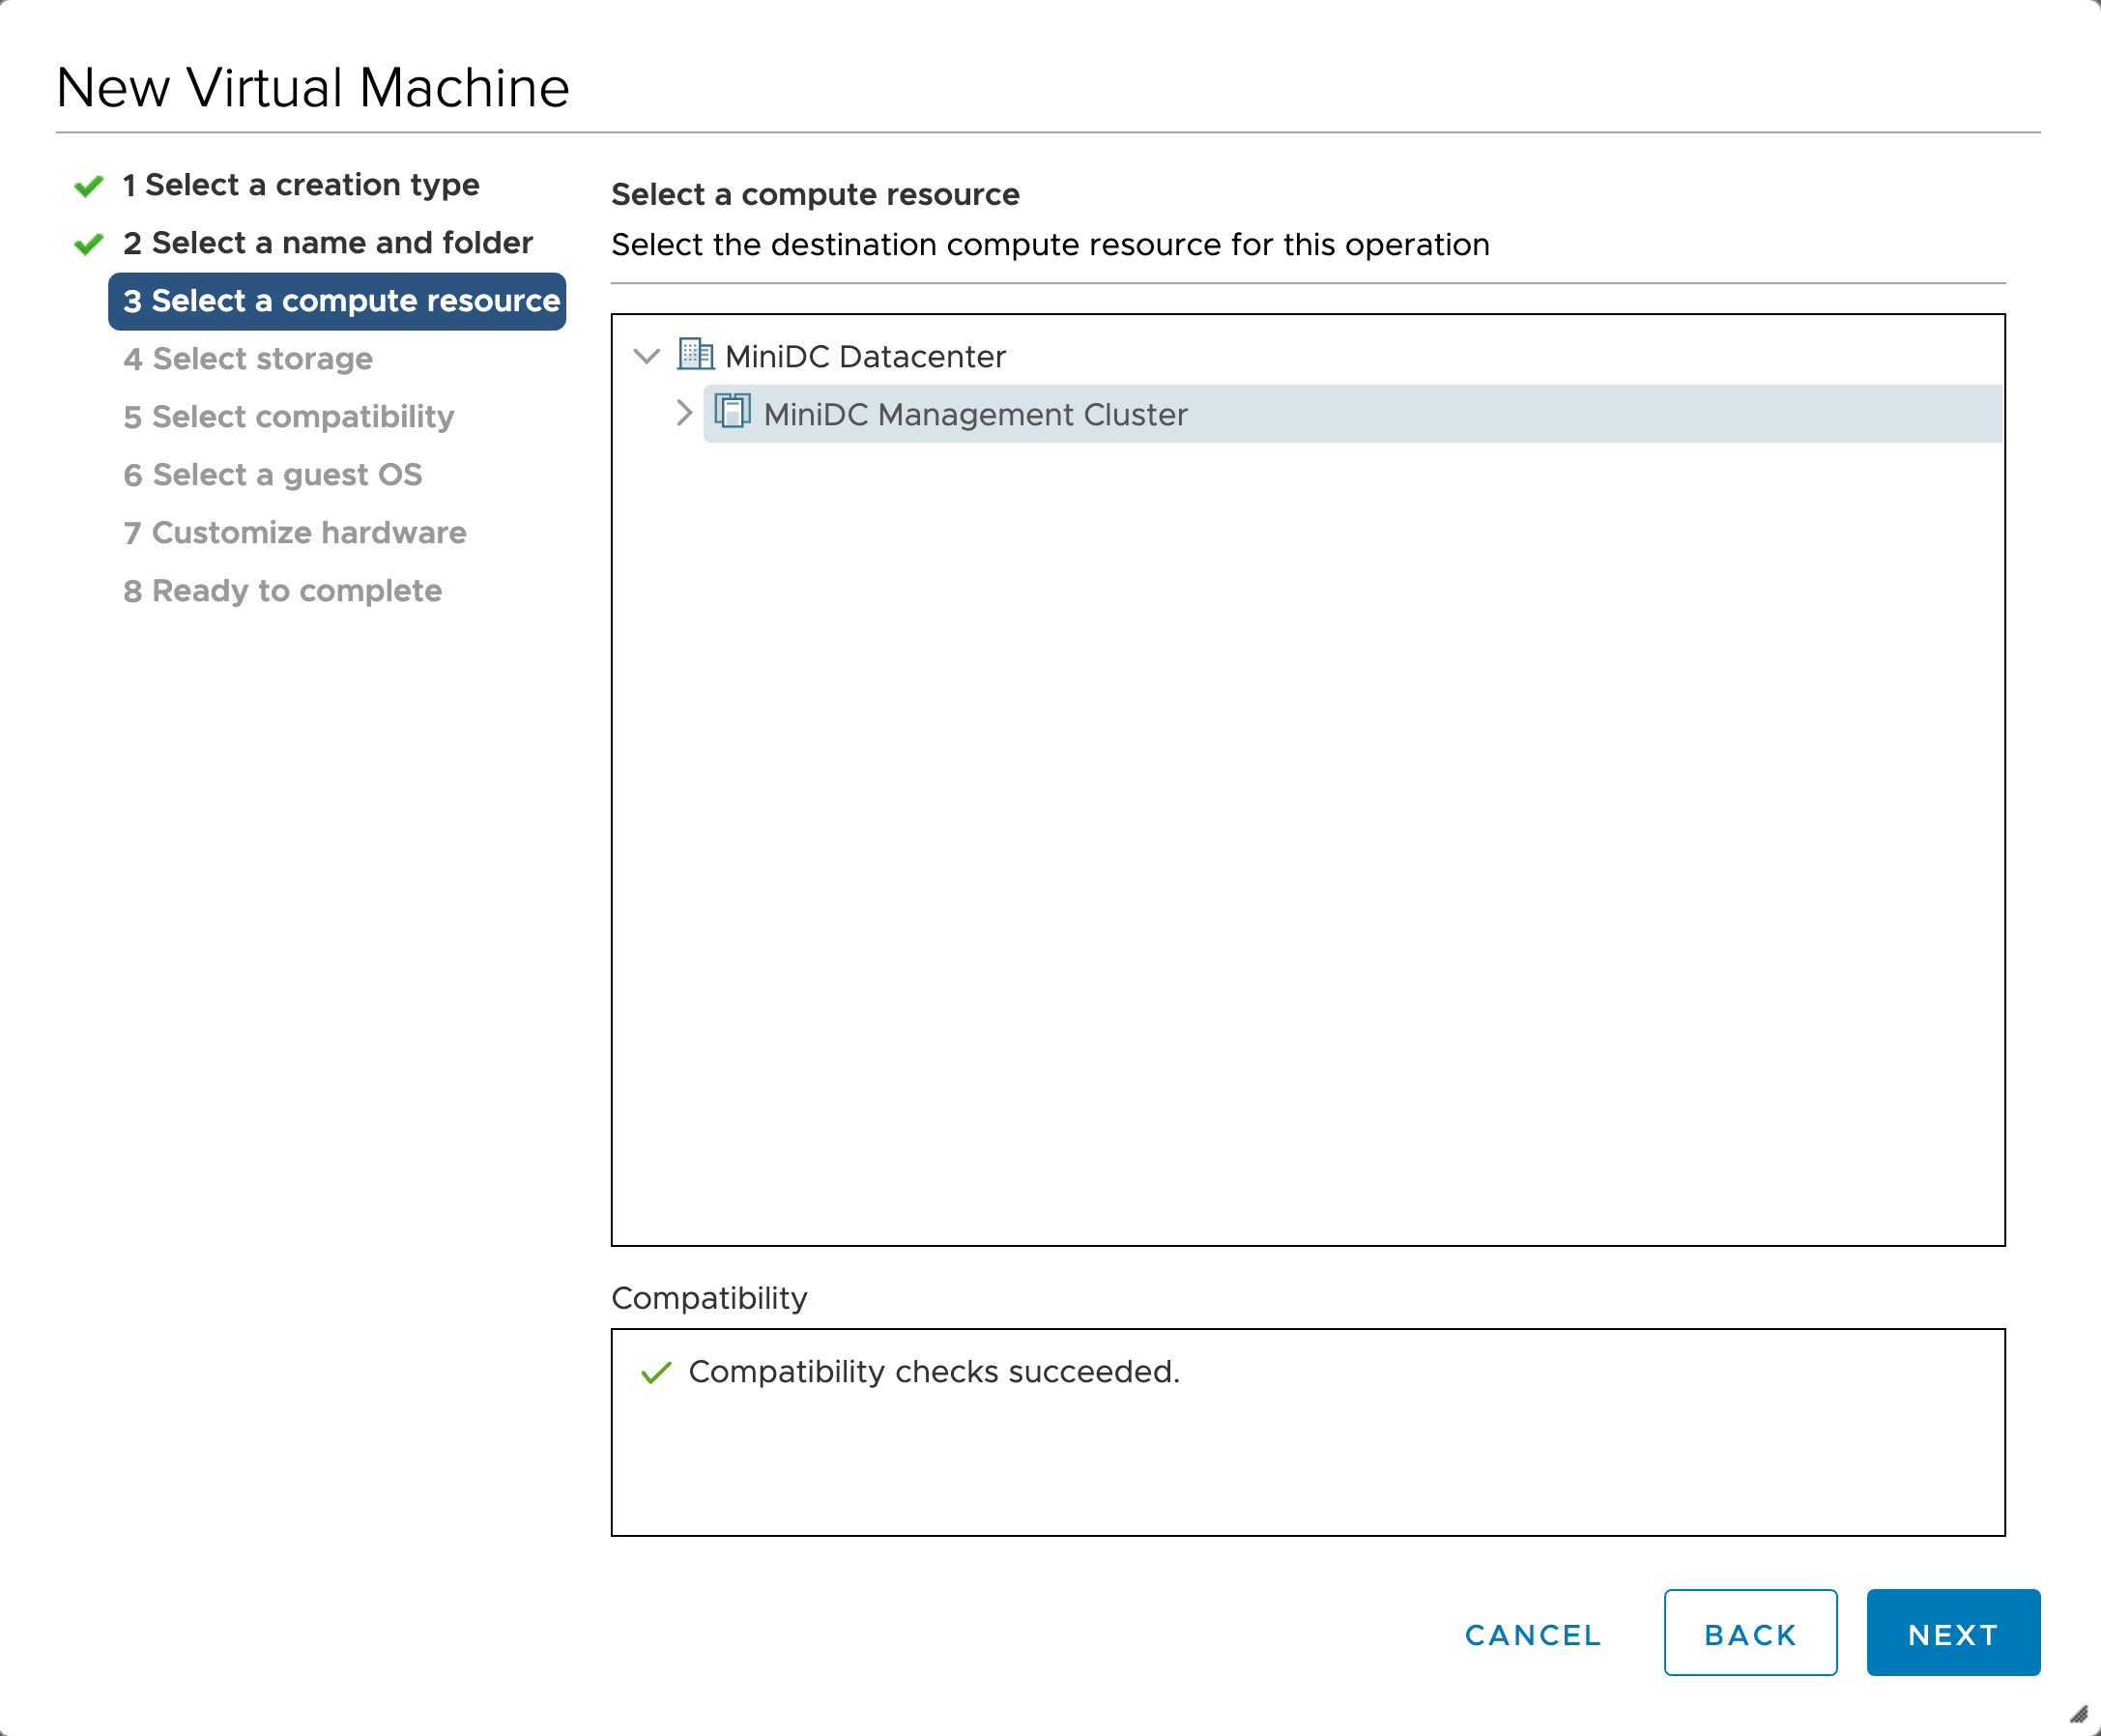
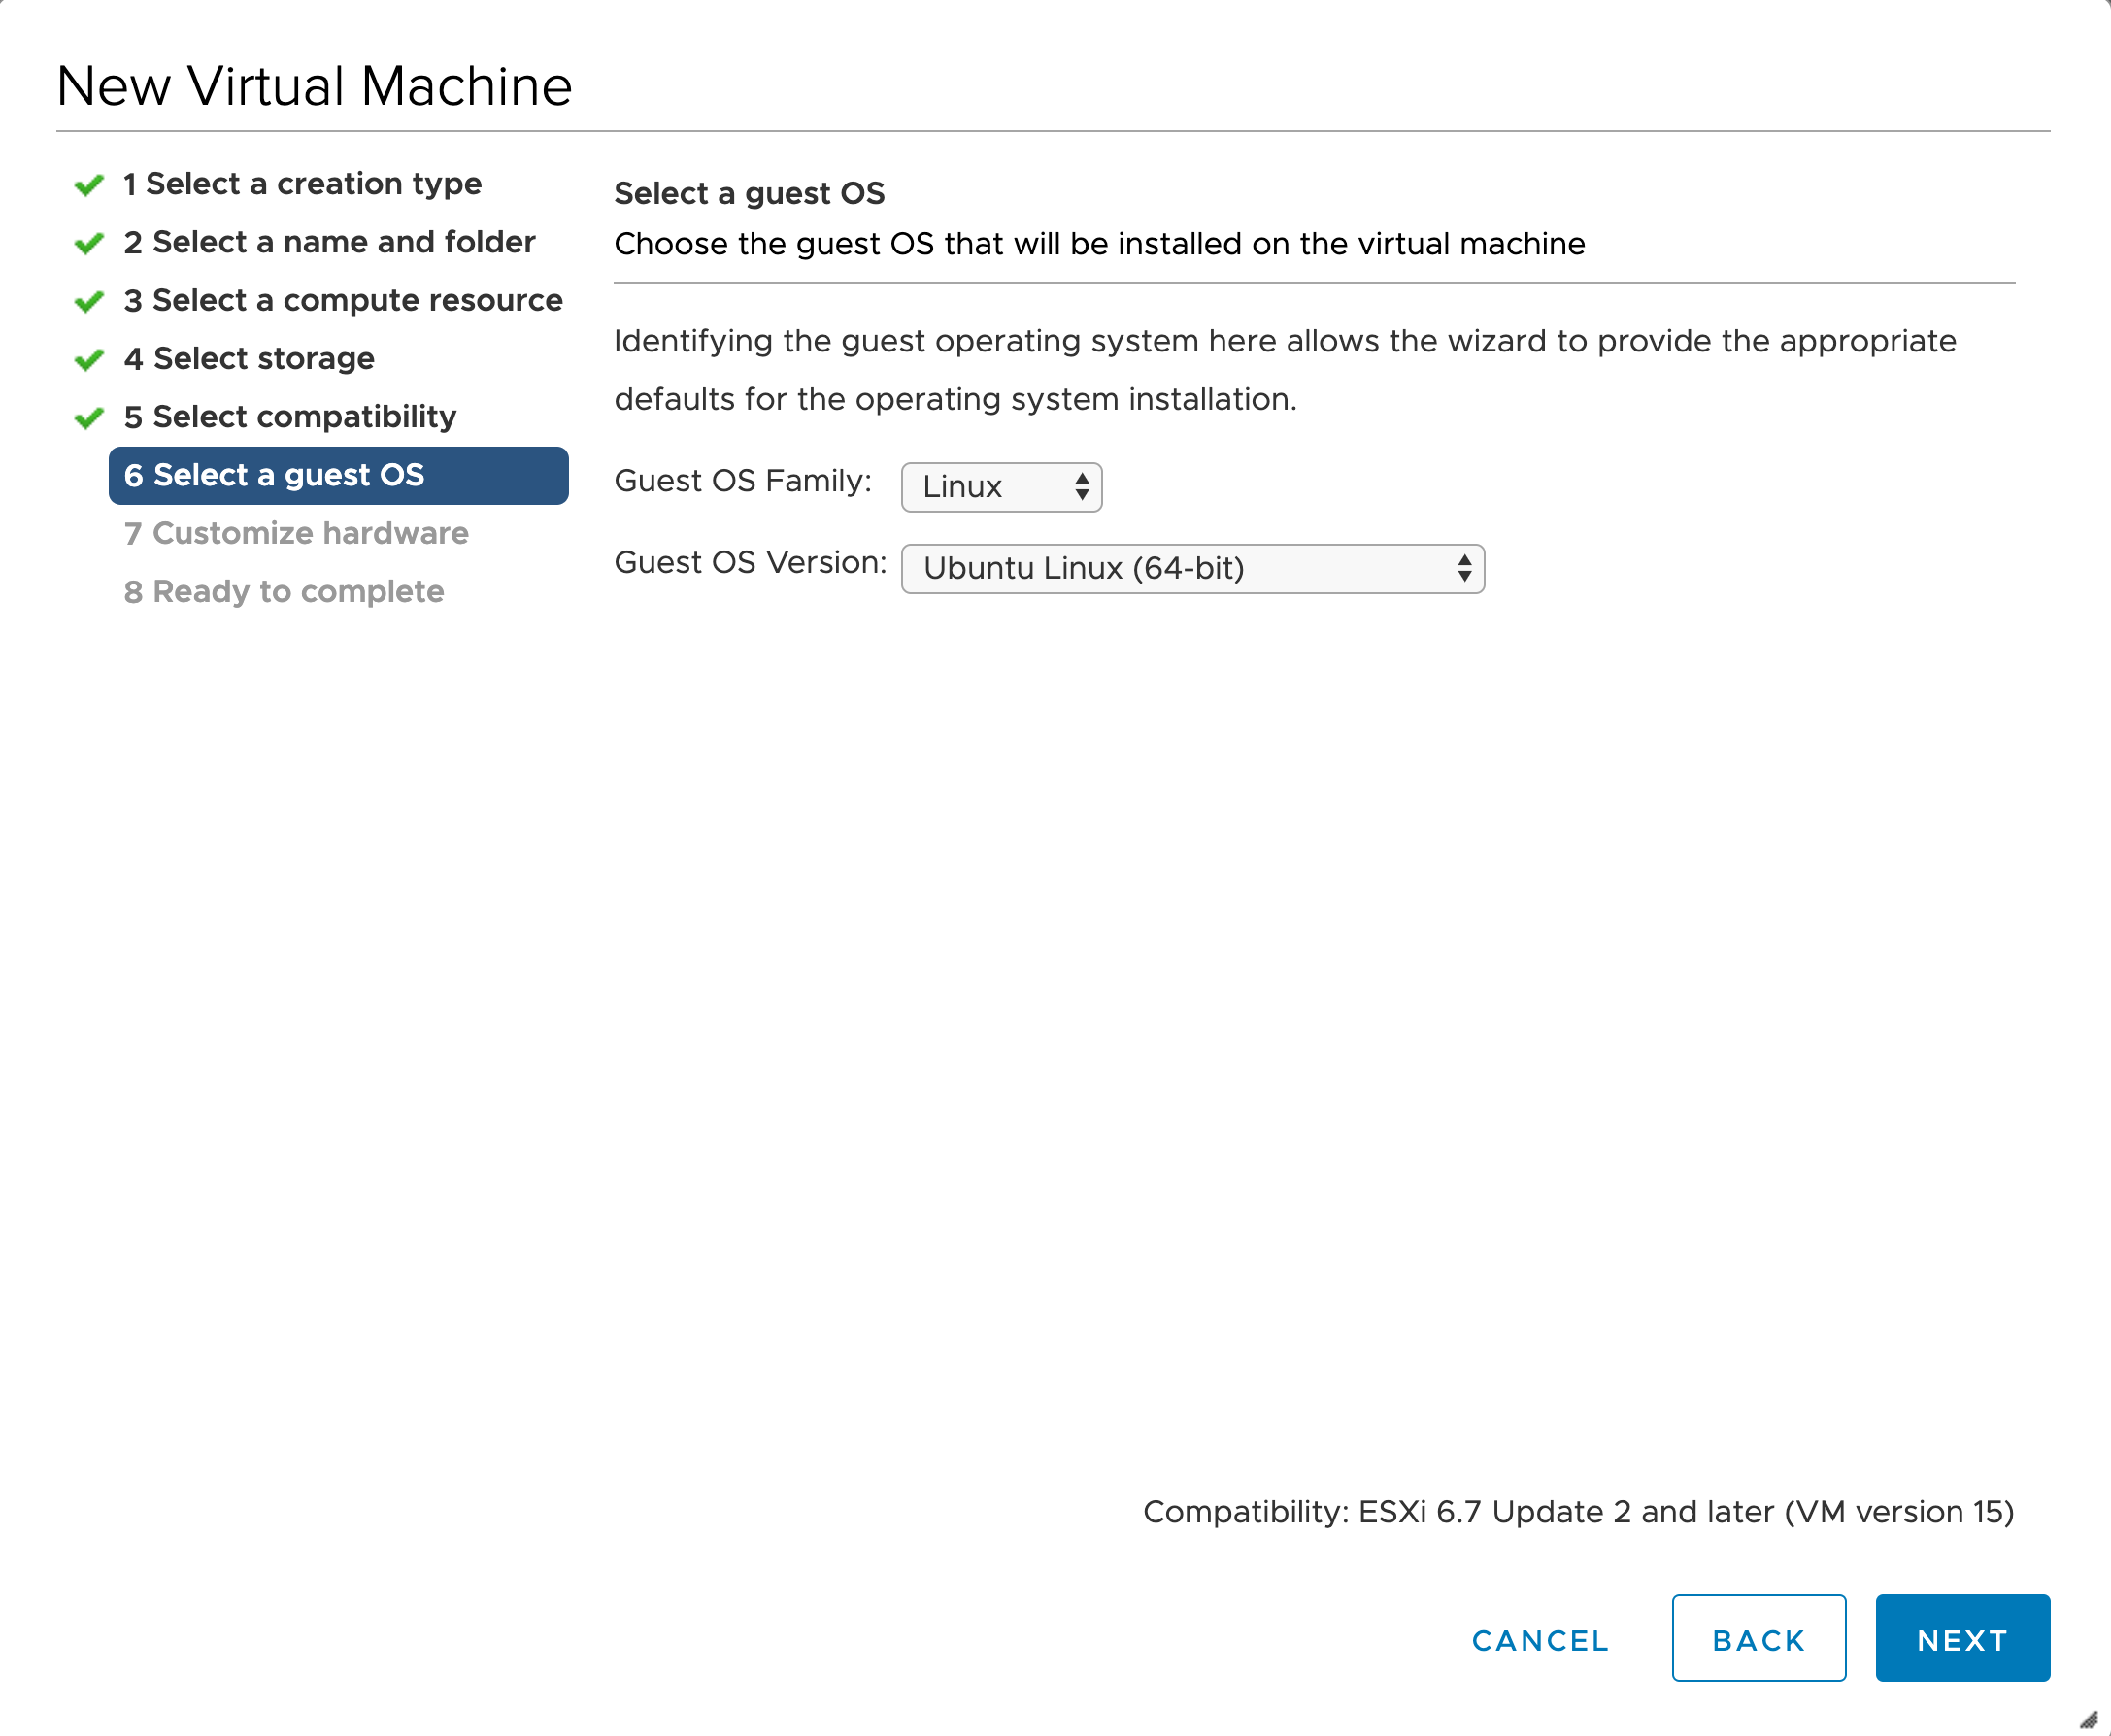
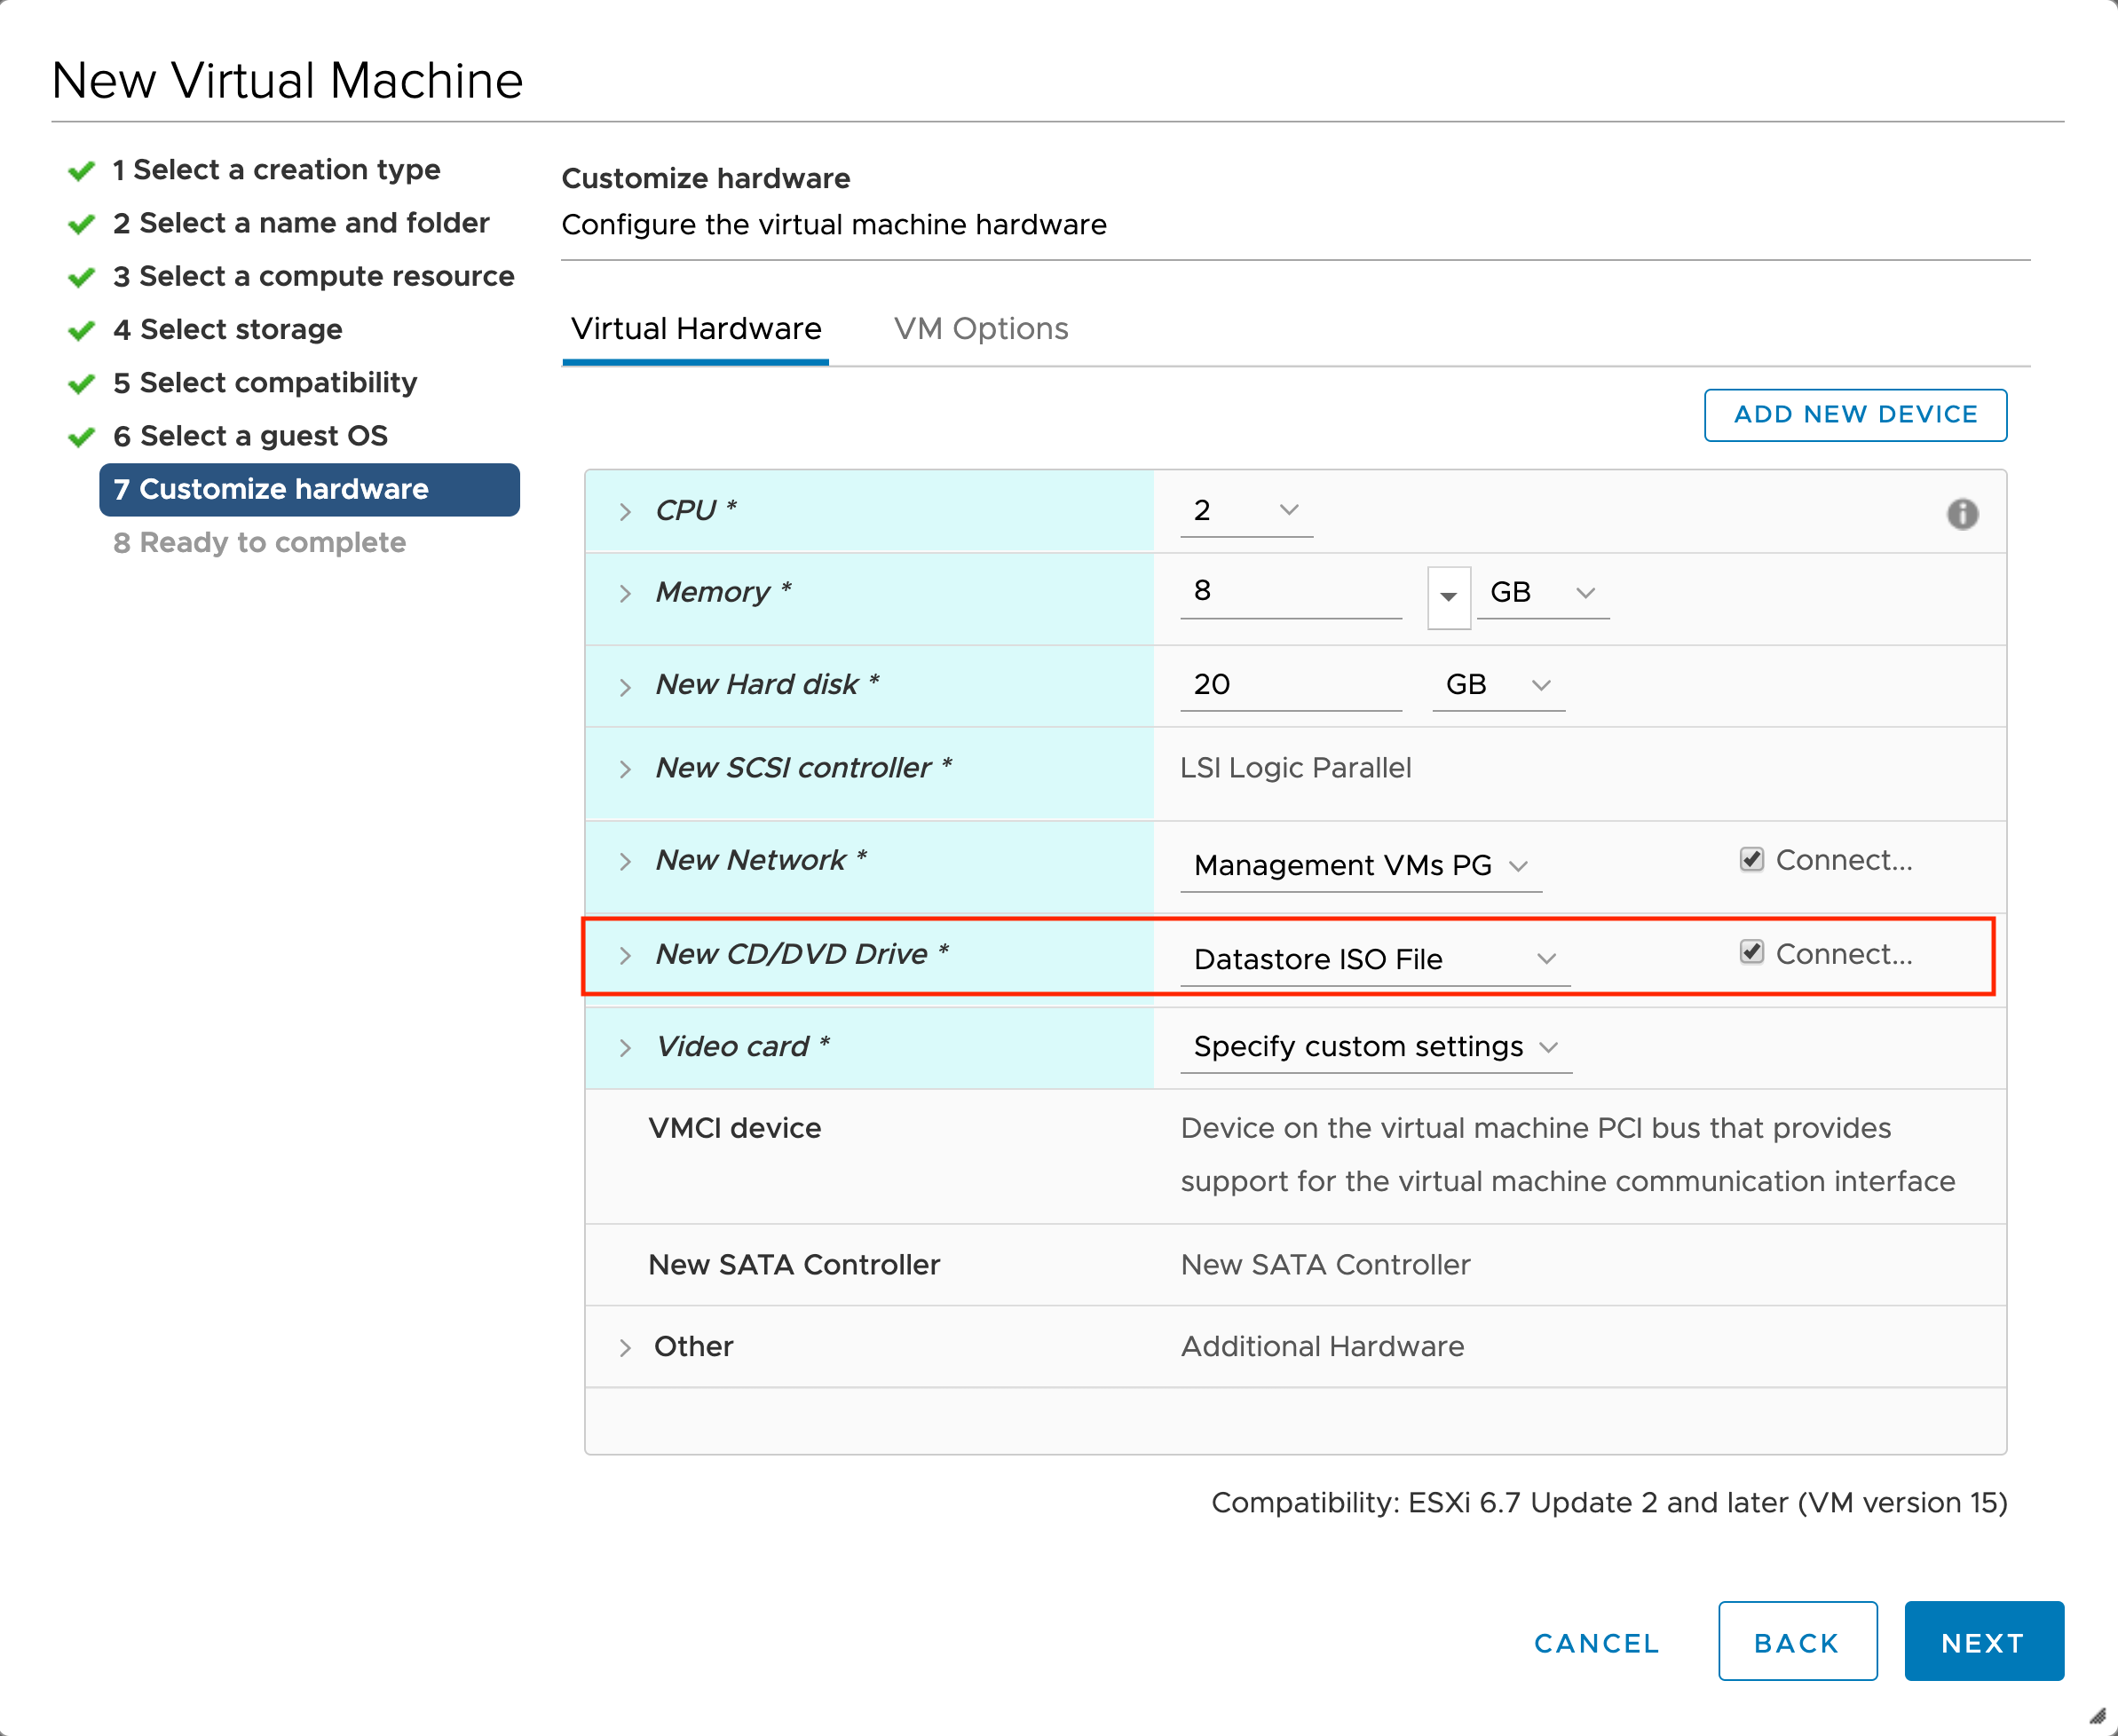
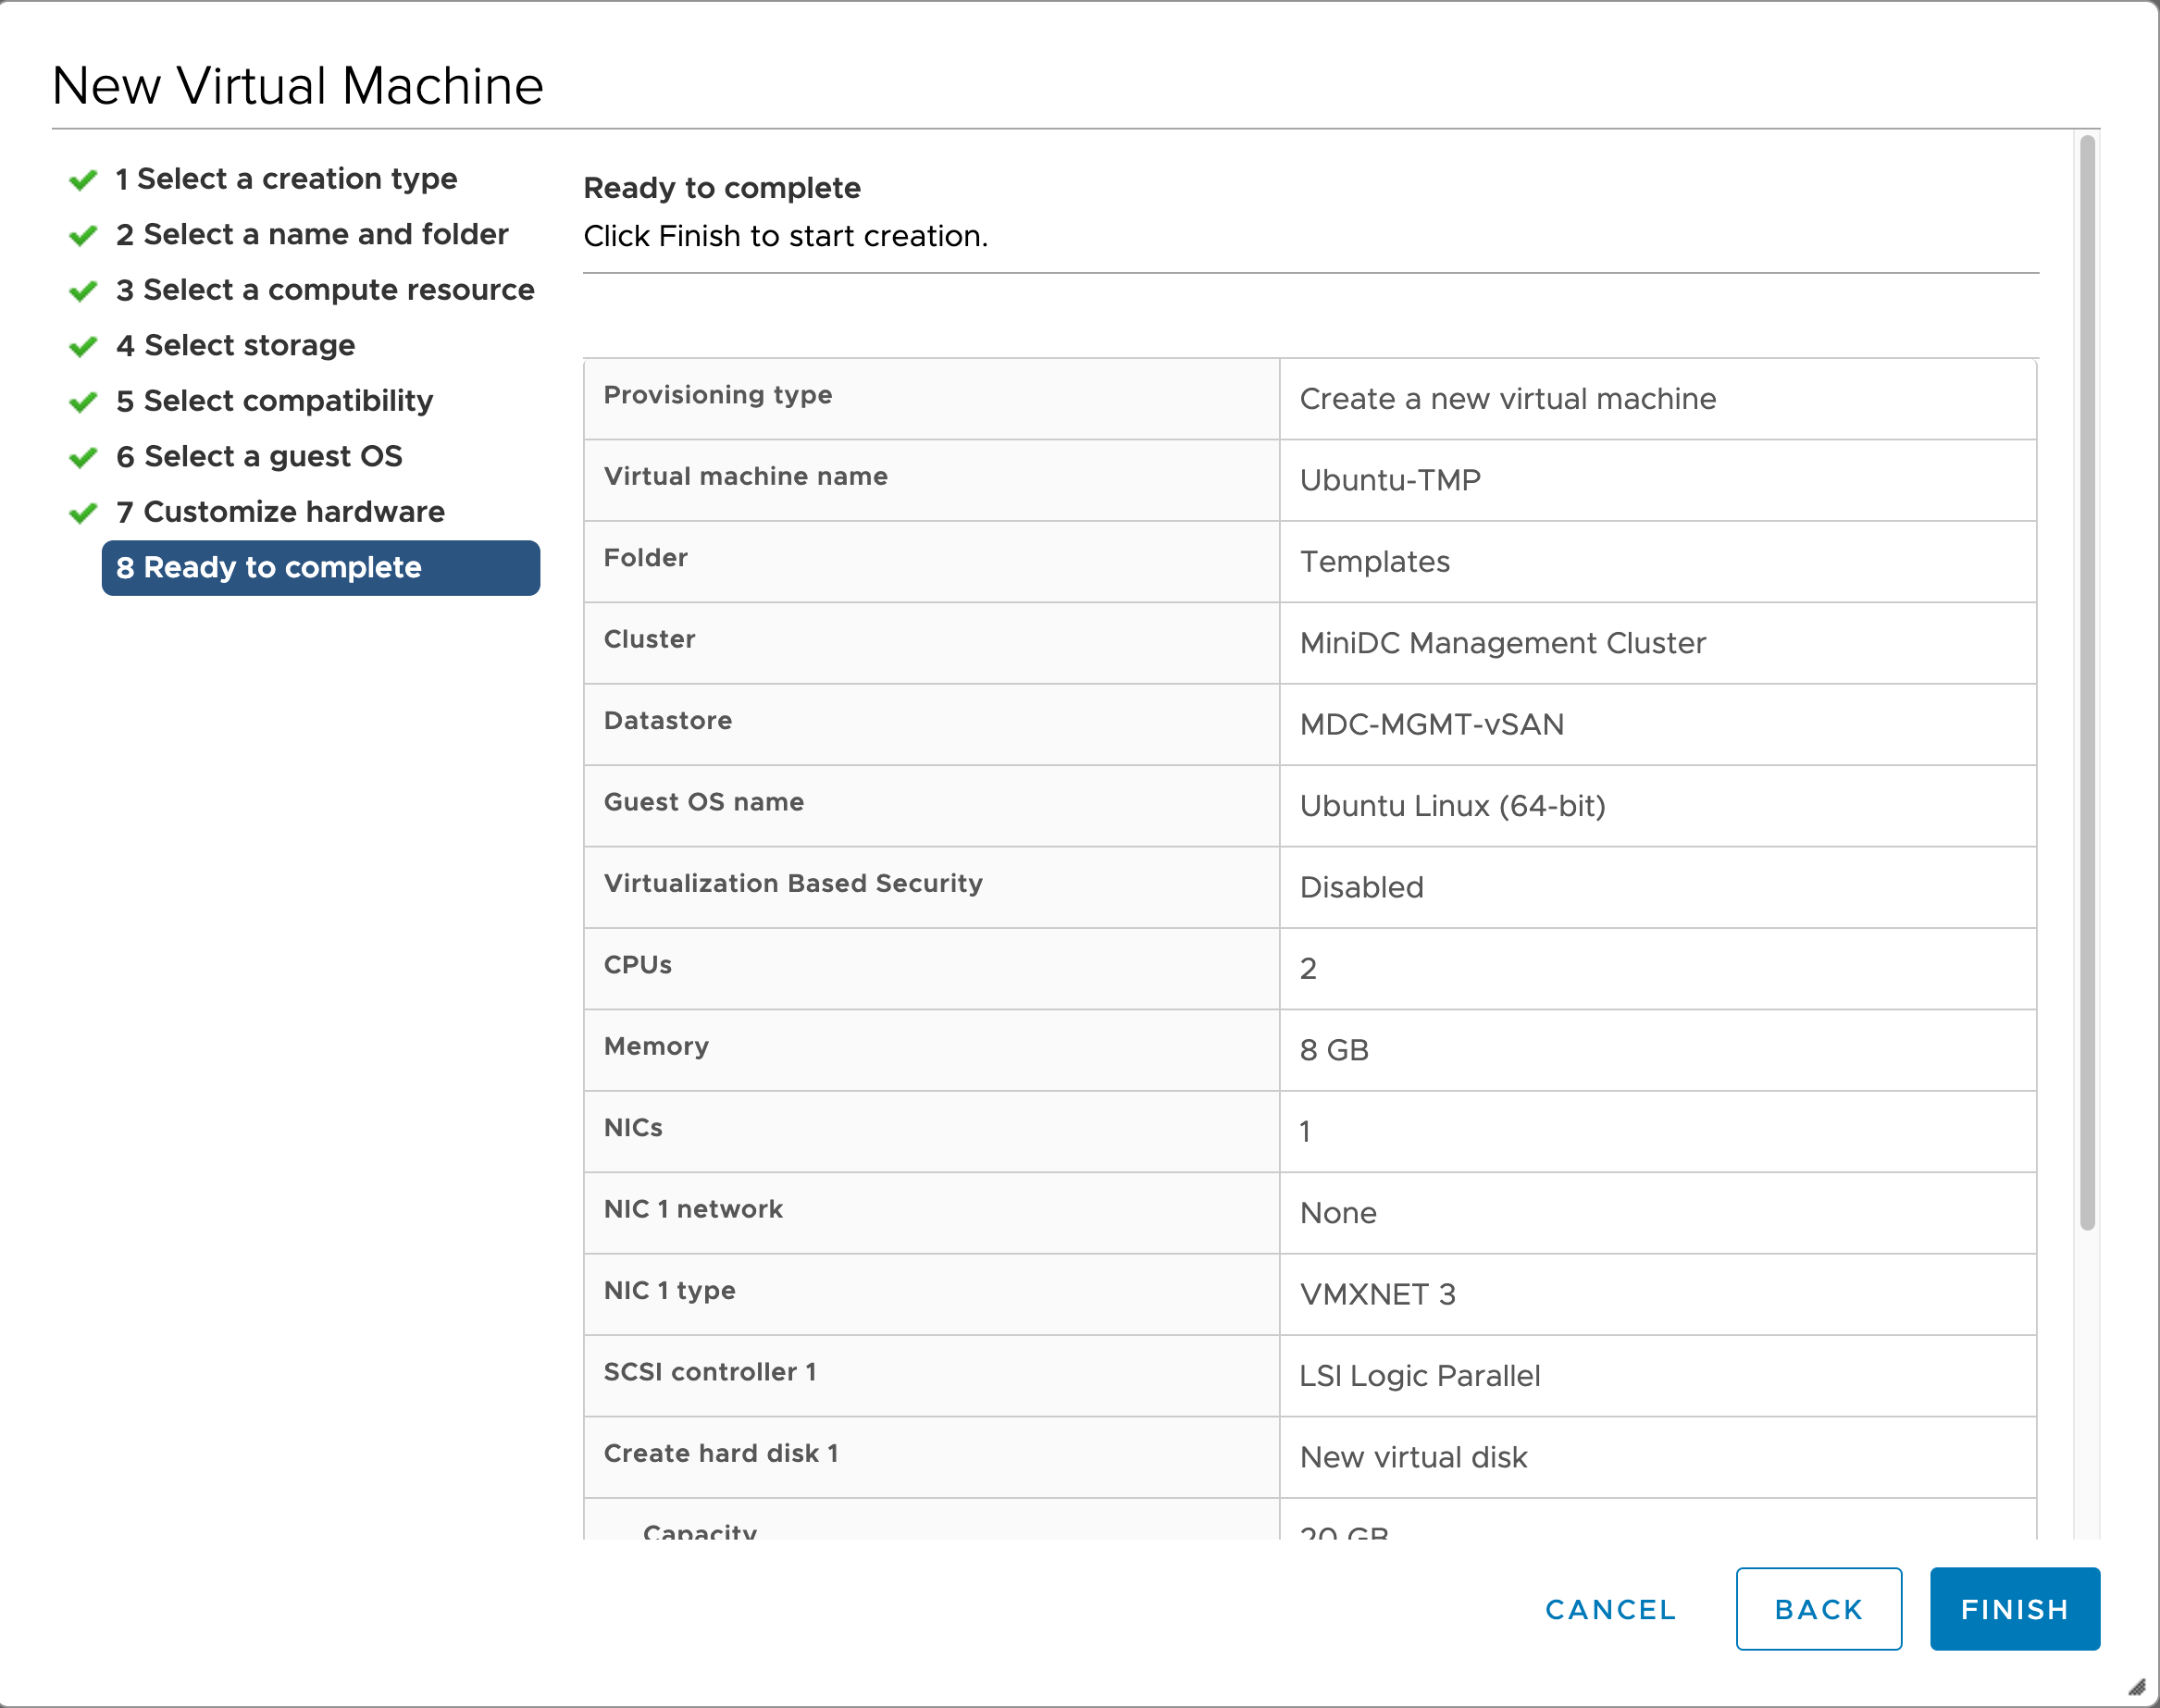
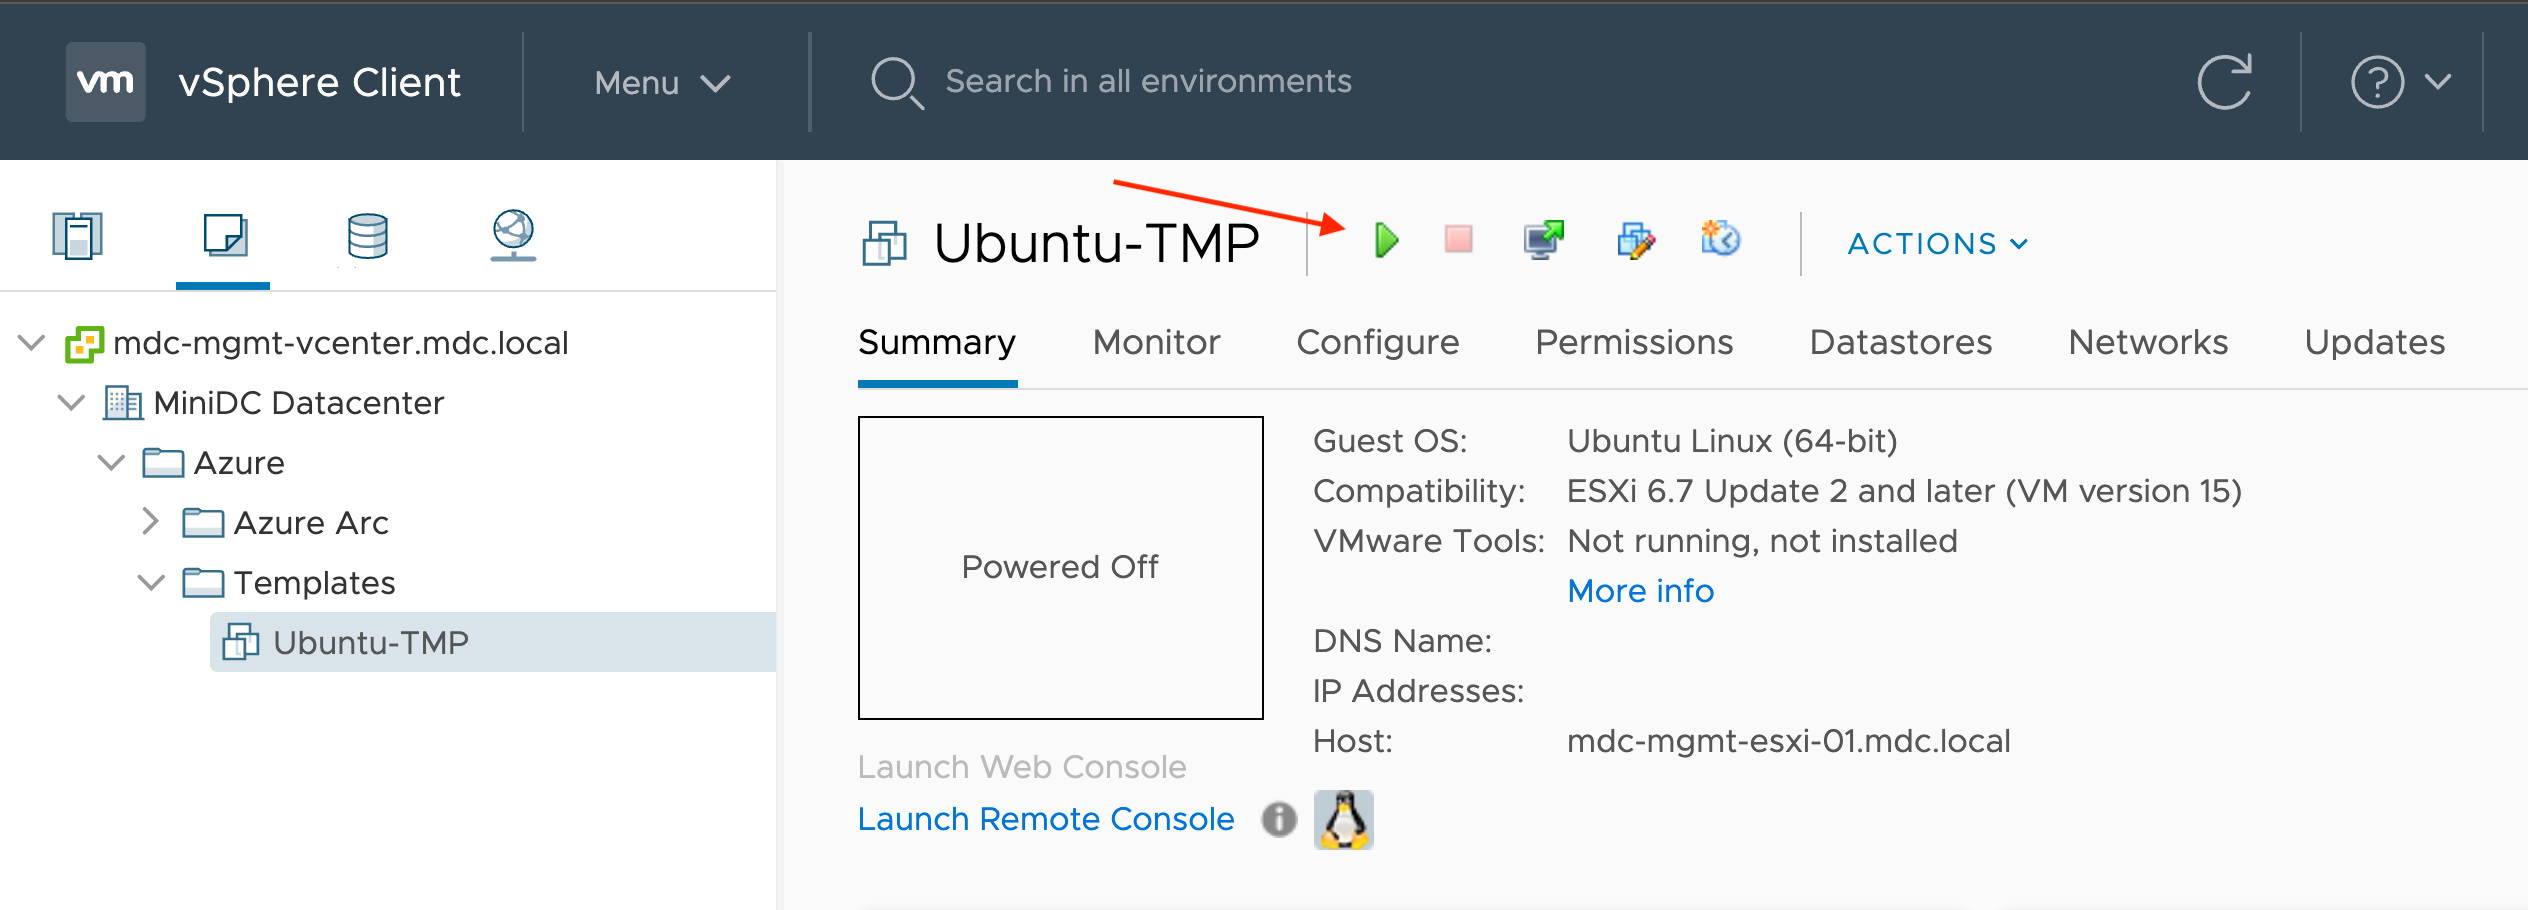
Deploy new virtual machine

Make sure to select Ubuntu Linux (64-bit) as the guest OS.
Point to the Ubuntu server ISO file location.
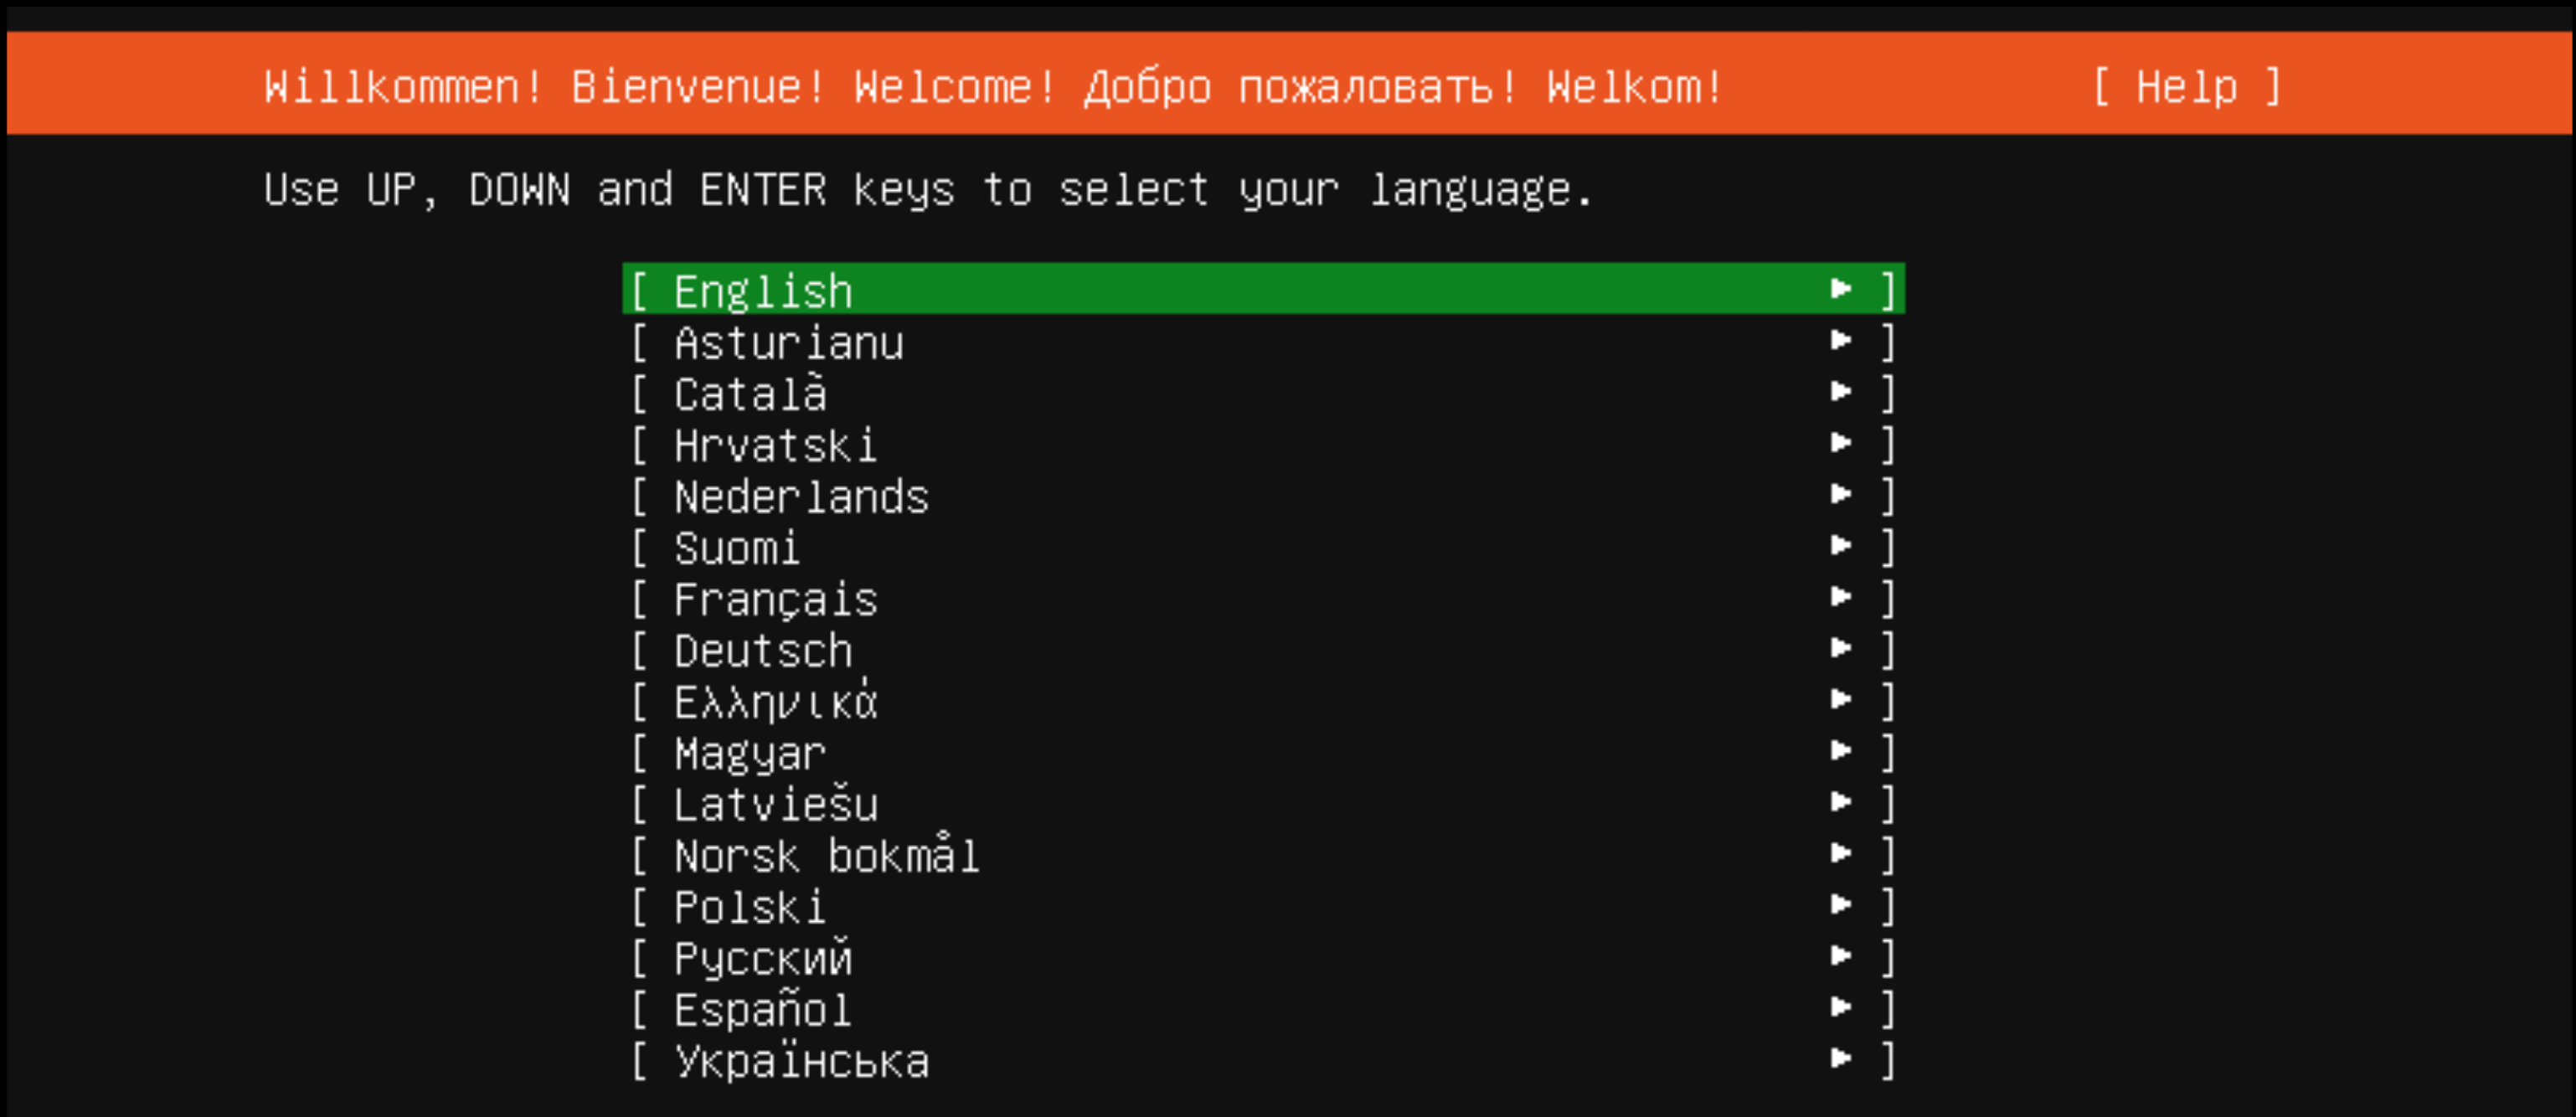
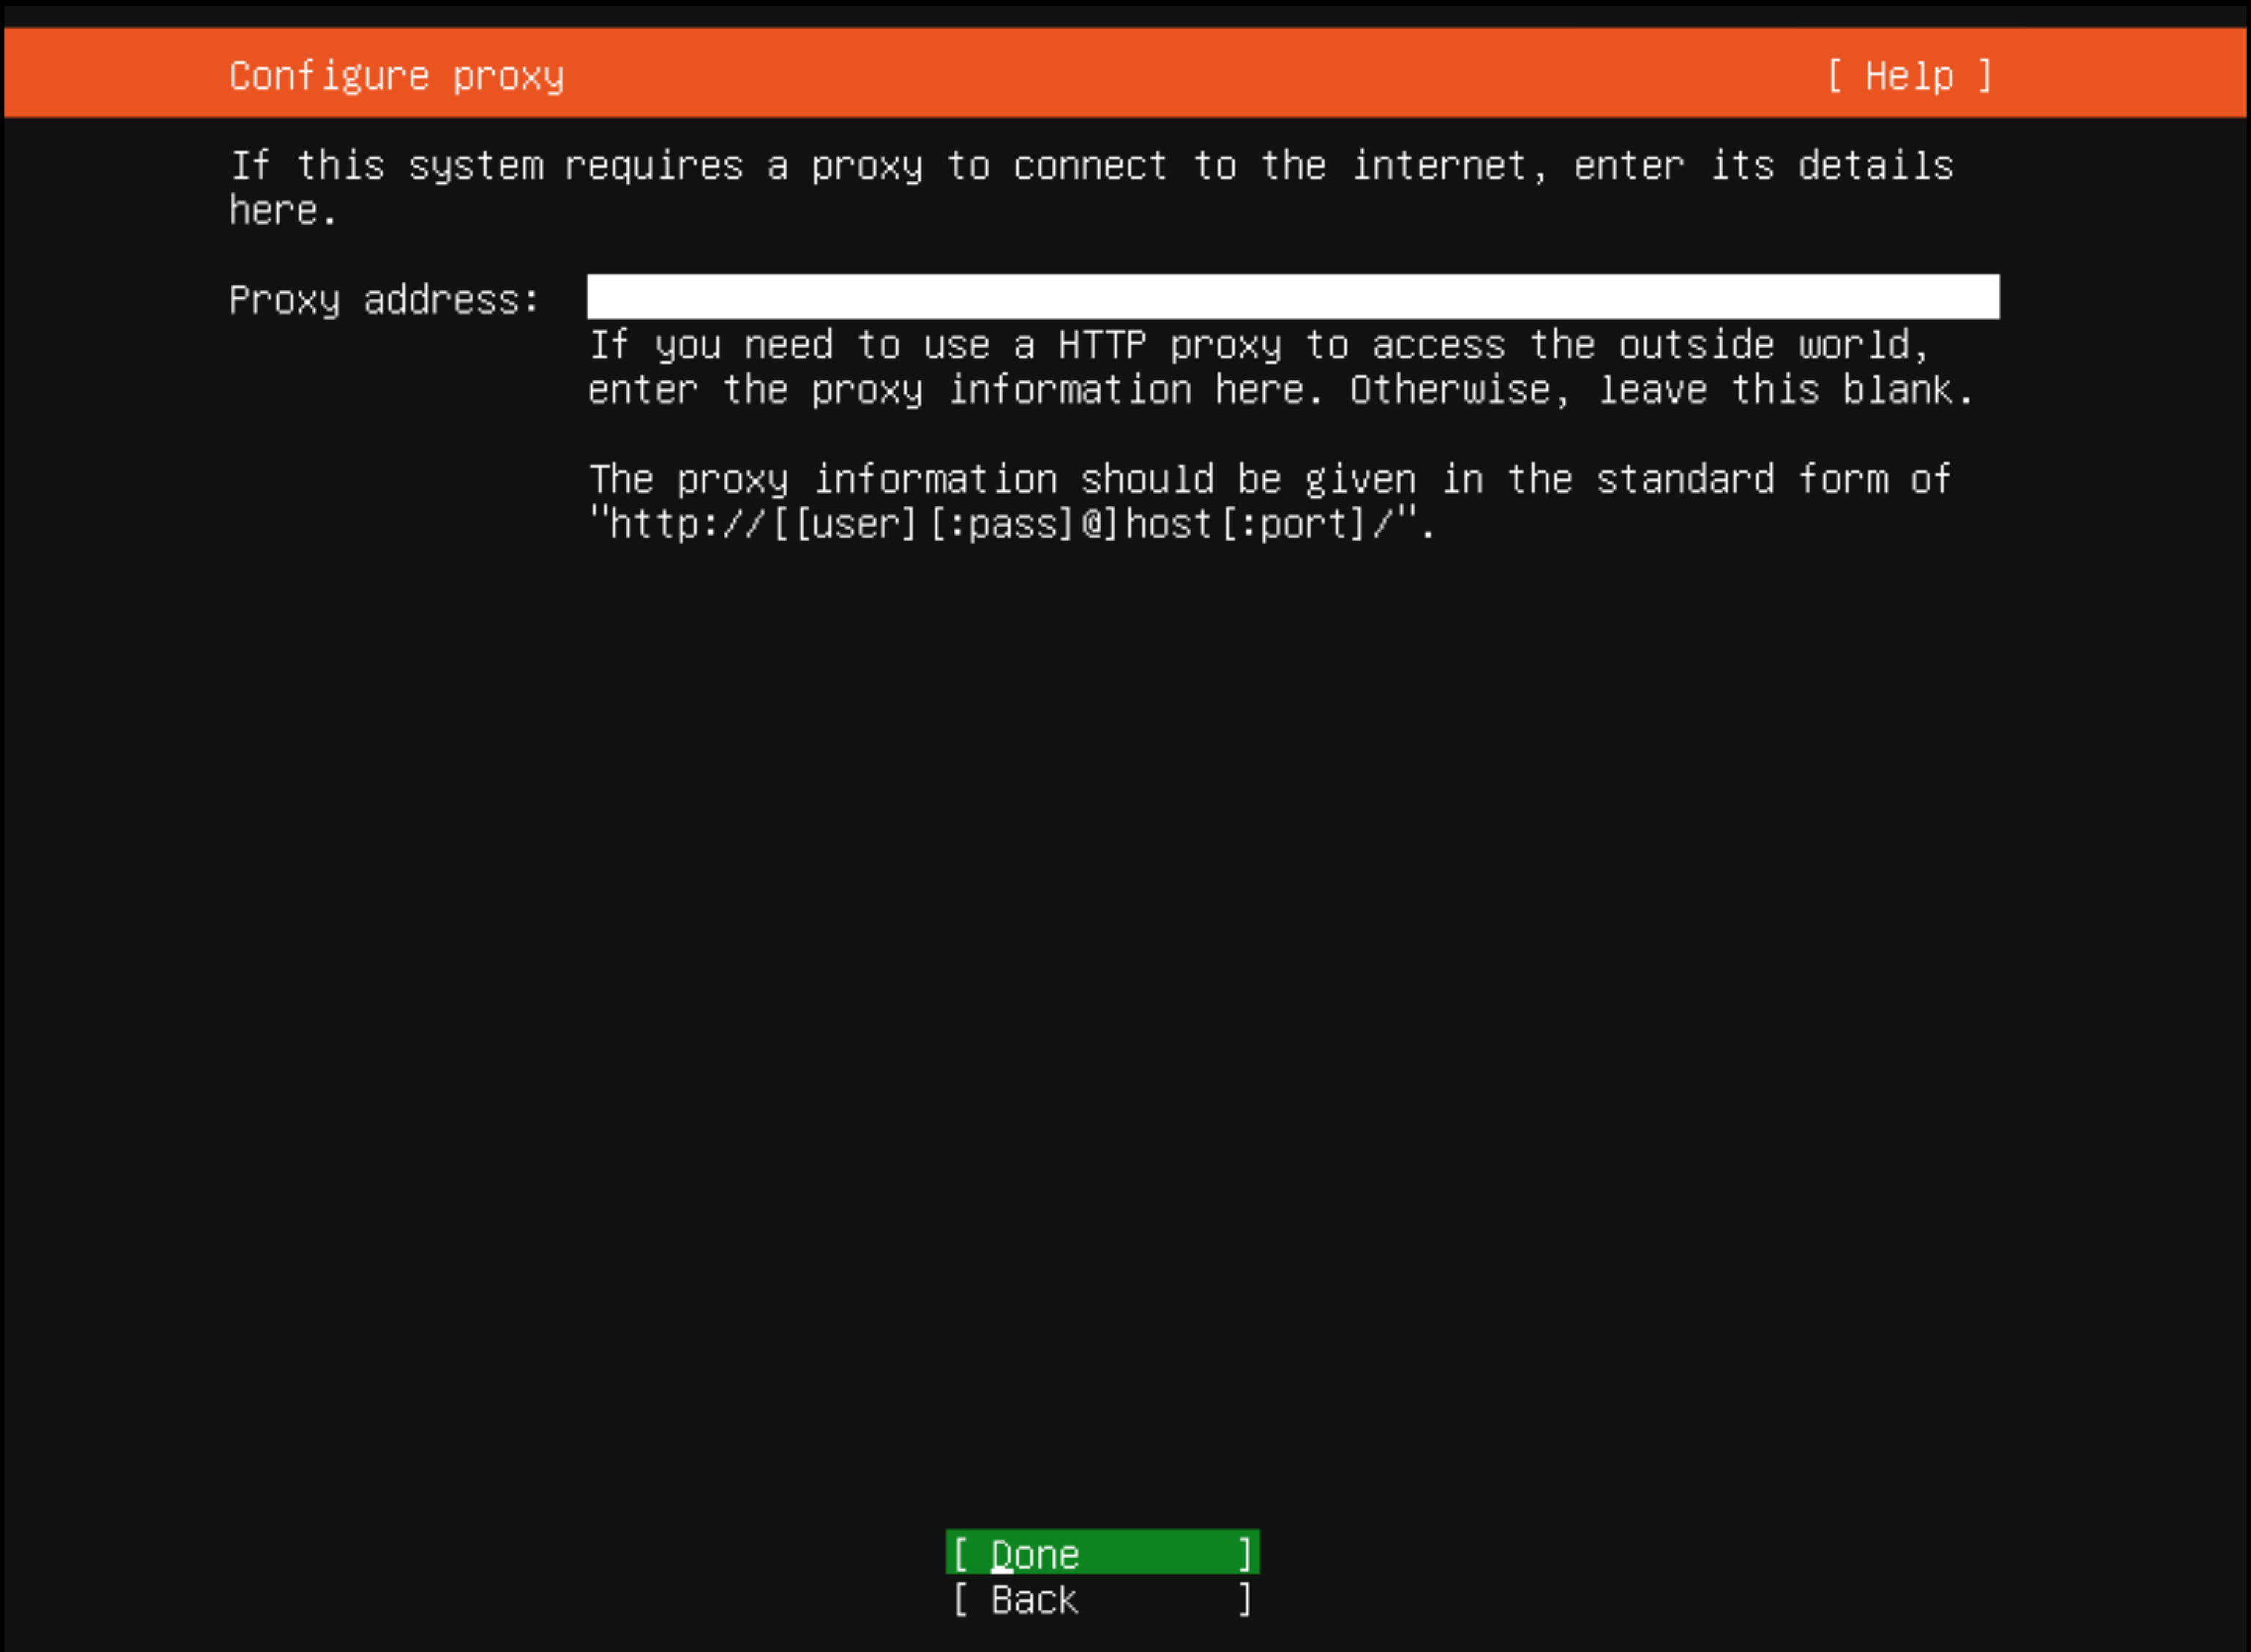
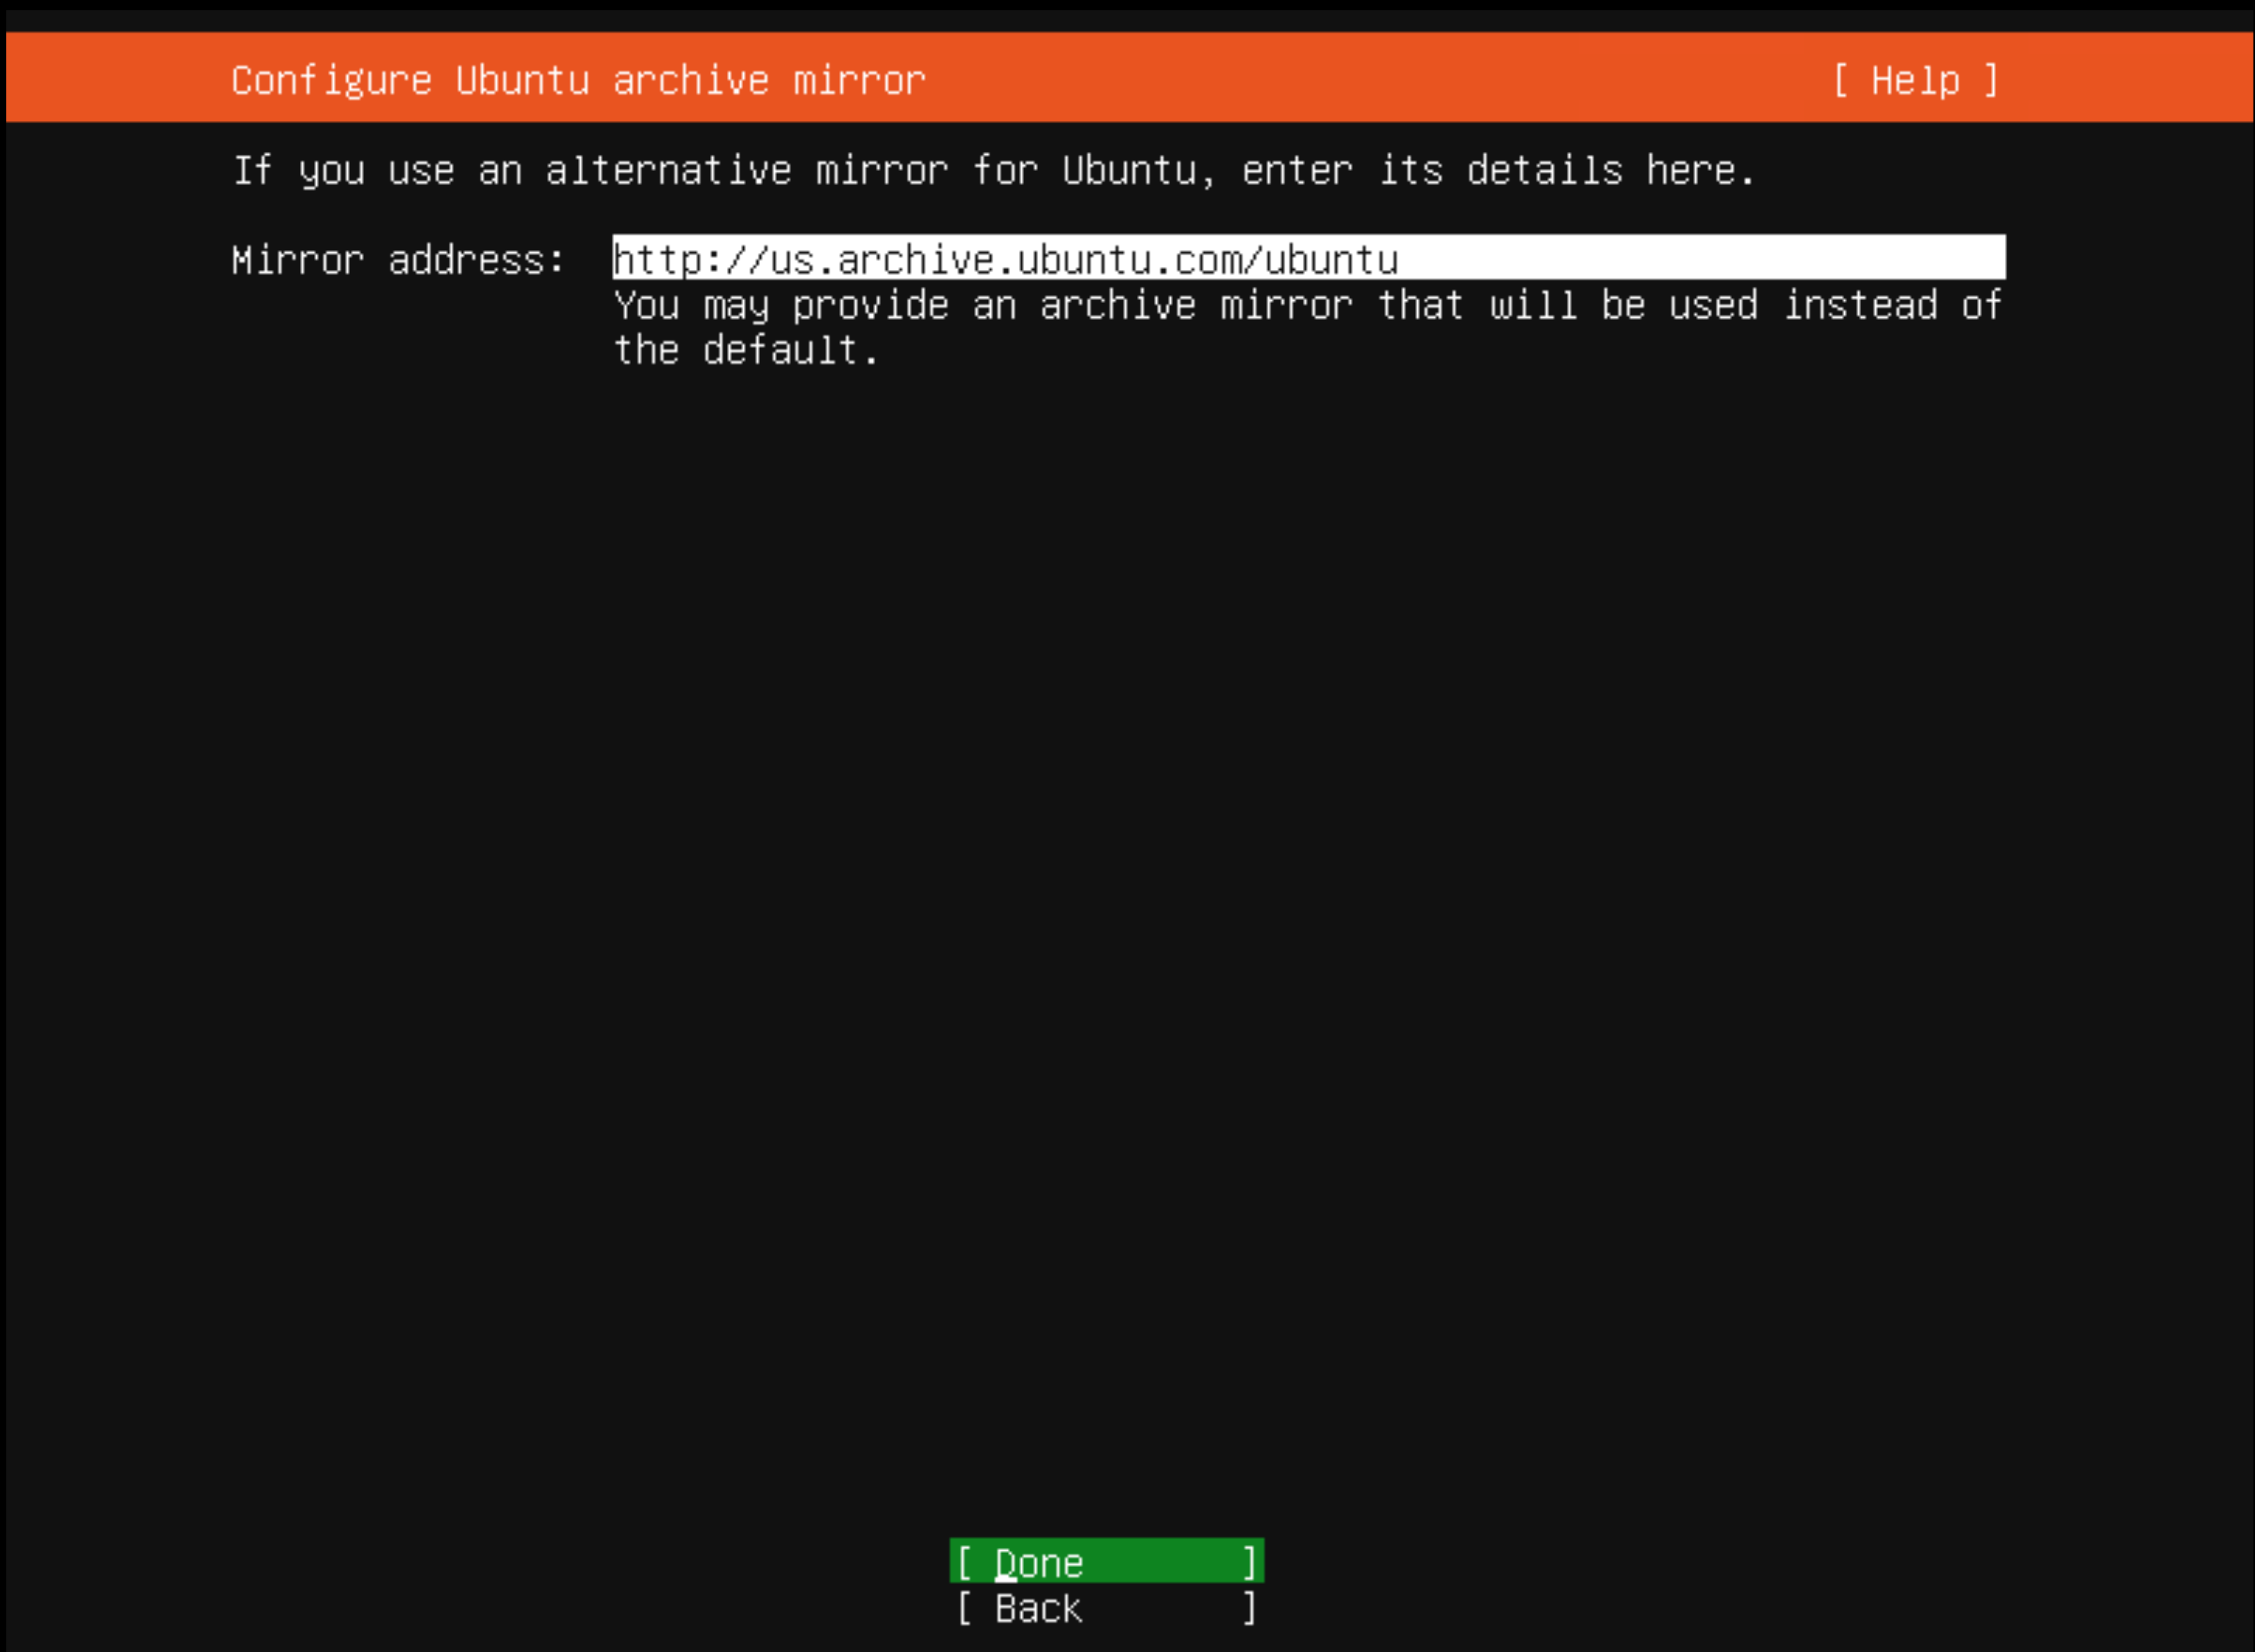
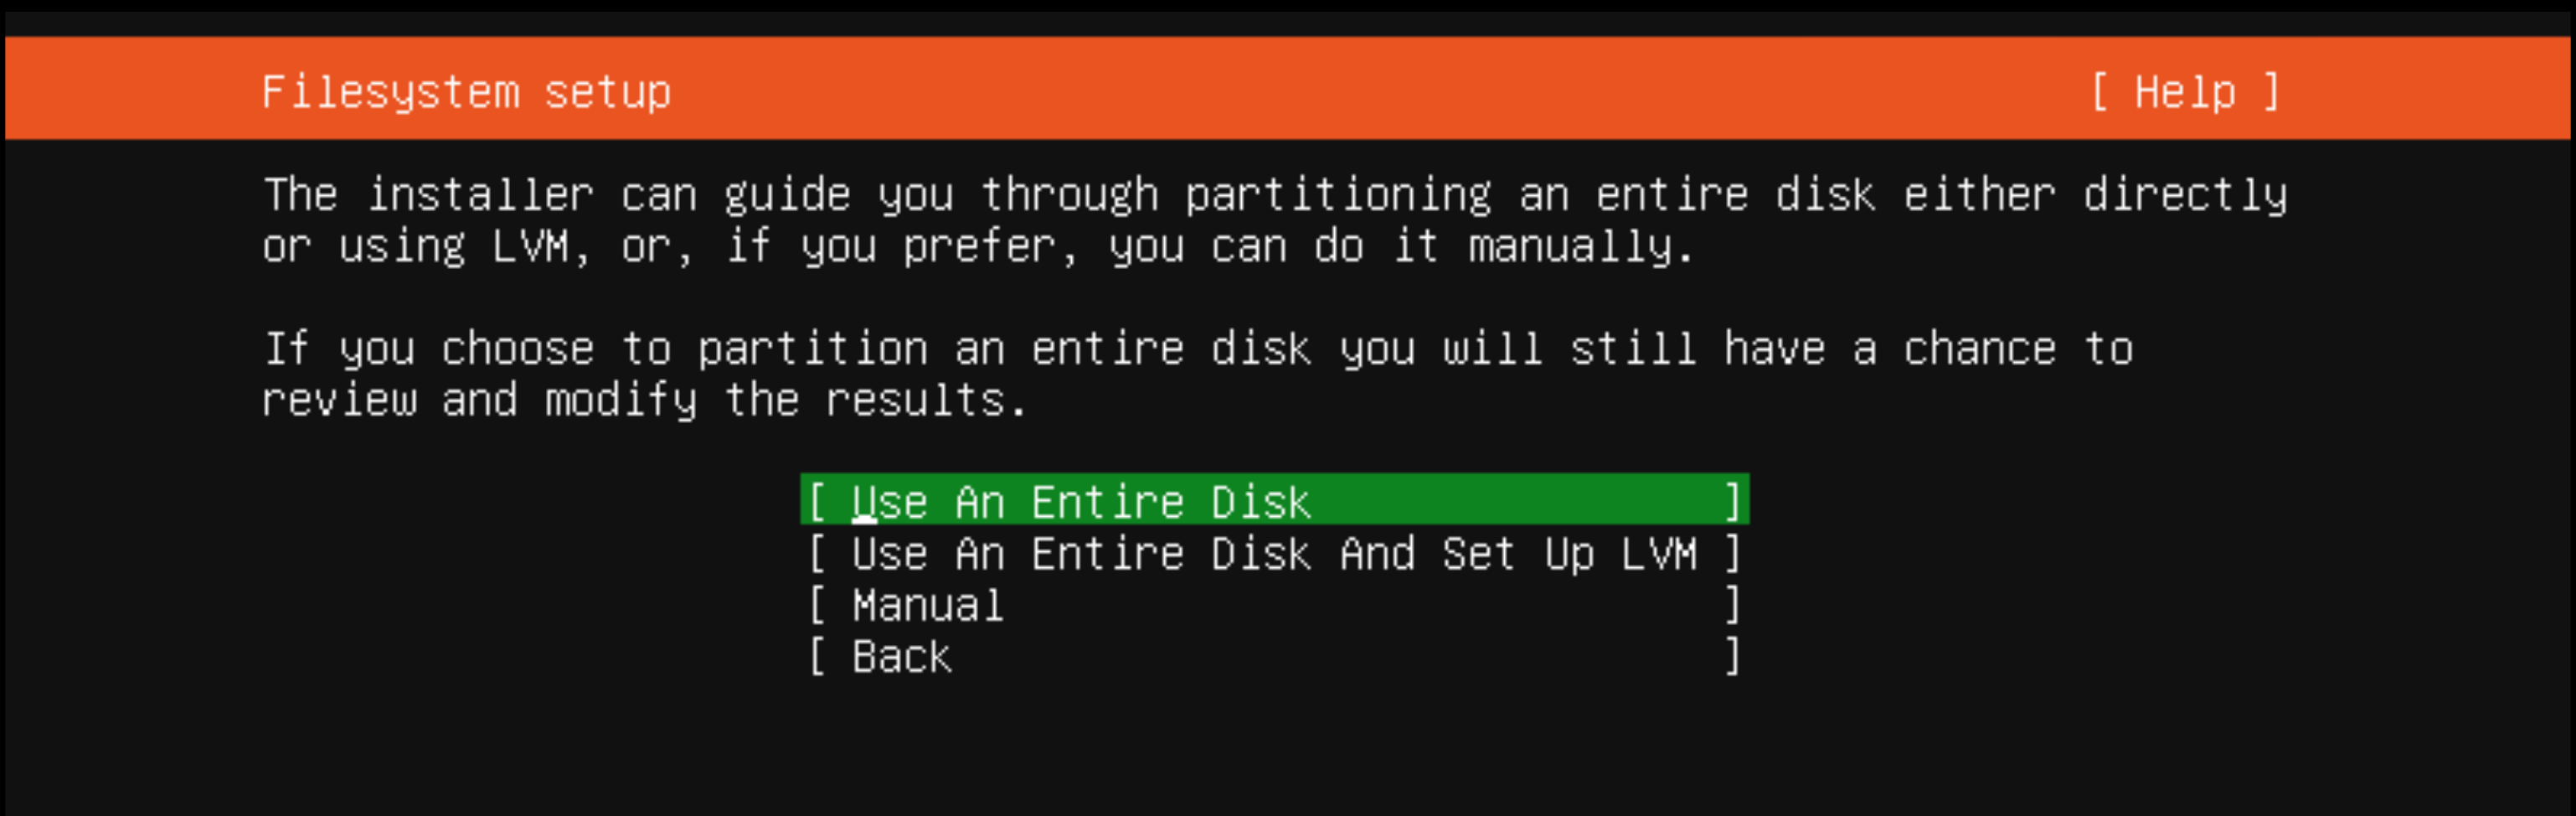
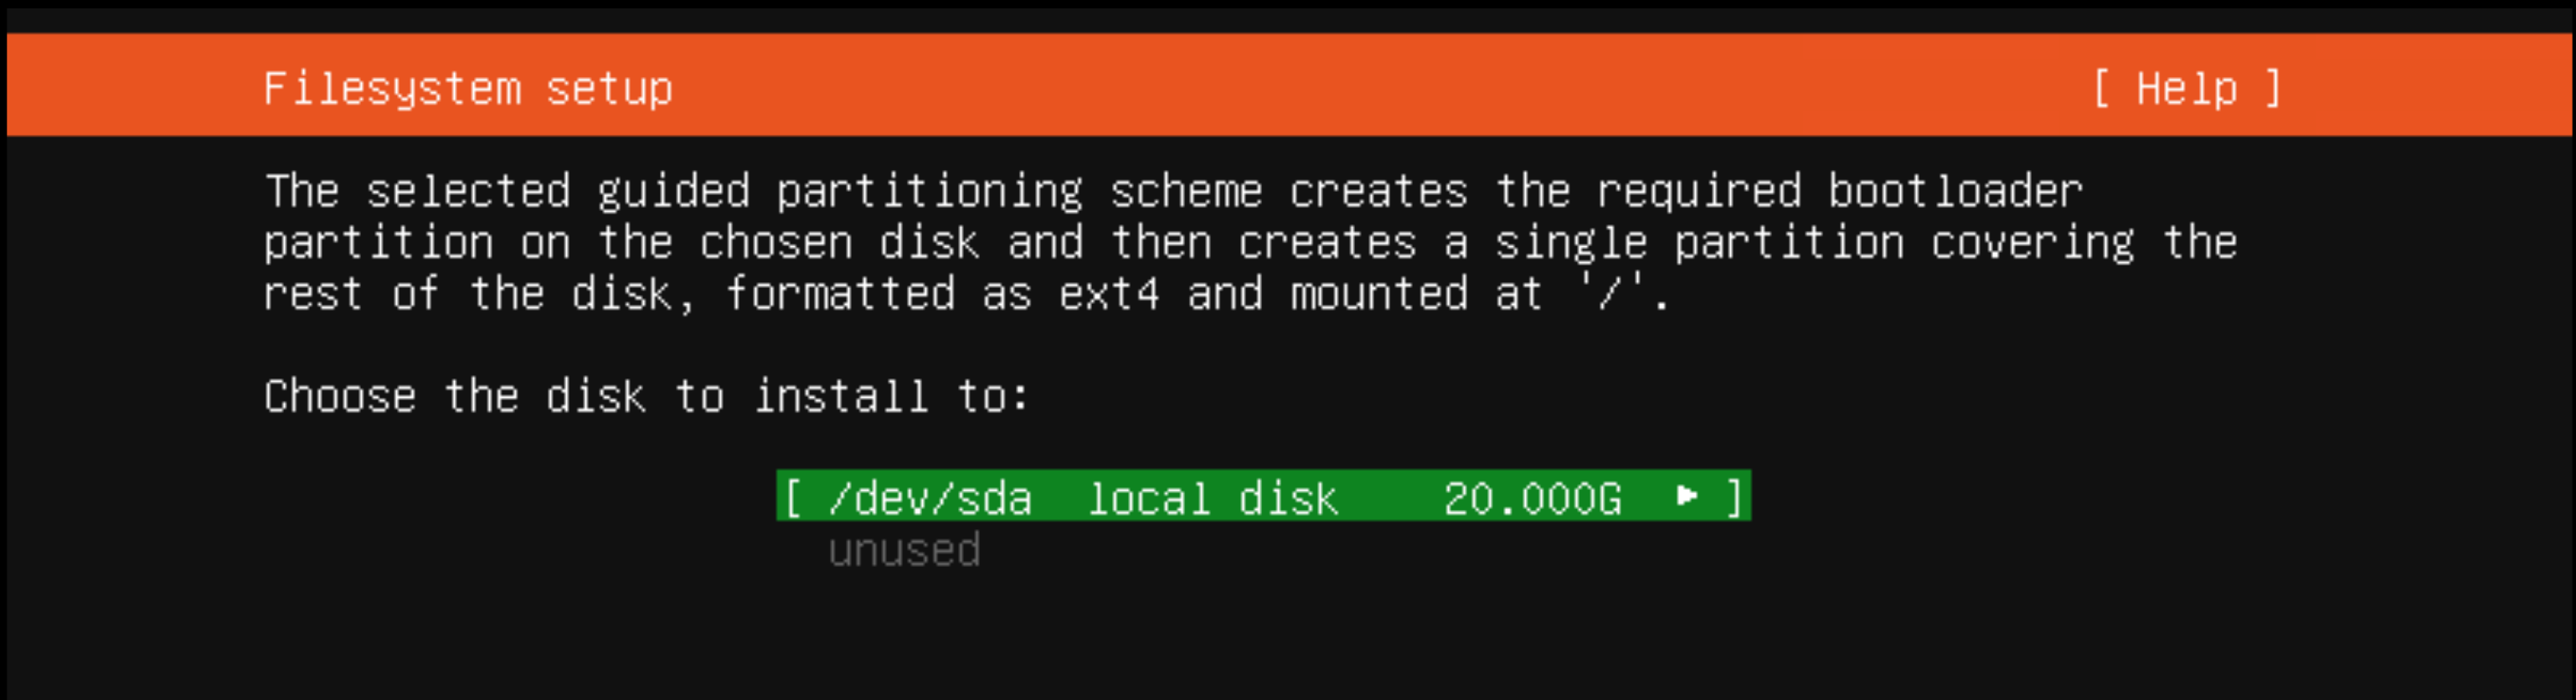
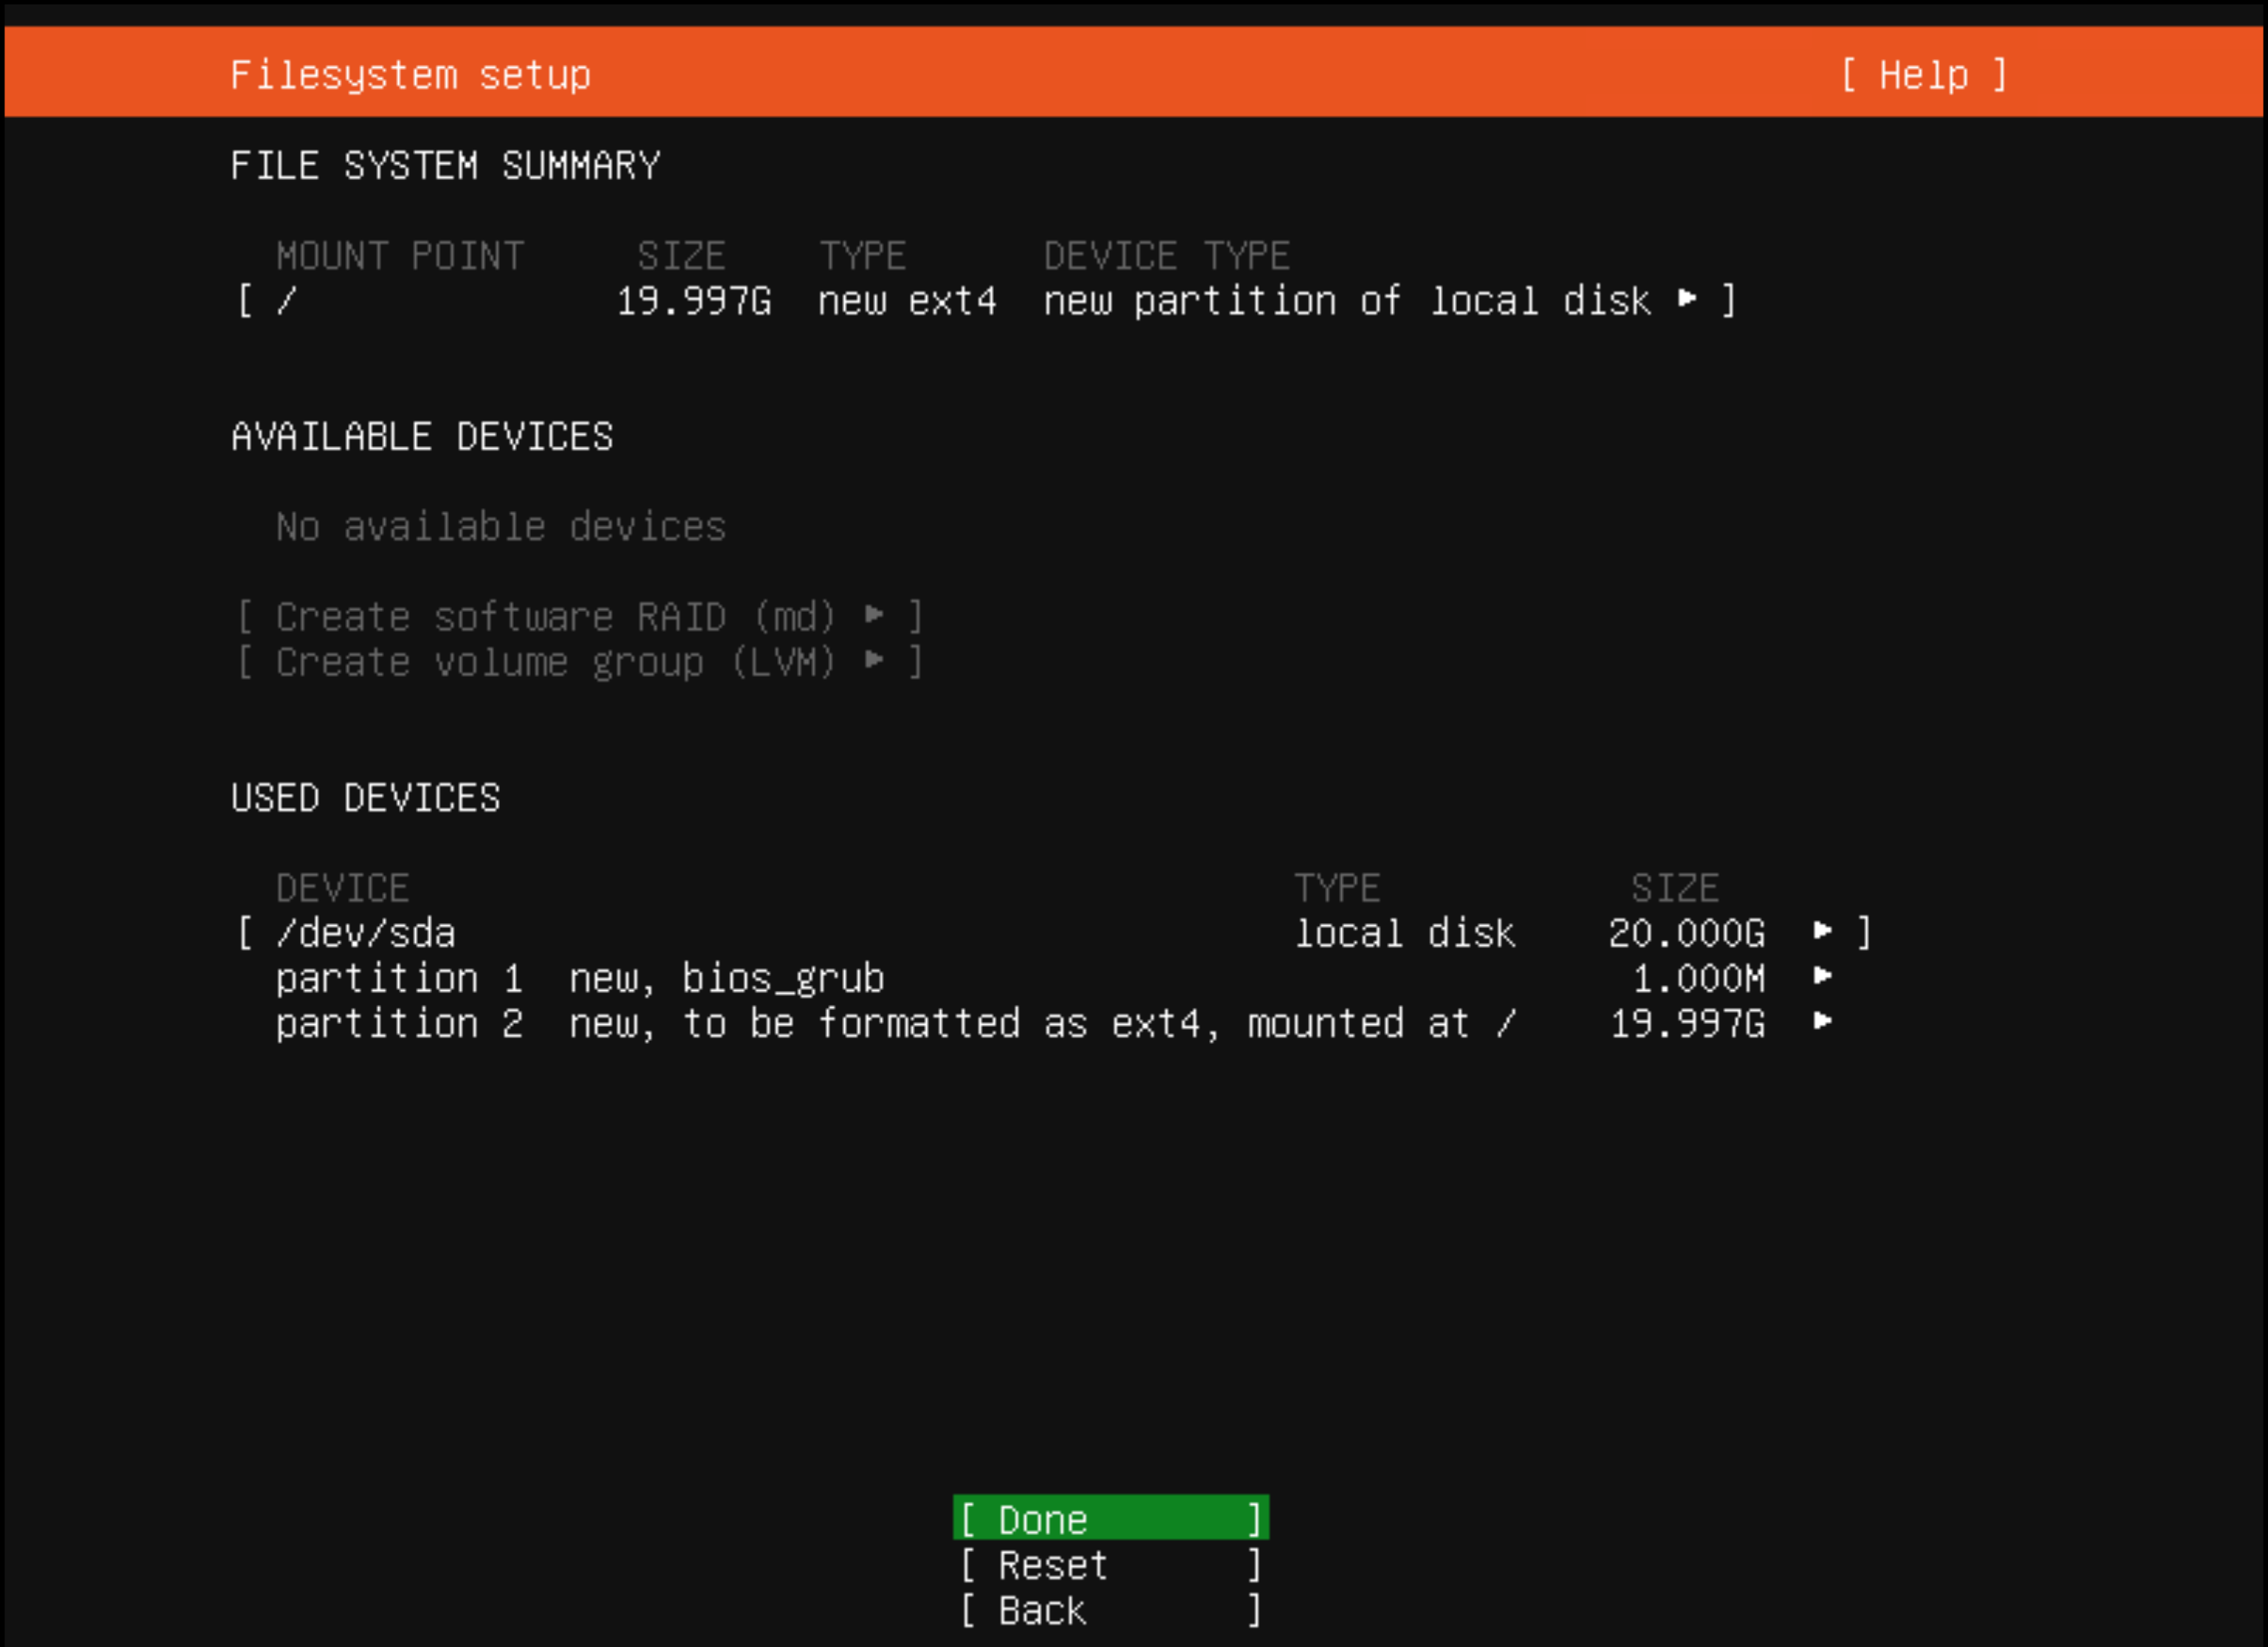
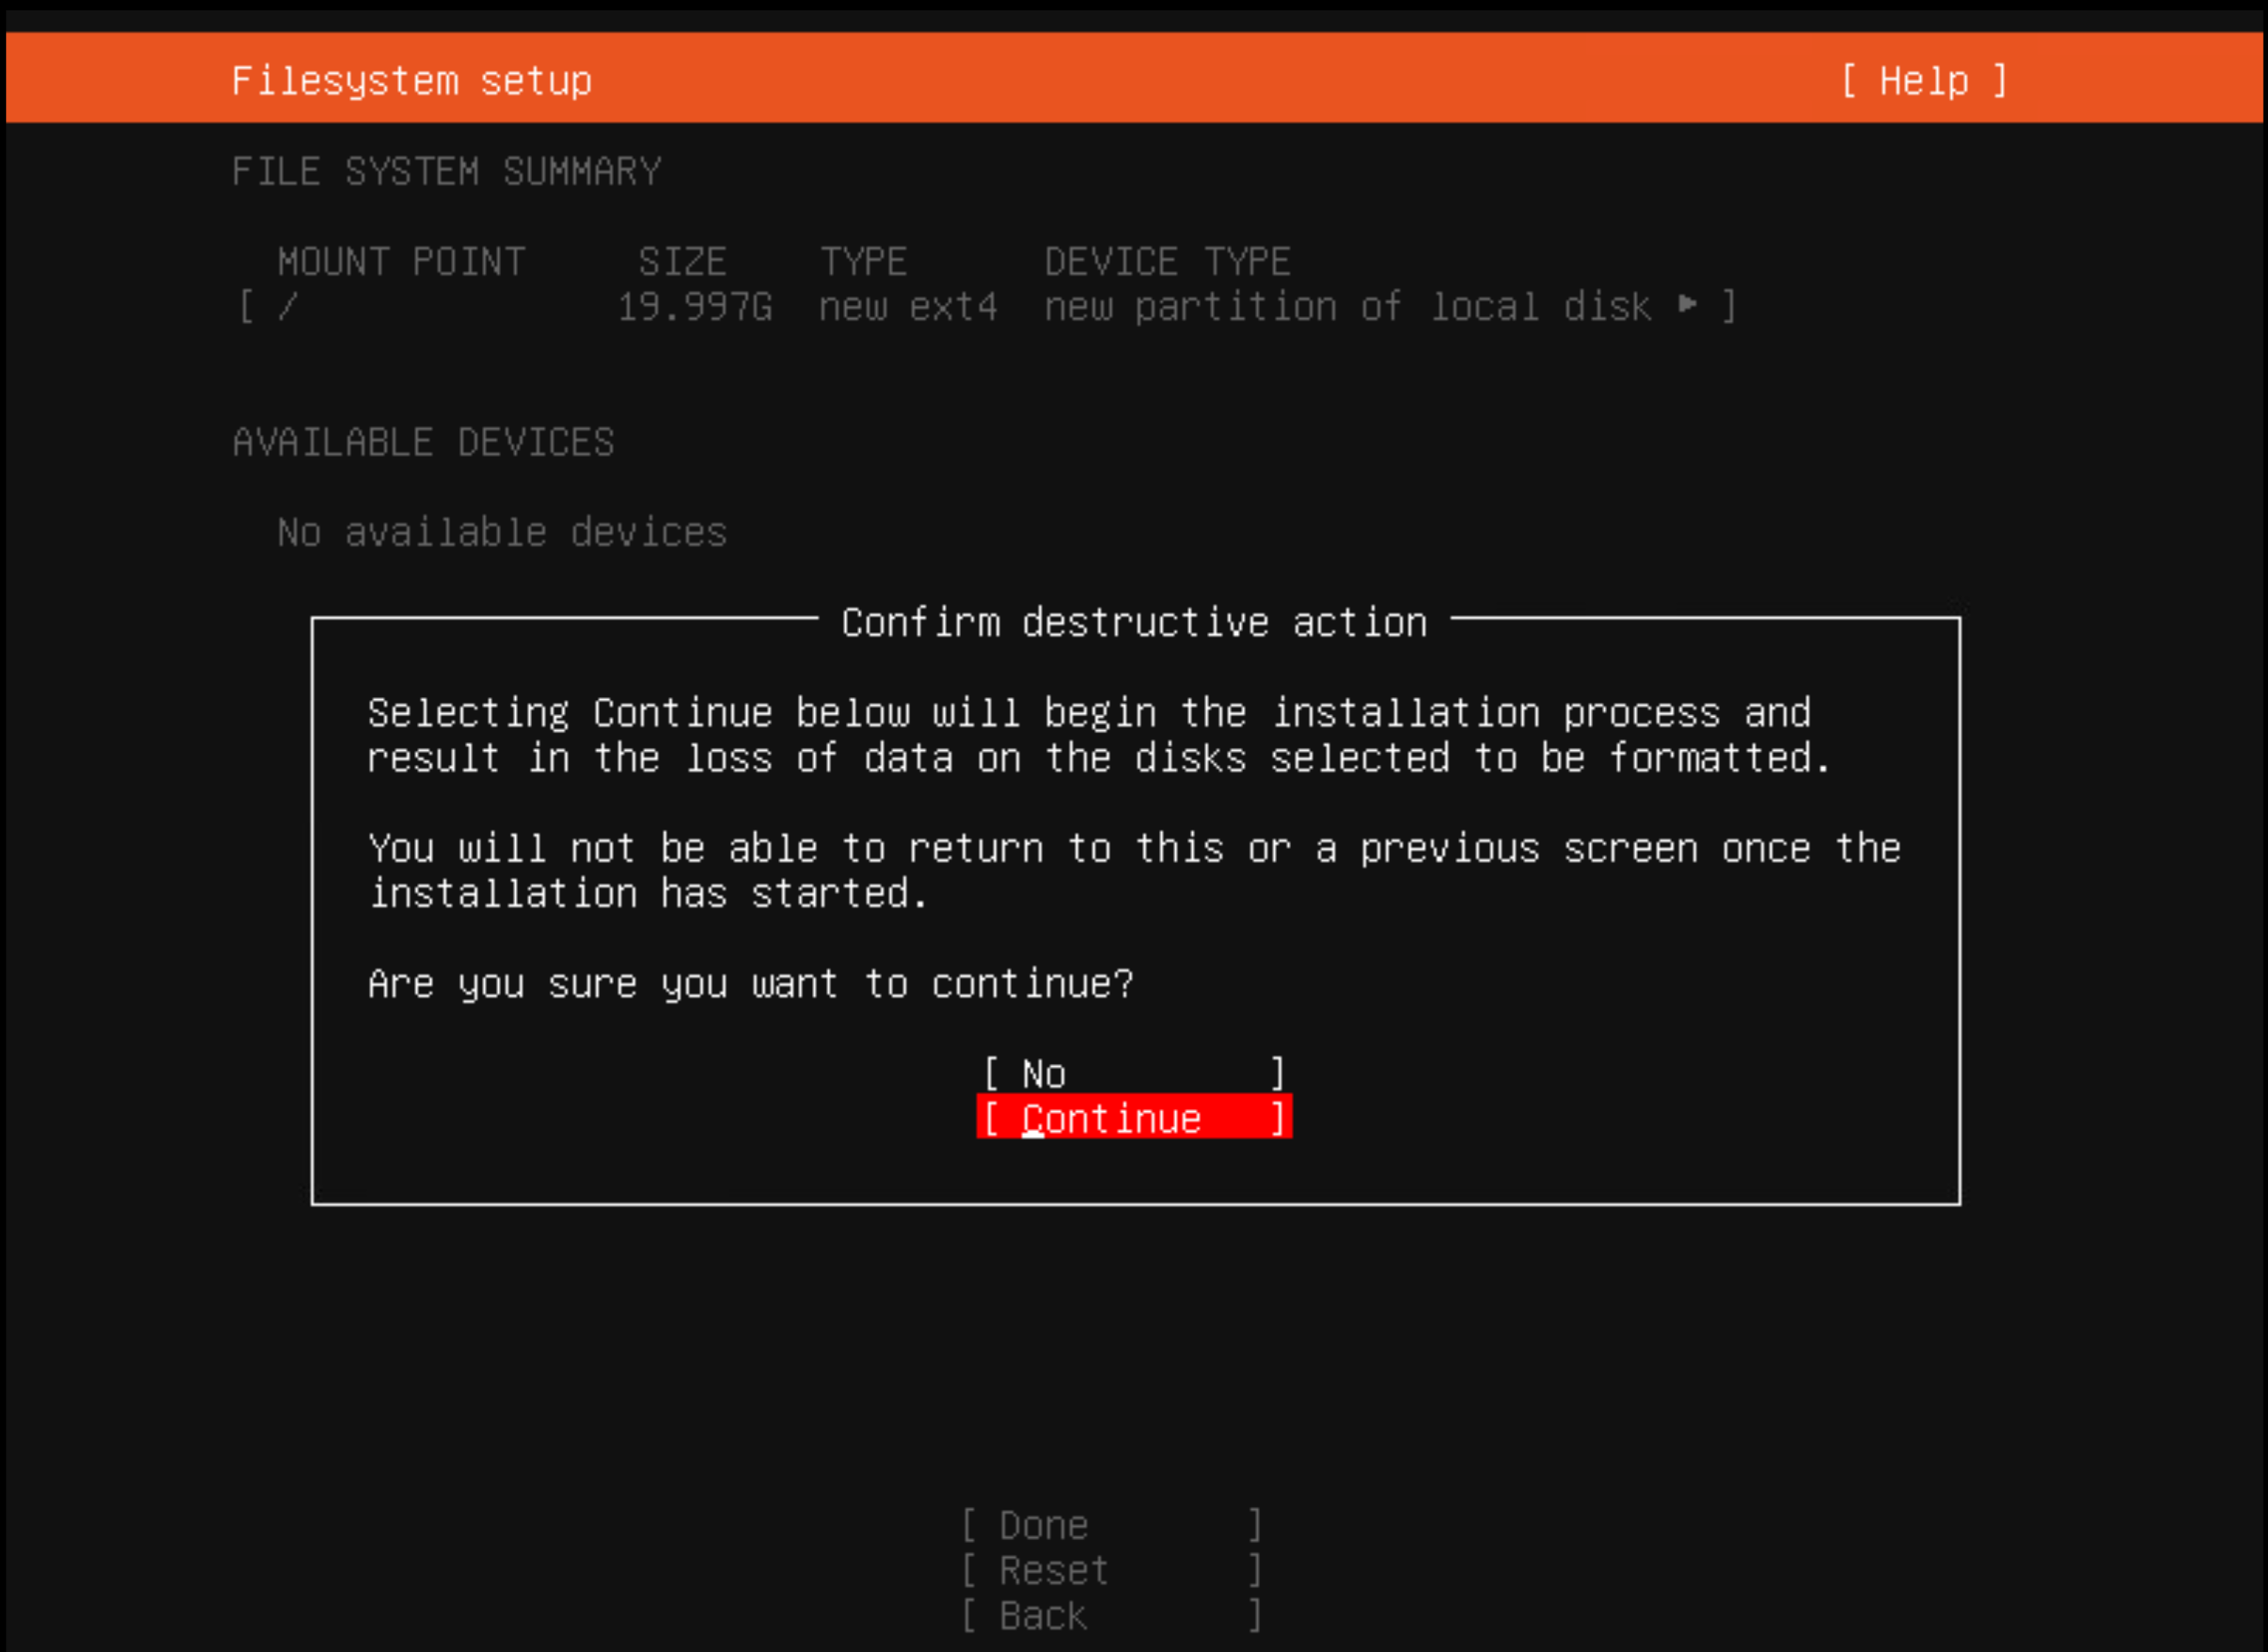
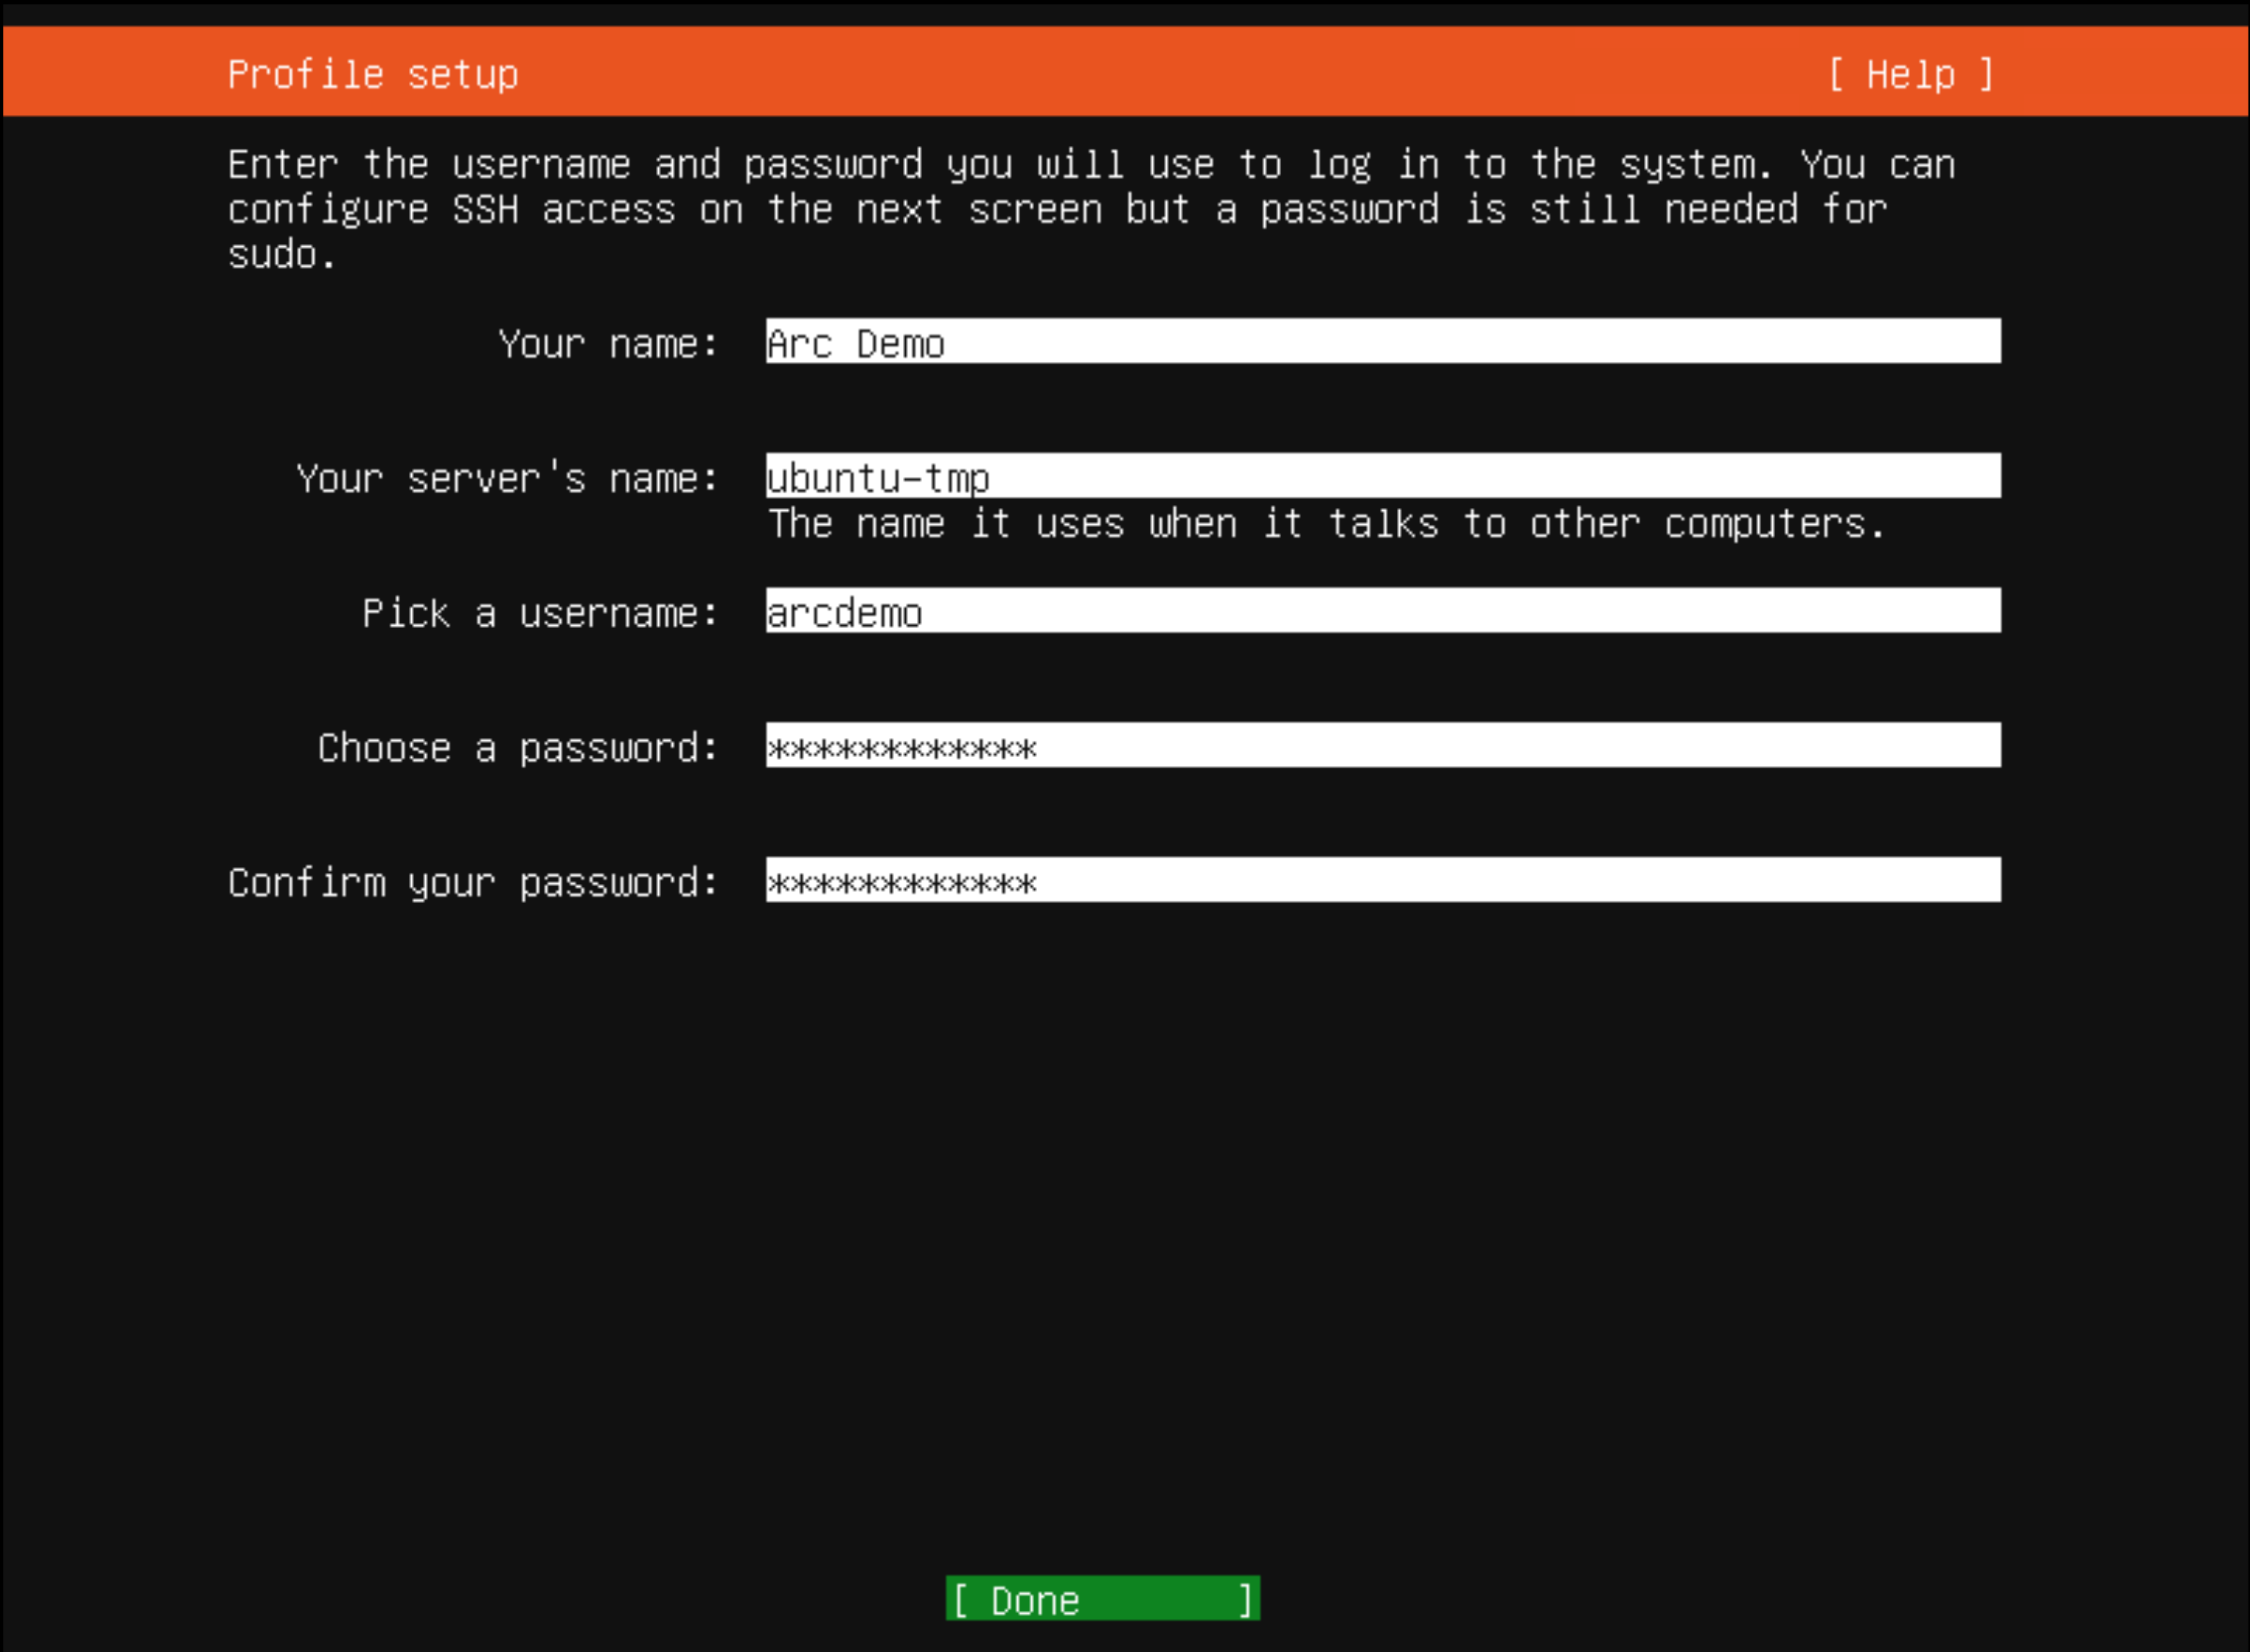
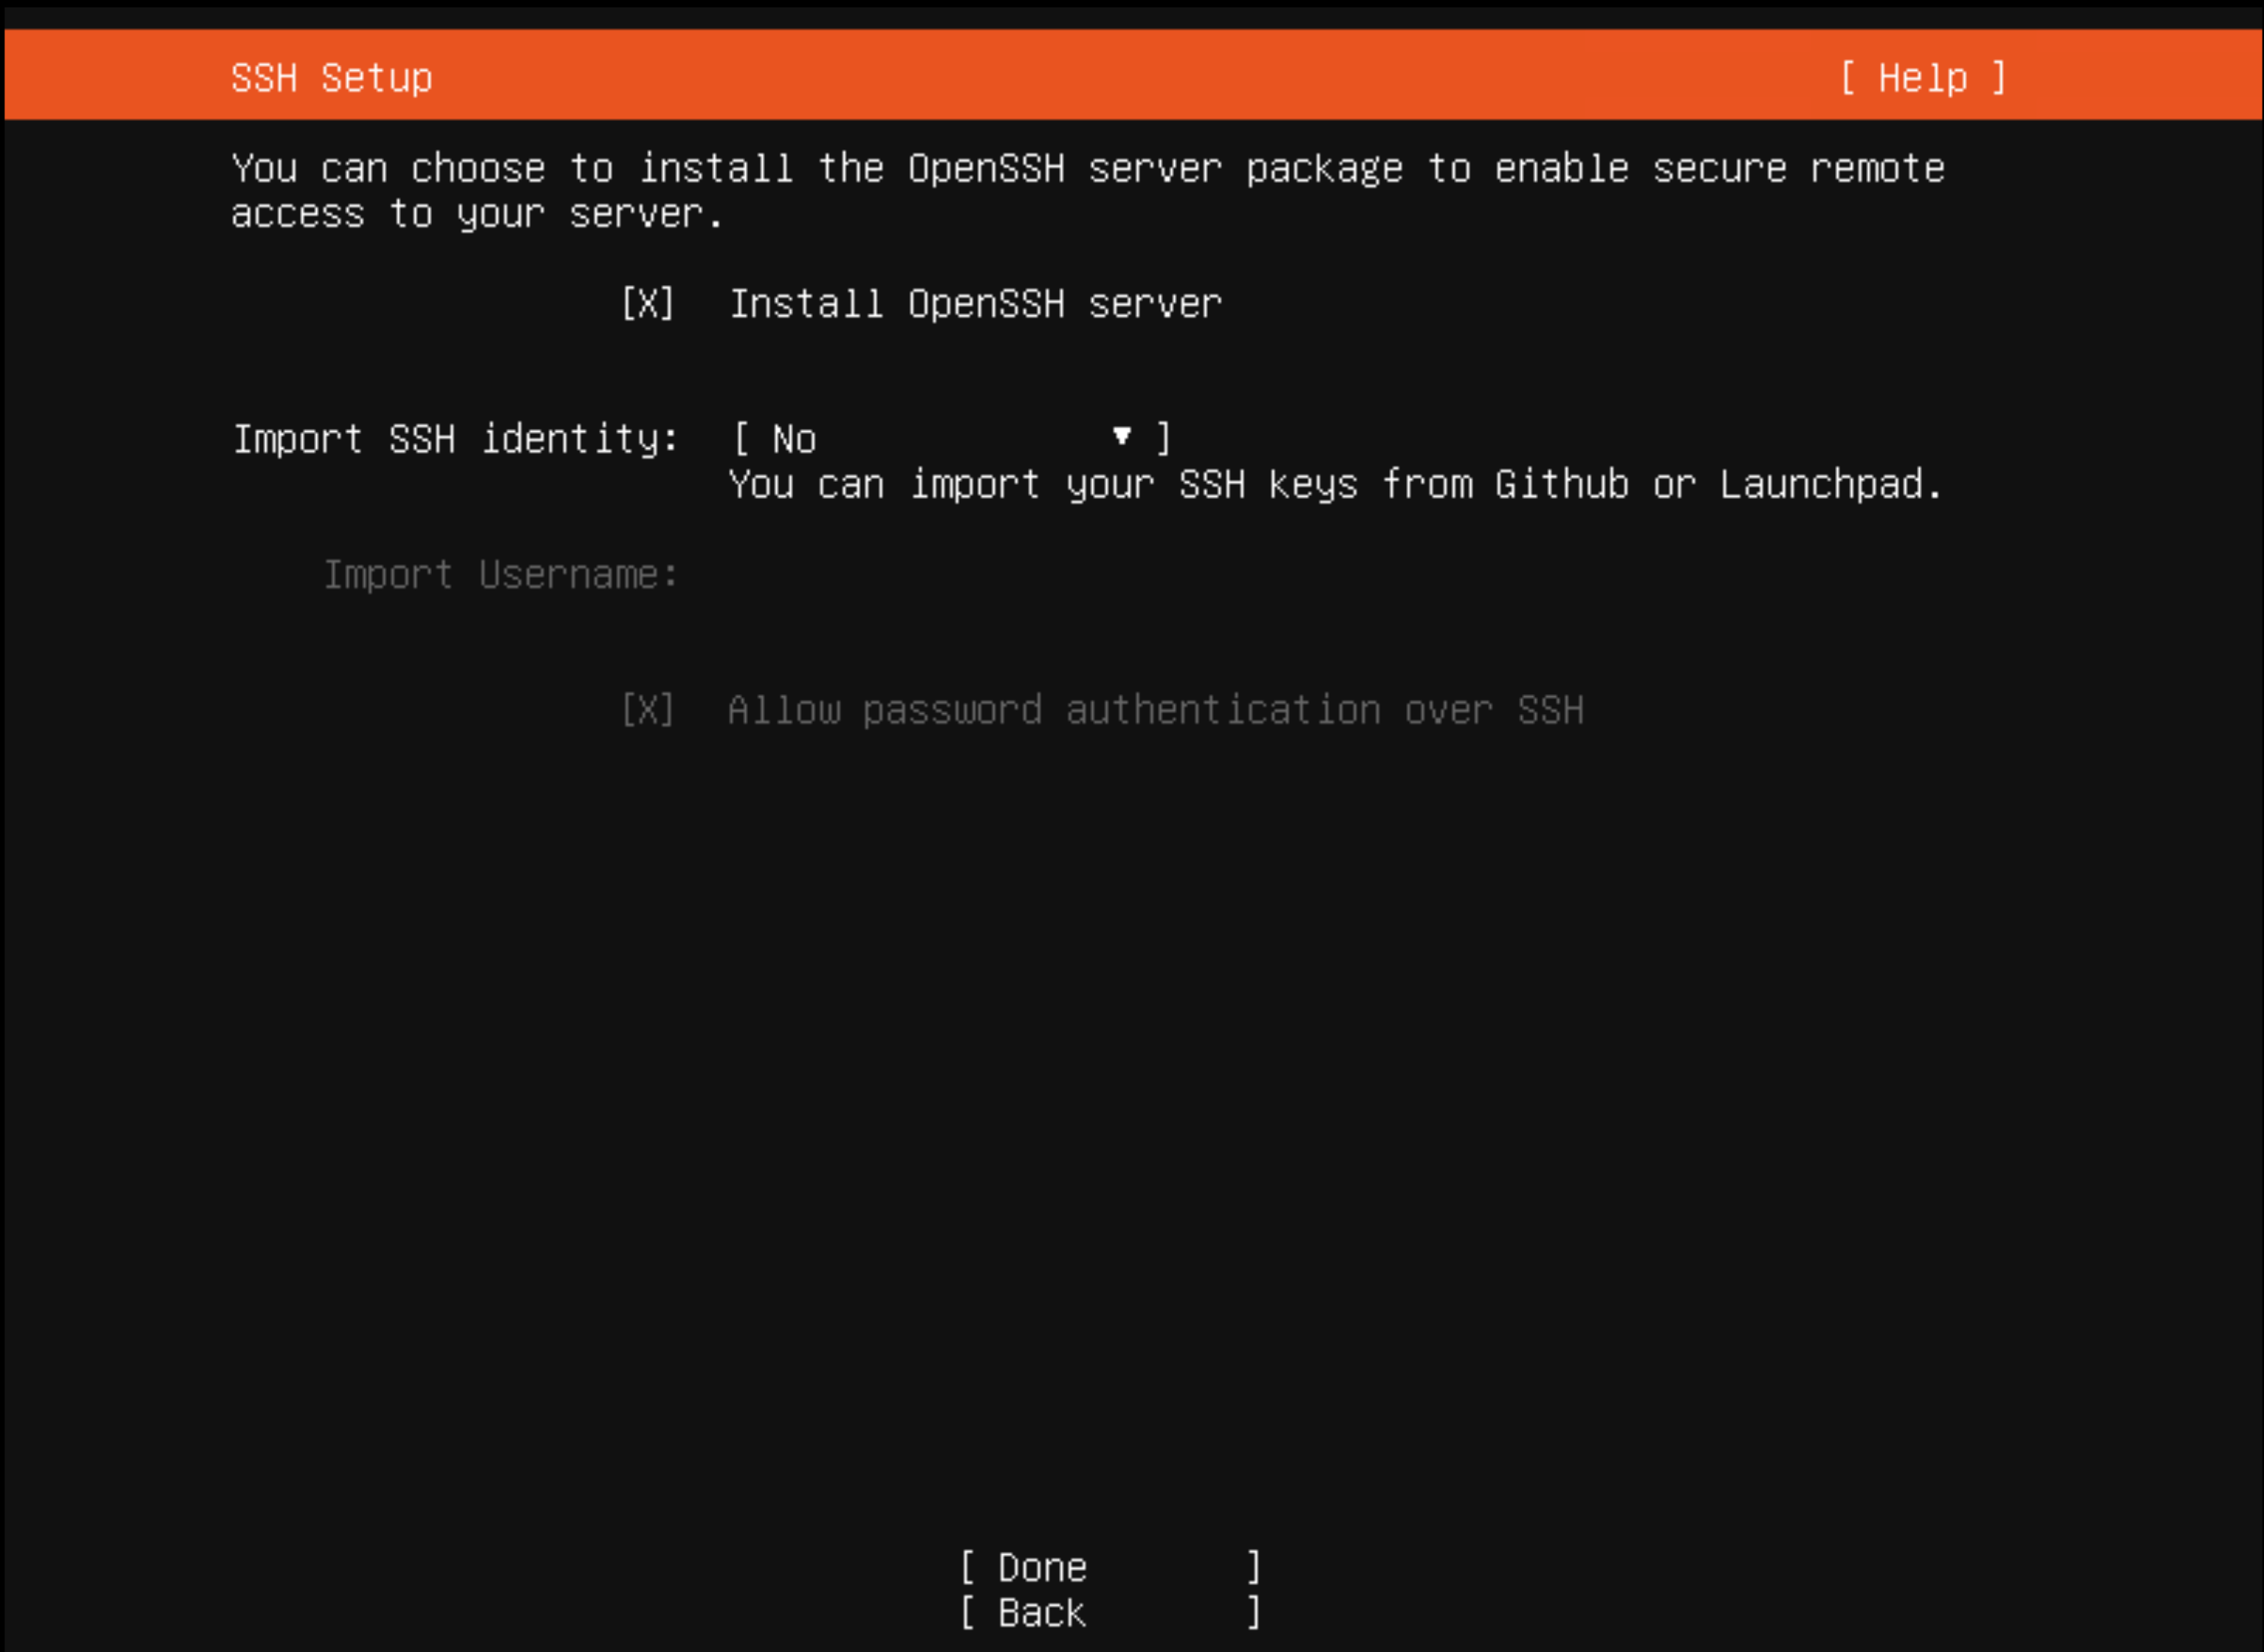
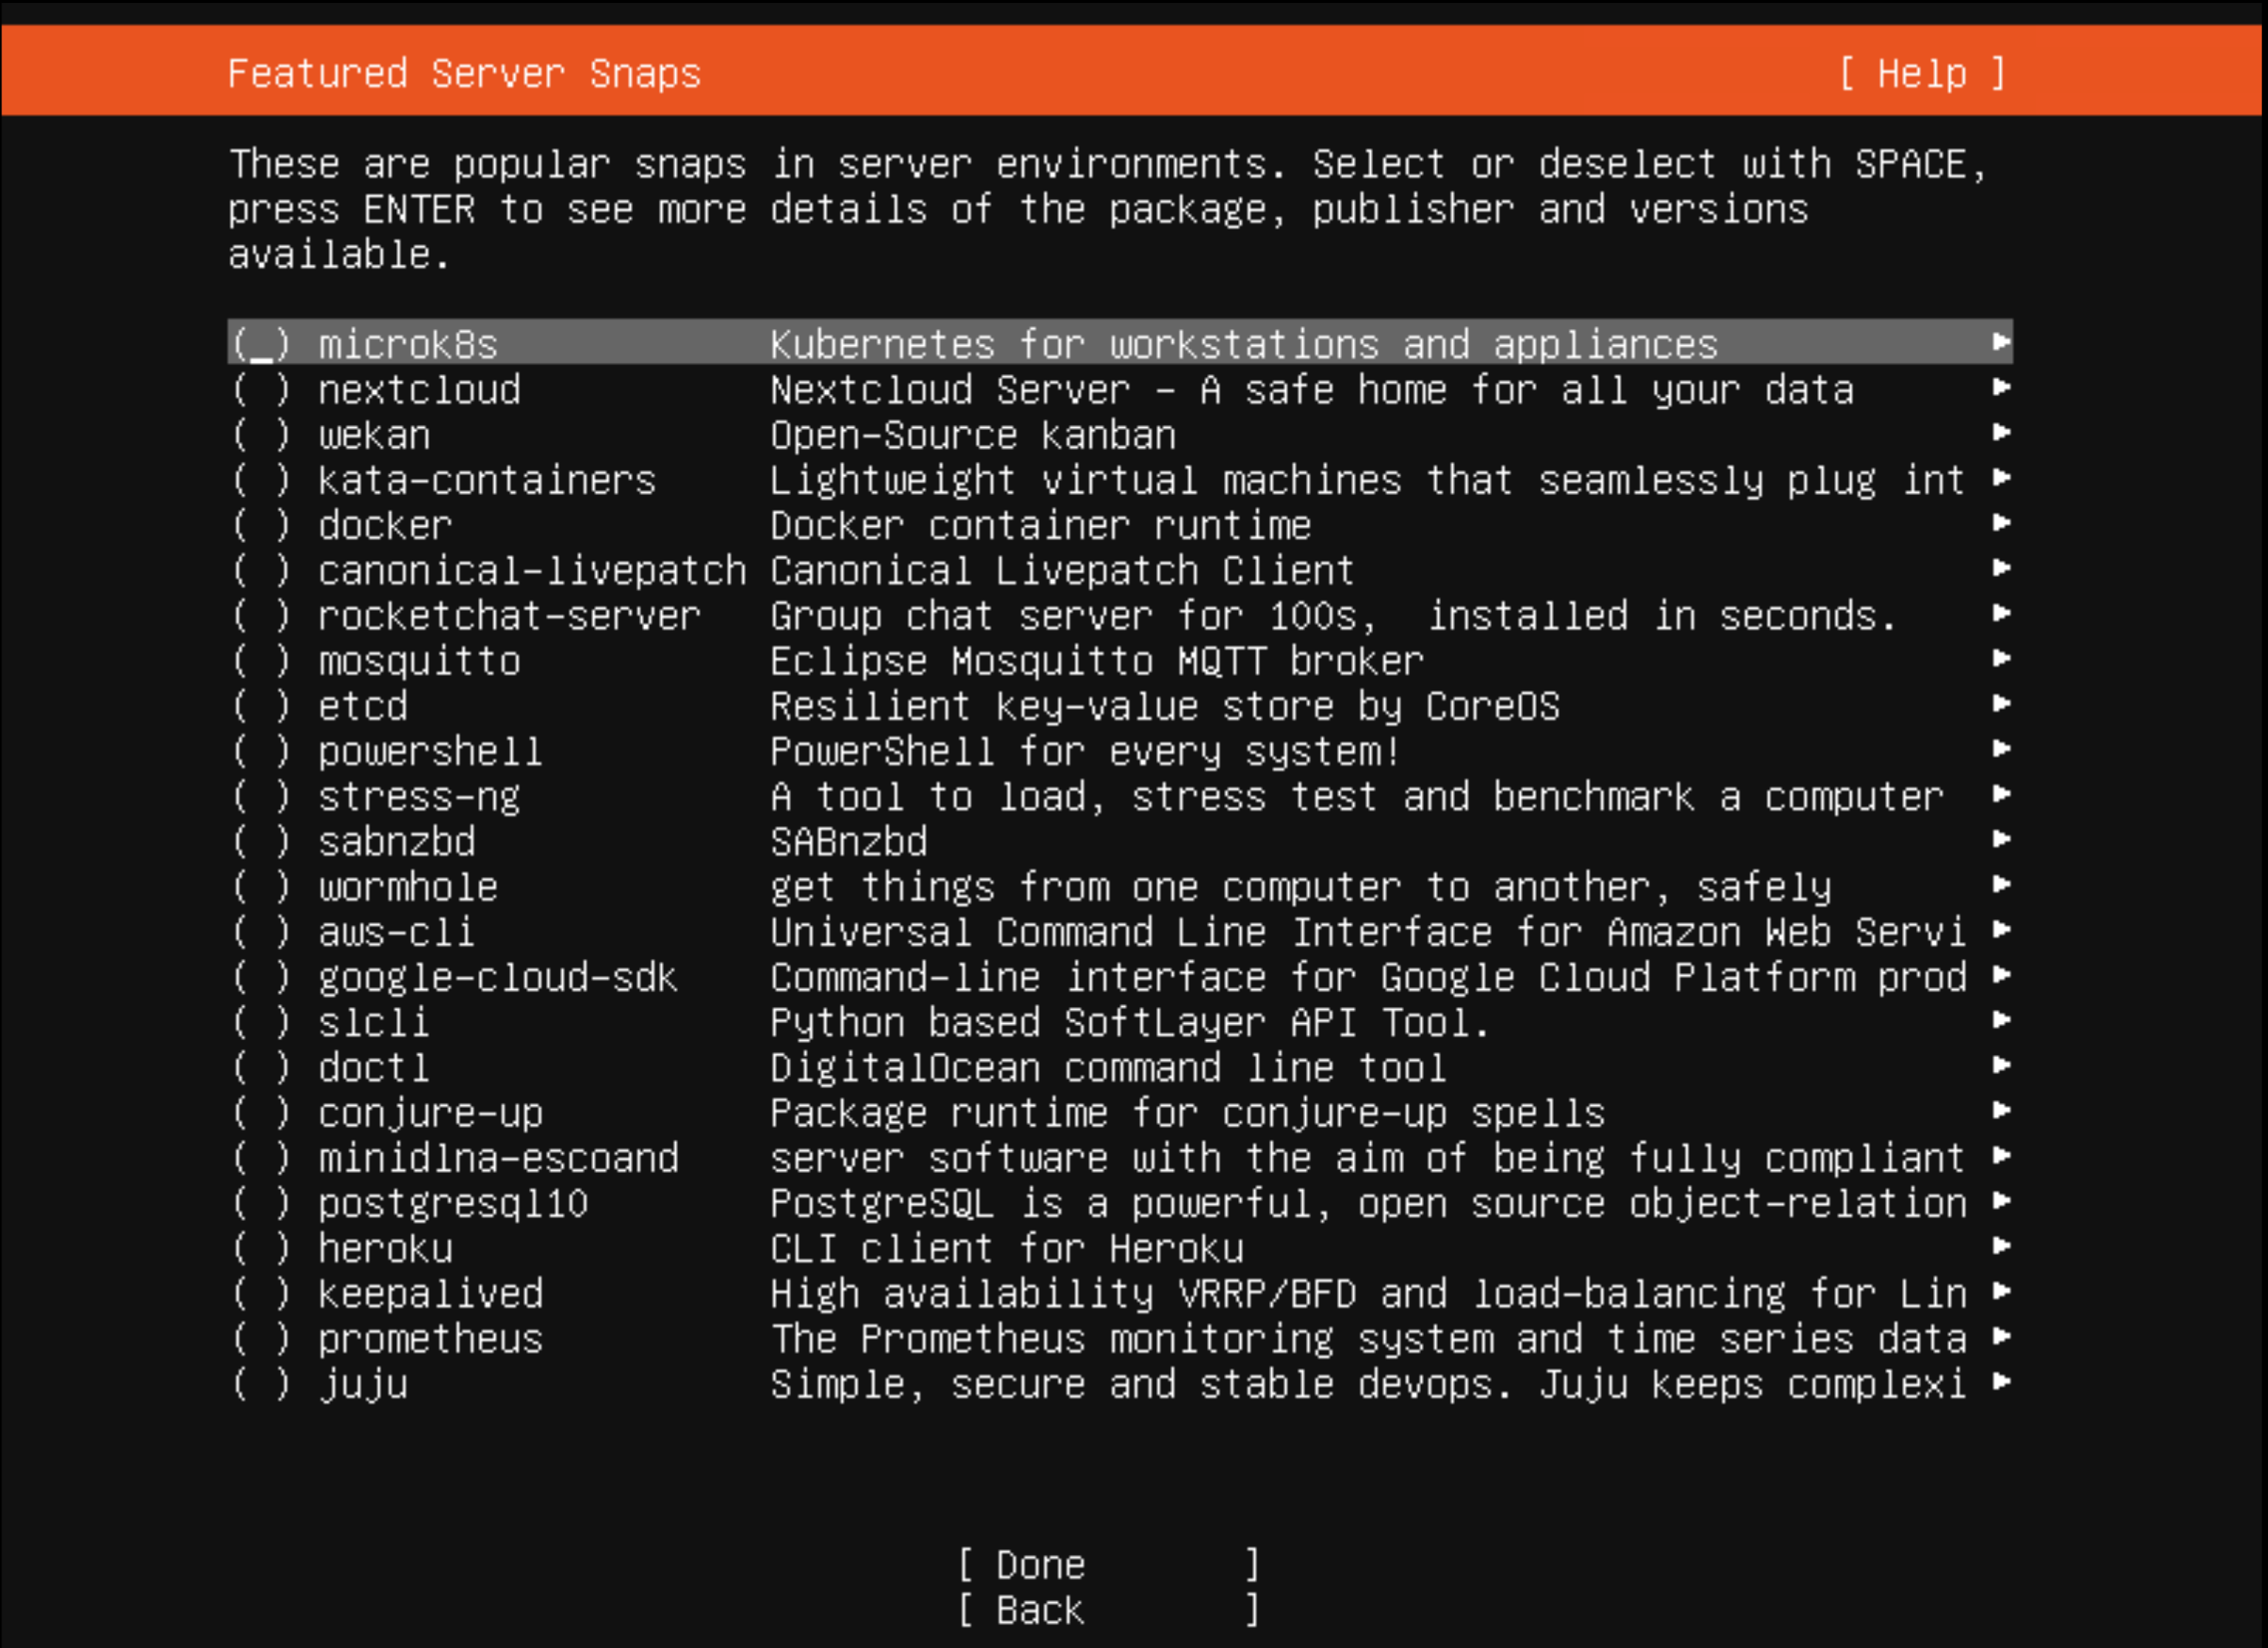
Power on the VM and start the Ubuntu installation. No specific instructions here but:
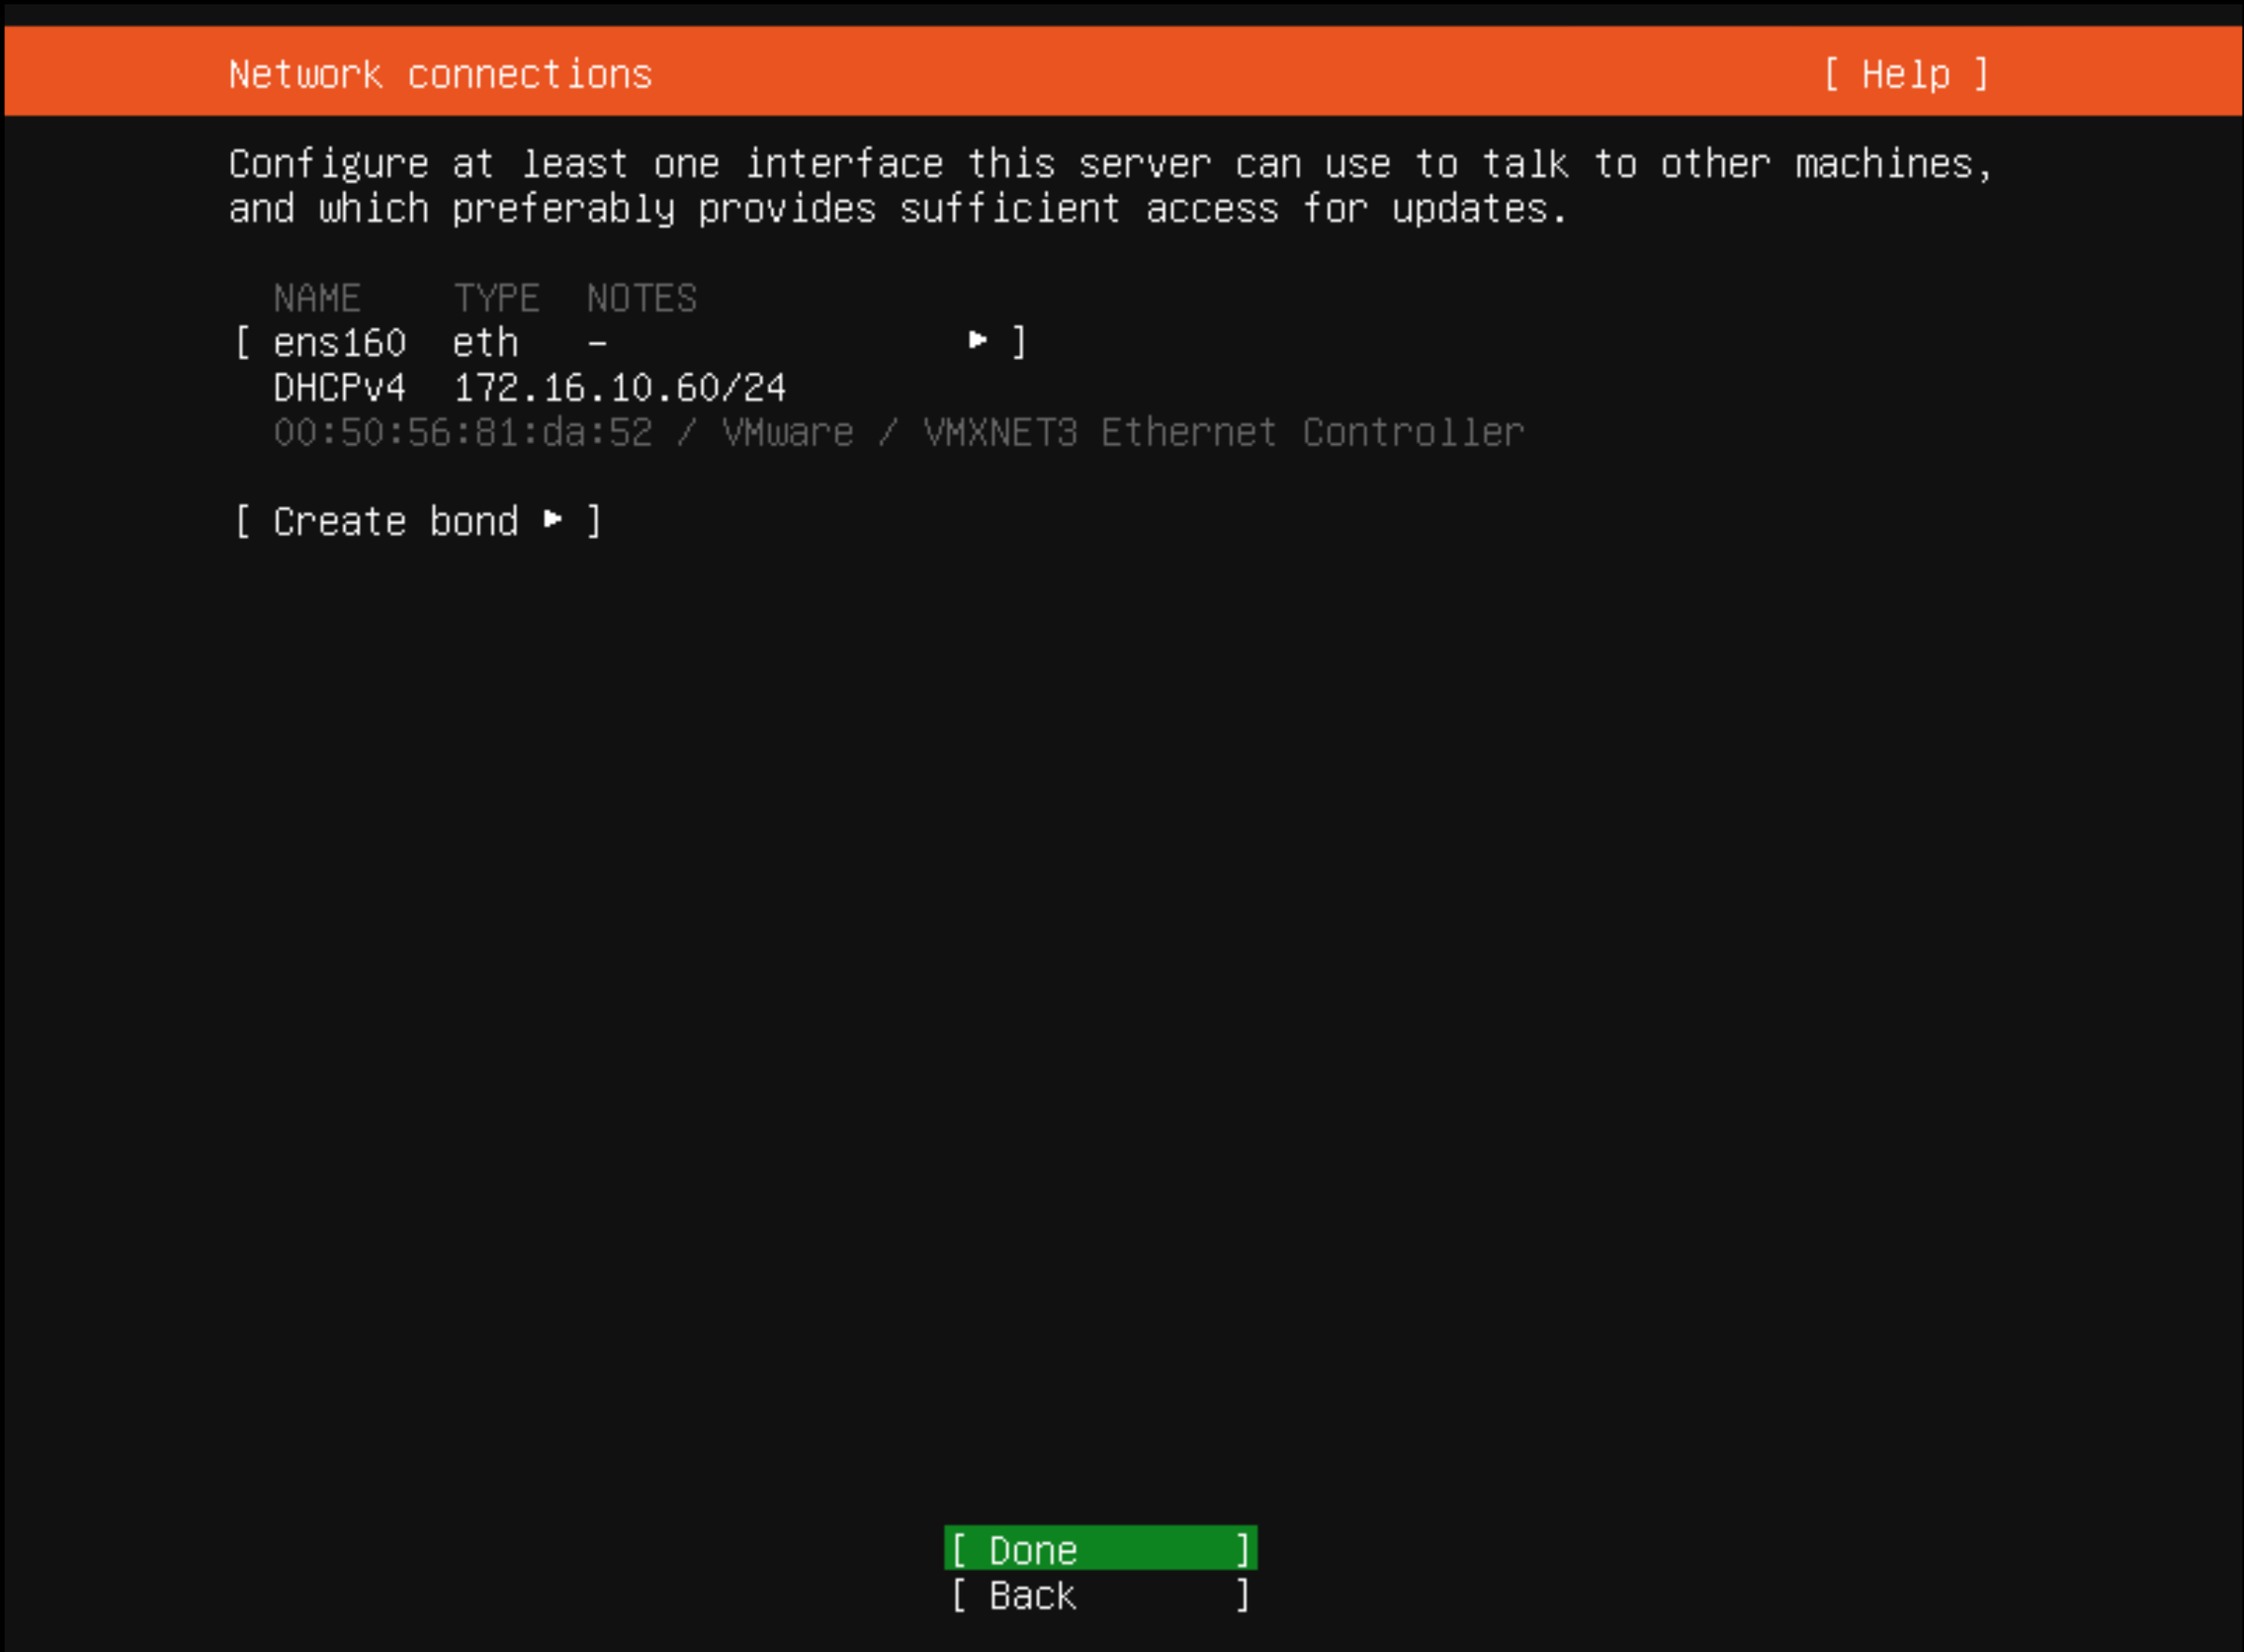
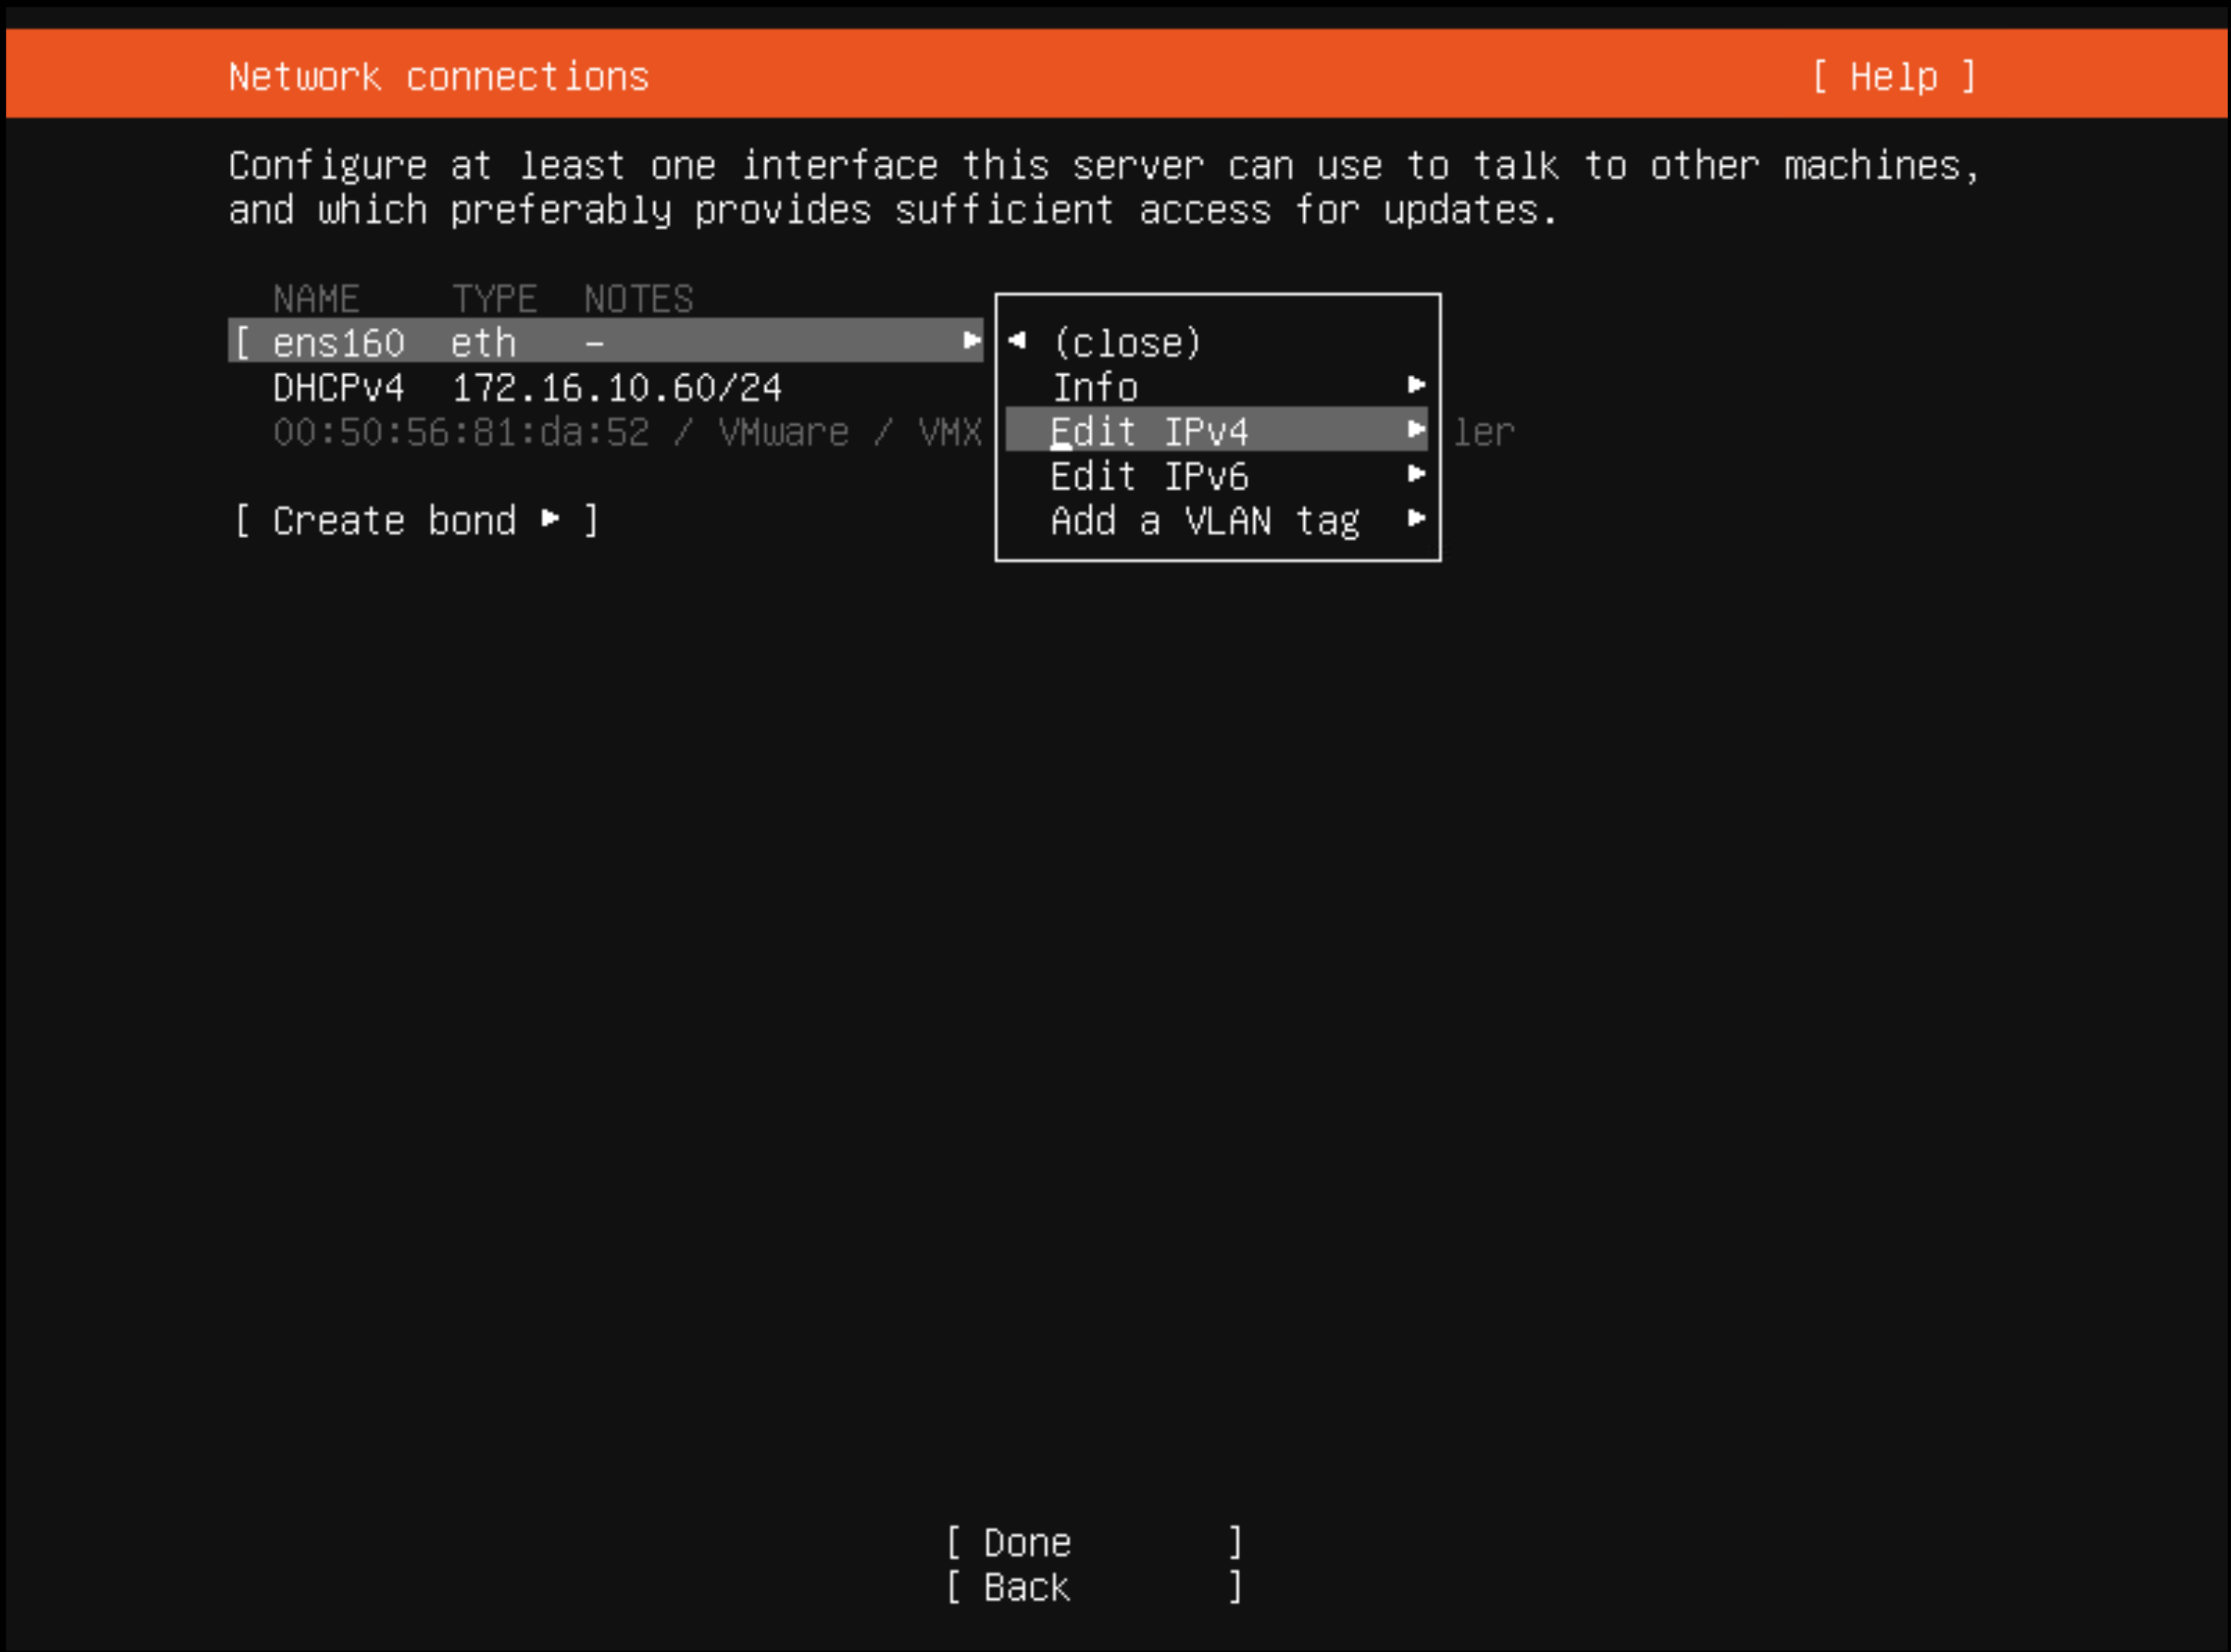
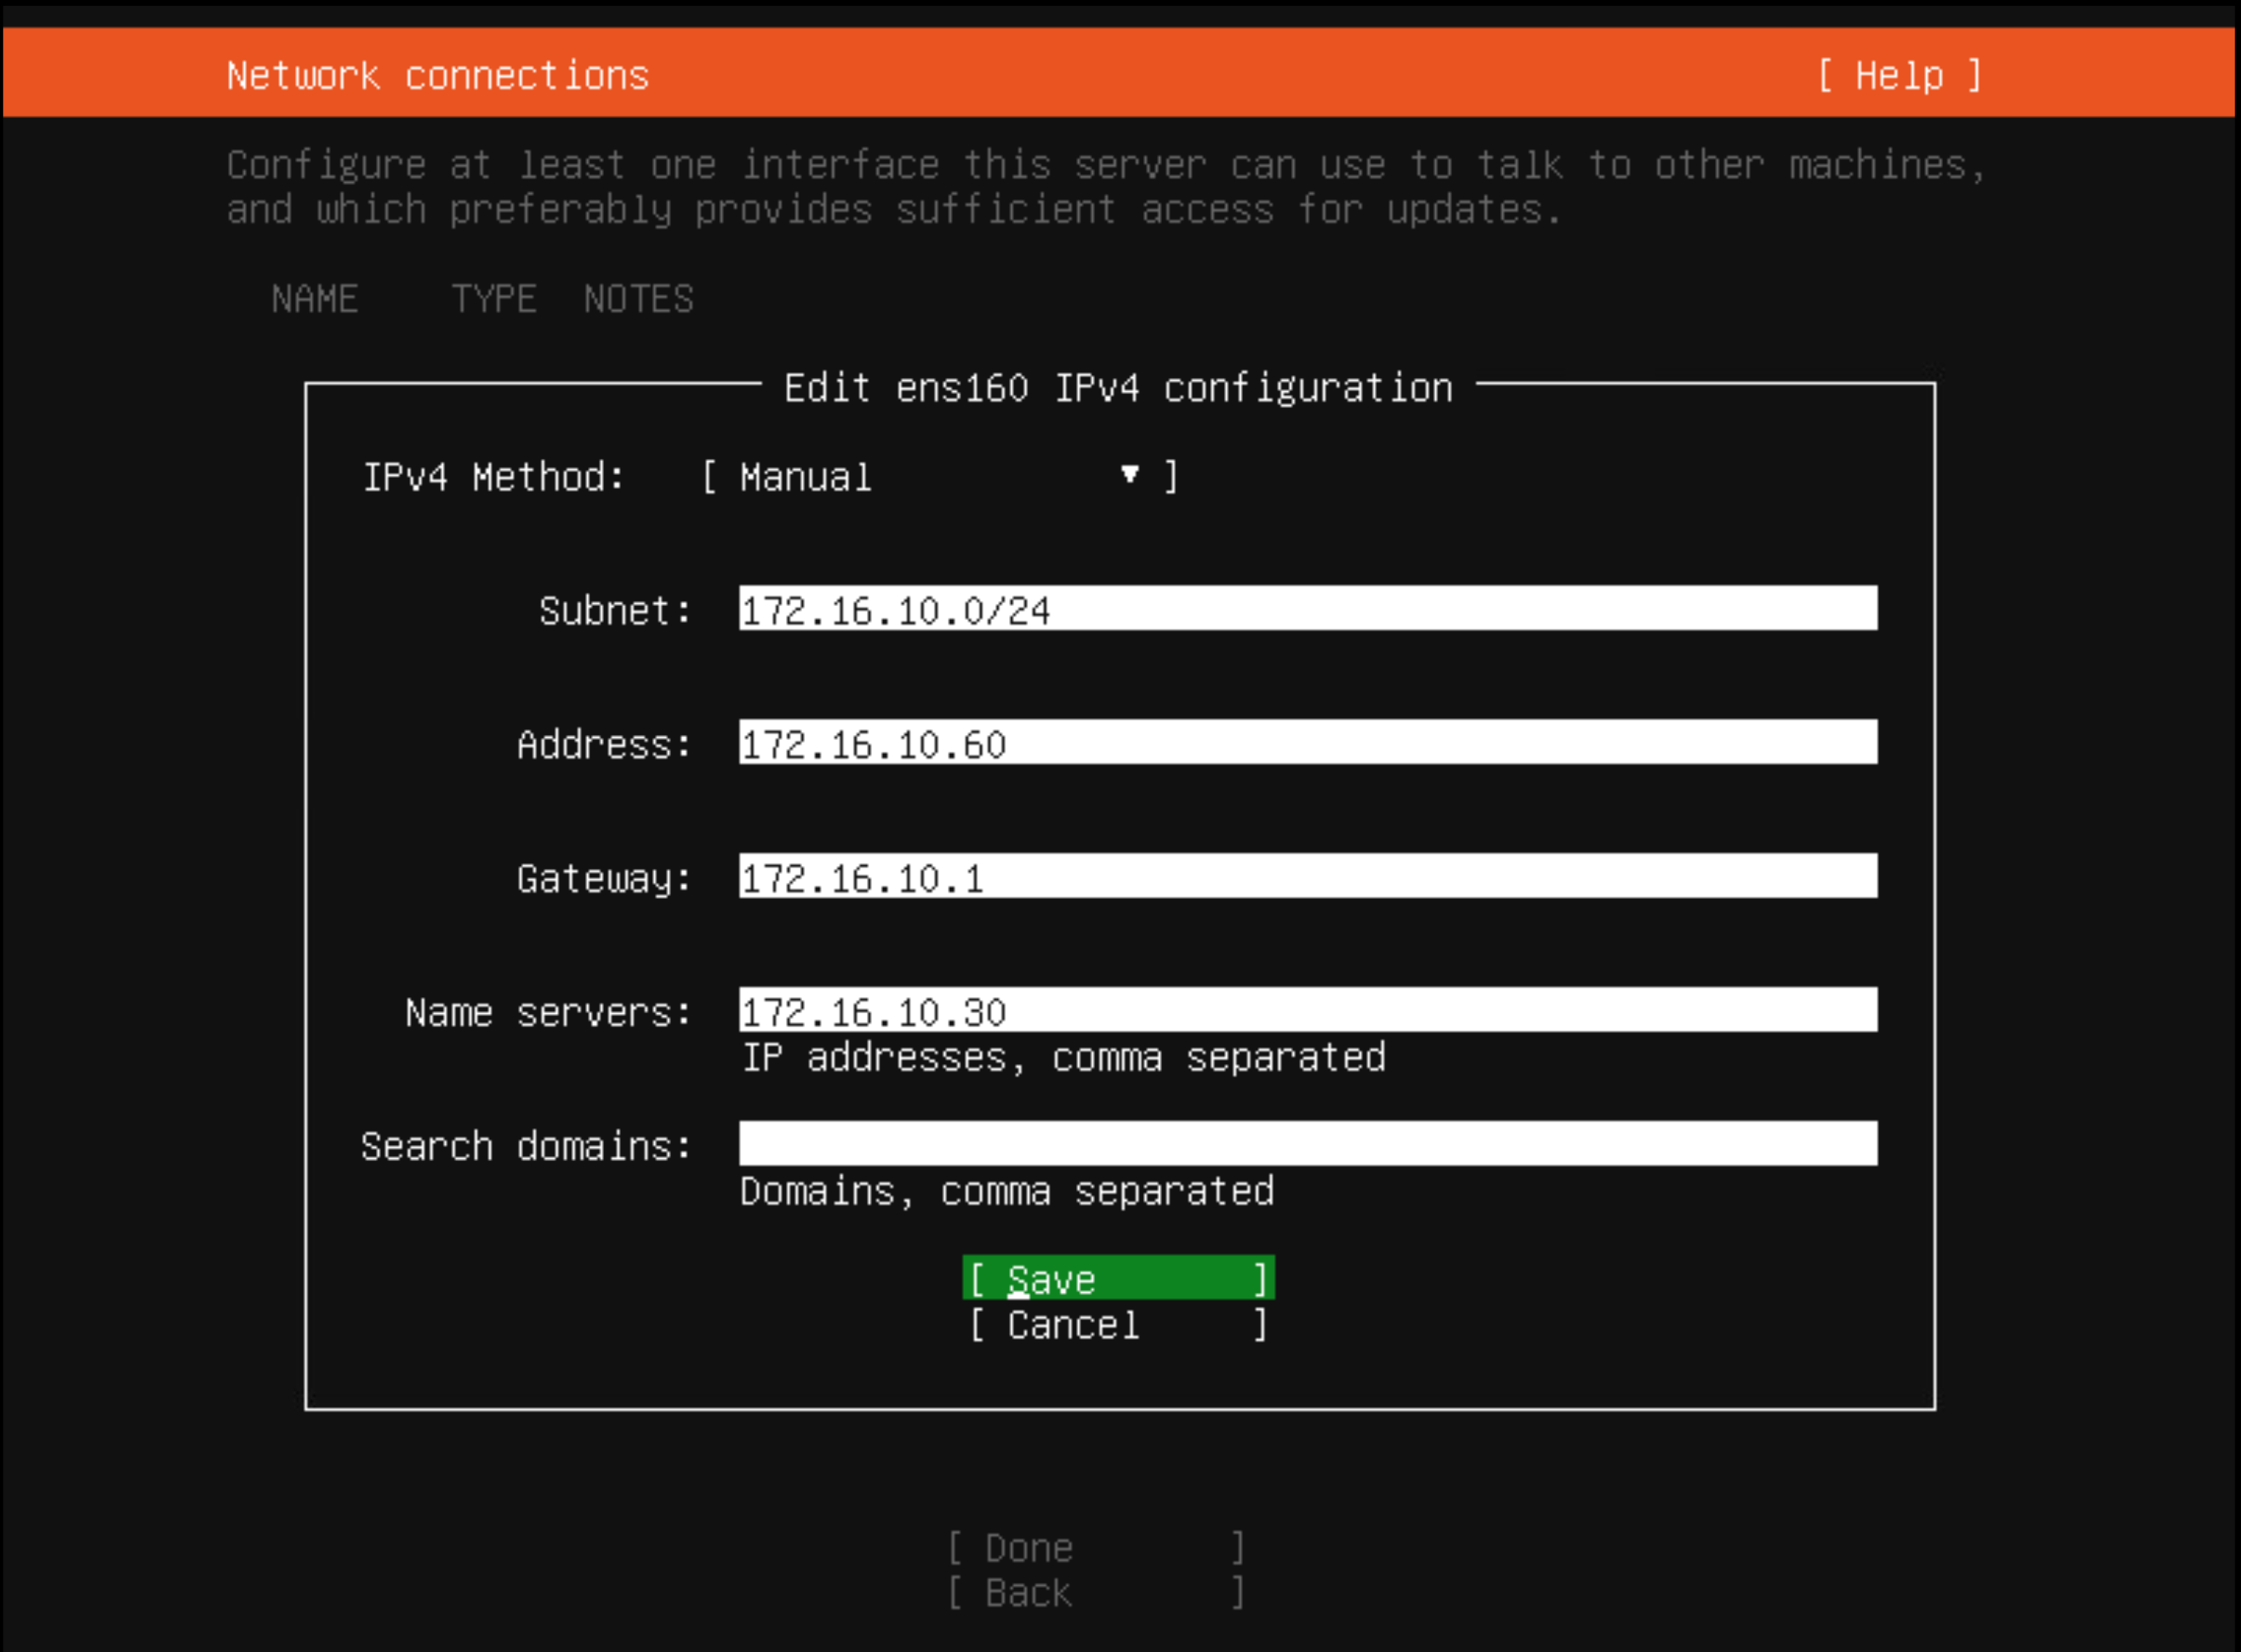
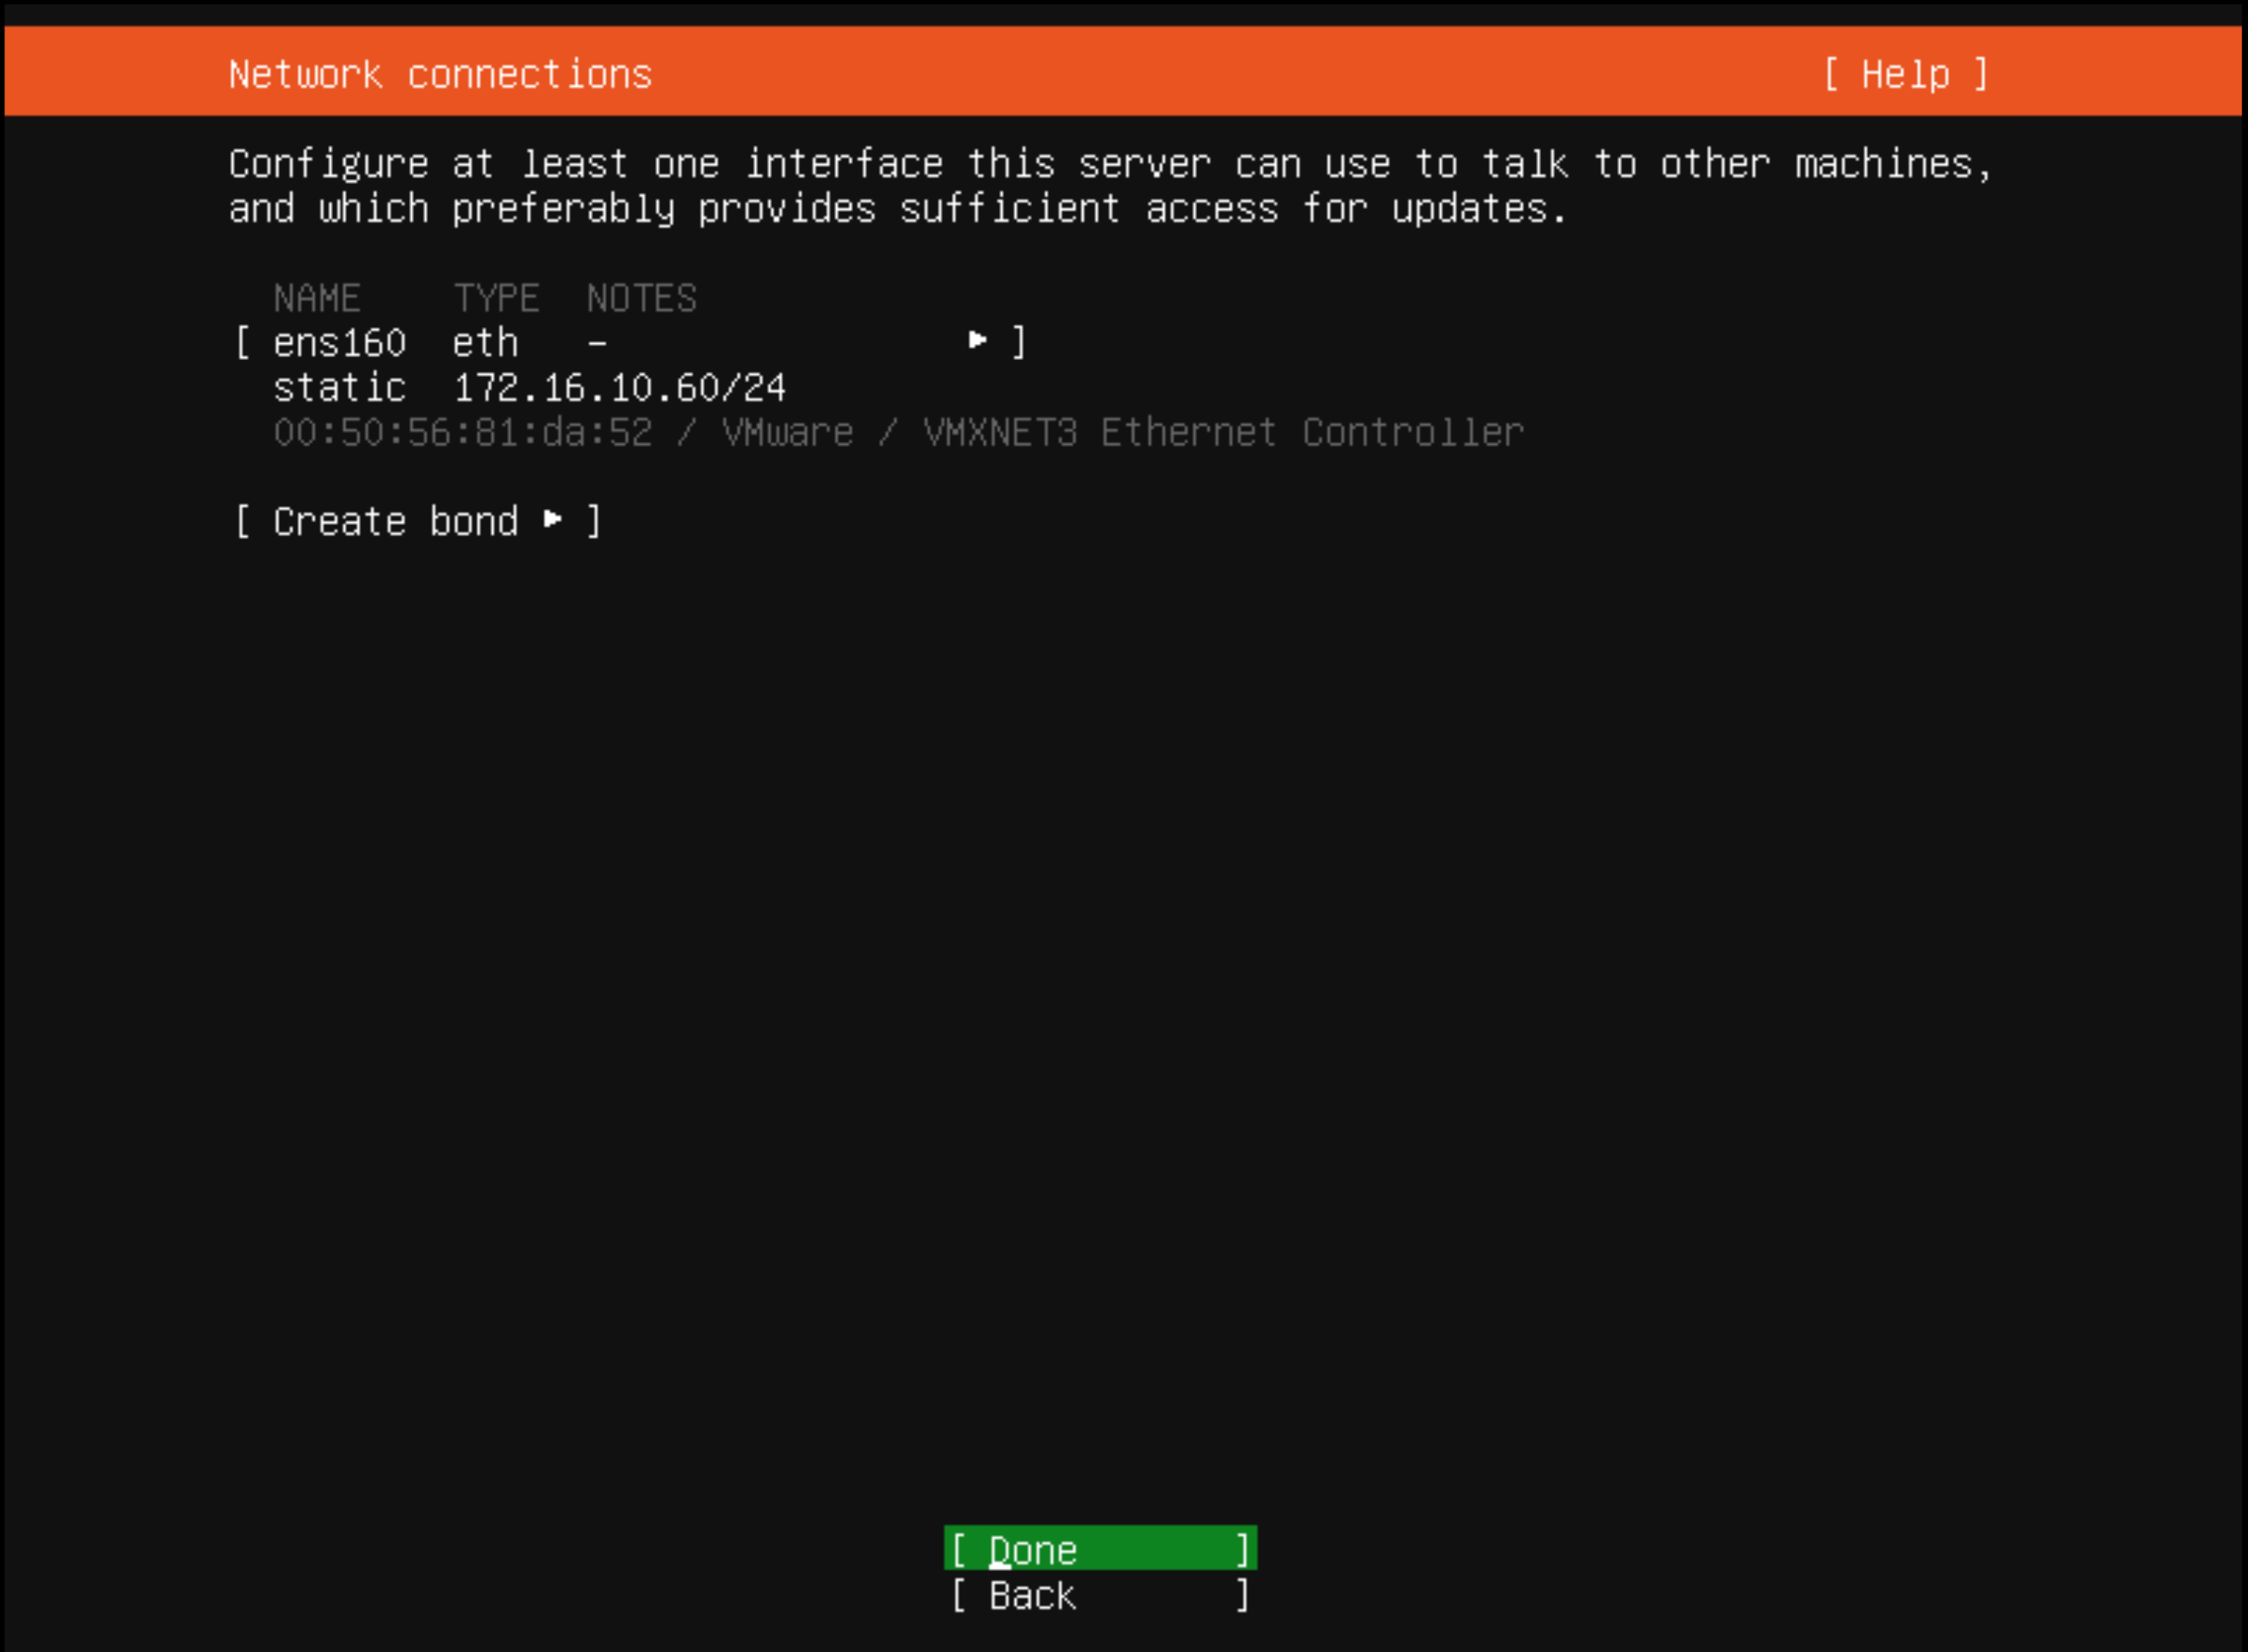
Consider using a static IP address
Install OpenSSH server


Post-installation
Before converting the VM to a template, several actions are needed.
Update your OS packages:
sudo apt-get update
sudo apt-get upgrade -y
Prevent cloudconfig from preserving the original hostname and reset the hostname:
sudo sed -i 's/preserve_hostname: false/preserve_hostname: true/g' /etc/cloud/cloud.cfg
sudo truncate -s0 /etc/hostname
sudo hostnamectl set-hostname localhost
Remove the current network configuration:
sudo rm /etc/netplan/50-cloud-init.yamlClean shell history and shutdown the VM:
cat /dev/null > ~/.bash_history && history -c
sudo shutdown now
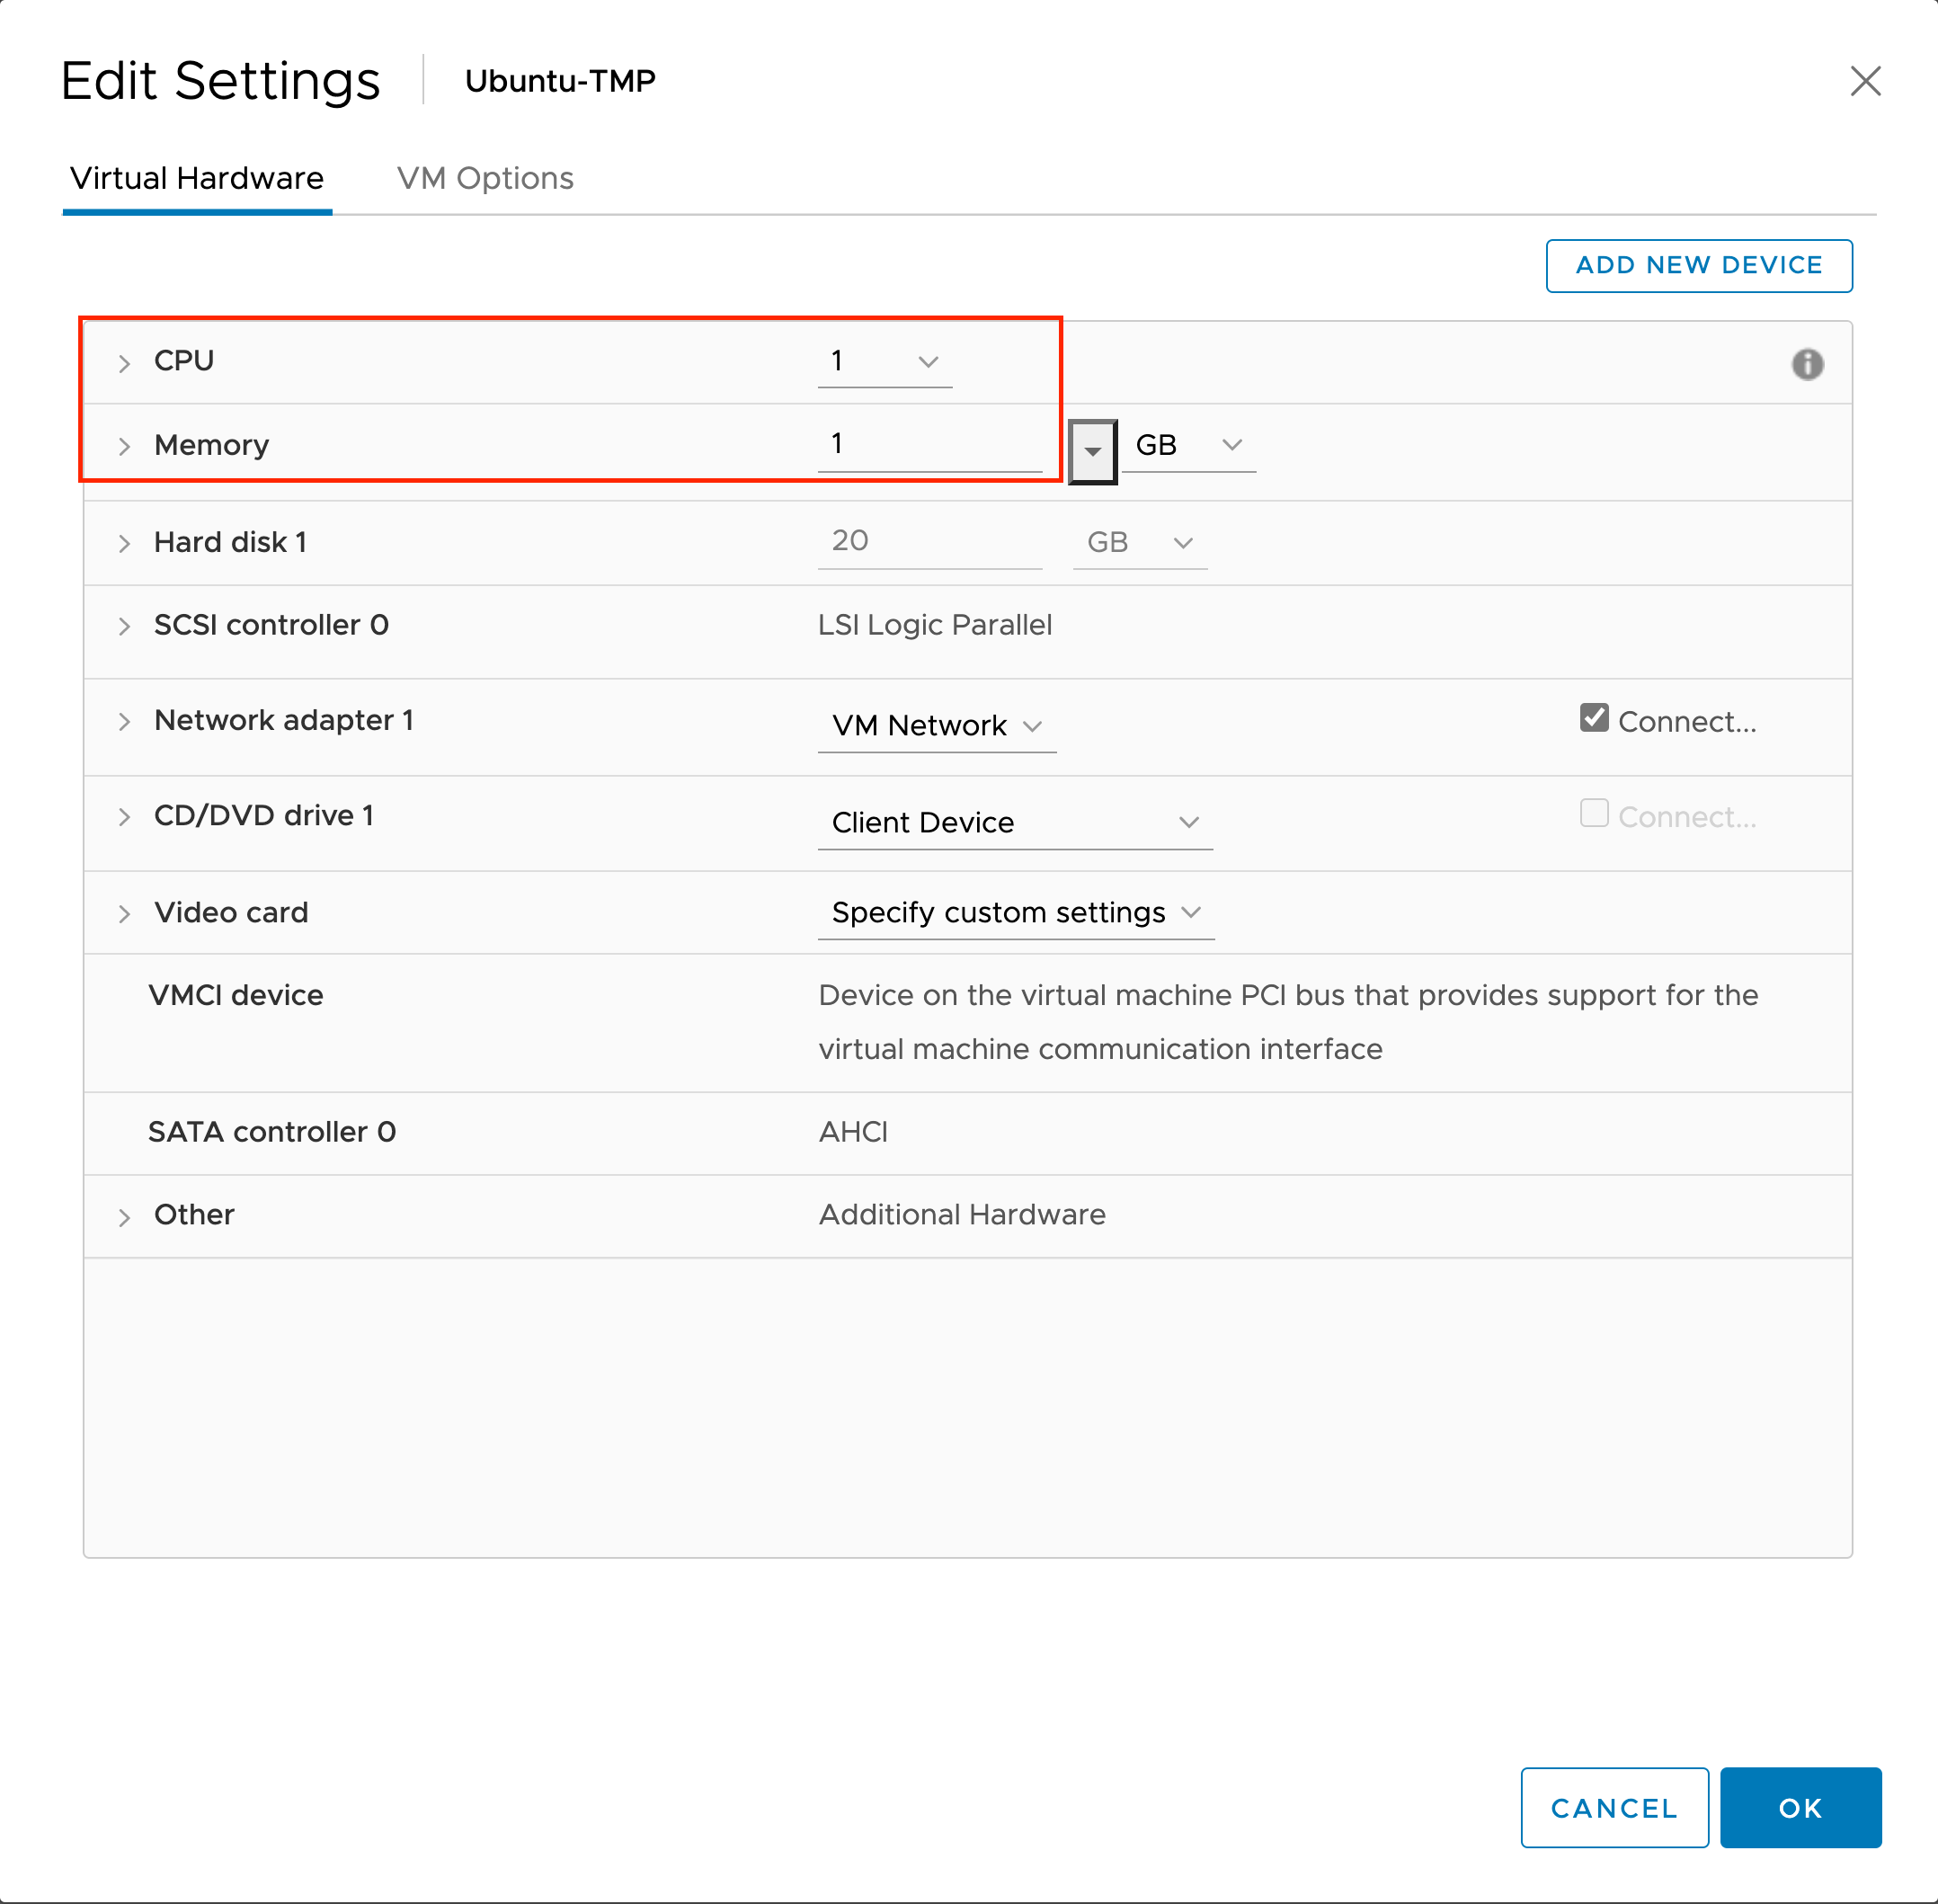
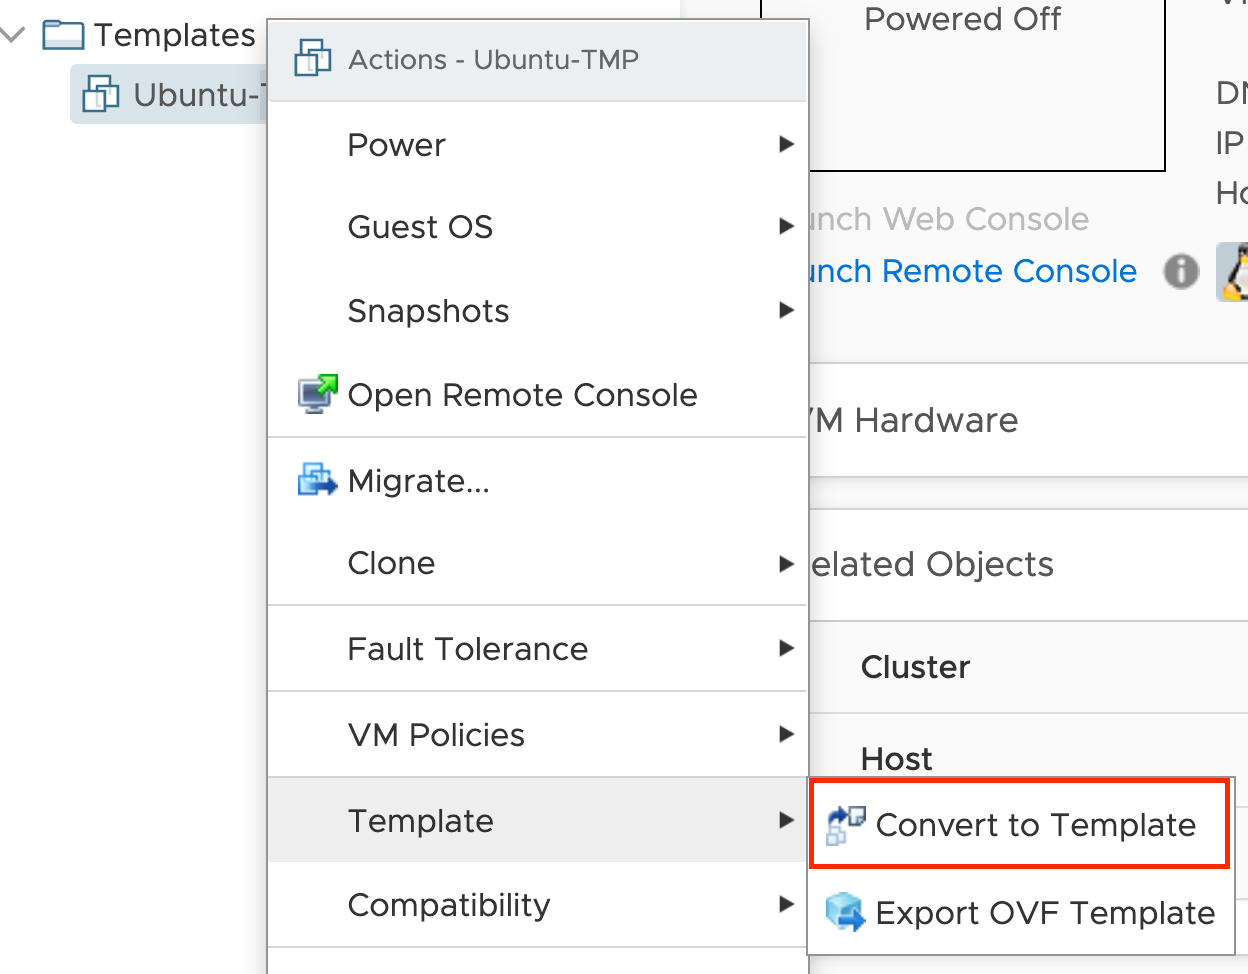
Convert to template
Reduce the VM CPU count and memory resources to the minimum and convert the VM to template, switch the CD/DVD drive to client device as well disconnect it and convert the VM to template.
Feedback
Coming soon: Throughout 2024 we will be phasing out GitHub Issues as the feedback mechanism for content and replacing it with a new feedback system. For more information see: https://aka.ms/ContentUserFeedback.
Submit and view feedback for