Tutorial: Triage incoming emails with power automate
In this tutorial you will categorize and triage incoming email using custom text classification. Using this Power Automate flow, when a new email is received, its contents will have a classification applied, and depending on the result, a message will be sent to a designated channel on Microsoft Teams.
Prerequisites
- Azure subscription - Create one for free
- A Language resource
- A trained custom text classification model.
- You will need the key and endpoint from your Language resource to authenticate your Power Automate flow.
- A successfully created and deployed single text classification custom model
Create a Power Automate flow
From the left side menu, select My flows and create a Automated cloud flow
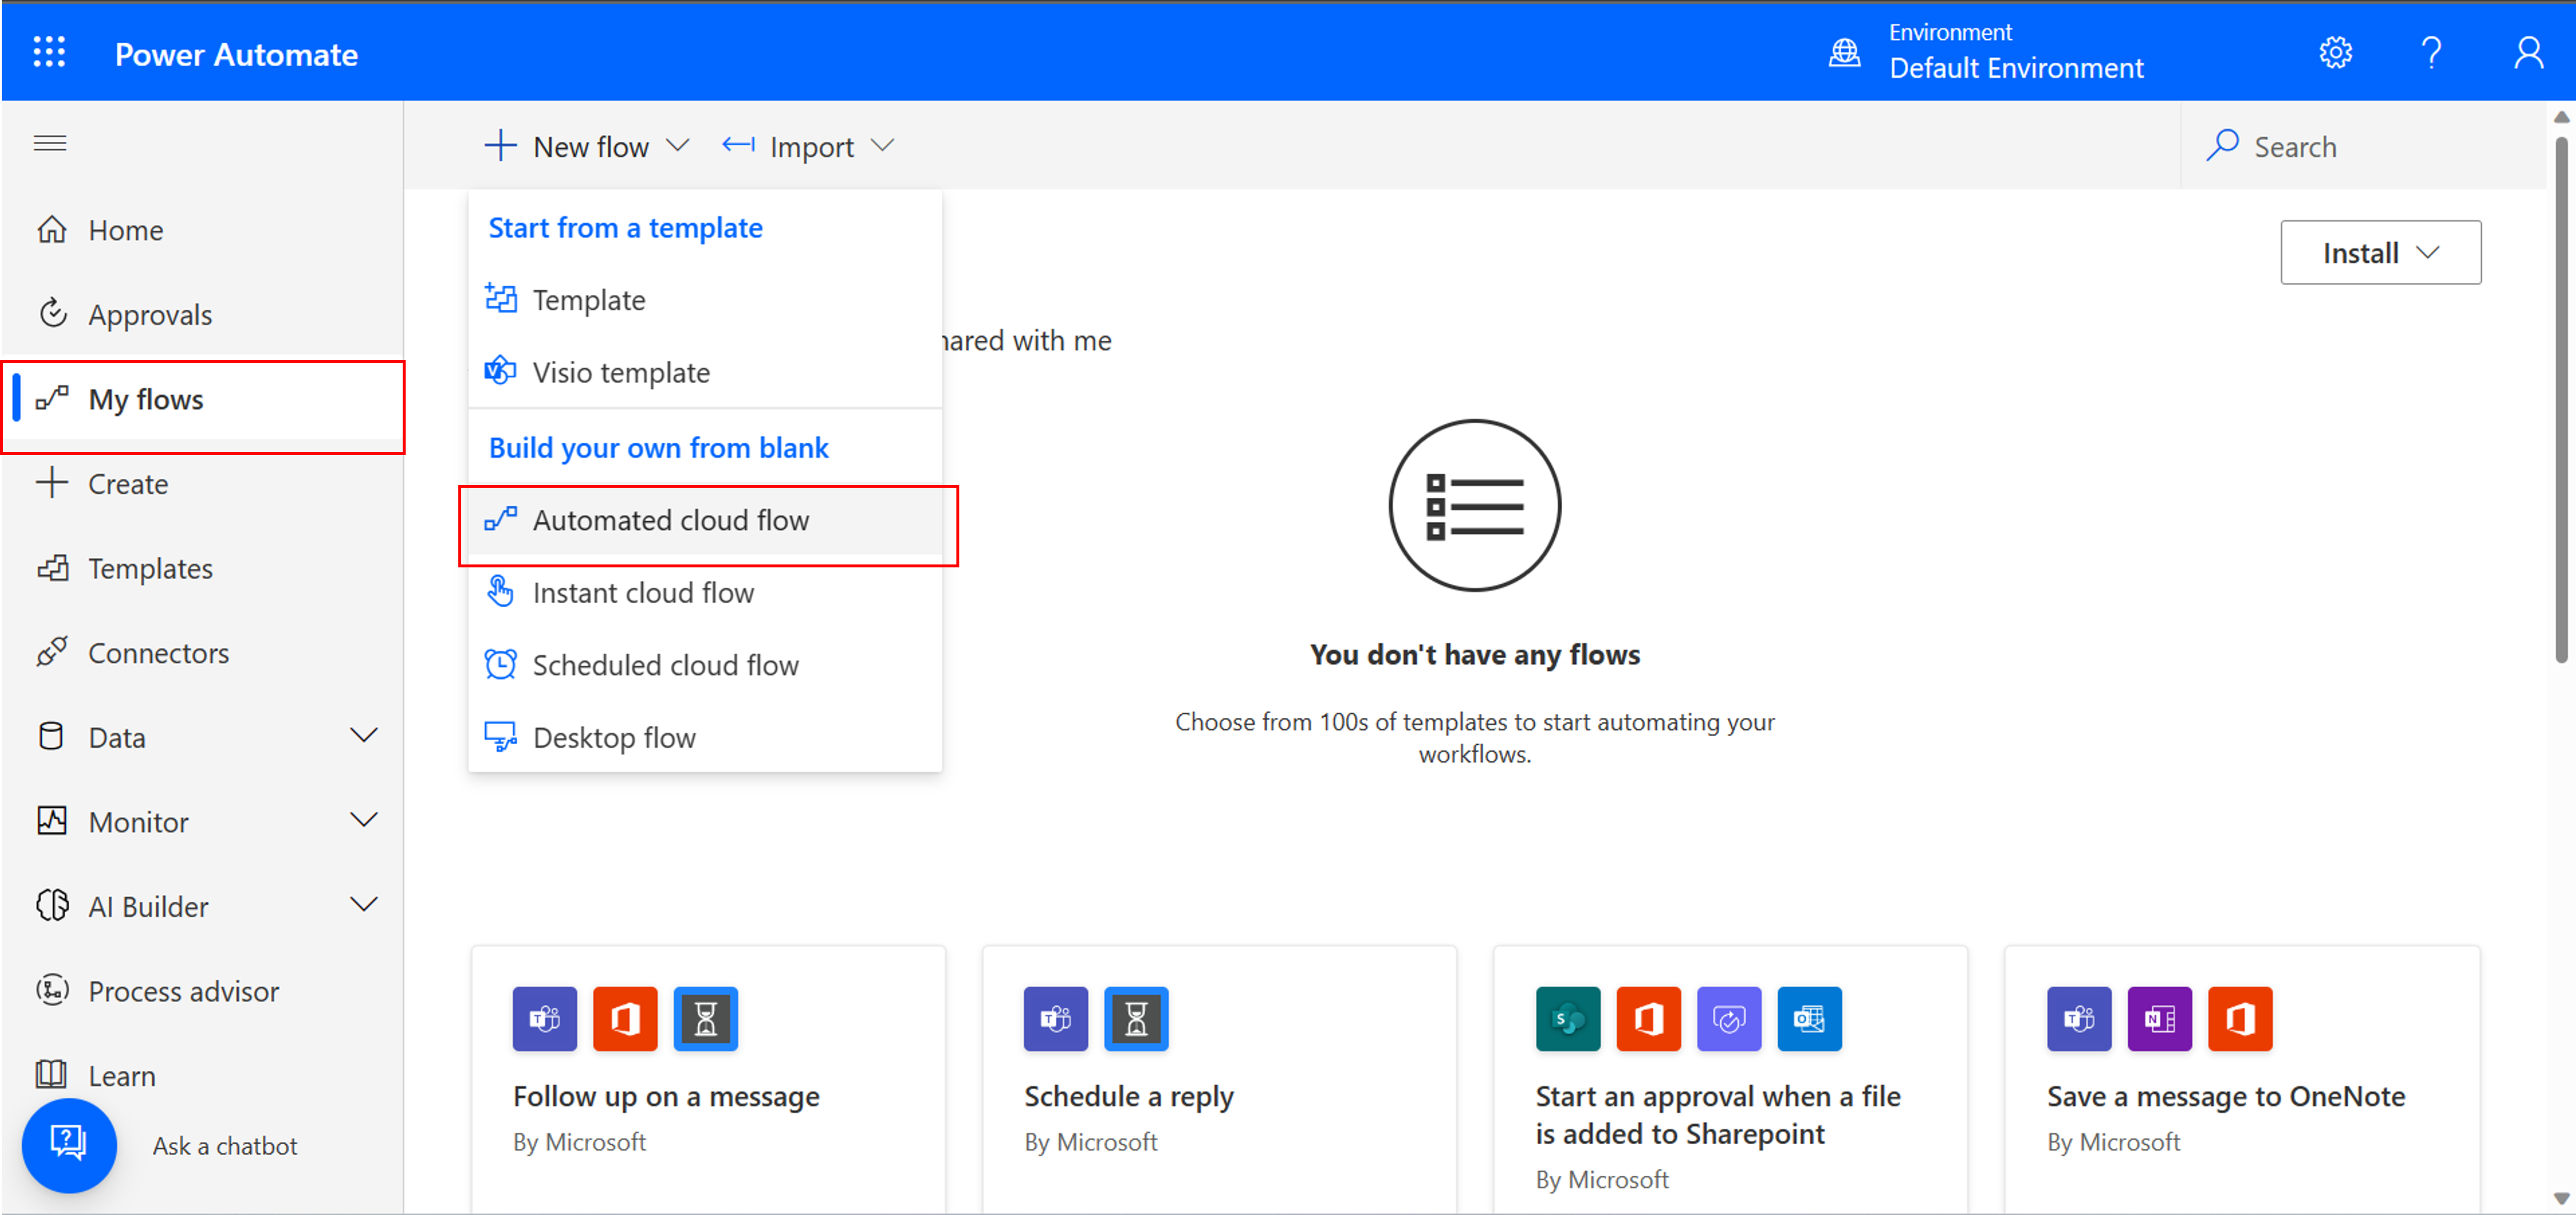
Name your flow
EmailTriage. Below Choose your flow's triggers, search for email and select When a new email arrives. Then select create
Add the right connection to your email account. This connection will be used to access the email content.
To add a Language service connector, search for Azure AI Language.

Search for CustomSingleLabelClassification.
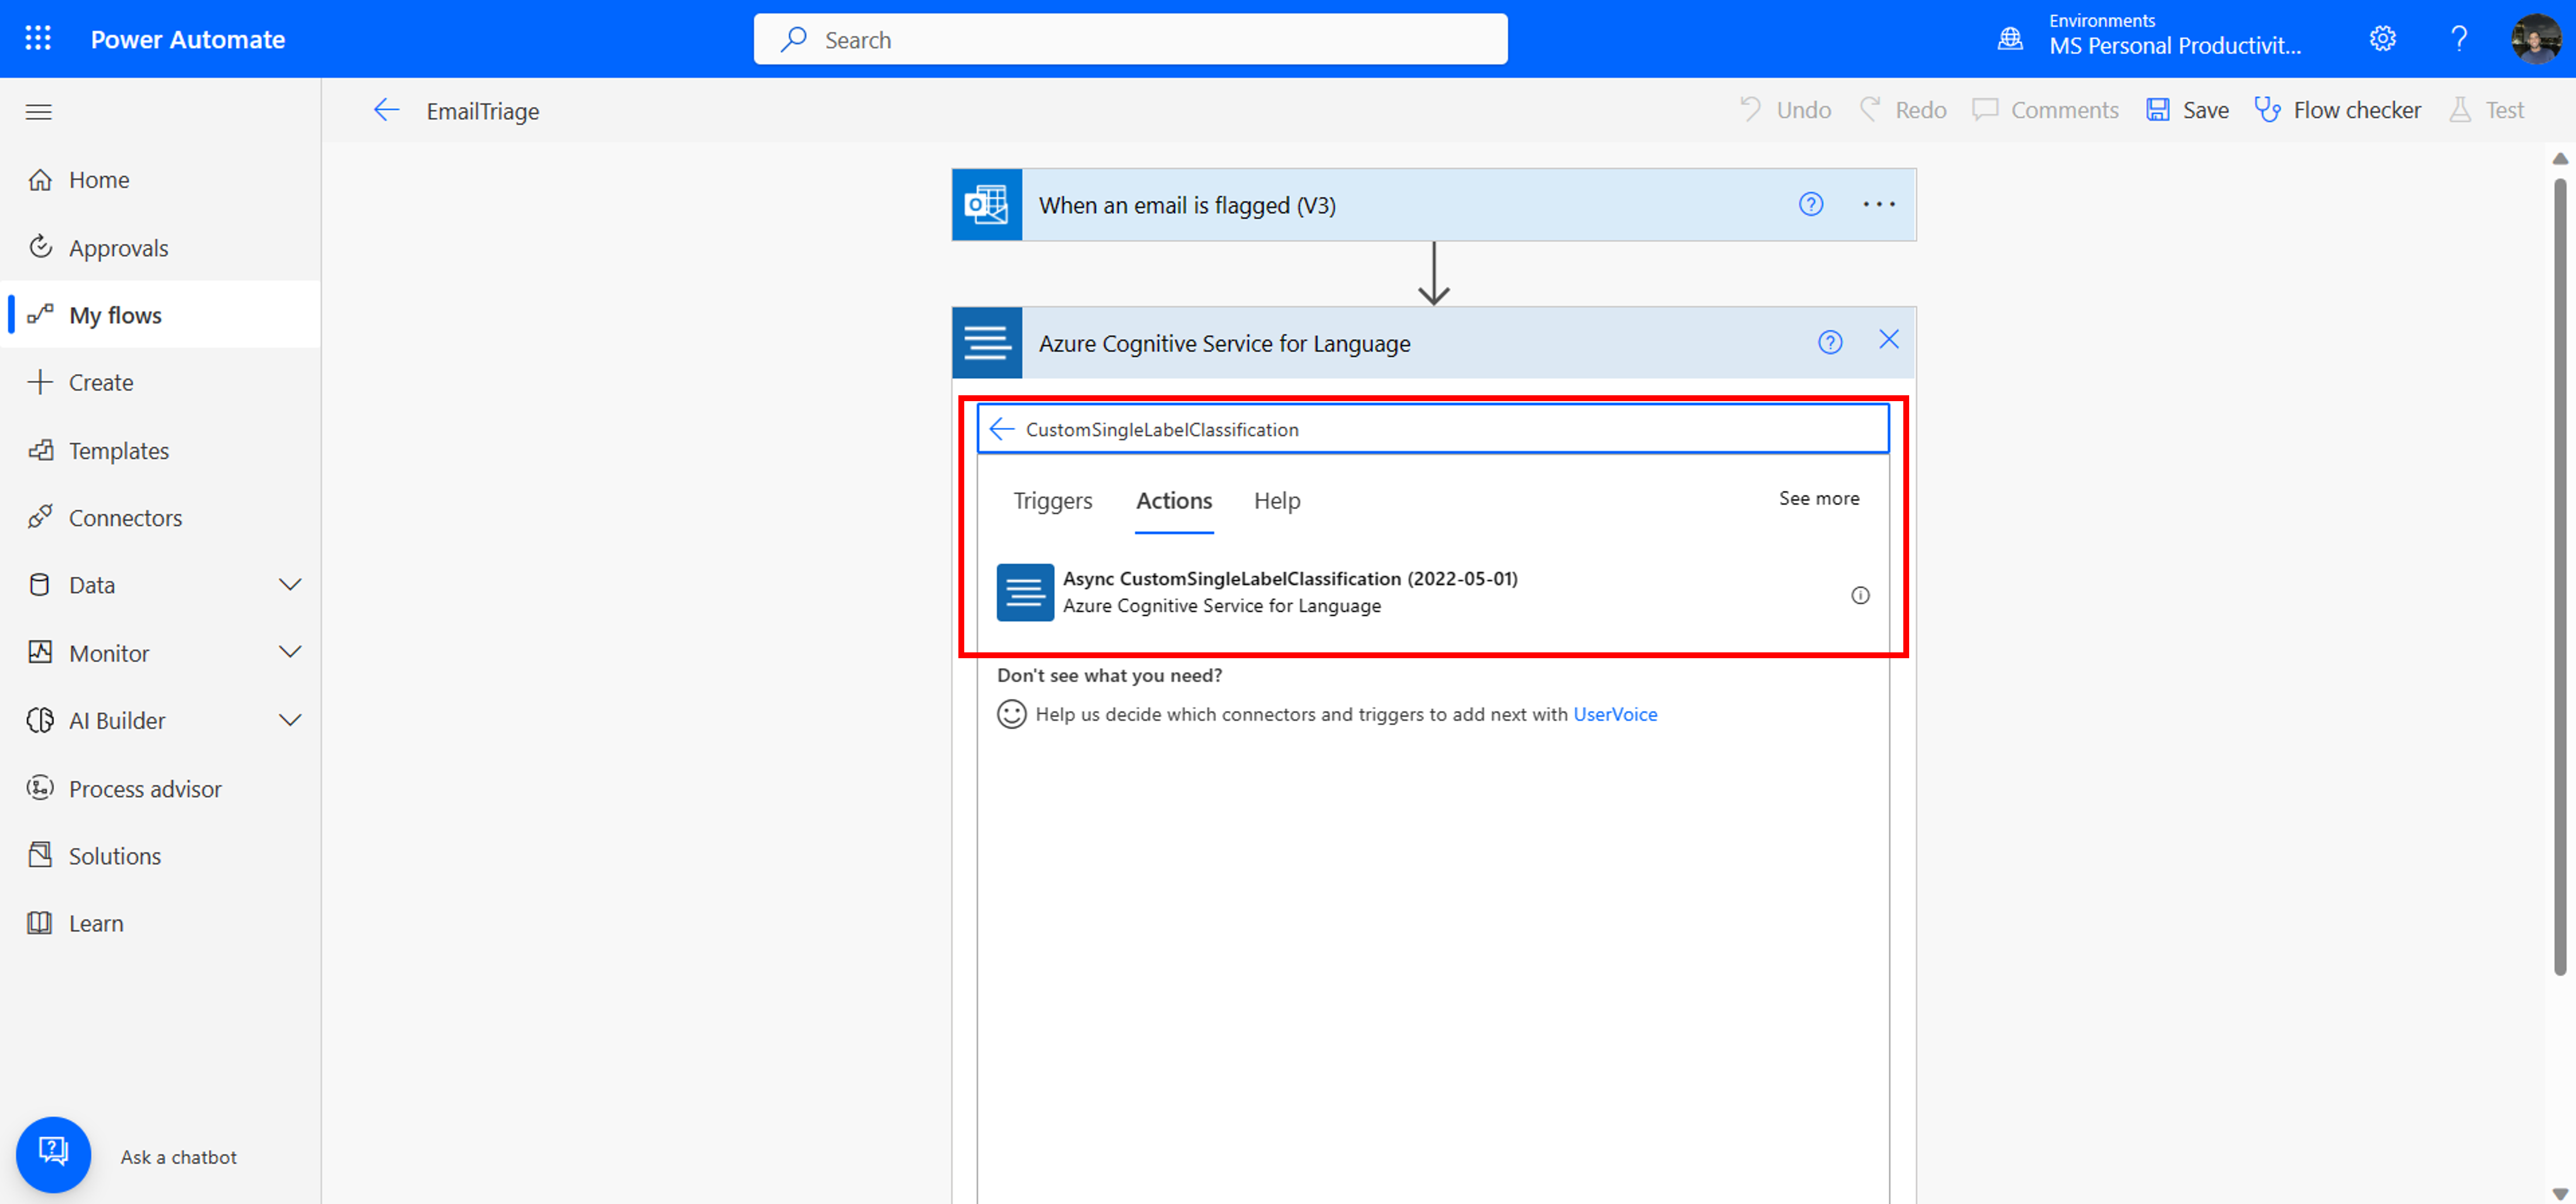
Start by adding the right connection to your connector. This connection will be used to access the classification project.
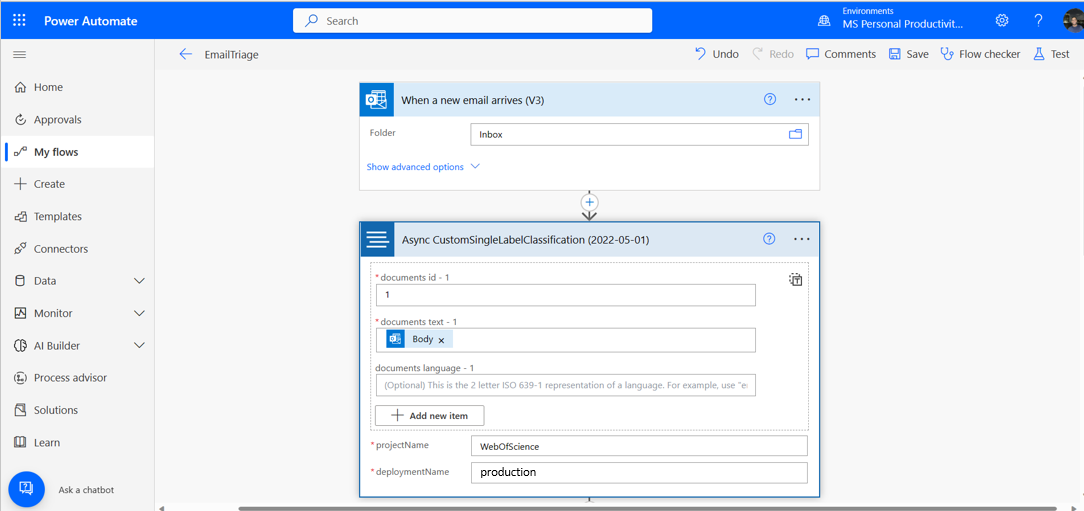
In the documents ID field, add 1.
In the documents text field, add body from dynamic content.
Fill in the project name and deployment name of your deployed custom text classification model.
Add a condition to send a Microsoft Teams message to the right team by:
- Select results from dynamic content, and add the condition. For this tutorial, we are looking for
Computer_sciencerelated emails. In the Yes condition, choose your desired option to notify a team channel. In the No condition, you can add additional conditions to perform alternative actions.

- Select results from dynamic content, and add the condition. For this tutorial, we are looking for


Next steps
Feedback
Coming soon: Throughout 2024 we will be phasing out GitHub Issues as the feedback mechanism for content and replacing it with a new feedback system. For more information see: https://aka.ms/ContentUserFeedback.
Submit and view feedback for