Enable private access in Azure Cosmos DB for PostgreSQL
APPLIES TO:
![]() Azure Cosmos DB for PostgreSQL (powered by the Citus database
extension to PostgreSQL)
Azure Cosmos DB for PostgreSQL (powered by the Citus database
extension to PostgreSQL)
Private access allows resources in an Azure virtual network to connect securely and privately to nodes in a cluster. This how-to assumes you've already created a virtual network and subnet. For an example of setting up prerequisites, see the private access tutorial.
Create a cluster with a private endpoint
- Select Create a resource in the upper left-hand corner of the Azure portal.
- On the Create a resource page, select Databases, and then select Azure Cosmos DB.
- On the Select API option page, on the PostgreSQL tile, select Create.
- On the Create an Azure Cosmos DB for PostgreSQL cluster page, select or create a Resource group, enter a Cluster name and Location, and enter and confirm the administrator Password.
- Select Next: Networking.
- On the Networking tab, for Connectivity method, select Private access.
- On the Create private endpoint screen, enter or select appropriate values for:
- Resource group
- Location
- Name
- Target sub-resource
- Virtual network
- Subnet
- Integrate with private DNS zone
- Select OK.
- After you create the private endpoint, select Review + create and then select Create to create your cluster.
Enable private access on an existing cluster
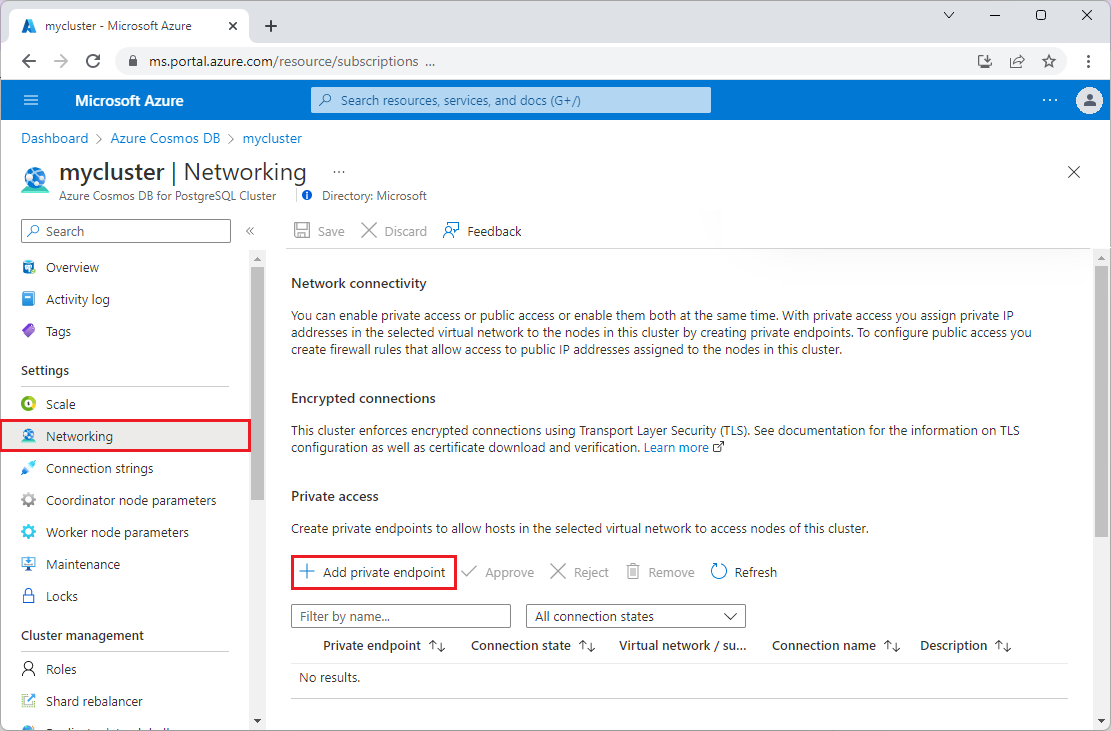
To create a private endpoint to a node in an existing cluster, open the Networking page for the cluster.
Select Add private endpoint.
On the Basics tab of the Create a private endpoint screen, confirm the Subscription, Resource group, and Region. Enter a Name for the endpoint, such as my-cluster-1, and a Network interface name, such as my-cluster-1-nic.
Note
Unless you have a good reason to choose otherwise, we recommend picking a subscription and region that match those of your cluster. The default values for the form fields might not be correct. Check them and update if necessary.
Select Next: Resource. For Target sub-resource, choose the target node of the cluster. Usually coordinator is the desired node.
Select Next: Virtual Network. Choose the desired Virtual network and Subnet. Under Private IP configuration, select Statically allocate IP address or keep the default, Dynamically allocate IP address.
Select Next: DNS.
Under Private DNS integration, for Integrate with private DNS zone, keep the default Yes or select No.
Select Next: Tags, and add any desired tags.
Select Review + create. Review the settings, and select Create when satisfied.
Next steps
- Learn more about private access.
- Follow a tutorial to see private access in action.
Feedback
Coming soon: Throughout 2024 we will be phasing out GitHub Issues as the feedback mechanism for content and replacing it with a new feedback system. For more information see: https://aka.ms/ContentUserFeedback.
Submit and view feedback for