Capture changed data with schema evolution from Azure SQL Database to a Delta sink by using a change data capture resource
APPLIES TO:  Azure Data Factory
  Azure Synapse Analytics
Tip
Try out Data Factory in Microsoft Fabric, an all-in-one analytics solution for enterprises. Microsoft Fabric covers everything from data movement to data science, real-time analytics, business intelligence, and reporting. Learn how to start a new trial for free!
In this article, you use the Azure Data Factory user interface to create a change data capture (CDC) resource. The resource picks up changed data from an Azure SQL Database source and adds it to Delta Lake stored in Azure Data Lake Storage Gen2, in real time. This activity showcases the support of schema evolution by using a CDC resource between source and sink.
In this article, you learn how to:
- Create a CDC resource.
- Make dynamic schema changes to a source table.
- Validate schema changes at the target Delta sink.
You can modify and expand the configuration pattern in this article.
Prerequisites
Before you begin the procedures in this article, make sure that you have these resources:
- Azure subscription. If you don't have an Azure subscription, create a free Azure account.
- SQL database. You use Azure SQL Database as a source data store. If you don't have a SQL database, create one in the Azure portal.
- Storage account. You use Delta Lake stored in Azure Data Lake Storage Gen2 as a target data store. If you don't have a storage account, see Create a storage account for the steps to create one.
Create a CDC artifact
Go to the Author pane in your data factory. Below Pipelines, a new top-level artifact called Change Data Capture (preview) appears.

Hover over Change Data Capture (preview) until three dots appear. Then select Change Data Capture (preview) Actions.

Select New CDC (preview). This step opens a flyout to begin the guided process.

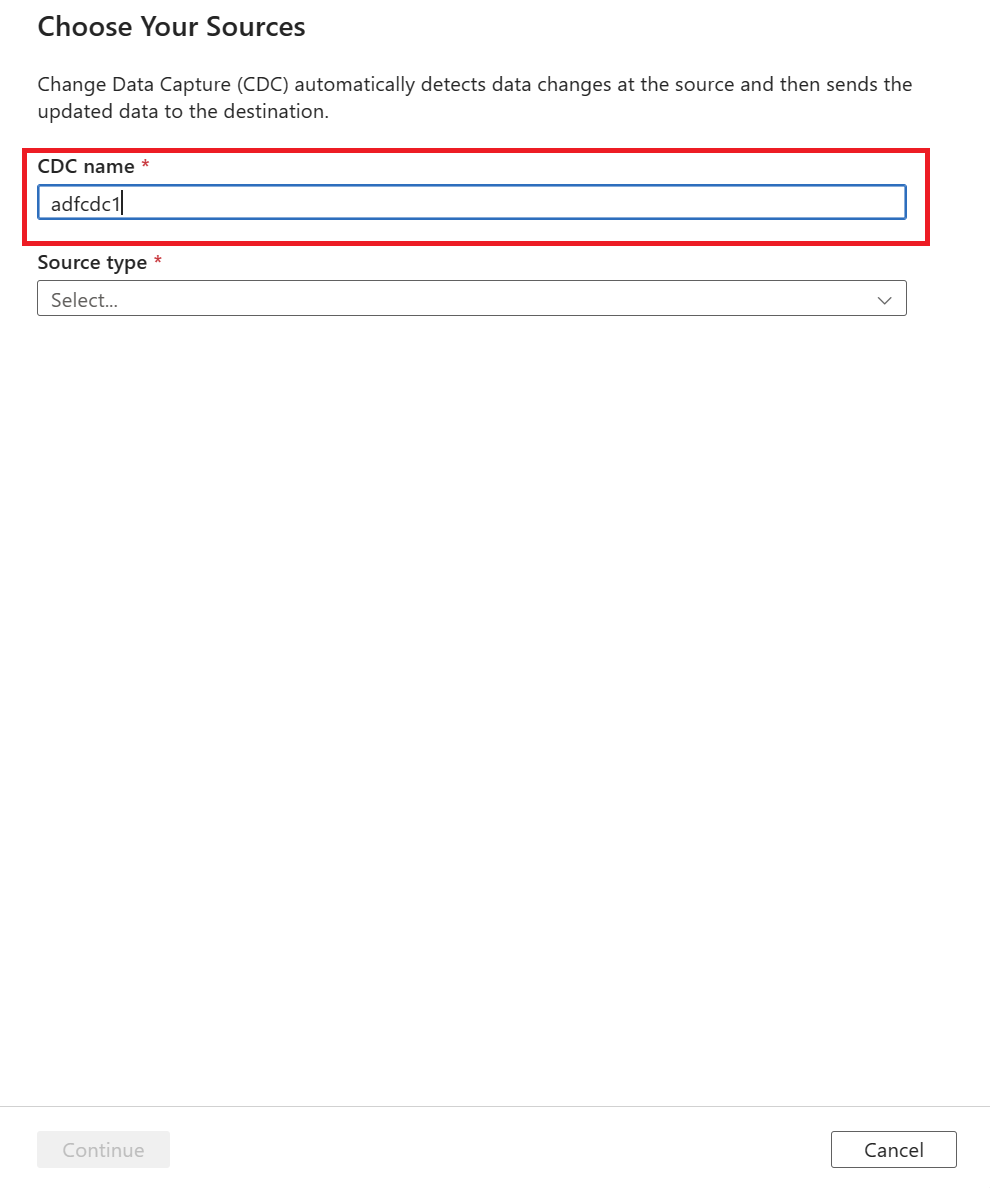
You're prompted to name your CDC resource. By default, the name is "adfcdc" with a number that increments by 1. You can replace this default name with a name that you choose.
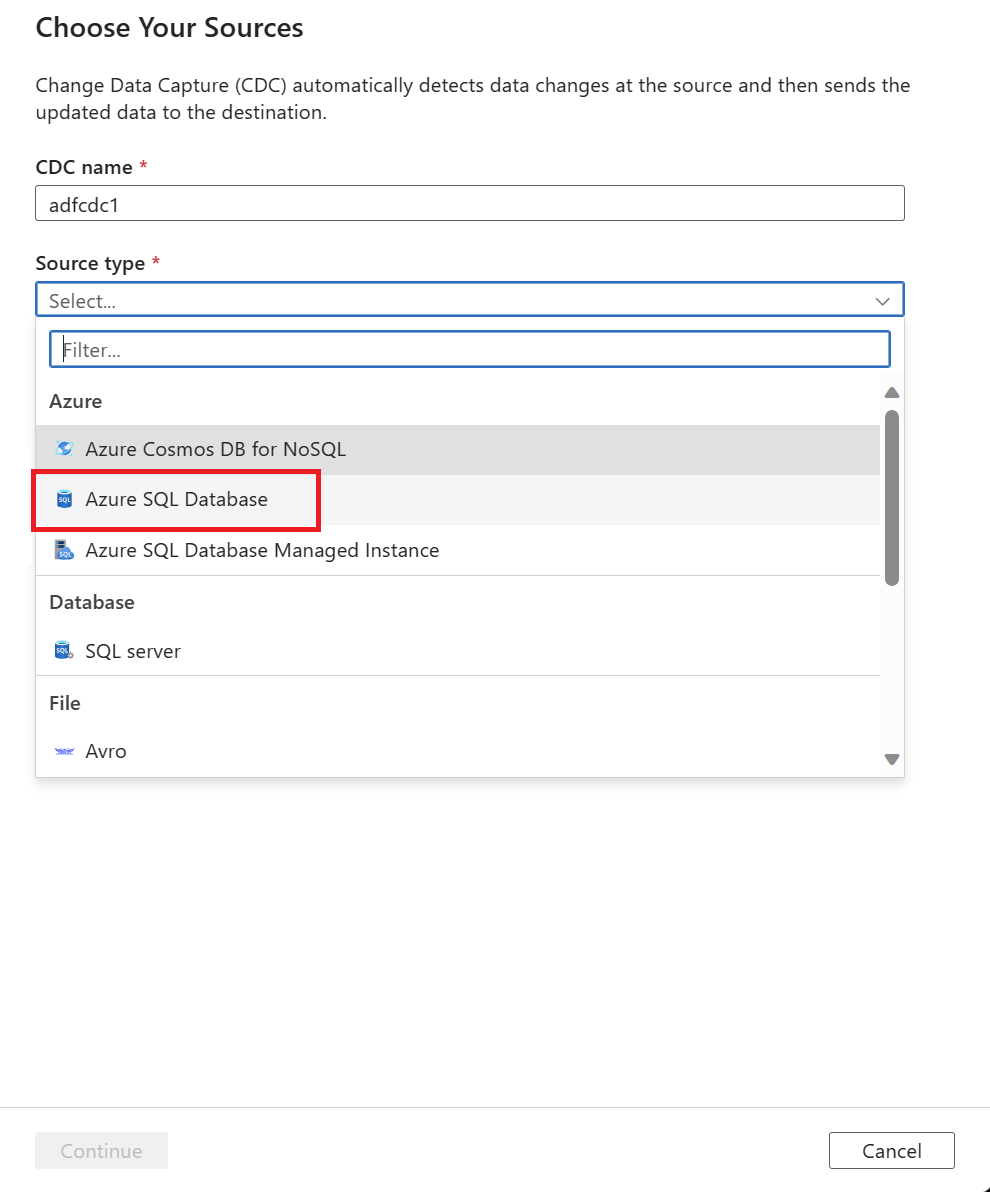
Use the dropdown list to choose your data source. For this article, select Azure SQL Database.
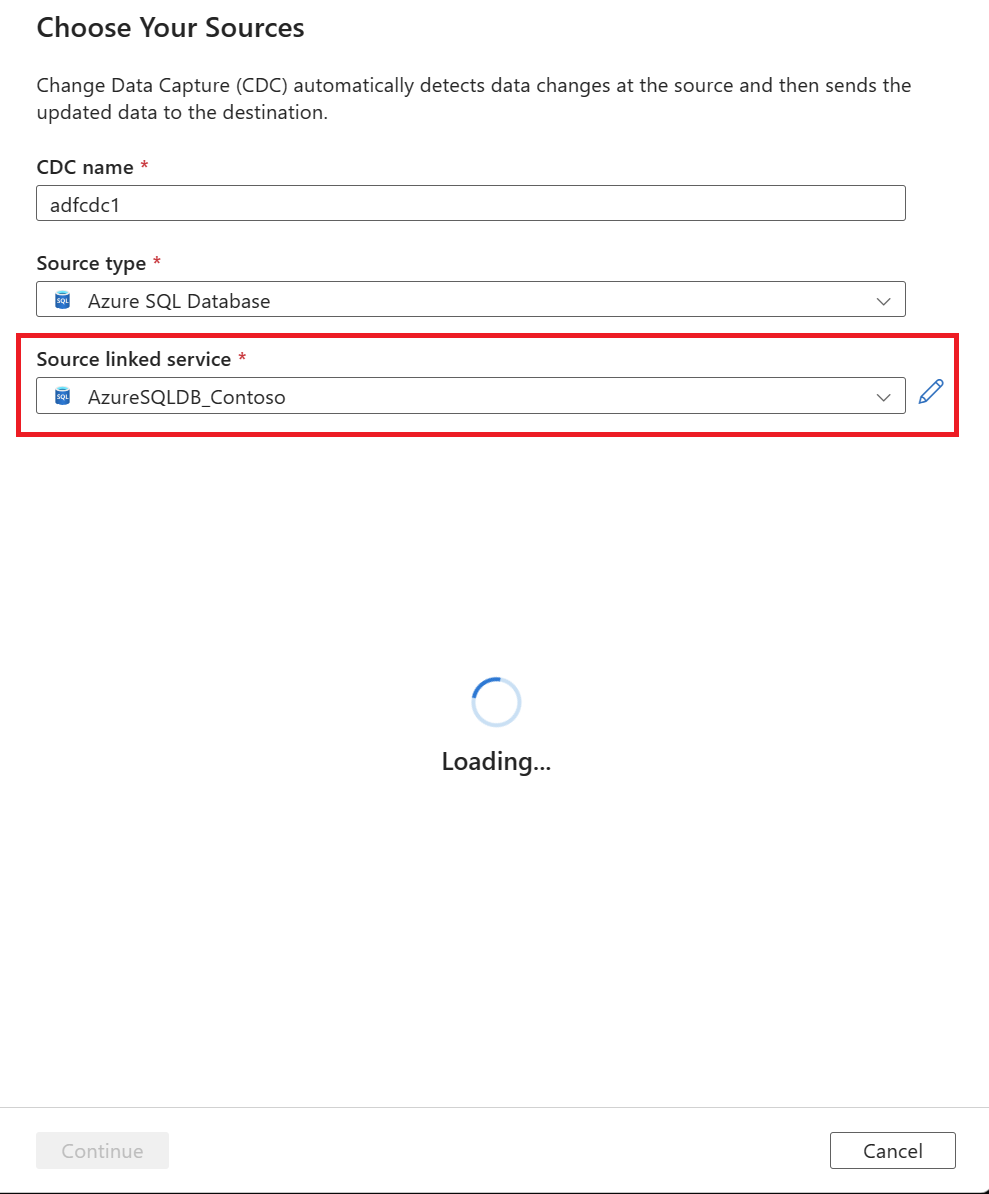
You're prompted to select a linked service. Create a new linked service or select an existing one.
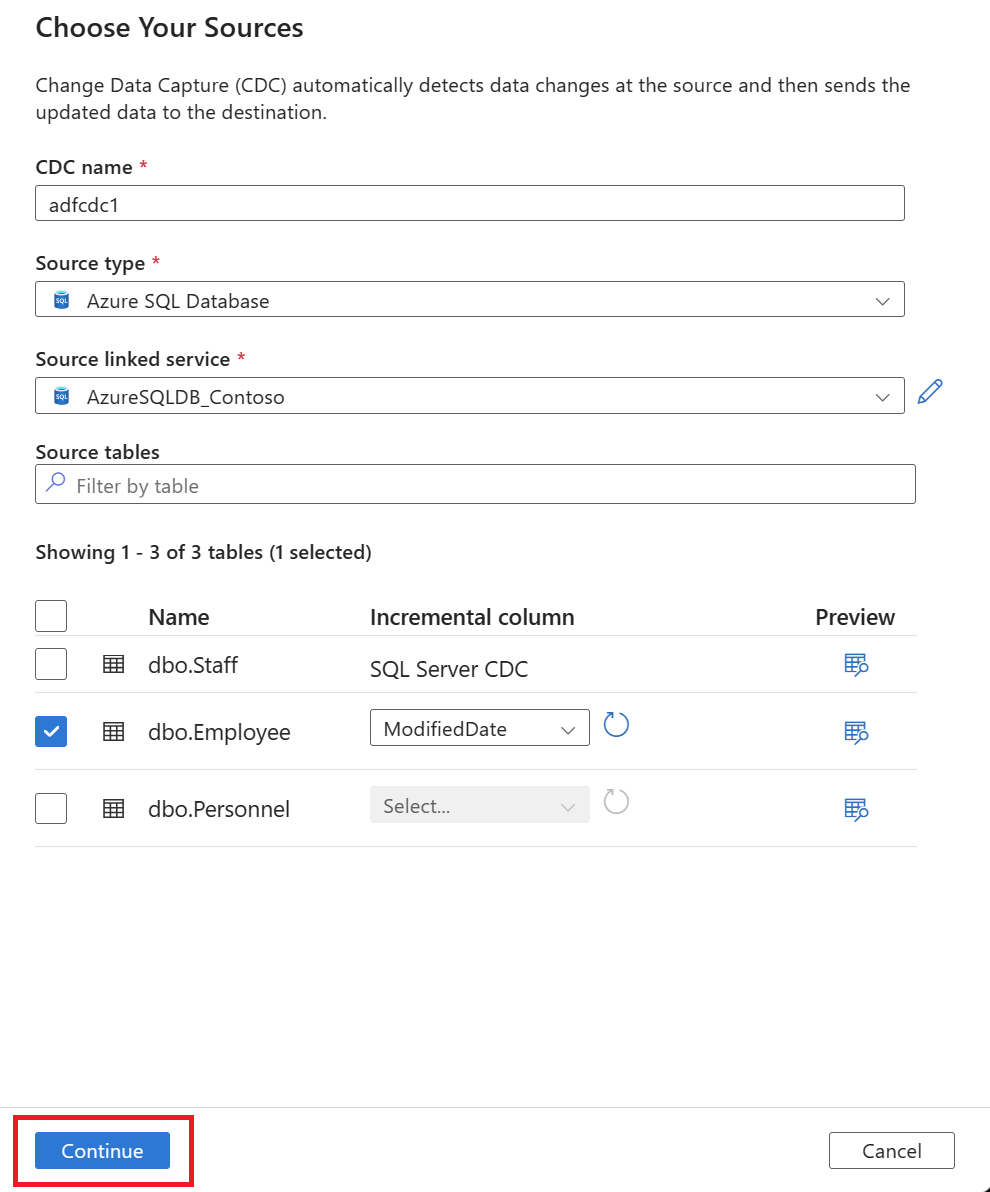
After you select a linked service, you're prompted to select source tables. Use the checkboxes to select the source tables, and then select the Incremental column value by using the dropdown list.

The pane lists only tables that have supported incremental column data types.
Note
To enable CDC with schema evolution in an Azure SQL Database source, choose tables based on watermark columns rather than tables that are native SQL CDC enabled.
After you select the source tables, select Continue to set your data target.
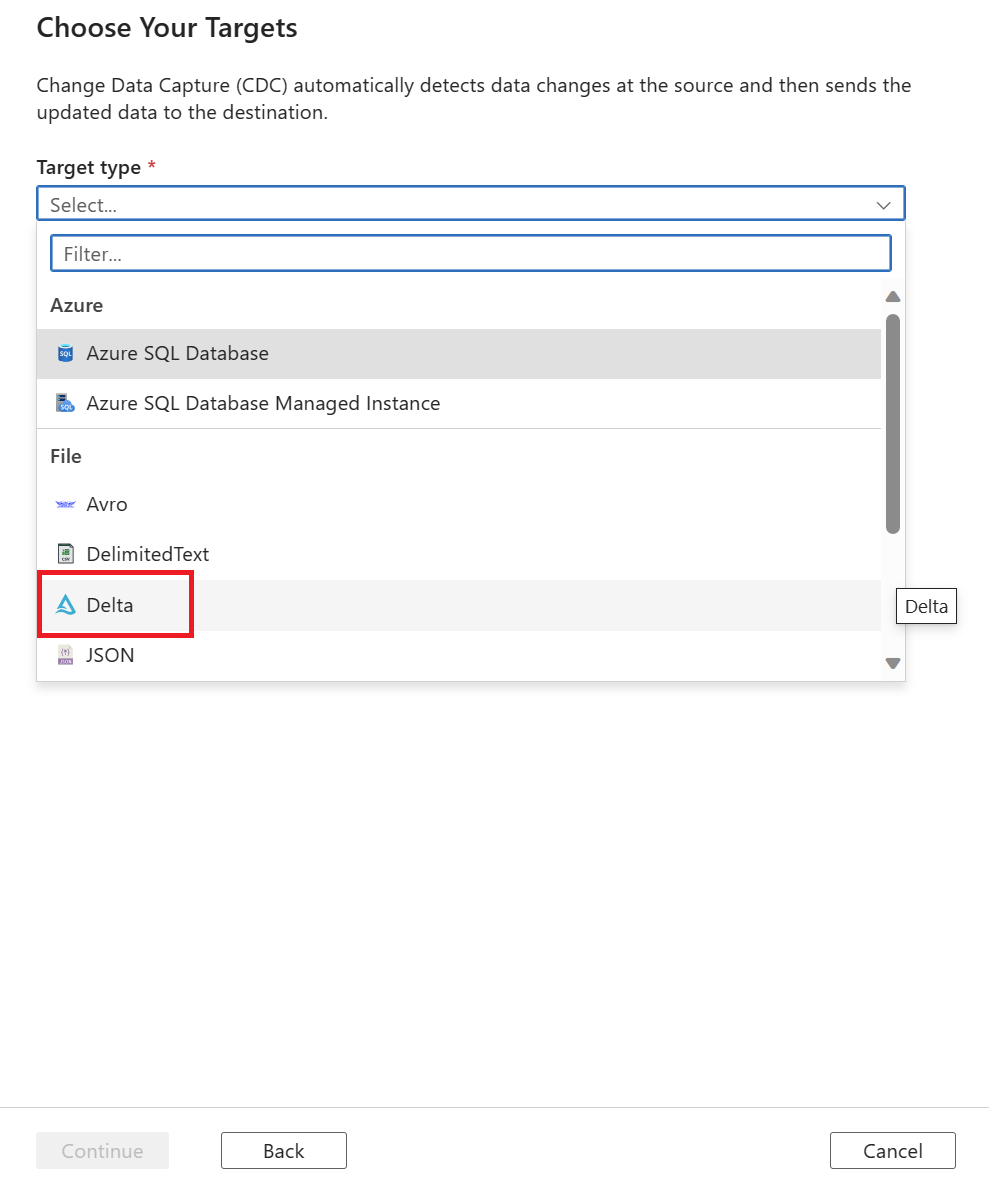
Select a Target type value by using the dropdown list. For this article, select Delta.
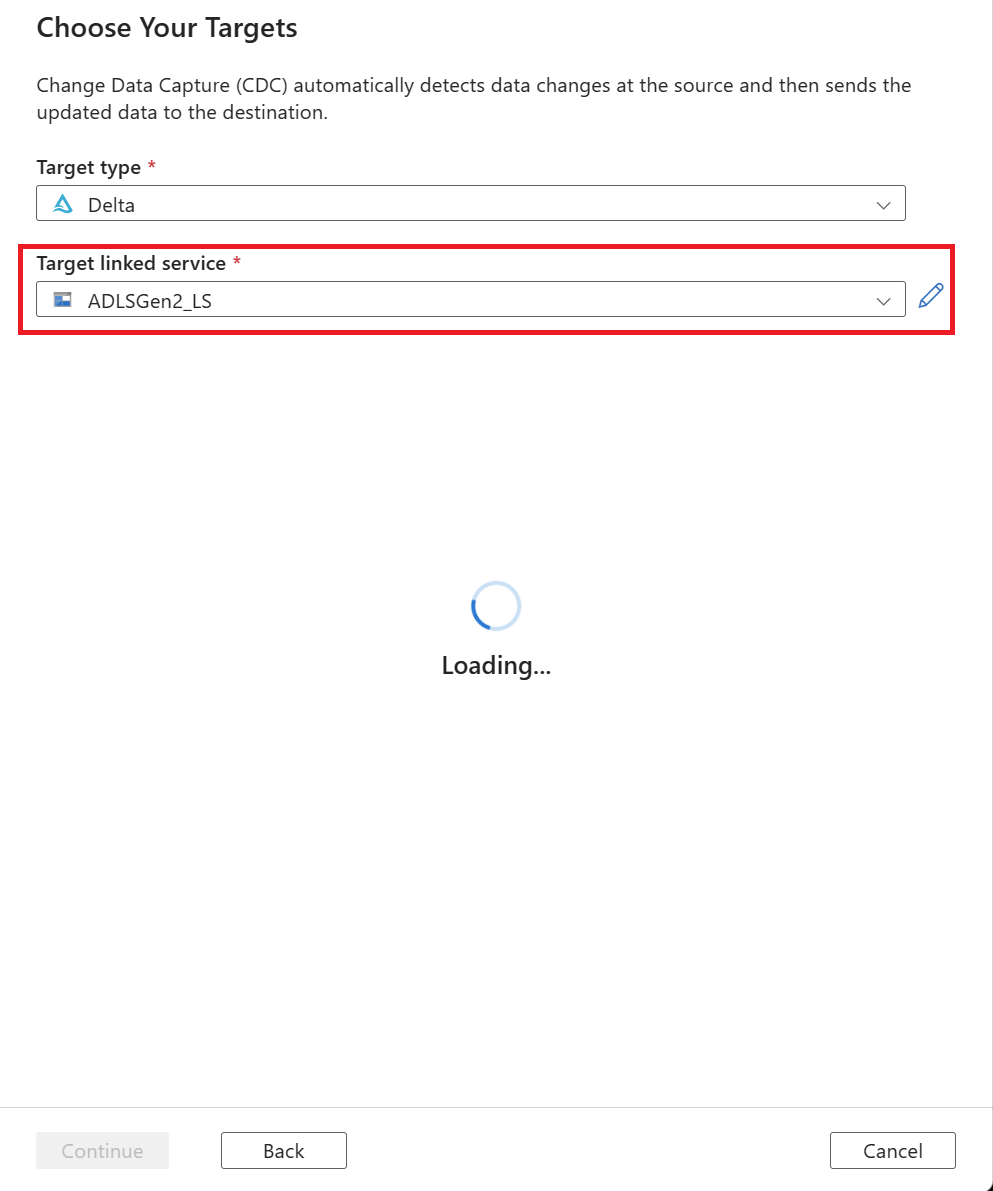
You're prompted to select a linked service. Create a new linked service or select an existing one.
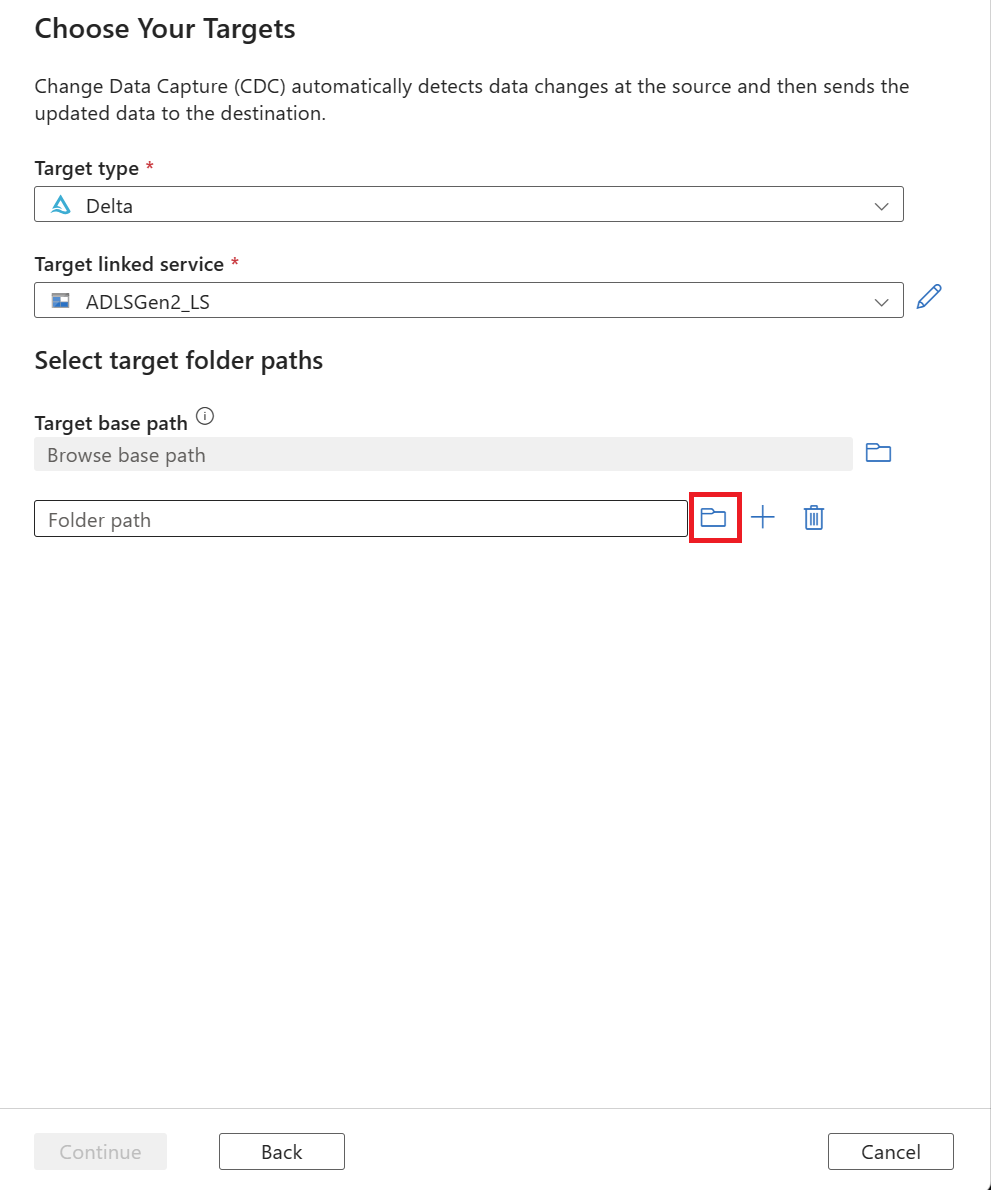
Select your target data folder. You can use either:
- The Browse button under Target base path, which helps you automatically populate the browse path for all the new tables selected for a source.
- The Browse button outside to individually select the folder path.
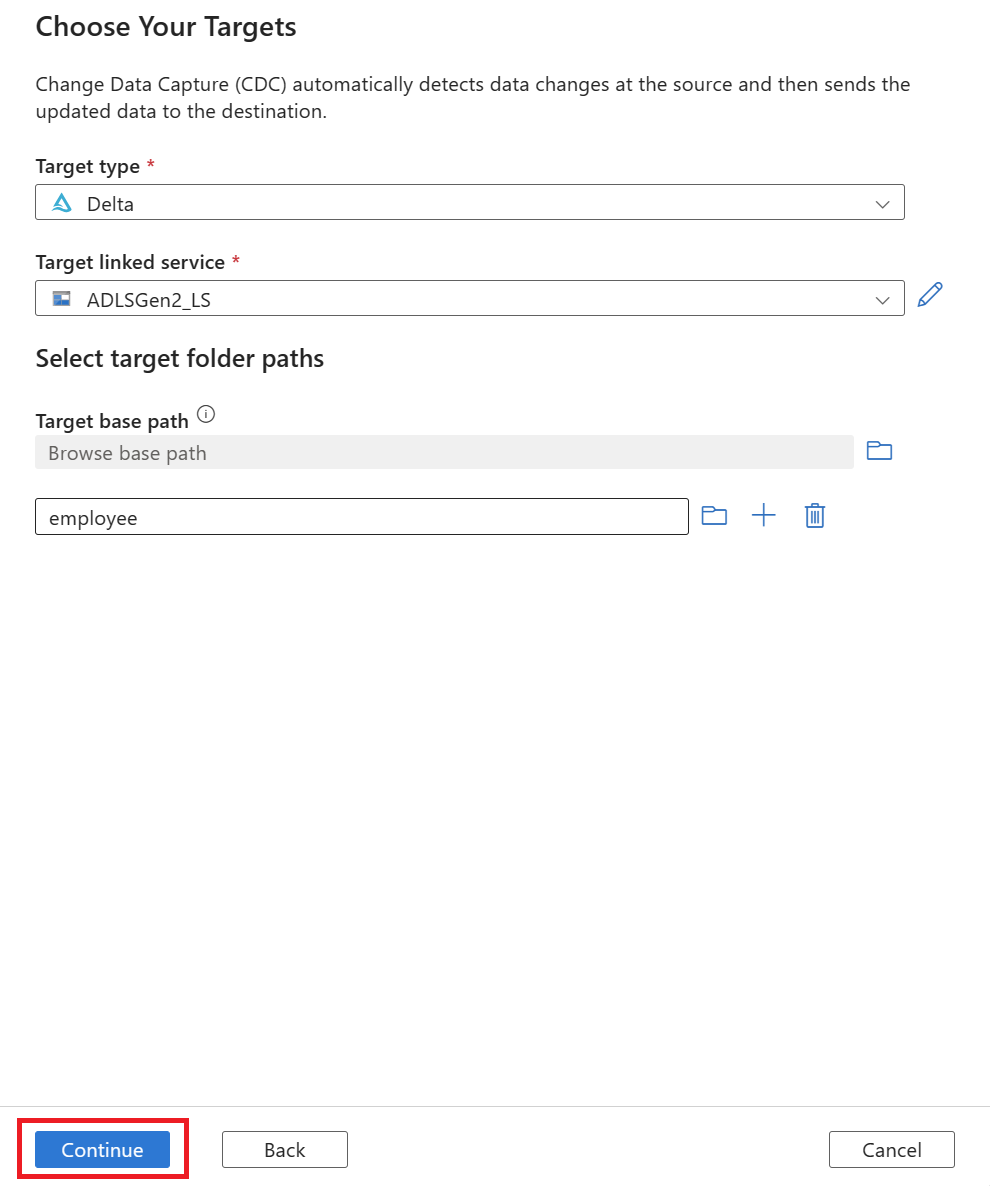
After you select a folder path, select the Continue button.
A new tab for capturing change data appears. This tab is the CDC studio, where you can configure your new resource.

A new mapping is automatically created for you. You can update the Source Table and Target Table selections for your mapping by using the dropdown lists.
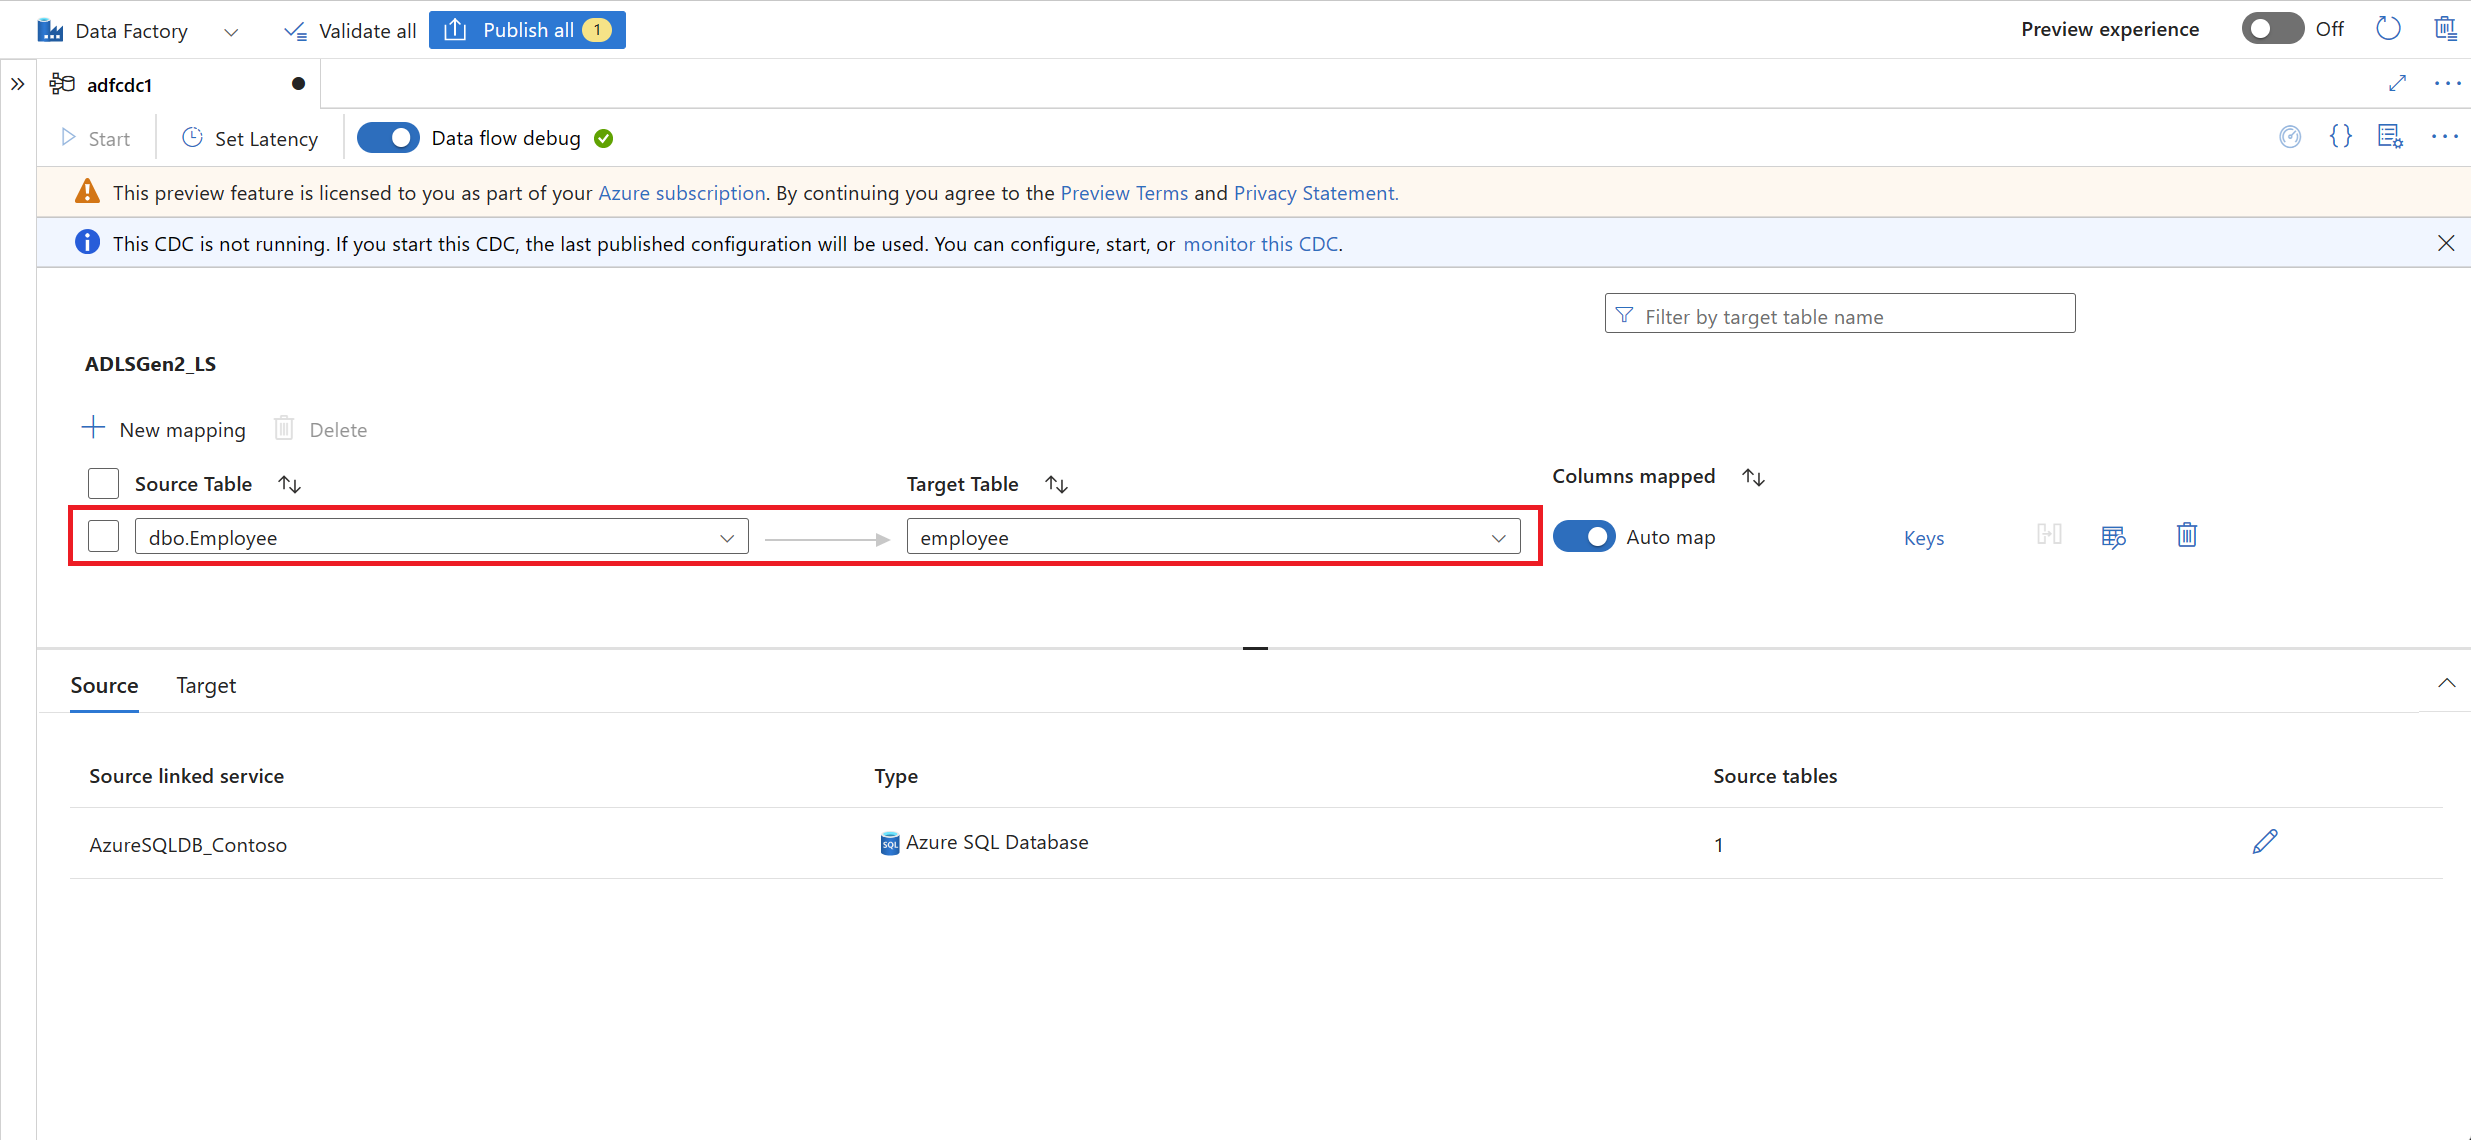
After you select your tables, their columns are mapped by default with the Auto map toggle turned on. Auto map automatically maps the columns by name in the sink, picks up new column changes when the source schema evolves, and flows this information to the supported sink types.

Note
Schema evolution works only when the Auto map toggle is turned on. To learn how to edit column mappings or include transformations, see Capture changed data with a change data capture resource.
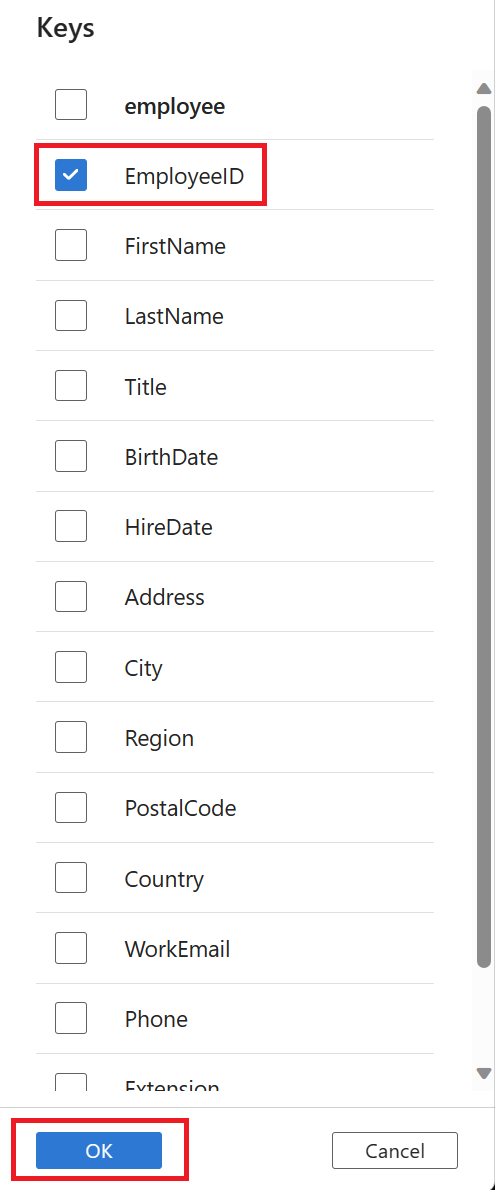
Select the Keys link, and then select the Keys column to be used for tracking the delete operations.

After your mappings are complete, set your CDC latency by using the Set Latency button.

Select the latency of your CDC, and then select Apply to make the changes.
By default, latency is set to 15 minute. The example in this article uses the Real-time option for latency. Real-time latency continuously picks up changes in your source data in intervals of less than 1 minute.
For other latencies (for example, if you select 15 minutes), your change data capture will process your source data and pick up any changed data since the last processed time.

After you finish configuring your CDC, select Publish all to publish your changes.

Note
If you don't publish your changes, you won't be able to start your CDC resource. The Start button in the next step will be unavailable.
Select Start to start running your change data capture.


Now that your change data capture is running, you can:
Use the monitoring page to see how many changes (insert, update, or delete) were read and written, along with other diagnostic information.


Validate that the change data arrived in Delta Lake stored in Azure Data Lake Storage Gen2, in Delta format.

Validate the schema of the change data that arrived.


Make dynamic schema-level changes to the source tables
Add a new PersonalEmail column to the source table by using an
ALTER TABLET-SQL statement, as shown in the following example.
Validate that the new PersonalEmail column appears in the existing table.

Validate schema changes at the Delta sink
Confirm that the new column PersonalEmail appears in the Delta sink. You now know that change data with schema changes arrived at the target.

Related content
Feedback
Coming soon: Throughout 2024 we will be phasing out GitHub Issues as the feedback mechanism for content and replacing it with a new feedback system. For more information see: https://aka.ms/ContentUserFeedback.
Submit and view feedback for