Enable compute network on your Azure Stack Edge Pro
This article describes how the modules running on your Azure Stack Edge Pro can access the compute network enabled on the device.
To configure the network, you'll take the following steps:
- Enable a network interface on your Azure Stack Edge Pro device for compute
- Add a module to access compute network on your Azure Stack Edge Pro
- Verify the module can access the enabled network interface
In this tutorial, you'll use a webserver app module to demonstrate the scenario.
Prerequisites
Before you begin, you'll need:
- An Azure Stack Edge Pro device with device setup completed.
- You've completed Configure compute step as per the Tutorial: Transform data with Azure Stack Edge Pro on your device. Your device should have an associated IoT Hub resource, an IoT device, and an IoT Edge device.
Enable network interface for compute
To access the modules running on your device via an external network, you'll need to assign an IP address to a network interface on your device. You can manage these compute settings from your local web UI.
Take the following steps on your local web UI to configure compute settings.
In the local web UI, go to Configuration > Compute settings.
Enable the network interface that you want to use to connect to a compute module that you'll run on the device.
- If using static IP addresses, enter an IP address for the network interface.
- If using DHCP, the IP addresses are automatically assigned. This example uses DHCP.
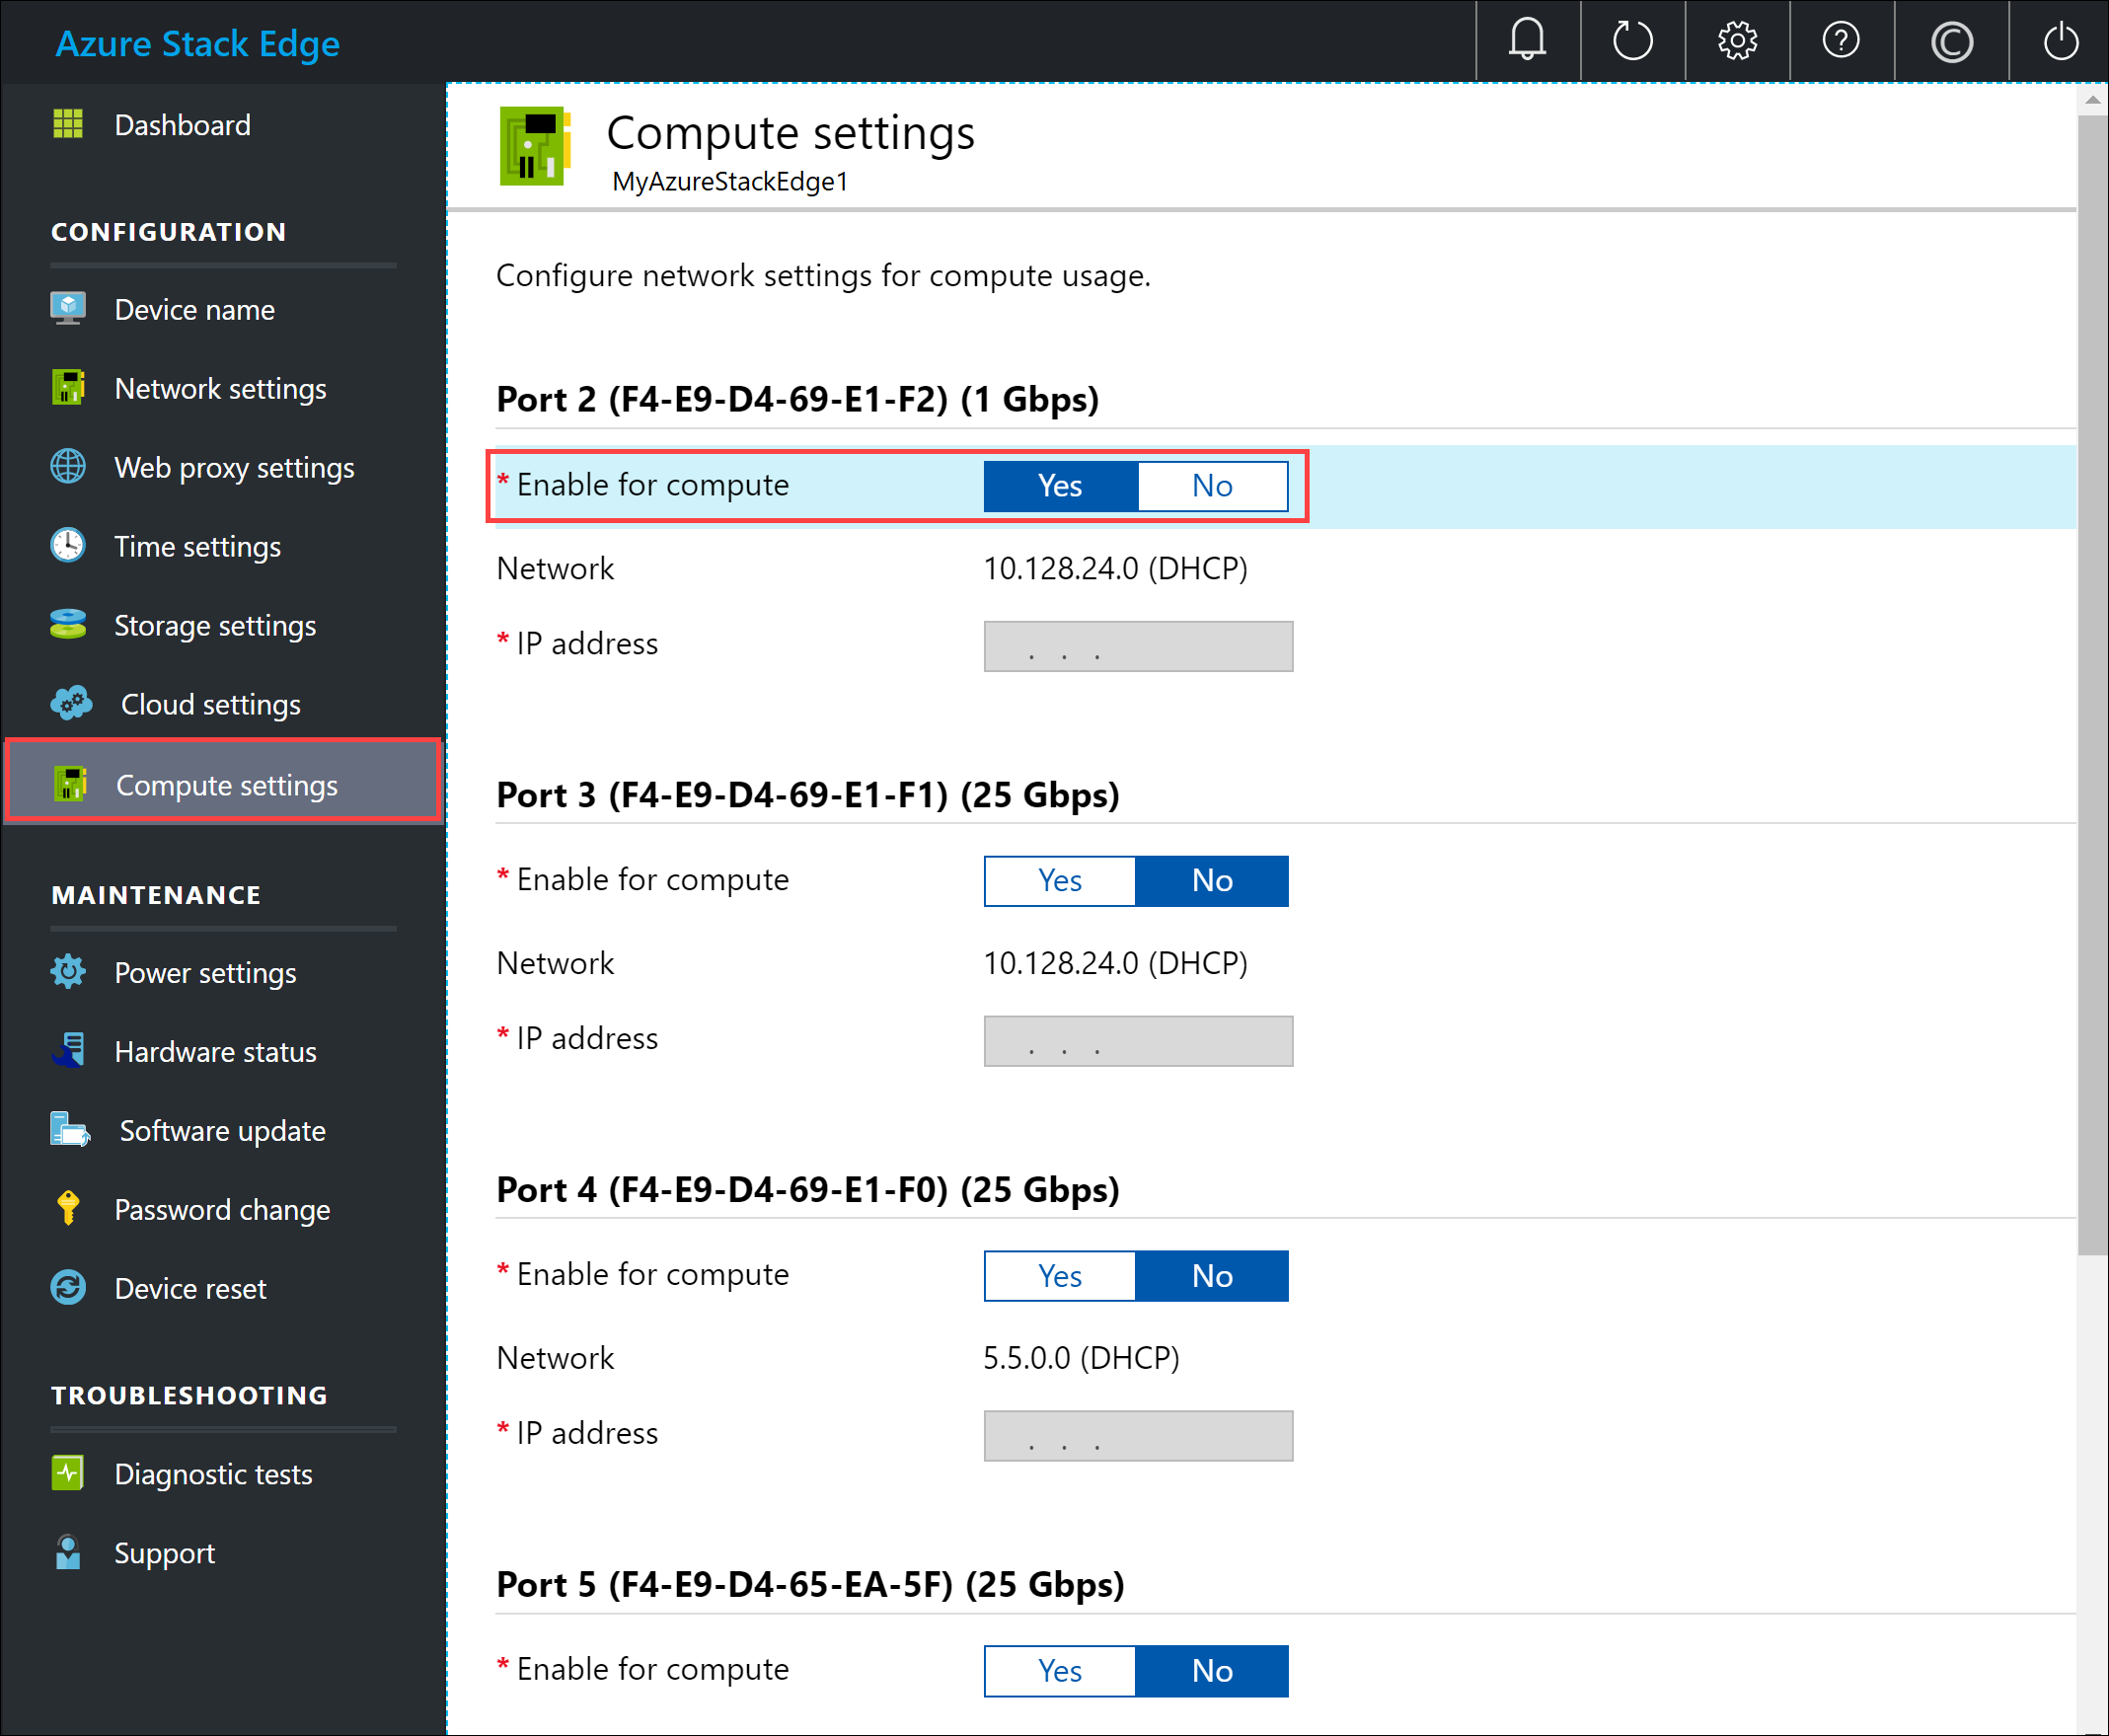
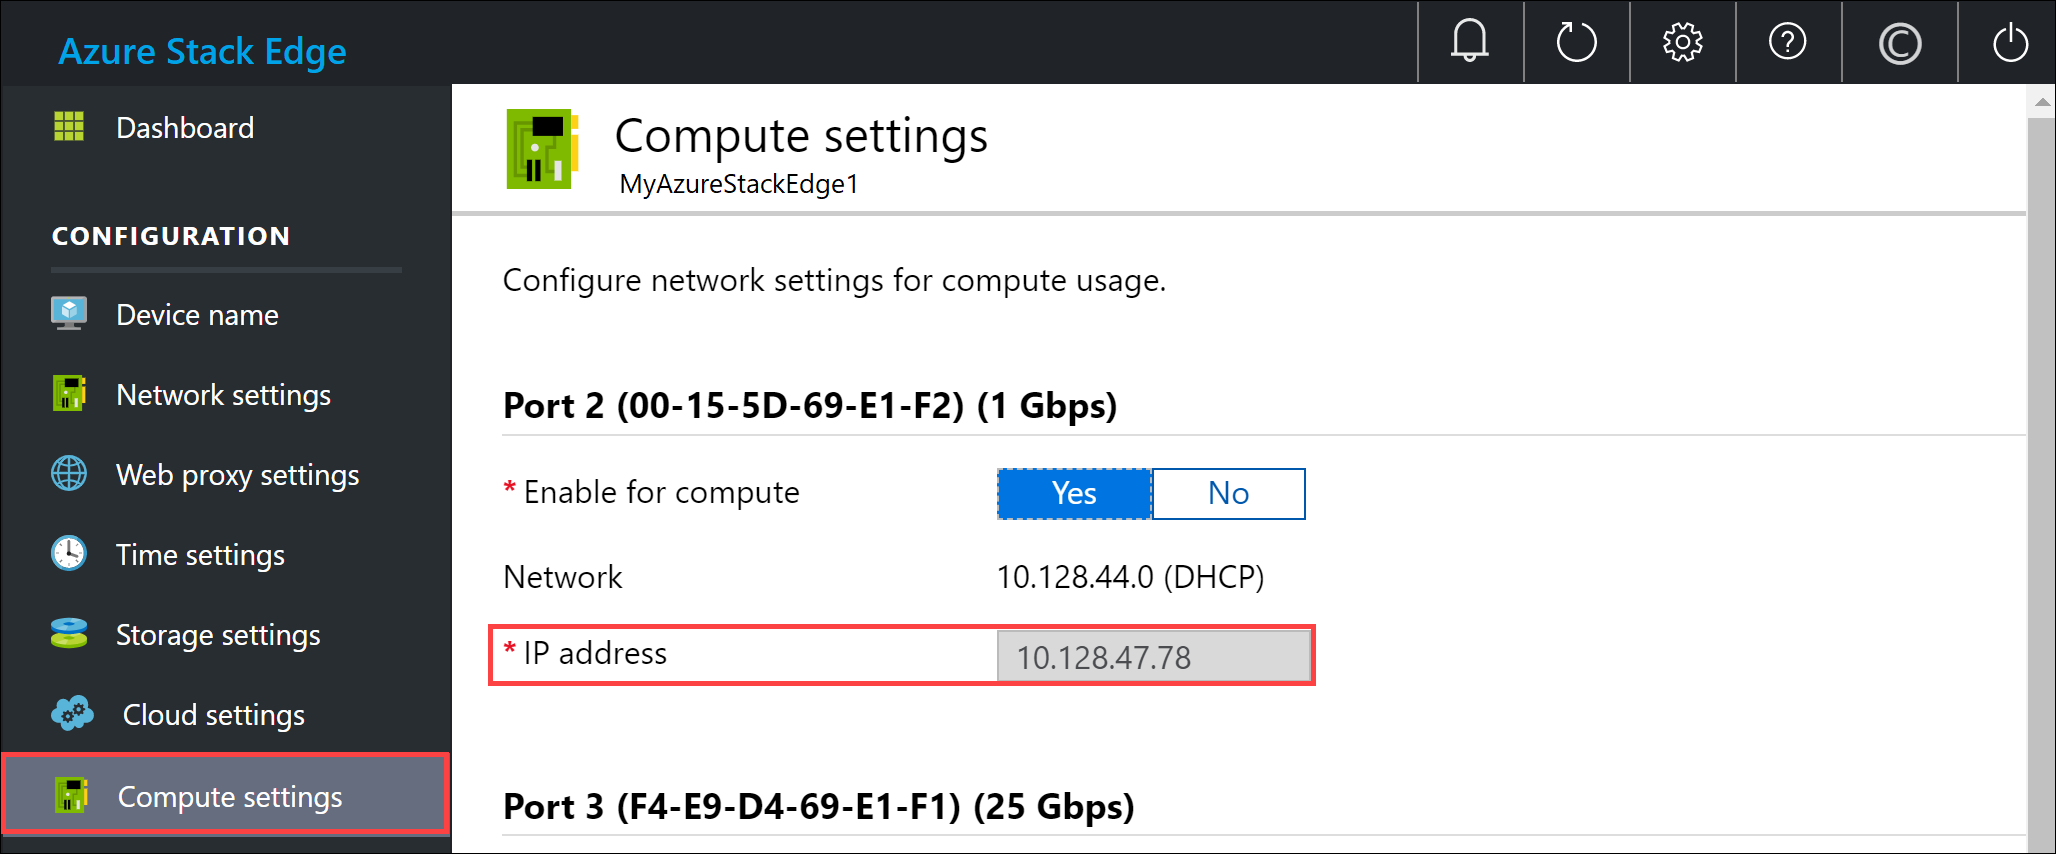
Select Apply to apply the settings. Make a note of the IP address assigned to the network interface if using DHCP.
Add webserver app module
Take the following steps to add a webserver app module on your Azure Stack Edge Pro device.
Go to the IoT Hub resource associated with your Azure Stack Edge Pro device and then select IoT Edge device.
Select the IoT Edge device associated with your Azure Stack Edge Pro device. On the Device details, select Set modules. On Add modules, select + Add and then select IoT Edge Module.
In the IoT Edge custom modules blade:
Specify a Name for your webserver app module that you want to deploy.
Provide an Image URI for your module image. A module matching the provided name and tags is retrieved. In this case,
mcr.microsoft.com/oss/nginx/nginx:1.15.5-alpinewill pull an nginx image (tagged as1.15.5-alpine) from the publicmcr.microsoft.comregistry.In the Container Create Options, paste the following sample code:
{
    "HostConfig": {
        "PortBindings": {
            "80/tcp": [
                {
                    "HostPort": "8080"
                }
            ]
        }
    }
}
This configuration lets you access the module using the compute network IP over http on TCP port 8080 (with the default webserver port being 80).

Select Save.
Verify module access
Verify the module is successfully deployed and is running. On the Device Details page, on the Modules tab, the runtime status of the module should be running.
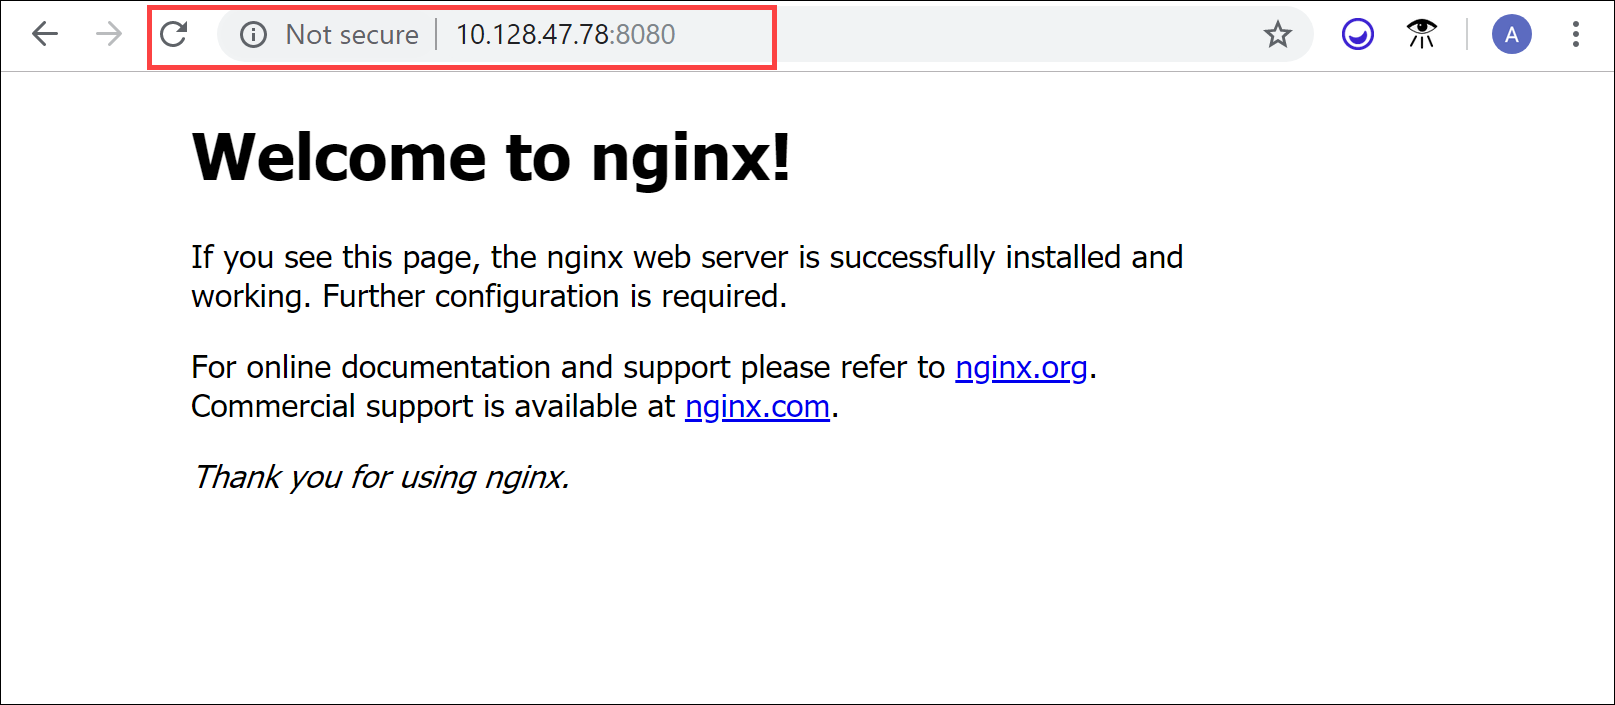
Connect to the web server app module. Open a browser window and type:
http://<compute-network-IP-address>:8080You should see that the webserver app is running.
Next steps
- Learn how to Manage users via Azure portal.
Feedback
Coming soon: Throughout 2024 we will be phasing out GitHub Issues as the feedback mechanism for content and replacing it with a new feedback system. For more information see: https://aka.ms/ContentUserFeedback.
Submit and view feedback for