Prepare certificates to upload on your Azure Stack Edge Pro GPU
APPLIES TO:  Azure Stack Edge Pro - GPUAzure Stack Edge Pro 2Azure Stack Edge Pro RAzure Stack Edge Mini R
This article describes how to convert the certificates into appropriate format for upload on your Azure Stack Edge device. This procedure is typically required when you bring your own certificates.
To know more about how to create these certificates, see Create certificates using Azure PowerShell.
Prepare certificates
If you bring your own certificates, then the certificates that you created for your device by default reside in the Personal store on your client. These certificates need to be exported on your client into appropriate format files that can then be uploaded to your device.
Prepare root certificates: The root certificate must be exported as DER format with
.cerextension. For detailed steps, see Export certificates as DER format.Prepare endpoint certificates: The endpoint certificates must be exported as .pfx files with private keys. For detailed steps, see Export certificates as .pfx file with private keys.
Export certificates as DER format
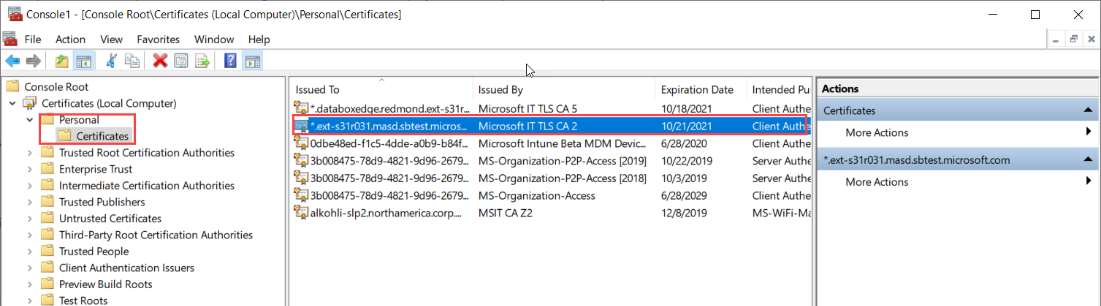
Run certlm.msc to launch the local machine certificate store.
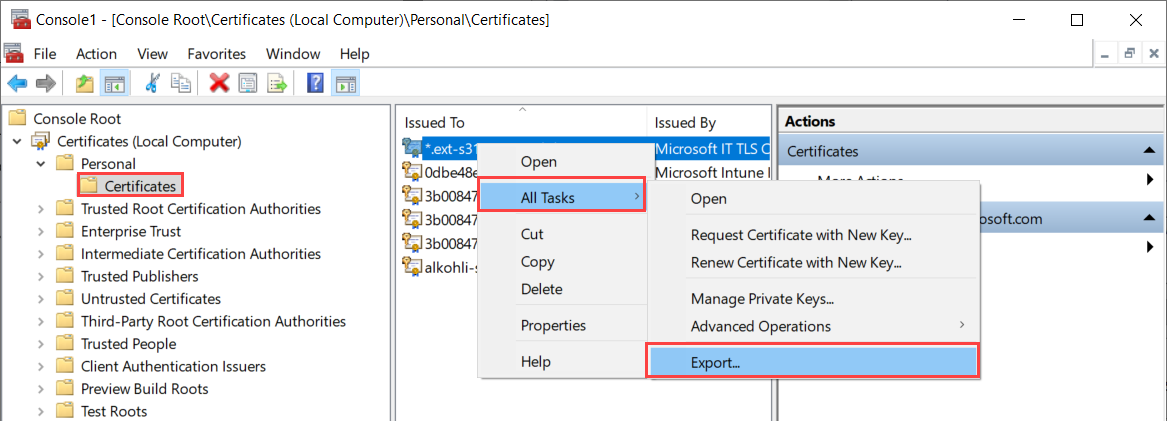
In the Personal certificate store, select the root certificate. Right-click and select All Tasks > Export...

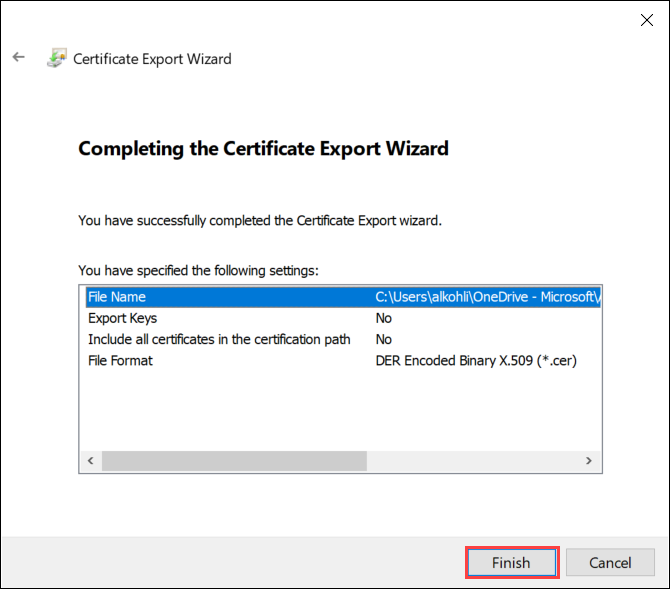
The certificate wizard opens. Select the format DER encoded binary X.509 (.cer). Select Next.

Browse and select the location where you want to export the .cer format file.
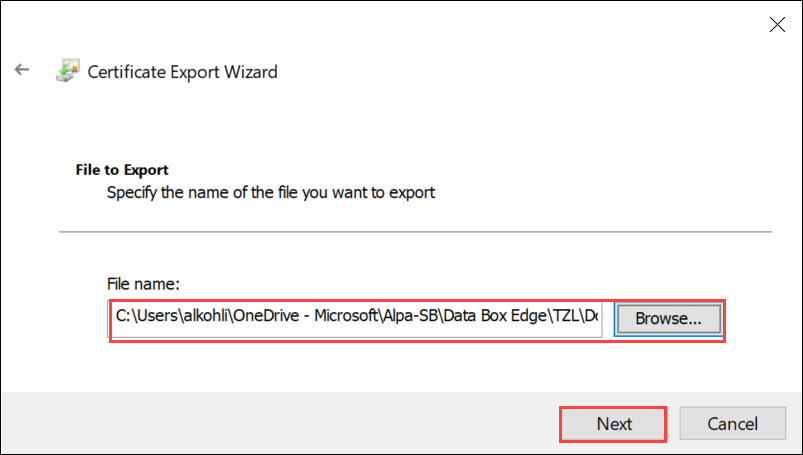
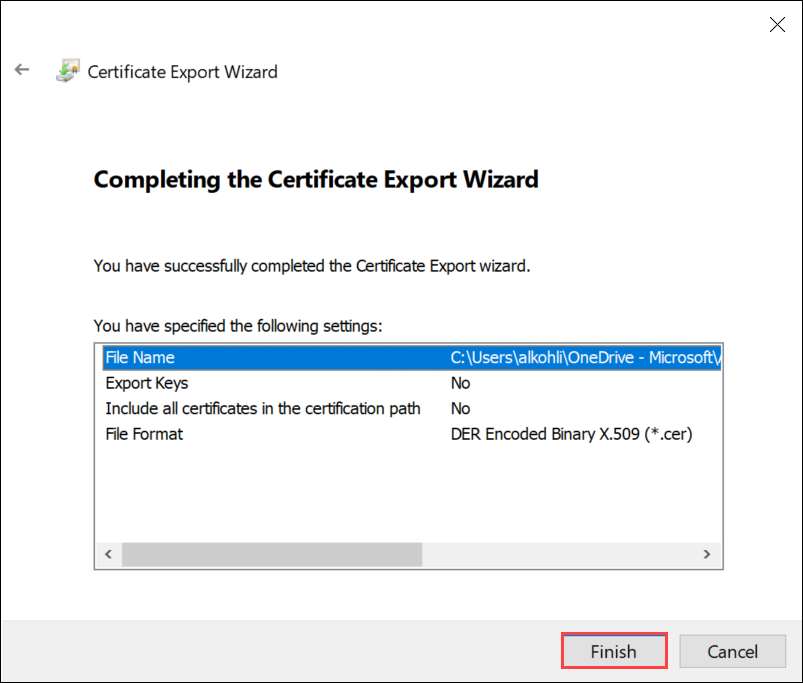
Select Finish.
Export certificates as .pfx format with private key
Take the following steps to export an SSL certificate with private key on a Windows machine.
Important
Perform these steps on the same machine that you used to create the certificate.
Run certlm.msc to launch the local machine certificate store.
Double-click on the Personal folder, and then on Certificates.
Right-click on the certificate you would like to back up and choose All tasks > Export....
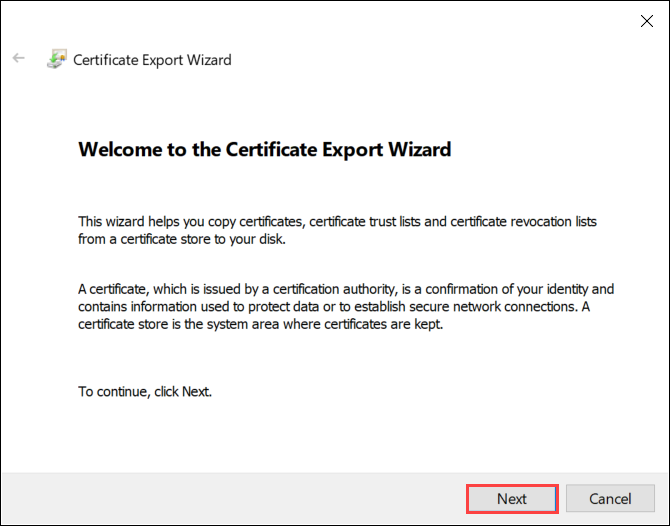
Follow the Certificate Export Wizard to back up your certificate to a .pfx file.
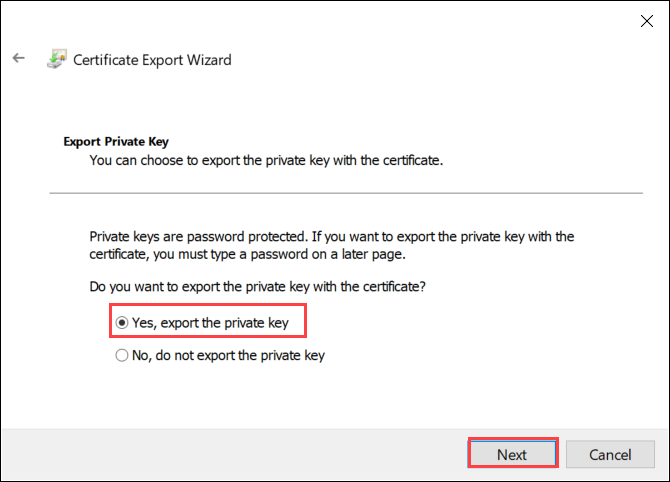
Choose Yes, export the private key.
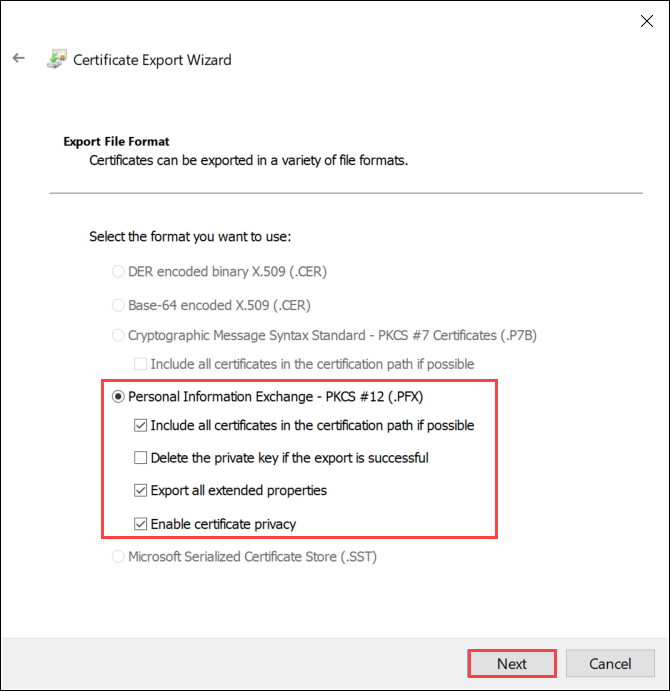
Choose Include all certificates in certificate path if possible, Export all extended properties and Enable certificate privacy.
When you include all certificates in your export, you don't need to add the signing chain separately before adding that certificate when you configure certificates using the local web UI. For more information, see Bring your own certificates.
Important
DO NOT select the Delete Private Key option if export is successful.
Enter a password you will remember. Confirm the password. The password protects the private key.

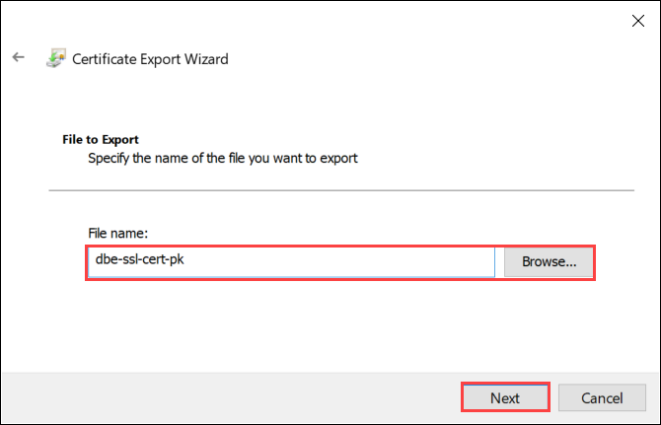
Choose to save the file in a set location.
Select Finish.
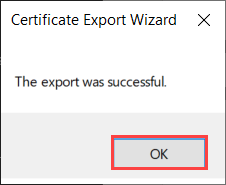
You receive a message that the export was successful. Select OK.
The .pfx file backup is now saved in the selected location, and is ready to be moved or stored for safekeeping.
Next steps
Learn how to Upload certificates on your device.
Feedback
Coming soon: Throughout 2024 we will be phasing out GitHub Issues as the feedback mechanism for content and replacing it with a new feedback system. For more information see: https://aka.ms/ContentUserFeedback.
Submit and view feedback for