Tutorial: Wall mount the Azure Stack Edge Pro 2
Azure Stack Edge Pro 2 is the next generation of an AI-enabled edge computing device that can transfer data over the network. This device is a part of the Hardware-as-a-service solution offered by Microsoft.
The Azure Stack Edge Pro 2 device can be mounted on the wall. This article contains instructions to wall mount your device.
Prerequisites
- Before you begin, read the safety instructions in your Safety, Environmental, and Regulatory Information booklet. This booklet was shipped with the device.
- Begin installing the rails in the allotted space that is closest to the bottom of the rack enclosure.
Identify the rail kit contents
- 1 X vertical wall mount bracket
- 8 X M5 cage nuts
- 8 X M5 screws
- 6 X wood screws
- 1 X instruction manual
![]()
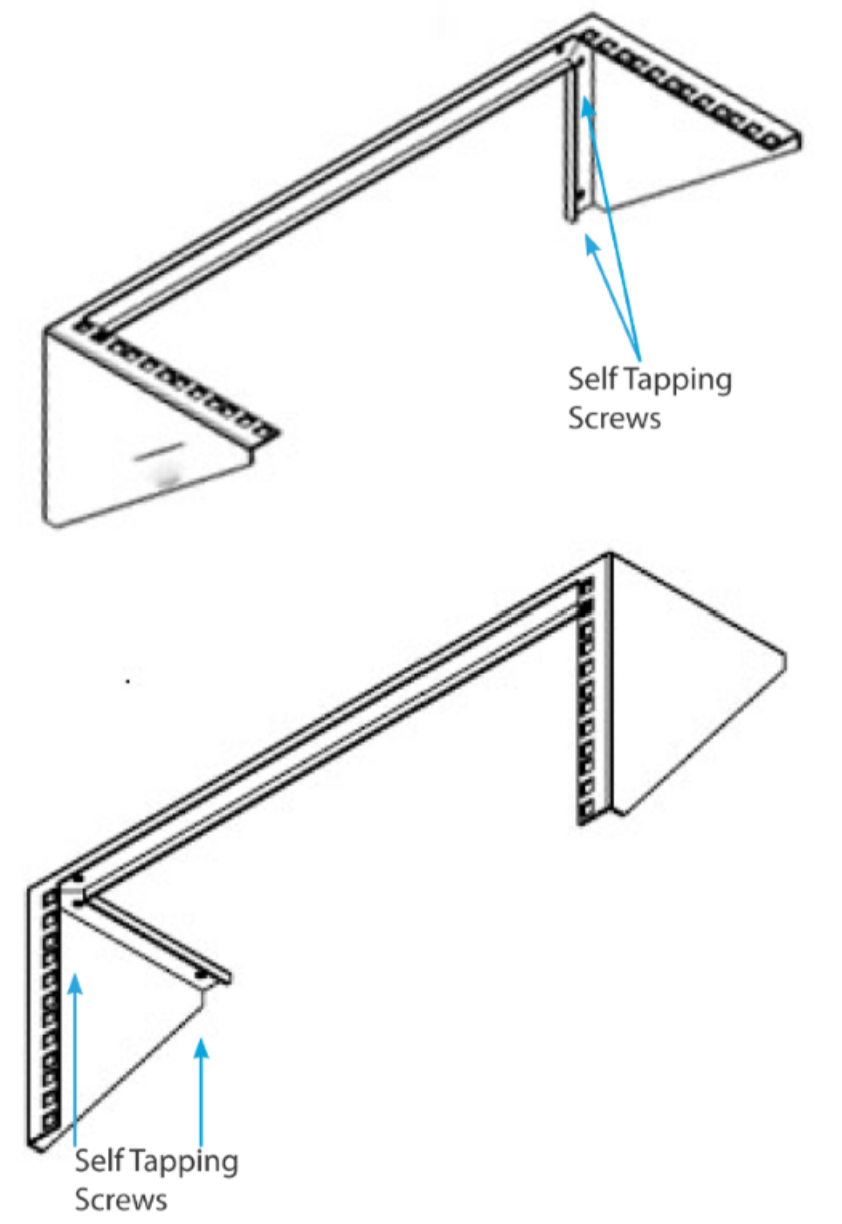
Install the wall mount
The unit can be mounted either vertically or horizontally (for example, under a desk) onto a wall.
Make sure the mounting surface is sturdy enough to support the weight of the rack, plus all of the equipment to be installed into the rack. Fit the rack to the surface to test and ensure proper fit and mark the six mounting points.
Use the provided self-tapping screws (for wood surfaces only) to affix the unit to the mounting surface.
Once the rack is properly mounted to the surface, the rack mountable equipment can be installed. Use the supplied square cage nuts to provide the mounting points for the rack mountable equipment, then use the supplied cabinet screws to install the equipment into the rack.
Feedback
Coming soon: Throughout 2024 we will be phasing out GitHub Issues as the feedback mechanism for content and replacing it with a new feedback system. For more information see: https://aka.ms/ContentUserFeedback.
Submit and view feedback for