User Guide: Classify a file or email by using the Azure Information Protection unified labeling client for Windows
Note
Are you looking for Microsoft Purview Information Protection, formerly Microsoft Information Protection (MIP)?
The Azure Information Protection add-in is retired and replaced with labels that are built in to your Microsoft 365 apps and services. Learn more about the support status of other Azure Information Protection components.
The new Microsoft Information Protection client (without the add-in) is currently in preview and scheduled for general availability.
The easiest way to classify your documents and emails is when you are creating or editing them from within your Office desktop apps: Word, Excel, PowerPoint, Outlook.
However, you can also classify files by using File Explorer. This method supports additional file types and is a convenient way to classify multiple files at once.
Note
Use these instructions to help you classify (but not protect) your documents and emails. If you need to also protect your documents and emails, see the classify and protect instructions. If you are not sure which set of instructions to use, check with your administrator or help desk.
Using Office apps to classify your documents and emails
From the Home tab, select the Sensitivity button on the ribbon, and then select one of the labels that has been configured for you. For example:

Or, if you have selected Show Bar from the Sensitivity button, you can select a label from the Azure Information Protection bar. For example:

To set a label, such as "General", select General. If you're not sure which label to apply to the current document or email, use the label tooltips to learn more about each label and when to apply it.
If a label is already applied to the document and you want to change it, you can select a different label. If you have displayed the Azure Information Protection bar, and the labels are not displayed on the bar for you to select, first click the Edit Label icon, next to the current label value.
In addition to manually selecting labels, labels can also be applied in the following ways:
Your administrator configured a default label, which you can keep or change.
Your administrator configured labels to be set automatically when sensitive information is detected.
Your administrator configured recommended labels when sensitive information is detected, and you are prompted to accept the recommendation (and the label is applied), or reject it (the recommended label is not applied).
Exceptions for the Sensitivity button
Don't see the Sensitivity button in your Office apps?
You might not have the Azure Information Protection unified labeling client installed.
If you don't see a Sensitivity button on the ribbon, but do see a Protect button with labels instead, you have the legacy Azure Information Protection classic client installed and not the Azure Information Protection unified labeling client. For more information, see the archived AIP classic client documentation.
Is the label that you expect to see not displayed?
If your administrator has recently configured a new label for you, try closing all instances of your Office app and reopening it. This action checks for changes to your labels.
The label might be in a scoped policy that doesn't include your account. Check with your help desk or administrator.
Using File Explorer to classify files
When you use File Explorer, you can quickly classify a single file, multiple files, or a folder.
When you select a folder, all the files in that folder and any subfolders it has are automatically selected for the classification that you set. However, new files that you create in that folder or subfolders are not automatically classified.
When you use File Explorer to classify your files, if one or more of the labels appear dimmed, the files that you selected do not support classification without also protecting them.
The admin guide contains a full list of the file types that support classification without protection: File types supported for classification only.
To classify a file by using File Explorer
In File Explorer, select your file, multiple files, or a folder. Right-click, and select Classify and protect. For example:

In the Classify and protect - Azure Information Protection dialog box, use the labels as you would do in an Office application, which sets the classification as defined by your administrator.
If none of the labels can be selected (they appear dimmed): The selected file does not support classification. For example:
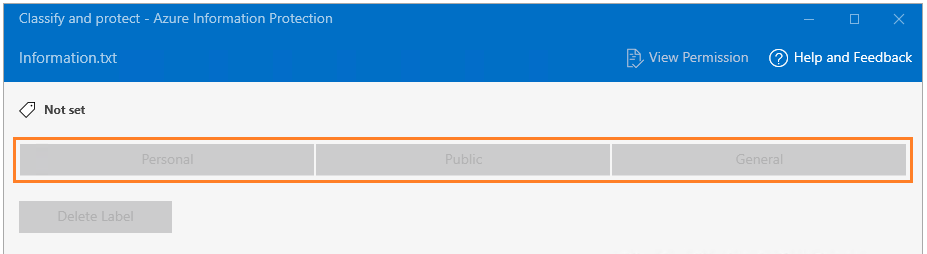
If you selected a file that does not support classification, click Close. You cannot classify this file without also protecting it.
If you selected a label, click Apply and wait for the Work finished message to see the results. Then click Close.
If you change your mind about the label you chose, simply repeat this process and choose a different label.
The classification that you specified stays with the file, even if you email the file or save it to another location.
Other instructions
More how-to instructions from the user guide for the Azure Information Protection unified labeling client for Windows:
Additional information for administrators
Feedback
Coming soon: Throughout 2024 we will be phasing out GitHub Issues as the feedback mechanism for content and replacing it with a new feedback system. For more information see: https://aka.ms/ContentUserFeedback.
Submit and view feedback for