Connect to a VM using Remote Desktop Protocol on a Chromebook
In this article, you learn how to connect to a lab virtual machine (VM) in Azure Lab Services from a Chromebook by using Remote Desktop Protocol (RDP).
Install Microsoft Remote Desktop on a Chromebook
To connect to the lab VM by using RDP, use the Microsoft Remote Desktop app.
To install the Microsoft Remote Desktop app:
Open the app store on your Chromebook, and search for Microsoft Remote Desktop.
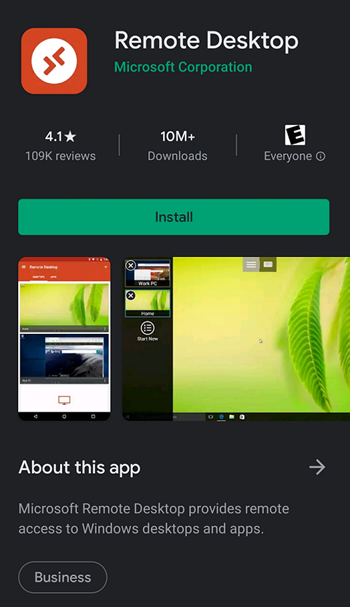
Select Install to install the latest version of the Remote Desktop application by Microsoft Corporation.

Access the VM from your Chromebook using RDP
Connect to the lab VM by using the remote desktop application. You can retrieve the connection information for the lab VM from the Azure Lab Services website.
Navigate to the Azure Lab Services website, and sign in with your credentials.
On the tile for your VM, ensure the VM is running and select the Connect icon.

When you connect to a Linux VM, you see two options to connect to the VM: SSH and RDP. Select the Connect via RDP option. If you're connecting to a Windows VM, you don't need to choose a connection option. The RDP file downloads.

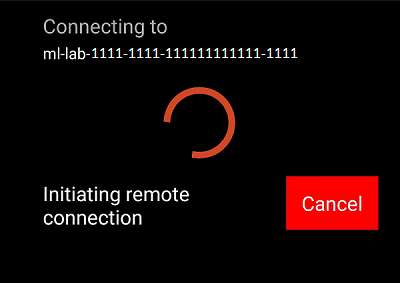
Open the RDP file on your computer with Microsoft Remote Desktop installed. It should start connecting to the VM.
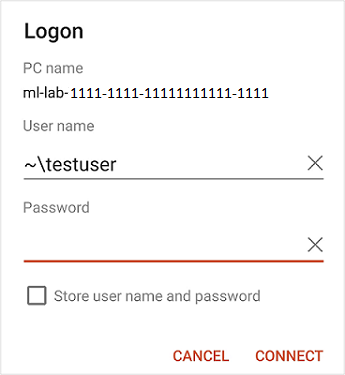
When prompted, enter your user name and password.
If you receive a certificate warning, you can select Continue.

After the connection is established, you see the desktop of your lab VM.


Related content
- As an educator, configure RDP for Linux VMs
- As a student, stop the VM
Feedback
Coming soon: Throughout 2024 we will be phasing out GitHub Issues as the feedback mechanism for content and replacing it with a new feedback system. For more information see: https://aka.ms/ContentUserFeedback.
Submit and view feedback for