Connect to a lab VM using X2Go in Azure Lab Services
In this article, you learn how to connect to a Linux-based lab VM in Azure Lab Services by using X2Go. Before you can connect with X2Go, the lab needs to have the X2Go and the Linux GUI (graphical user interface) desktop packages configured by the lab creator.
When you connect to the lab VM by using X2Go, you need to provide the Linux GUI desktop version. For example, select XFCE if you're using either XFCE or xUbuntu GUI desktops. You can get this information from the person that created the lab.
Install X2Go client
Install the X2Go client on your local computer. Follow the instructions that match your client OS.
Connect to the VM using X2Go client
Copy SSH connection information for the lab VM.
Learn how to Connect to a Linux lab VM Using SSH. You need this information to connect using the X2Go client.
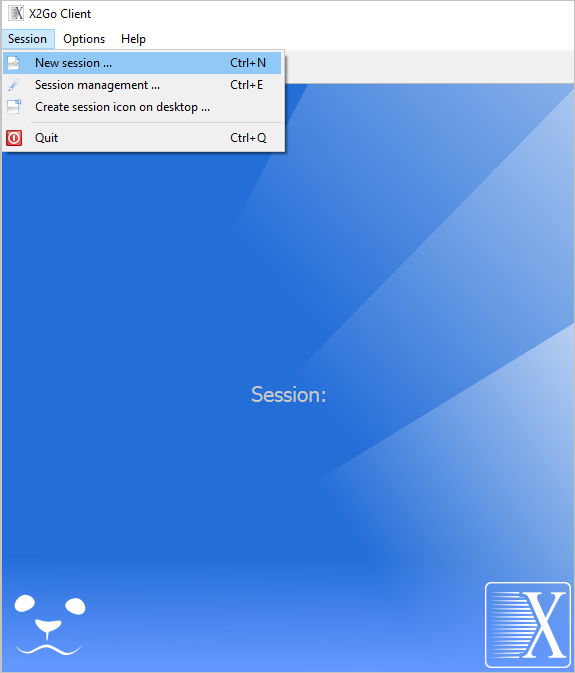
Once you have the SSH connection information, open the X2Go client and select Session > New Session.
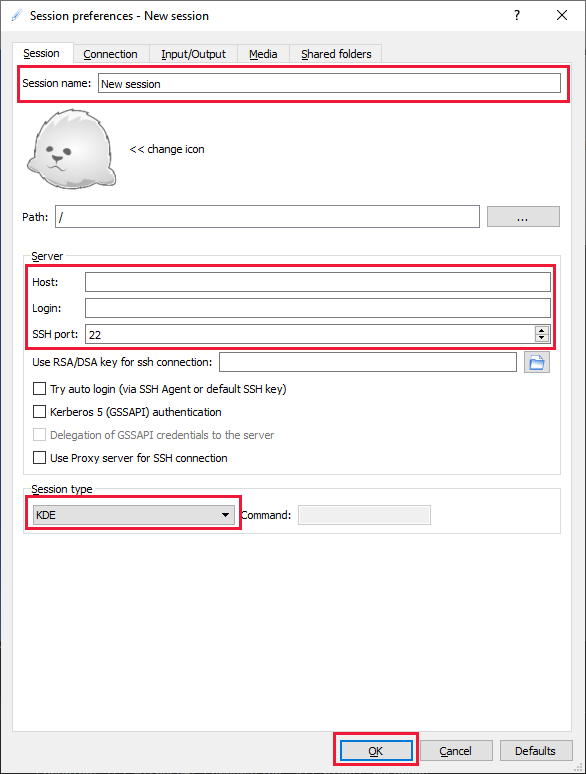
Enter the values in the Session Preferences pane based on your SSH connection information.
For example, your connection information might look similar to following command.
ssh -p 12345 student@ml-lab-00000000-0000-0000-0000-000000000000.eastus2.cloudapp.azure.comBased on this sample, enter the following values:
- Session name - Specify a name, such as the name of your VM.
- Host - The ID of your VM; for example,
ml-lab-00000000-0000-0000-0000-000000000000.eastus2.cloudapp.azure.com. - Login - The username for your VM; for example, student.
- SSH port - The unique port assigned to your VM; for example, 12345.
- Session type - Select the Linux GUI desktop that was used when setting up the lab. For example, select XFCE if you're using either XFCE or xUbuntu GUI desktops.
Select OK to create the remote session.
Select your session in the right-hand pane.

Note
If you're prompted with a message about authenticity, select yes to continue, and enter your password. The message is similar to "The authenticity of host '[
00000000-0000-0000-0000-000000000000.eastus2.cloudapp.eastus.cloudapp.azure.com]:12345' can't be established. ECDSA key fingerprint is SHA256:00000000000000000000000000000000000000000000.Are you sure you want to continue connecting (yes/no)?"When prompted, enter your password and select OK.
You're now remotely connected to your lab VM's GUI desktop.
Next steps
Feedback
Coming soon: Throughout 2024 we will be phasing out GitHub Issues as the feedback mechanism for content and replacing it with a new feedback system. For more information see: https://aka.ms/ContentUserFeedback.
Submit and view feedback for